-
Announcement
Welcome to the forums!
If you are a newly-approved member, make sure you check out the New Member Checklist!
If you are a Detachment member and can't see the member-only area, post here for access.
-DV
Leaderboard
Popular Content
Showing content with the highest reputation since 03/30/2015 in all areas
-
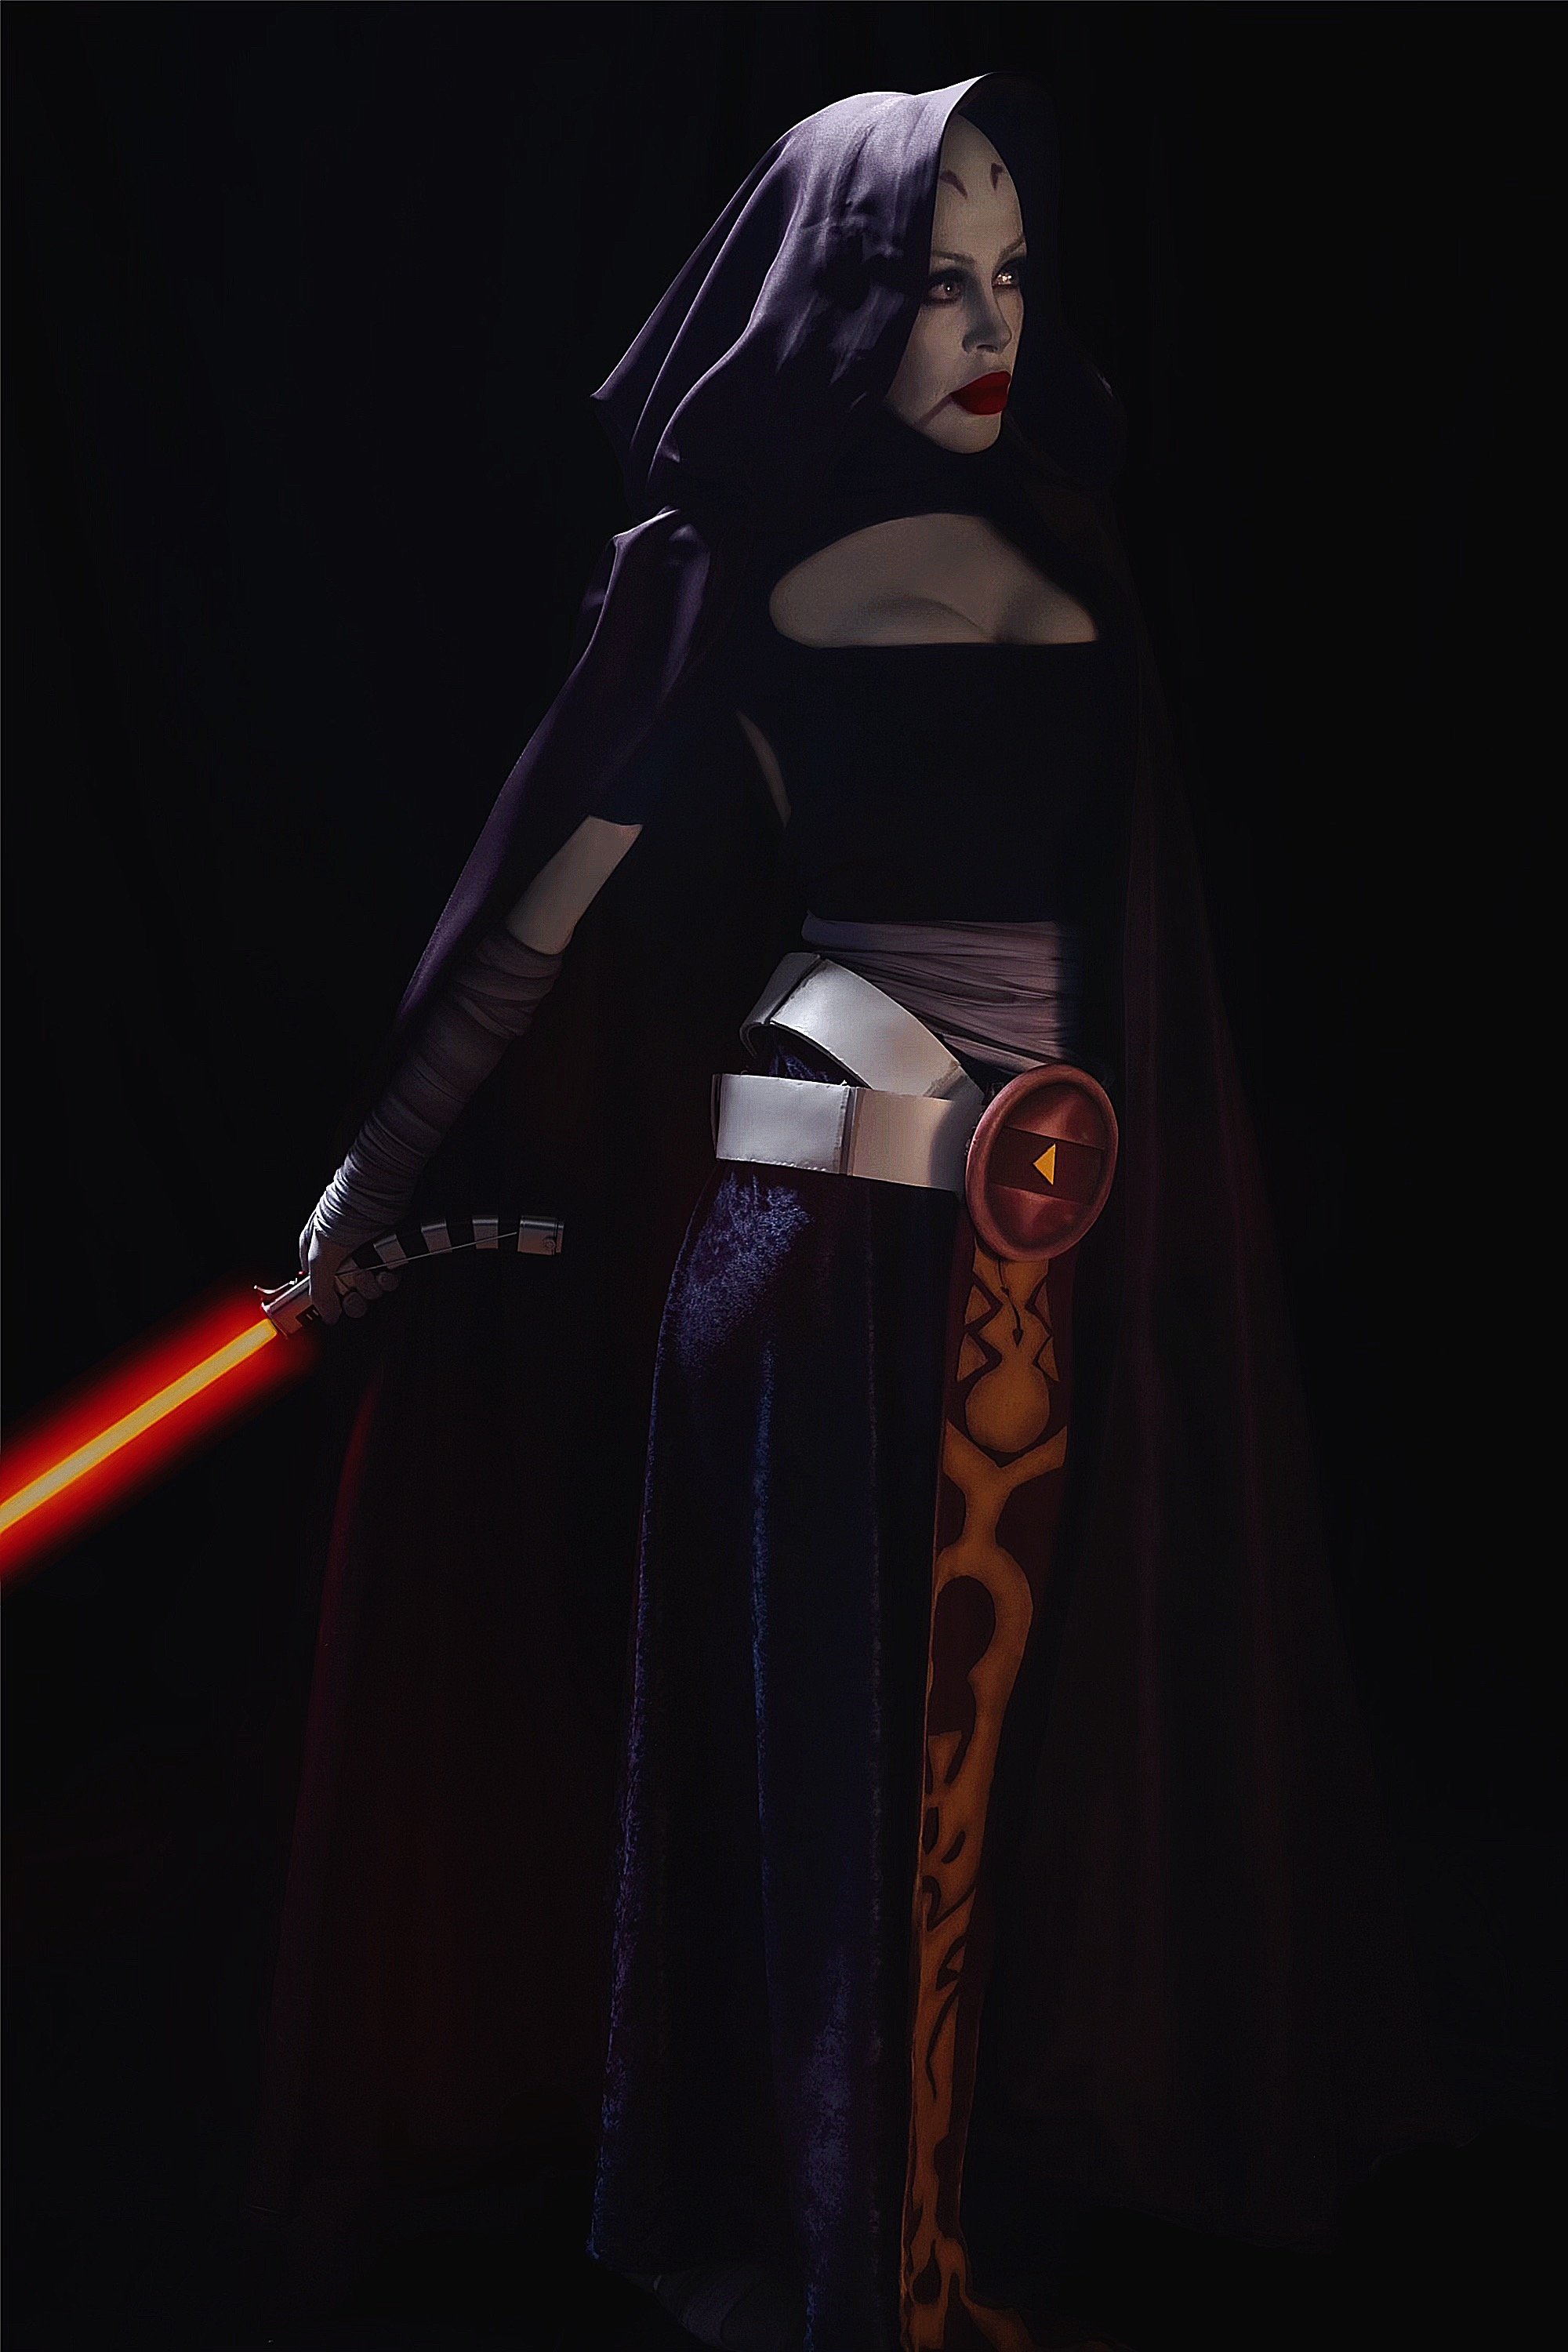
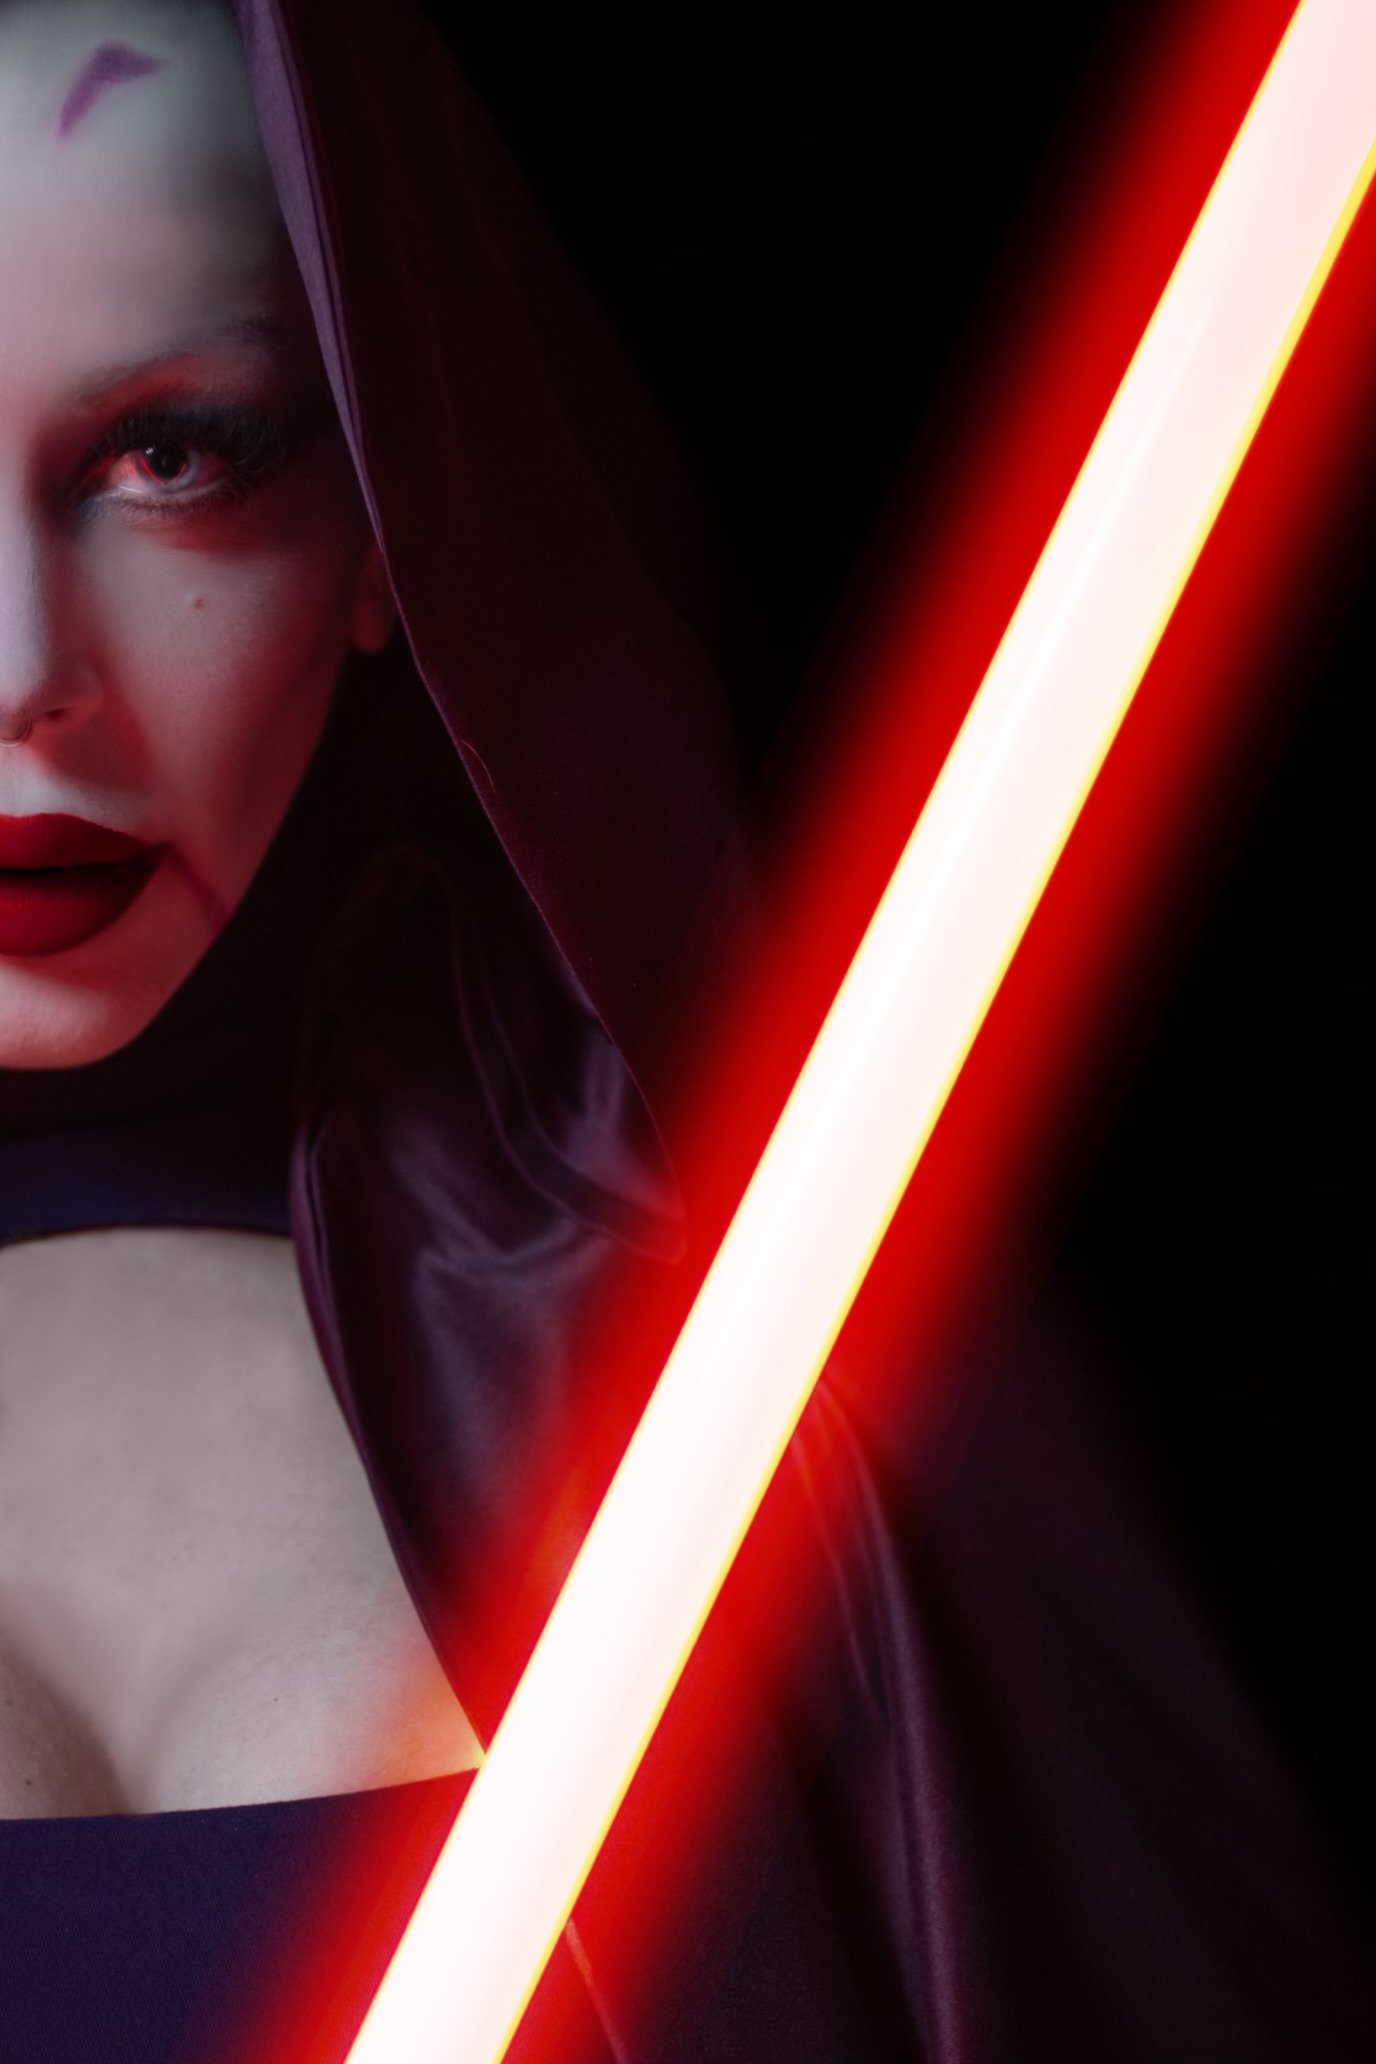
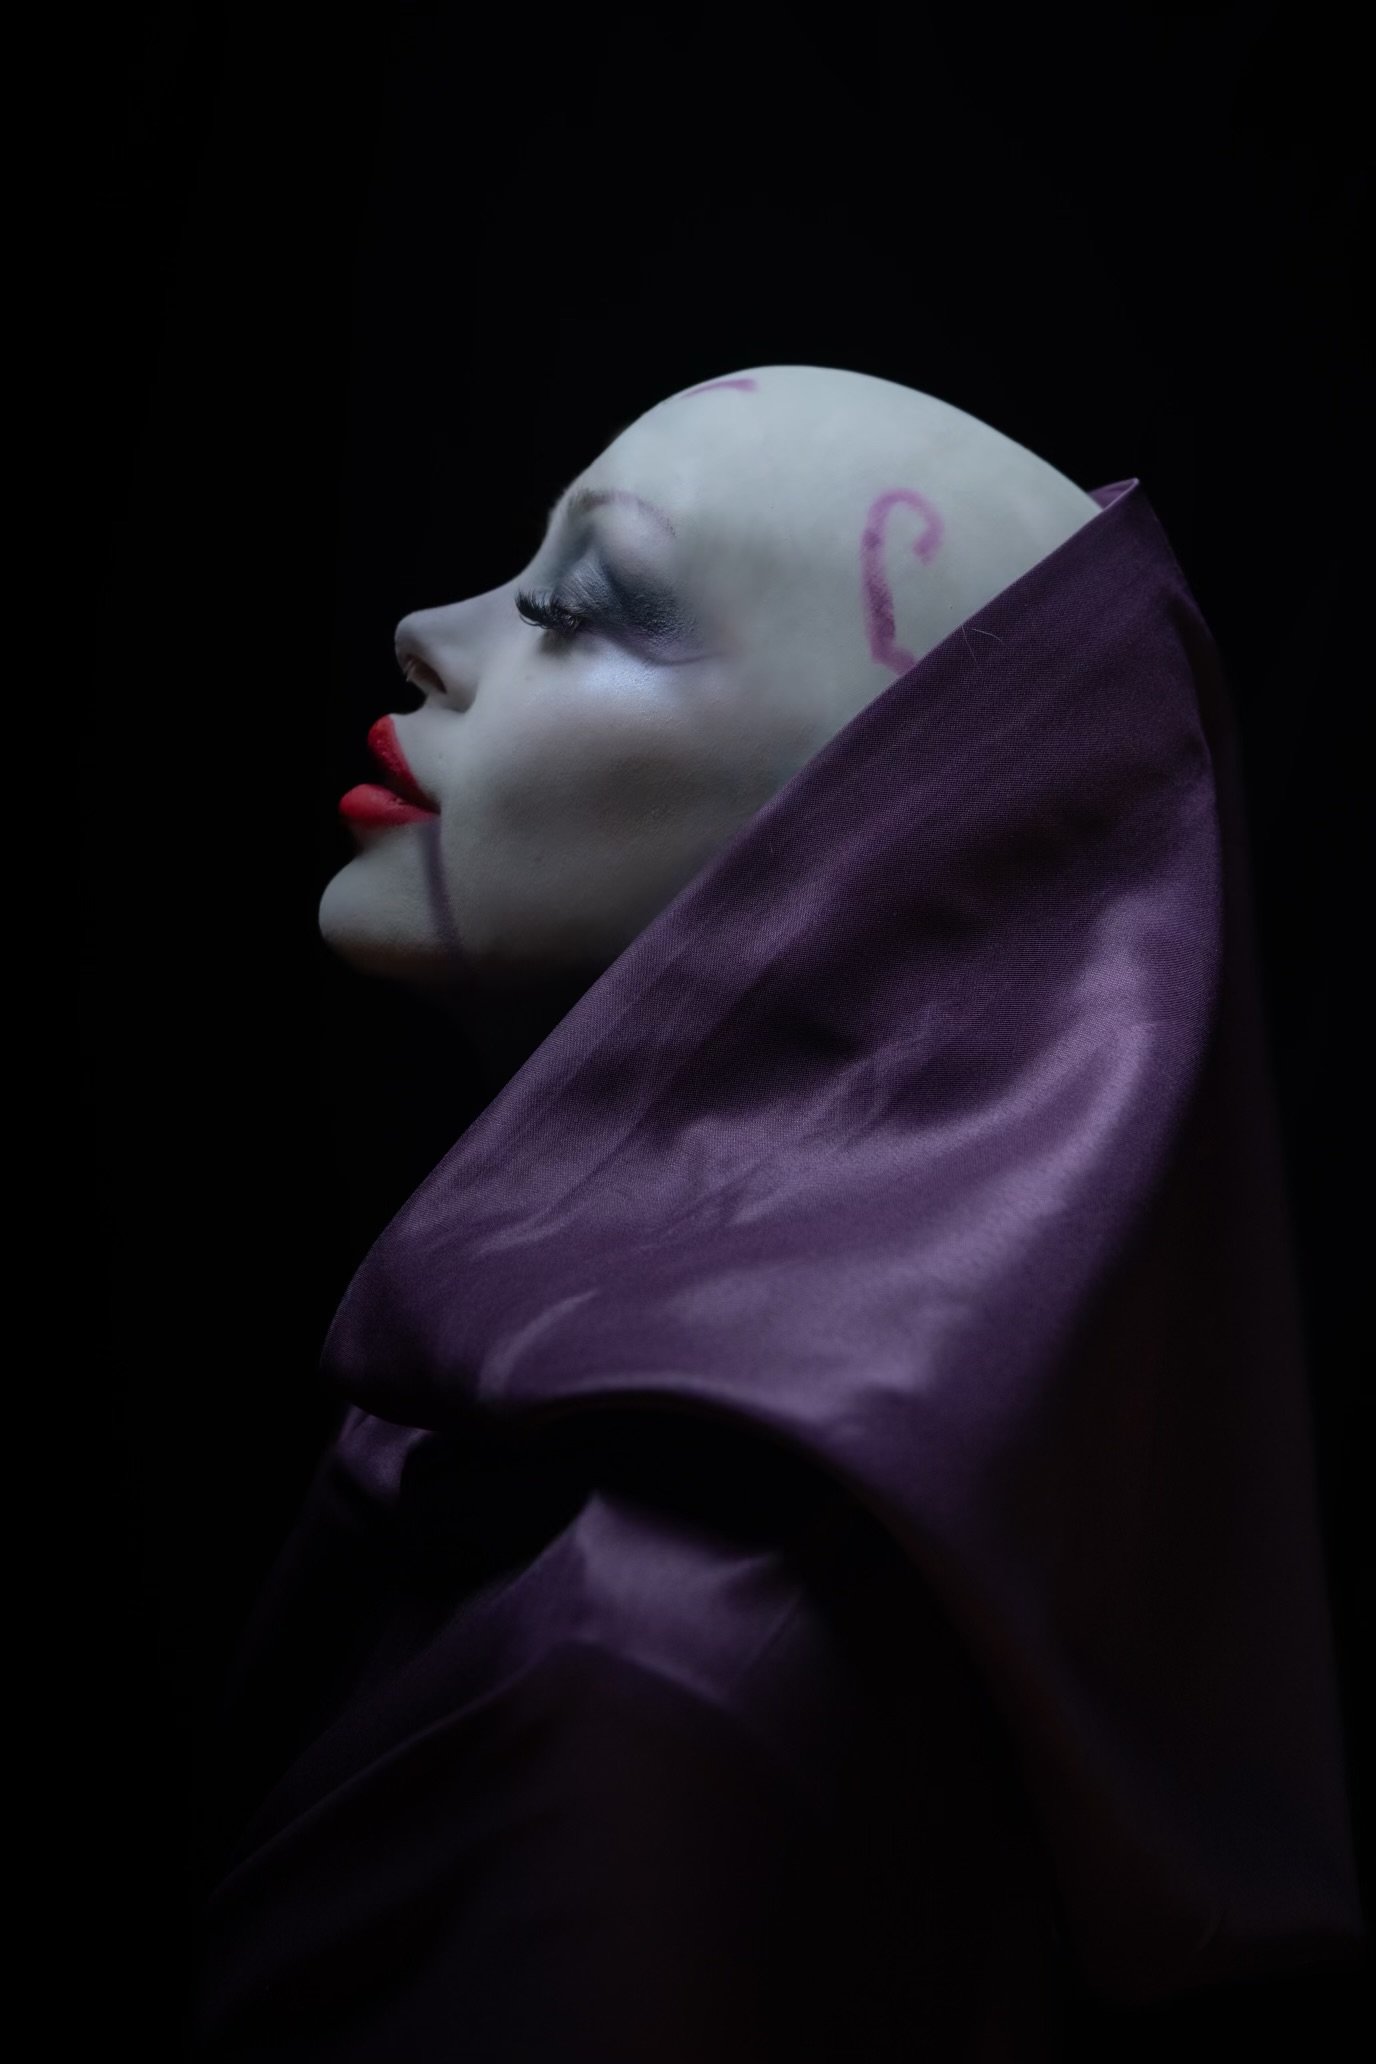
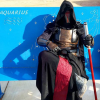
Hi everyone! Finally got my butt in gear and got my clone wars asajj approved and hopefully the first of many asajj approvals for me. I made every single aspect (except my lightsaber) from scratch without much experience before so I’m really proud of this one 😊🥰 I’m a brand new member of the pikes peak squad and the mountain garrison! Excited for all the new experiences to come 💕


 5 points
 -
Just a quick update on what's going on with the detachment stuff since it's been a quiet period (not always a bad thing!). 1. We're actively designing merch for a racing shirt, patch, and coin themed for KOTOR 20th based on votes. These will come in the next few months. It is slow due to lack of artists available and, well, life. 2. We're working on 3 New to the Legion CRLs/costumes currently that we're hoping to be released before the end of the term in Feb after updates to the costumes are finished. 3. We were told by LMOs that we had to wait until the end of the season of Ahsoka before submitting requests for assignment of the costumes. But, after the short, "please don't spoil the episode for us" request time, we're submitting for Shin, Baylan, Morgan, Marrok, and all 3 Great Mothers to be assigned to TFE. 4. We're still looking for artists and a new Programs Officer if you're interested/able to assist the Detachment! If you have any other requests or ideas, please feel free to comment or message me!5 points
-
Hello everyone, I’m Daisy from the Dutch Garrison and together with Rikki I have been assigned as your LMO team for this term. About Me: My name is Daisy van Rijn, and this is my second term as a 501st Legion Membership Officer. I have eight approved 501st costumes, four in the Rebel Legion and I have a Seventh Sister costume that I'm hoping to finish this year. I have been sewing since I was 19 and love sharing that acquired knowledge with others. I'm excited to be able to assist you this year with the TFE Detachment as I have a large love for the Old Republic Era. What is an LMO? The Legion Membership Team is responsible for reviewing and processing applications for membership, and maintaining and updating member information in the Legion database. The Legion Membership Officers drives costume policies, including acceptable costume types for membership and setting standards for costume submissions, and are the final arbiter of member costume issues and approvals. The Legion Membership Officer supervises and advises Detachments, Garrison Membership Liaisons, and Garrison Web Liaisons on any questions or issues they may have with member’s costumes. Have a question about membership these are the folks to talk to! There are LMOs you can contact at any time at Legion Officers however Rikki and I are the ones who are assigned to the Imperial Gunnery Corps this term. Thinking of starting a NTTL (New to the Legion) Costume? Please message the Detachment and me here as well as send a link to your build thread. I love researching new costumes and helping. Worried a costume may or may not be eligible for the Legion approval? https://databank.501st.com/databank/Costuming:CRLGuide See Character Approval and New to the Legion Costumes (NTTL) sections for details. For “New to the Legion” costumes please also have a look here: Costuming Standards Have a question? Do not hesitate to message me. Get your references together and sent to LMO (at) 501st (dot) com.4 points
-
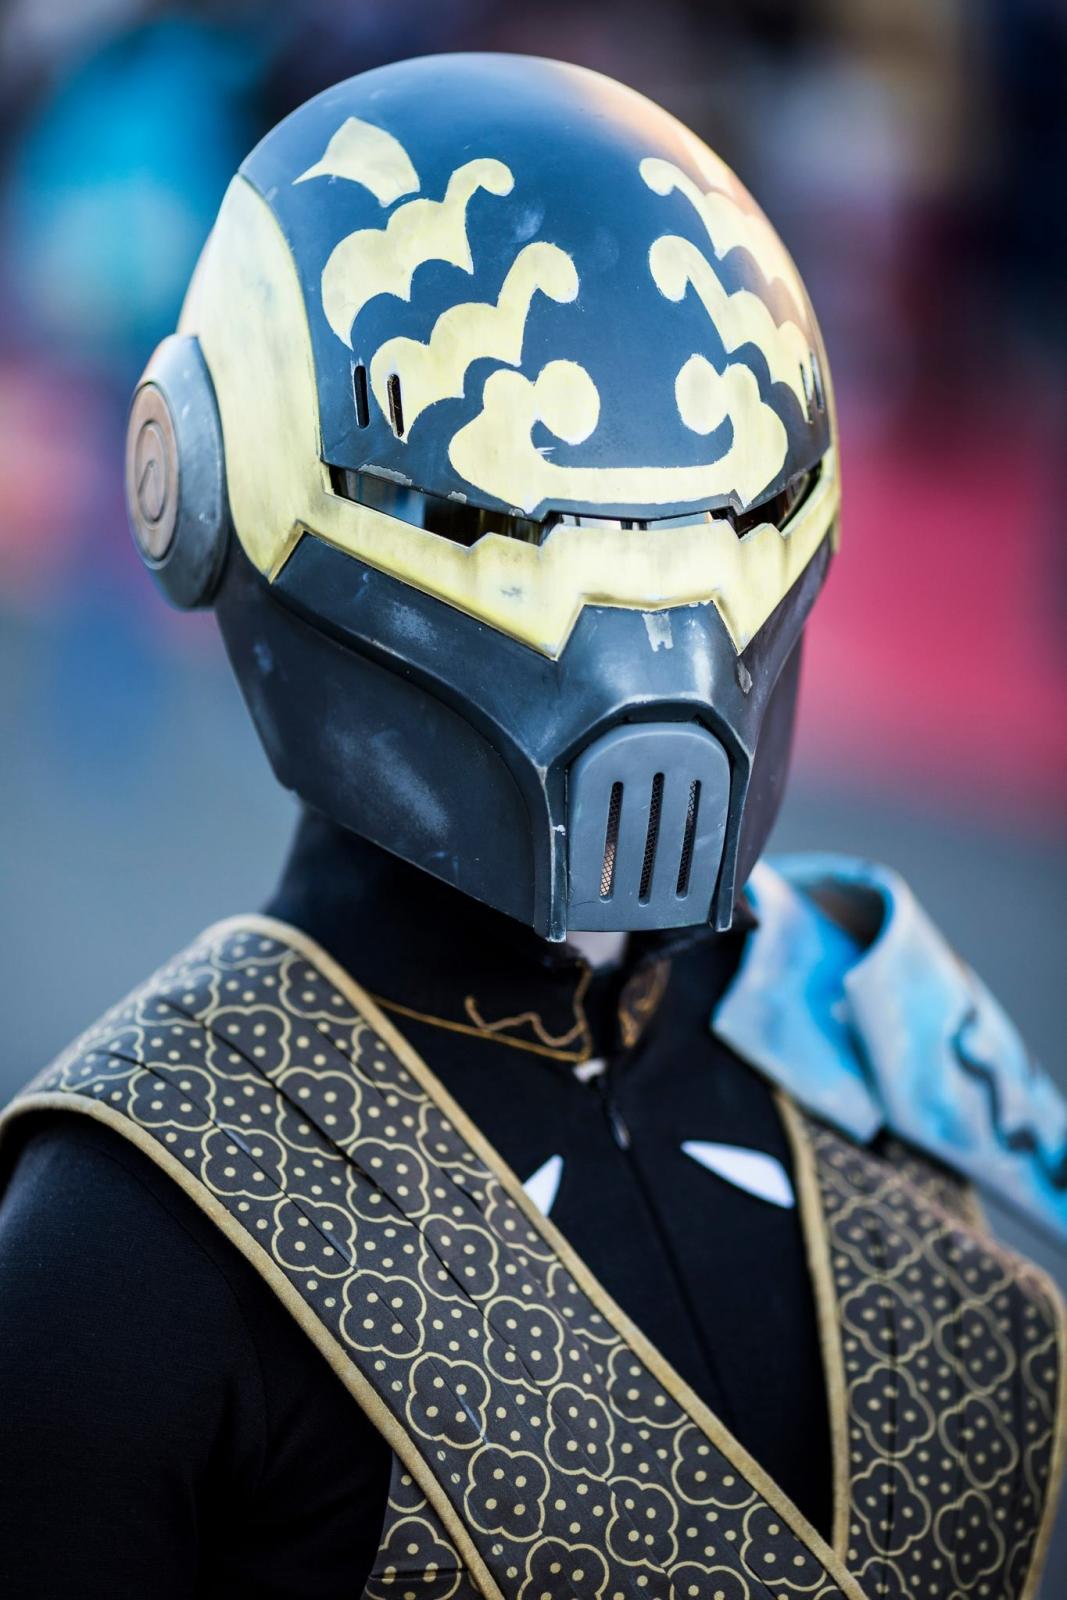
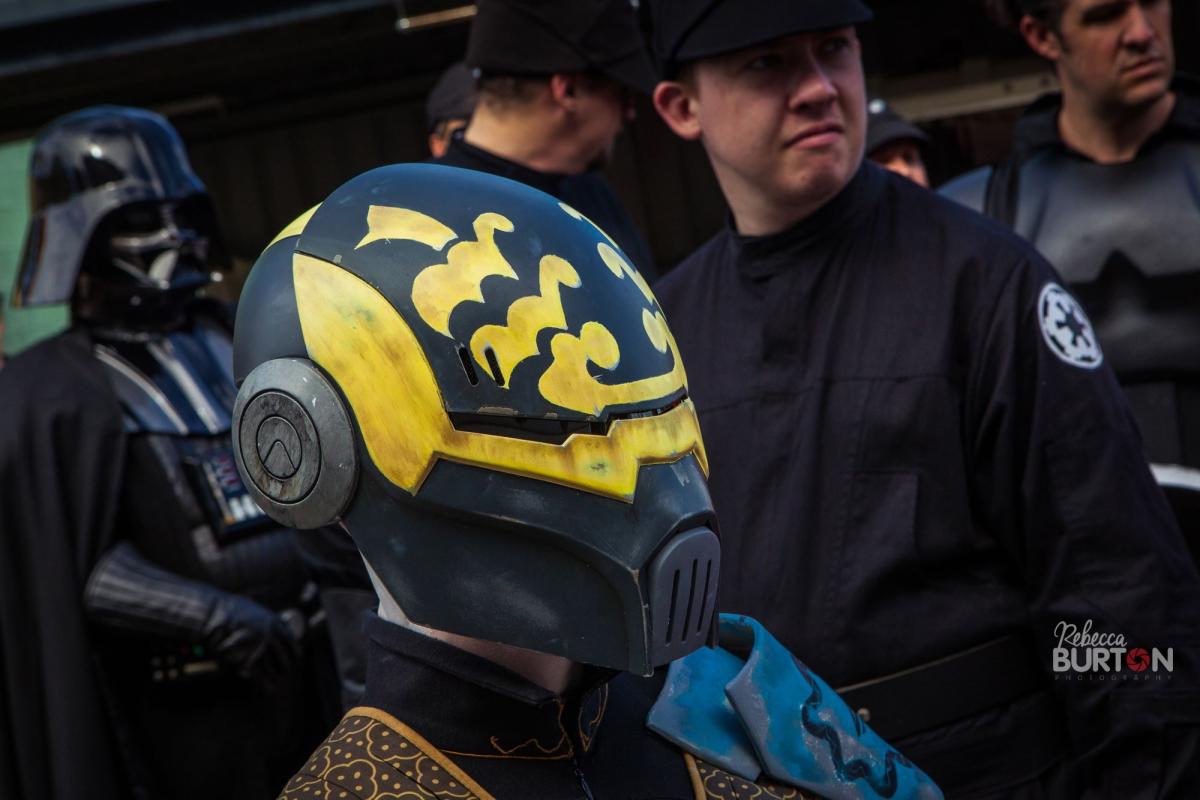
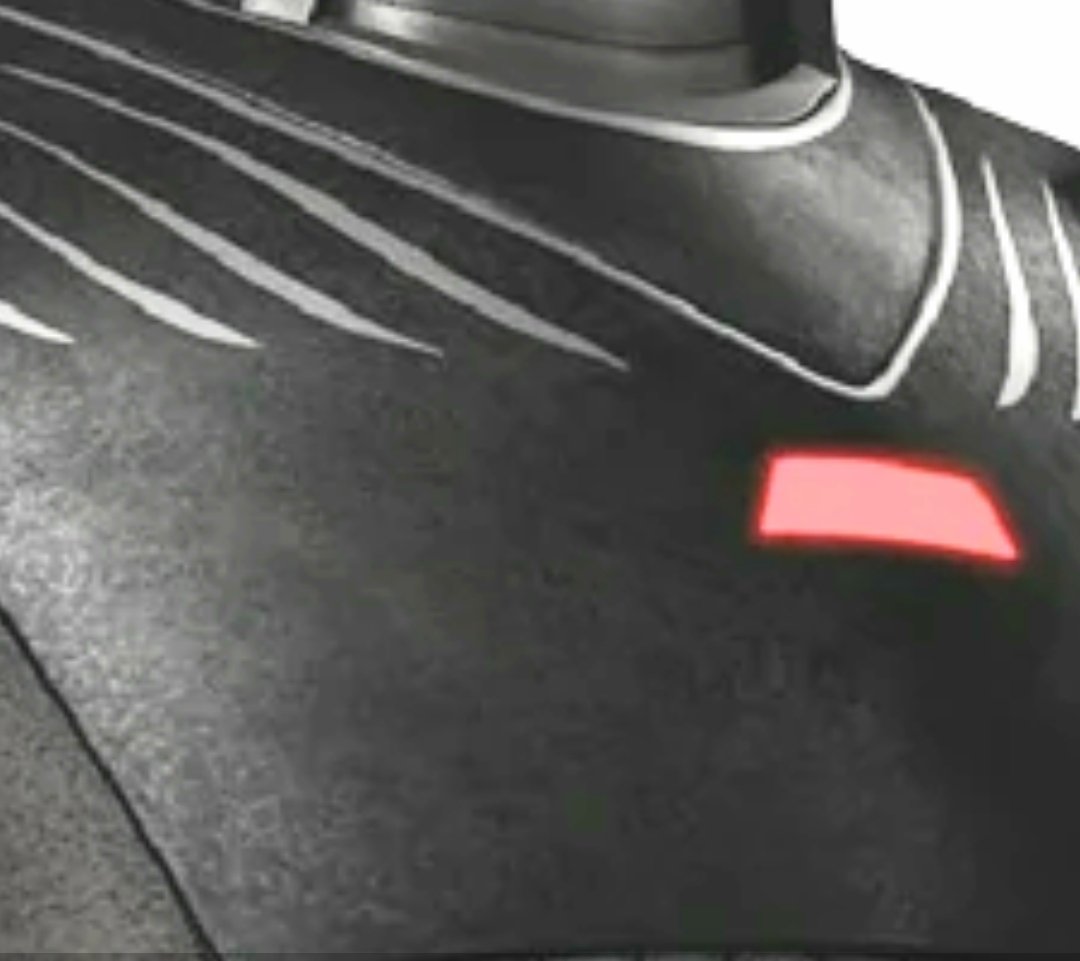
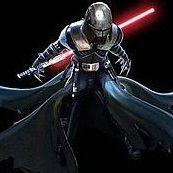
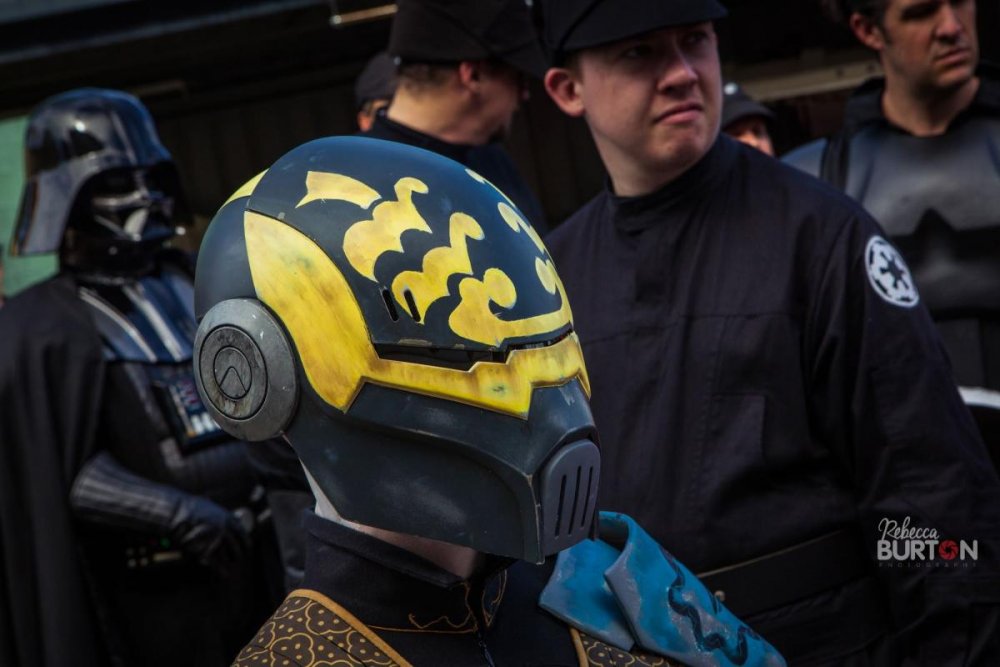
It's finally here! Galactic Armory's V2 mask. Much more detailed and accurate than the old version. I figure I can fit red LEDs into the eye sockets to emulate the eyes.4 points
-
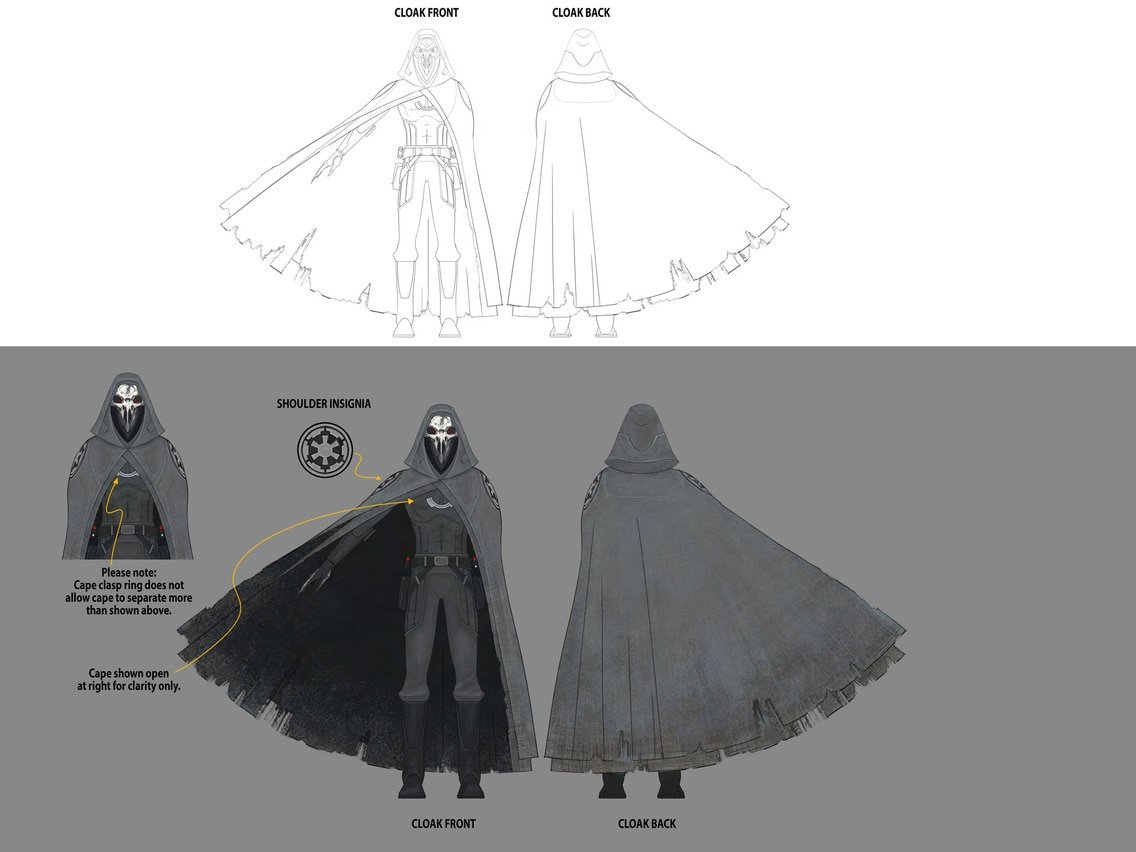
Just as a head's up to anyone interested in doing this costume: It has been agreed that so long as the visible parts of this costume match the references available, I am good with allowing the missing parts to be supplemented from Eleena Daaru's references. With that, I look forward to seeing a high quality submission soon!4 points
-
New guy here! I've been working on a spinning GI saber for a bit and it's starting to come along. I have a youtube channel documenting the build but I also wanted a build log for better documentation and thought 'what better place then with people who can give me some sound guidance.' So here I am! Looking forward to chatting with you grand folks. I'm pretty far along in the project, so I'll be updating this log until it catches up with progress.4 points
-
Try everything on Boots & gloves are from Crowprops And now I'm searching for armors4 points
-
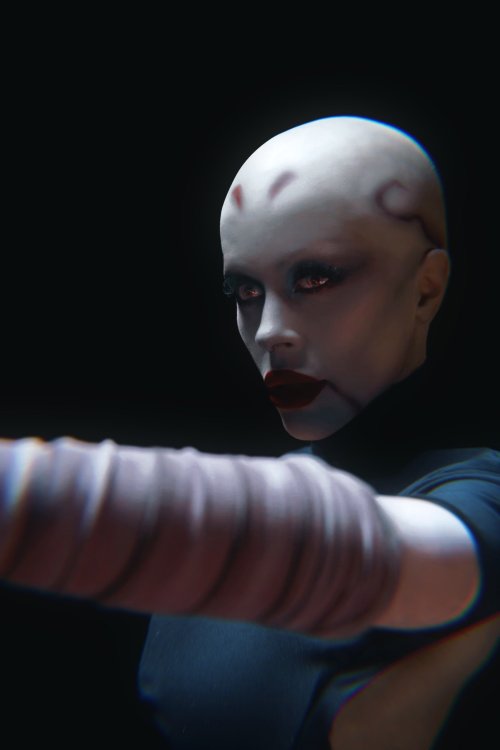
Soooooo, figured I'd give it a go with trying to make the outfit for Ventress from the Bad Batch episode. I wanted to do some research first and try out a few things before moving forward with this on here (FE forum) as a thread. I'm going to post things that I have already played around with, along with moving forward for stuff I will be doing in future. A thank you to folks who have posted pictures on the Facebook group. It has helped immensely and I will be including some of them in this build. Please keep in mind I am having a hard time with getting my phone to take pictures of the colors so I did invest in two Pantone booklets Pantone GP1601B 2022 Edition Coated and Uncoated Guide. I have been making notes of the colors of the fabric to compare to what I have seen on the different screen from the show. I will be pointing them out in the photos so people can check the colors and whatnot. I'm currently working on the prints for the tunic and the two outer collars and short sleeves. I worked on the patterns in a program called Creative Space that is used with the xTool Laser machines. They have a silk screen printing machine which "sort of" works with what I am trying to accomplish. The fabric for the tunic and the outer collars I am choosing to use Scuba knit fabric. Partly due to it laying down smoothly on a human body, two it has stretch, which shows up on the upper sleeves of the lighter fabric (see following image of upper arm) and it's in tribute to the fact that this episode deals with water and an island (this particular part will continue with some other parts of my build that I will share when I get to them). So, I guess I'll start with the pattern for the collars and short sleeves. I looked online and in some of my books to see if I could find a woven pattern that could be bought or even hand woven on a loom (I have a loom). But there is no actual weave for this pattern. There is something close, but it was definitely different. And physically it wouldn't present itself well for a fabric as it would be too loose of a weave and not look like what is in the cartoon. But this is just my personal judgement call. I have decided to go ahead and make a print of the pattern and silk screen it onto the fabric. My first attempt I felt was too uniform and didn't have the same feel as the cartoon. So I went back and reworked the edges of the lines and reshaped as well as resized the pattern. I worked on the counting of the height of the repeat of the print to the collars and to the cartoons neck and my real neck. I sized the print accordingly to "hopefully" work for myself. I'm still working on alignment for repeating the pattern on fabric, but I have pictures to show what I have so far. When I am done with printing it, I will be going back over the fabric with another layer of transparent paint with more of a light coffee stain color to match the color in the show. There are areas around the seams and edges of the collar where the material is lighter, closer to ivory. I am working with the ivory colored fabric to see if I can keep some of that coloring in and around the collars edges. For now I am just working on the printed part. I have been hand mixing my colors. I am using a mixture of Speedball water based inks. After making the changes to make the pattern feel more organic The following section deals with the blue printed fabric on her tunic. Boy this is an oddball fabric but I think I have it pretty much figured out. Though I do have questions about pattern repeats, but I will continue with that at the end of this post. The main part of the issue is finding a way to have the pattern show up in light but not as much in darker shadowy areas. After studying different images of her outfit in the light and dark (and even when it is wet and in the light) I came to the conclusion that the print itself is a semi gloss coating on the surface of the fabric. BUT, when you put a coating of say acrylic clear coat it turns darker when printed on. I also noted that even with the "clear" print on top some areas of the fabric had a "painterly" feel to it. I ended up getting a teal colored scuba fabric and then painted it in long strokes with a sponge and a translucent paint mixture (of transparent, white, blue and a dash of yellow) that soaked up mostly into the fabric, giving it a ghostly painterly look as the base and making the color a bit lighter than the original fabric which I found to be too intense for the base color. I also decided to try out a oil based paint for the clear coat on top of the fabric. This seems to do the trick on a synthetic material (natural cotton did seem to absorb some of the ink and make it darker). As with the collar and sleeve pattern I had made an initial pattern but felt it to be too angular and modified it to look more organic with slight curves and I also resized the pattern to match the size of myself. Being a bit larger than Ventress I opted to go with a few rows more in the sizing to keep in ratio with what is in the cartoon. So far I have some of the fabric painted with the translucent white mixture along with trying to print a repeat pattern on the fabric with the oil based transparent paint. I'm having a bit of an issue with getting the pattern exactly aligned up. Which is where I am at the moment. My question so far is how close does the pattern have to match? I have pictures included for folks to look at. I might be able to stabilize some of the printed pattern and wash out part of the other sections and try again when the fabric is dry. But if I don't have to do it, I'd rather not as it is already a massive undertaking. showing the best copy of the neoprene fabric that I have (on the right). The fabric on the left is a stretch cotton wool blend that didn't work out in my testing. But I have found that between the paint and the clear coat it lightens up and has an overall feel/look of the fabric on the left. You can see the brush strokes of lighter colored paint on the fabric. printed clear coat on top of fabric so far. How it interacts with light and shadow. Highlights on left are from inside light and outside light on the right. in slight motion (blurred like in many screen shots from her movement) same angle but not in motion and shows how it blends into the fabric when in neutral lighting. Couple of reference shots I'll leave it here for now and hope to get feed back sooner than later.3 points
-
Finished product!
 3 points
 -
While working on the other gauntlet, I figured I'd work on other stuff as well, including her pauldron. Including pics of it and hers for reference.3 points
-
Okay! So I now have a painted blaster! I also worked on the blade modeling over the last day and today and I am currently printing it out. I am adding pictures of it from Blender. When it's done I will updated this post to include the printed version. Anyways, here are some pictures... cause we all love progress pictures! Enjoy Blade3 points
-
So I've gotten some stuff done. I decided to try on what I have so far. I'm working on finishing the boots. Just got the backpack pinned to the shoulder straps and x straps along the back. I'm going to be adding some Sintra or thin metal to help the shoulder straps keep their shape and prevent the sagging in the back. Pouches are almost completely done. I had to blue tape the small additional pouches on the backpack, but they kept falling off. I'm happy with how they look so I plan on gluing them down. I also started on the belt. I have to make the second layer and fix up the side where her light saber hangs. and I also have to make a mount for the lightsaber. I also started working on the bracers. Played around with a concept which seems to have worked so I am moving forward with it. When I'm further along with them I'll post pictures. Once I have the boots finished, the backpack and straps finished, and the belt finished, I'll start modeling the blaster and the knife. Then make the holster and sheath. Either way, please excuse the untidiness of everything and that my husband took a few weird photos. Oh and pinning through multiple layers of leather and neoprene sucks. And pliers are important!!3 points
-
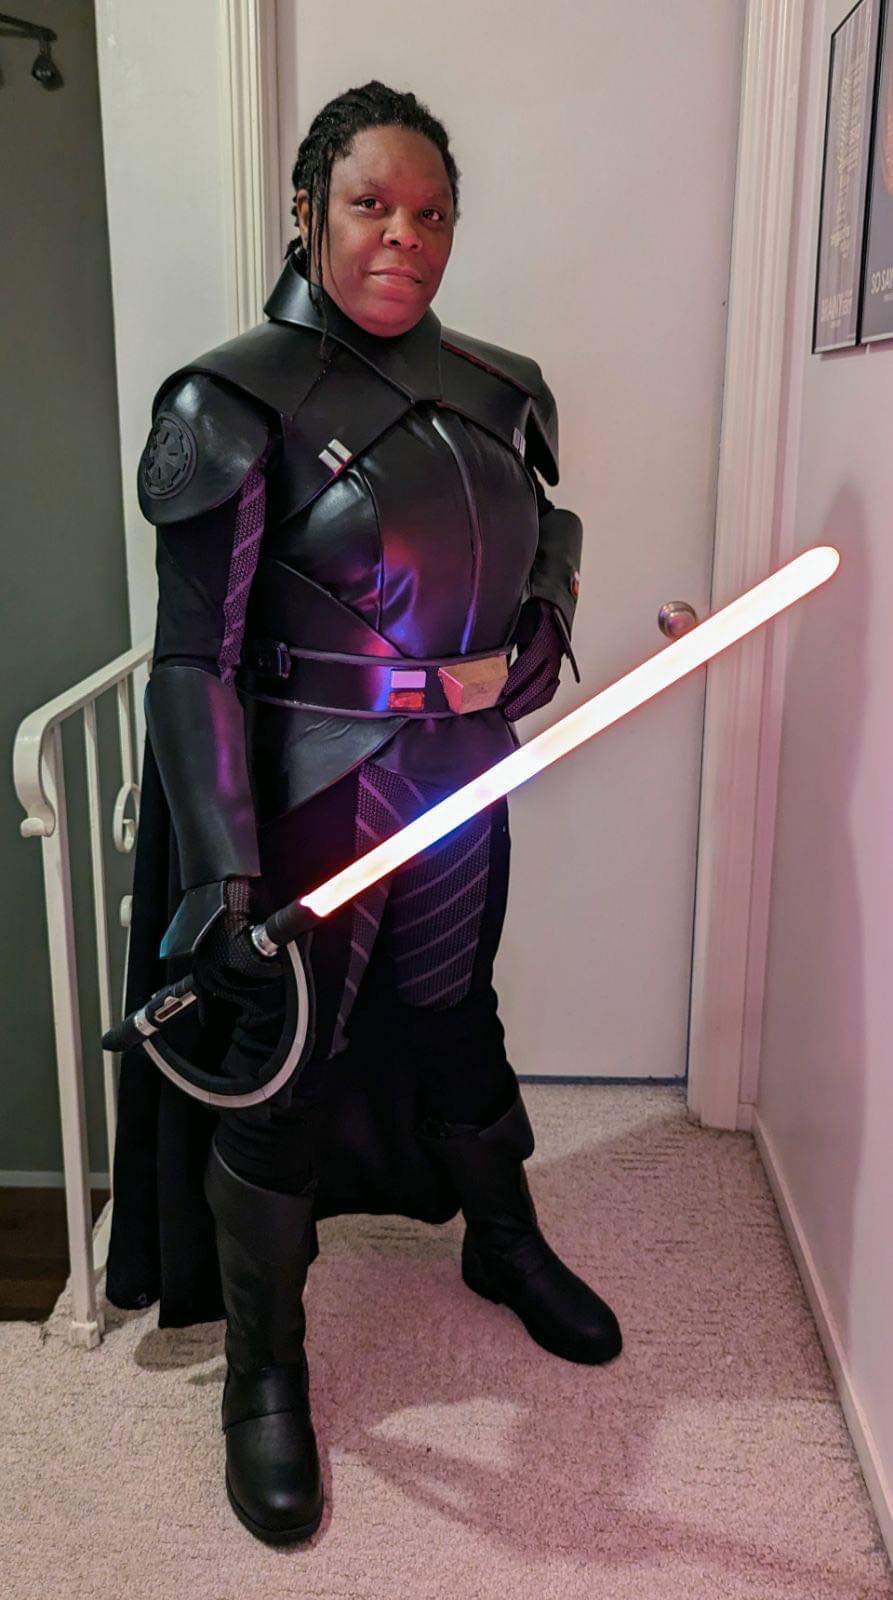
I’m very excited to announce… Thats right! The costume is now completely assembled. Now the next steps I’m not entirely sure. I imagine some tweaks may need to be made or what not but I have never made a CRL before so I guess we’ll see. Any advice is appreciated!3 points
-
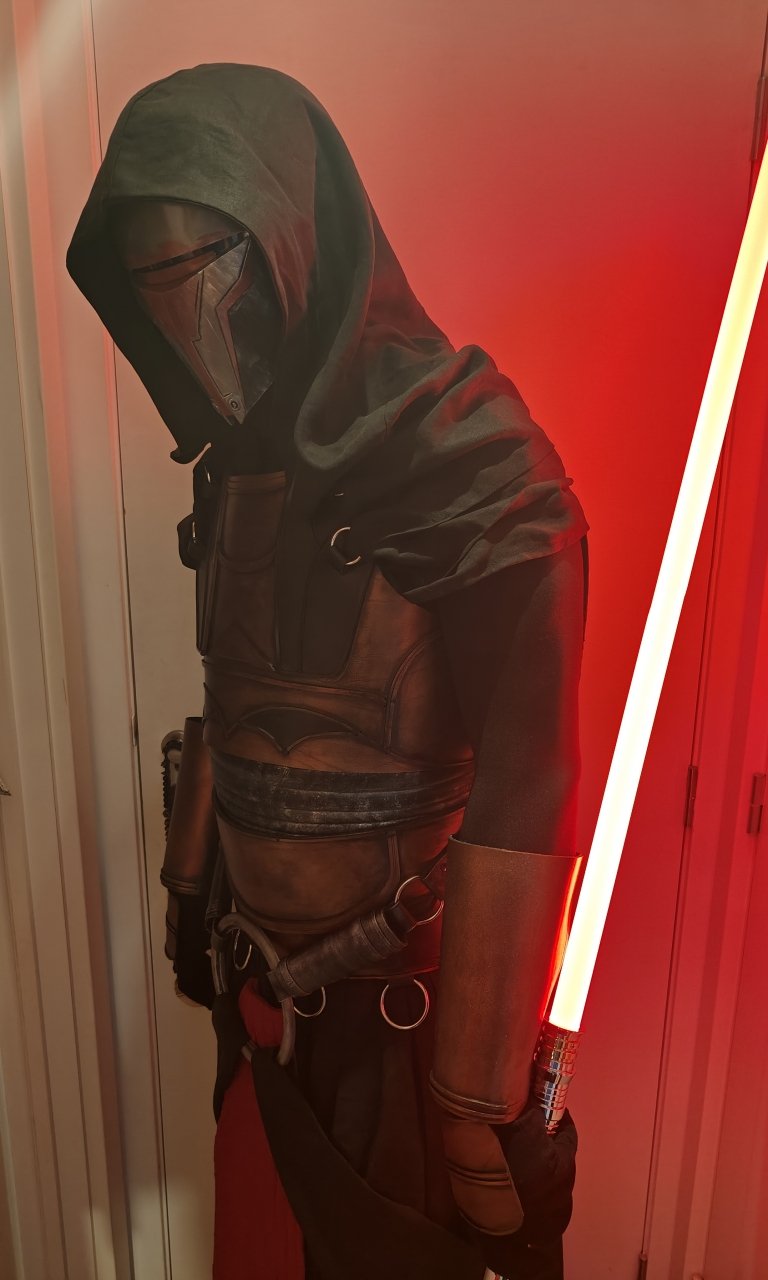
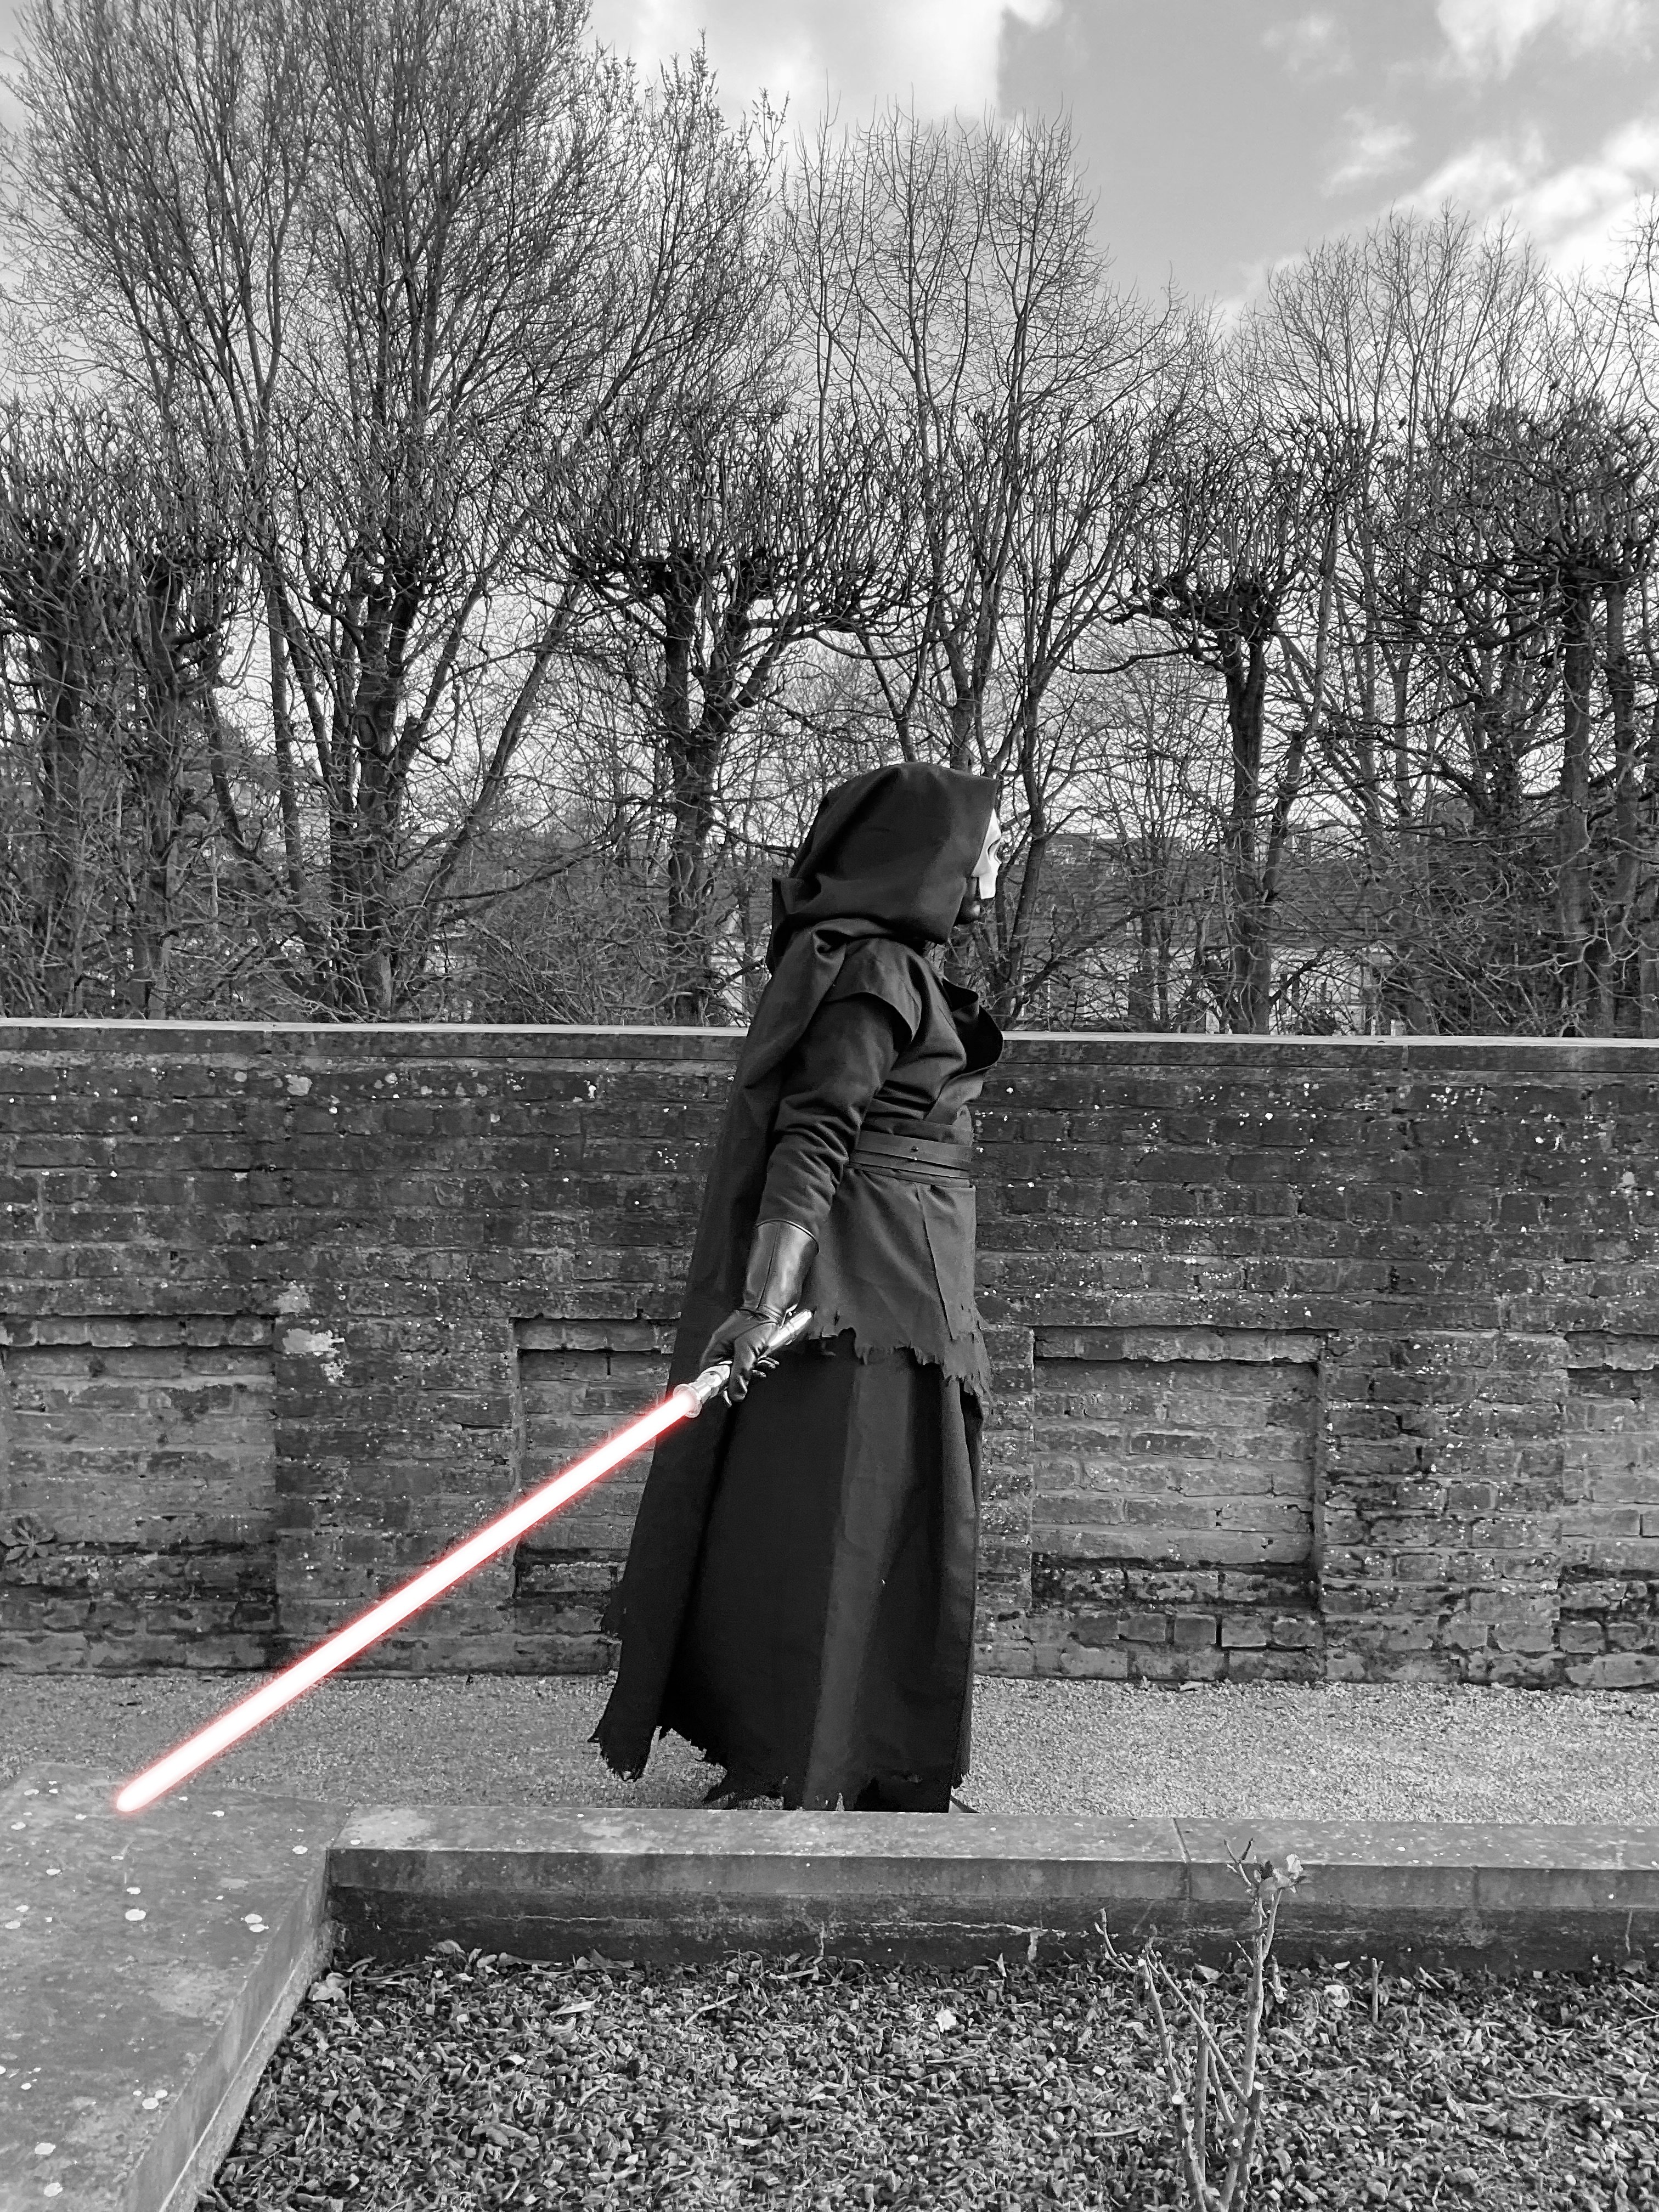
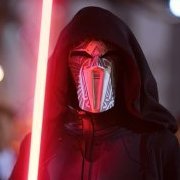
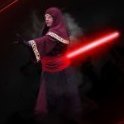
Hello from France (but like one foot in Belgium and one in France) I'm Antoine (but prefere my nickname Gaz😀) SL-62477 🙌 I have my Darth Revan approuved this month and proud to be part of the 501st / The Flagship Eclipse detachment after some trooping invitations with the Belgian Garrison 🤝 And special thanks to @VadeRick62023 for time and patience
 3 points
 -
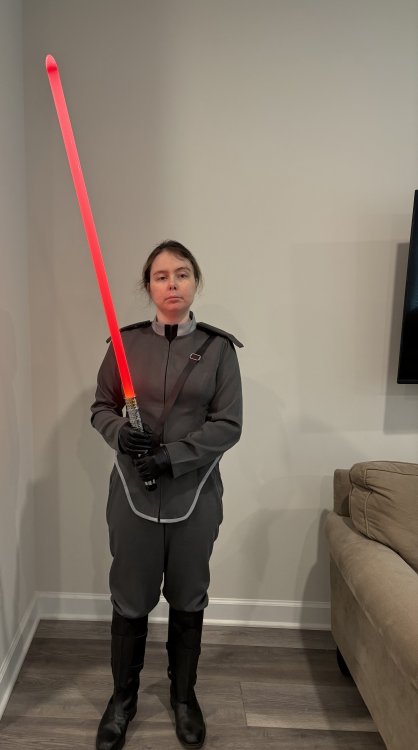
Hi all. I'm Tracy. I recently got approved in the IOC for an ISB officer to be able to troop sooner. I have to big goals with costumes. One is Grand Admiral Thrawn. And the other, which I anticipate will be much more complicated, is the Grand Inquisitor. I get the feeling I'll be working on it for awhile, but got to start somewhere, and will be asking a lot of questions. I'm based in the Pensacola area of Florida, but I'm a travel RN right now so will be seeing many different areas. Don't have my tools with me right now, but I can plan. I hope to make as much of the Grand Inquisitor costume as I can. In the process, learning a lot about makeup and masks and armor. If it something more than I can do, I hope you all can help me.3 points
-
Hi everyone! I absolutely loved The Acolyte and I am happy to start a build thread for this super comfy Osha outfit! I have been mostly in the research phase, but I am hoping to start this build very soon. To start, I do have a rough write-up started as well as an album of reference images. I'll link the gallery here :) Here's an overview of my build plans; - Wig: I have 3B/3C curls, but I am dedicated to my current hairstyle. As such I have been looking for a wig either already curled, or a wig I can curl, in as close colors as possible. I might have to custom dye a wig but we shall see! For a visual idea, here's a few ideas I found from Amazon and a couple other wig websites; wig 1, wig 2, wig 3, wig 4, wig 5 - Hoodie: I think my current plan is to use my favorite knit shirt pattern (Simplicity 9226), modifying it by cropping it in the right spot, adding the under layer, and extending the sleeves/adding the shoulder cut-outs. I'll probably dig through my stash for a hood pattern, but otherwise I might be able to draft it myself. For fabric, I am thinking of using either ponte de roma knit or scuba knit. I am not ready for the possibility of dyeing more grey fabric so I am hoping to find some already in the correct color. - Pants: They look like pretty simple leggings. I have a couple of patterns for leggings, but might also try my hand at pattern drafting if I can't find a pre-made pair. I'll be making them from a charcoal grey ribbed knit. - Boots: Looking at references, they appear to be calf-height black leather boots with a suede over layer and flat soles. I'll probably look around for a base pair of leather boots (either second-hand or I'll look online too!) and add the suede myself. - Saber: My cosplay partner HiraethSolo is working on Qimir, so I'll probably lovingly borrow it from him. I'm not sure what he wants to do though, so I will look at options - Knife: I am looking at one of these options on Etsy, and hopefully will print them myself once the printer is working. ImperialArmorSurplus or BigFredsCustoms. - Tank top configuration: The tank top configuration removes the hoodie and is a matching rib knit as the pants. It also features her arm tattoo. I'll probably design some temporary tattoos, and will make the tank top myself unless I can find the tank top and pants in the wild to purchase. Let me know if you have any questions or advice!3 points
-
Posting a few pictures of how it's going. I'm almost done with the main tunic. I'm working on finalizing the shape for the black vest. Also, I tossed in a beginning of a boot to show the direction I'm going with it. I'll be using a zipper and hook and eye closure for the back of the collar. I'm also planning on raising the inner black collar about 1/4". Leggings are pretty much done. I have to hem the bottoms, but I won't do that part until I have the boots on the go. I'm very happy with it so far. I have black gloves. I'm still thinking which is the best way to make the gauntlets (I have a few ideas in mind and have a couple of different kinds of materials to play with). I'm pretty excited about how this is turning out.3 points
-
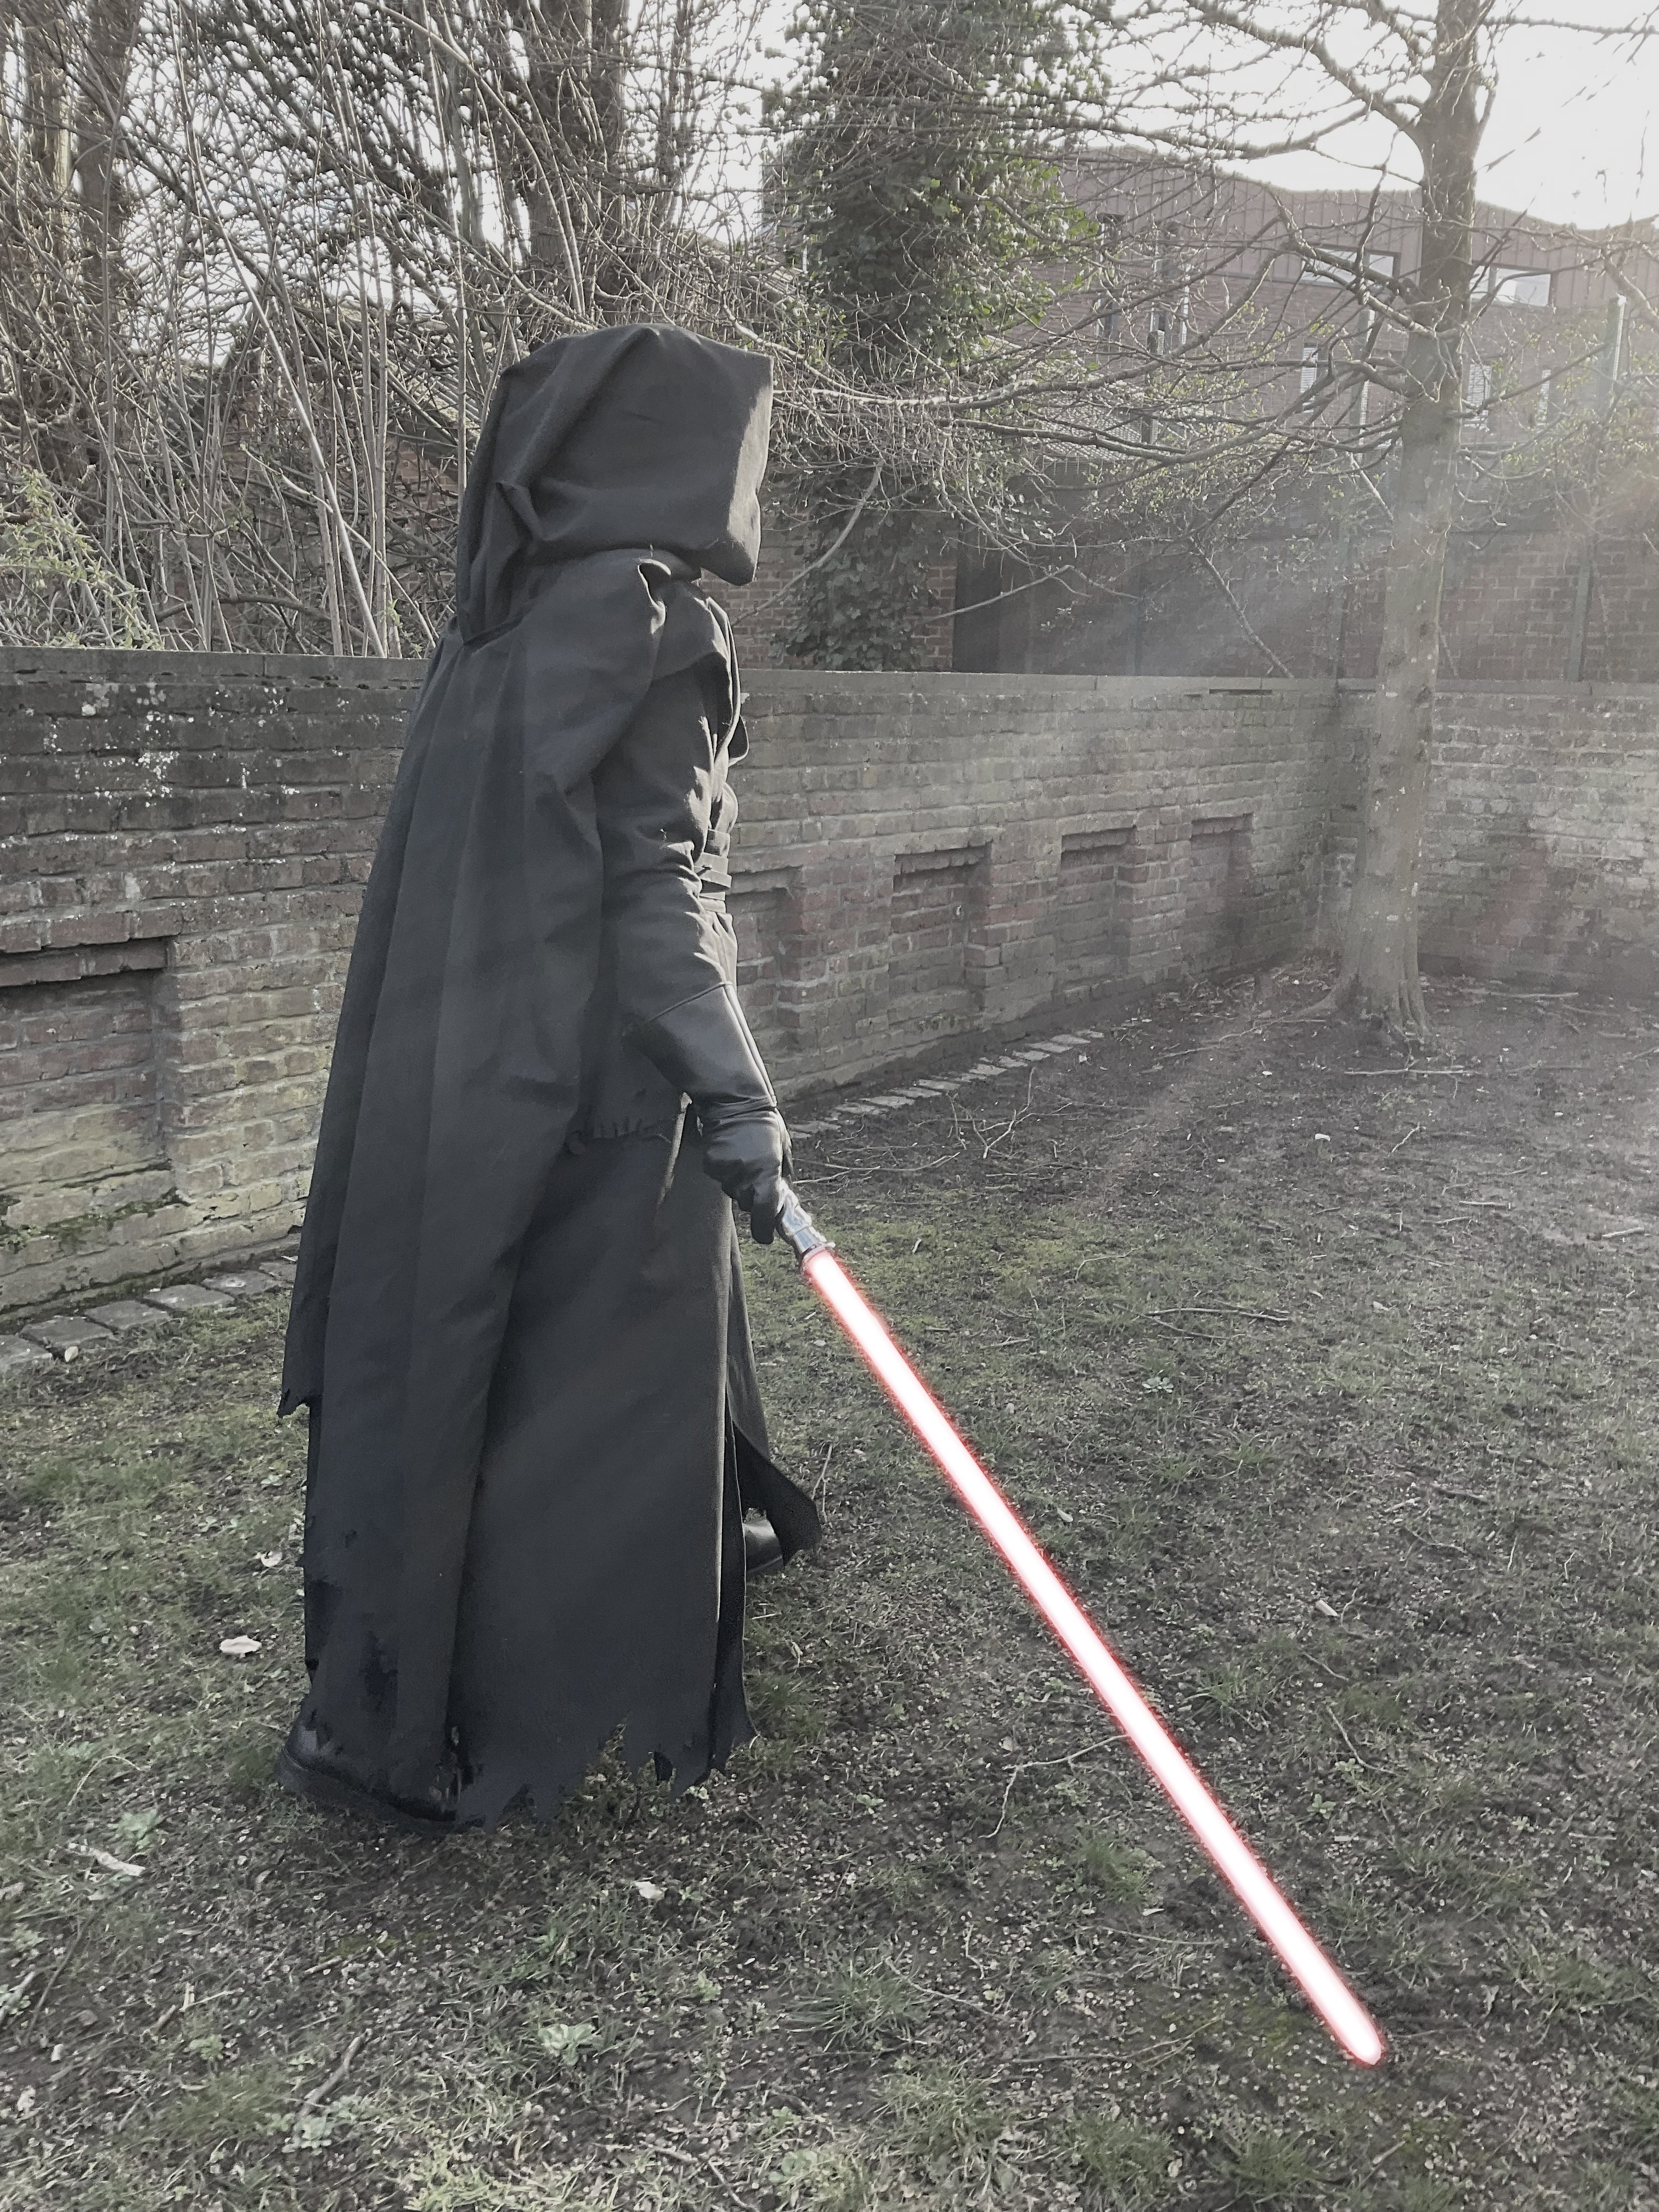
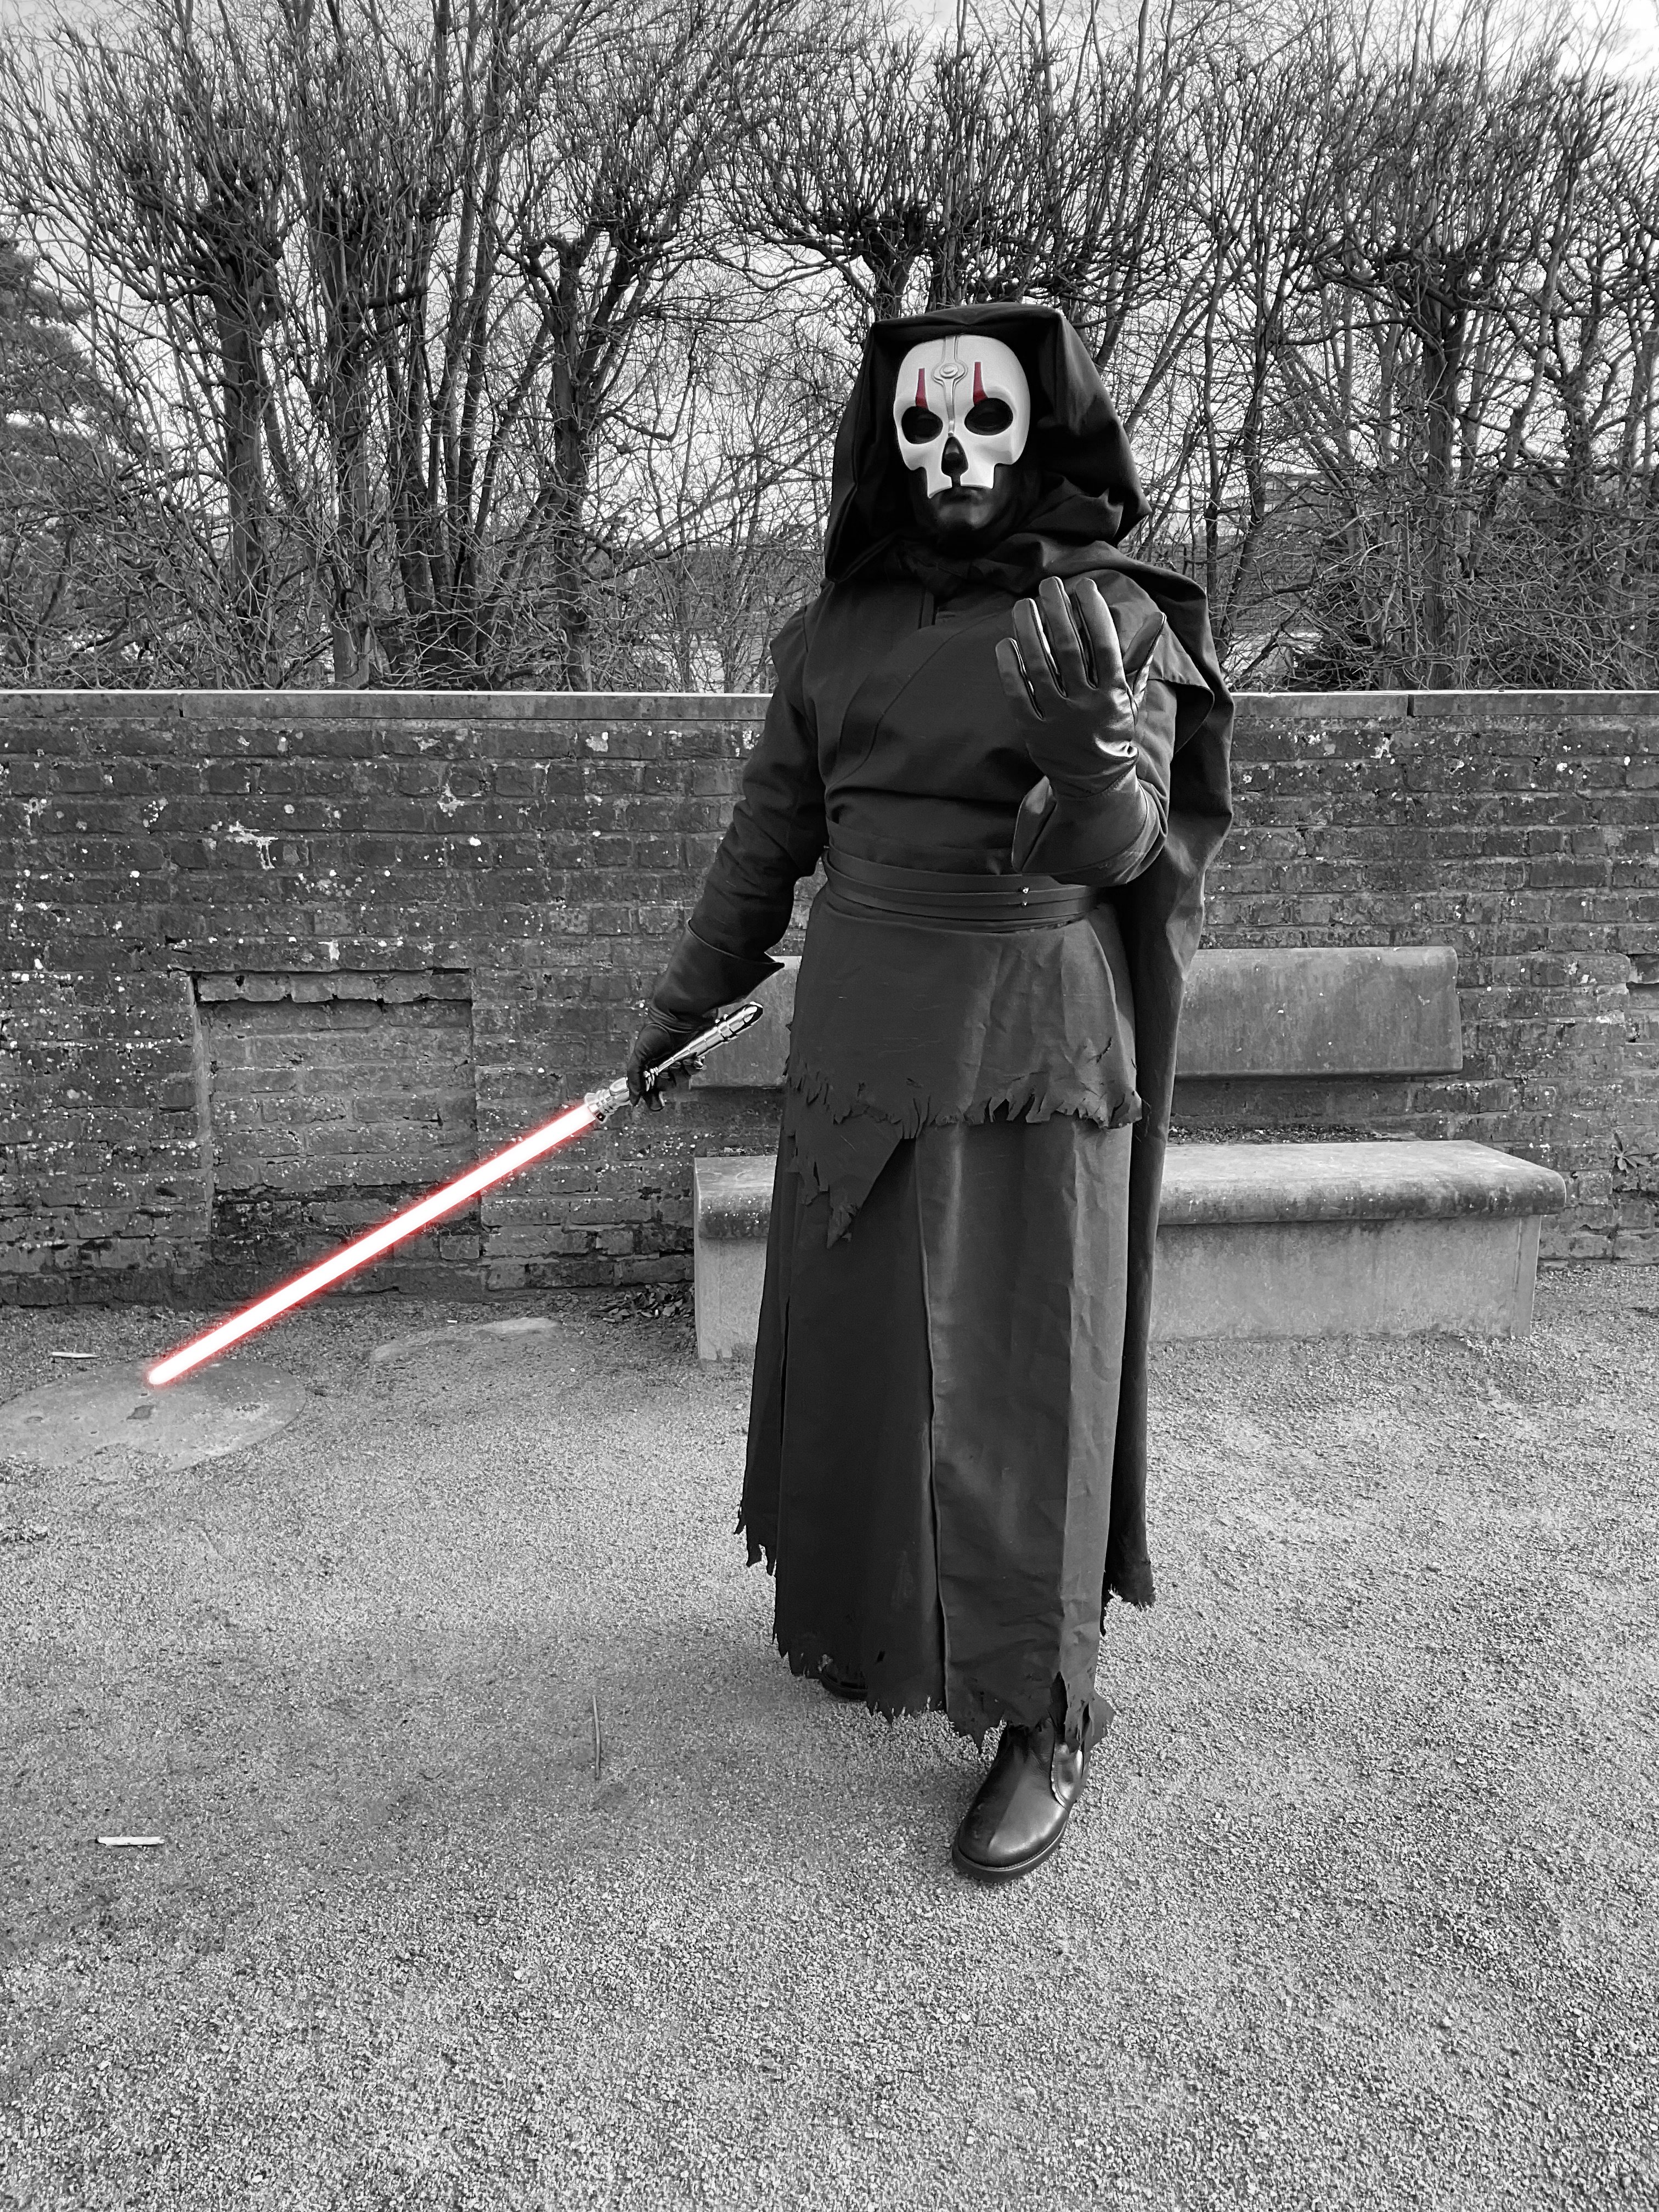
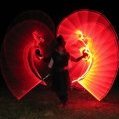
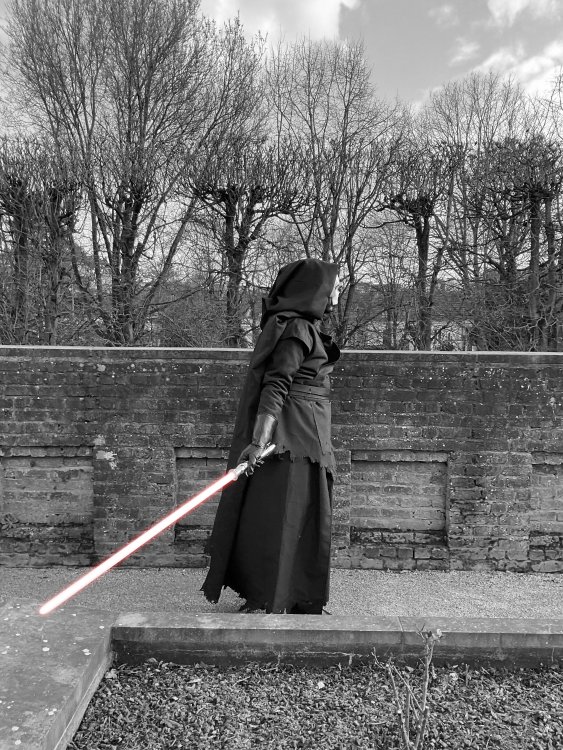
Hi folks, I just wanted to share some of the pics I took during my shooting at the Georges Henri park in Brussels

 3 points
 -
Hello from Japan. I'm working on Darth Margas. Thank you for your opinion. Sent from my iPhone using Tapatalk3 points
-
Korbanth has a Savage hilt for sale: https://korbanth.com/empty-double-sided-staff-the-oppressor3 points
-
So close to being done. I need to redo the arm guards and chest armor and shorten the bottom corset pieces.
 3 points
 -
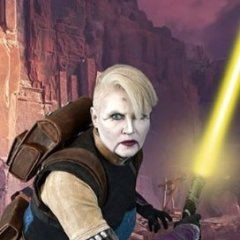
Today was play with makeup... I didn't get around to doing the back of the head tattoos. I do plan on making a stencil for that part. This took around 2 1/2hrs. Still learning the best way to work with the materials. I think I did a pretty good job.3 points
-
I found this on StarWars.com if it helps.
 3 points
 -
Galactic Armory has updated and revised their Inquisitor mask, and I'm helping them attempt to model the hard parts on the belt. Thankfully the Inquisitor wears the typical jackboots, so that'll probably be the easiest part of the build.3 points
-
Separate post: The mask from Galactic Armory arrived. It looks pretty spot on, we'll see how it holds up when the show comes out. As well, GA agreed to help me research the costume after the show airs and will help me develop any armor pieces or hard parts I may need.3 points
-
So have been staring like a crazy person at the pictures I have again and think that the rubber at the center front of her costume and on the gauntlets is a rubber window seal. I'm buying a few typs of S and V shapes to do some experiments with that as well. All of my printing supplies have finally come in. I hadn't planned to do it all myself, but paying to have the screens made wasn't cheap and I screwed up the scale of one of the patterns, so I decided to just bite the bullet and buy what I need. I purchased blank screens with the proper thread count for dense prints and but 2 types of emulsion to try. Both are made for high density printing. I found a supplier online that prints the film negative of the pattern for pretty cheap ($10 for my small one and $25 for the larger plus shipping). They arrived in a few days. My next step is to make my first attempt at high density screen today. I'll take pictures and share links and things later. I'm going to start with the glove pattern first since it's small volume. I've also got the pattern for the bodysuit, so I will be adapting that for what I need so I can pattern out the parts for printing. Going to be a lot more activity over the next few months! A friend of mine that loves doing leather work is helping me iwth the armor and she has one of my boots to pattern out the new shaft. I did some initial tests for aging the boot vamp and those worked pretty well. When I get the leather parts back, I'll share images and how I did things for that too.3 points
-
Big Update: My mask came in and it is gorgeous! I also have the armor finally smooth and ready to paint in a satin black. The soft parts are being worked on now, pleats for the sleeves were just finished recently and were a nightmare to do, the Kylo Ren costumers were right on how bad those were to sew lol.3 points
-
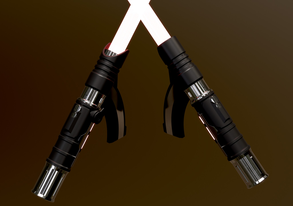
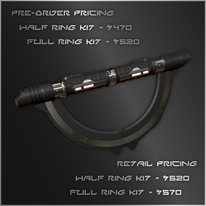
So excited about this! Going to buy this gorgeous lightsaber from Shadowfoil props when they are ready for order.
 3 points
 -
I was so excited that I rushed to get all the changes made lol. Here is an updated photo.
 3 points
 -
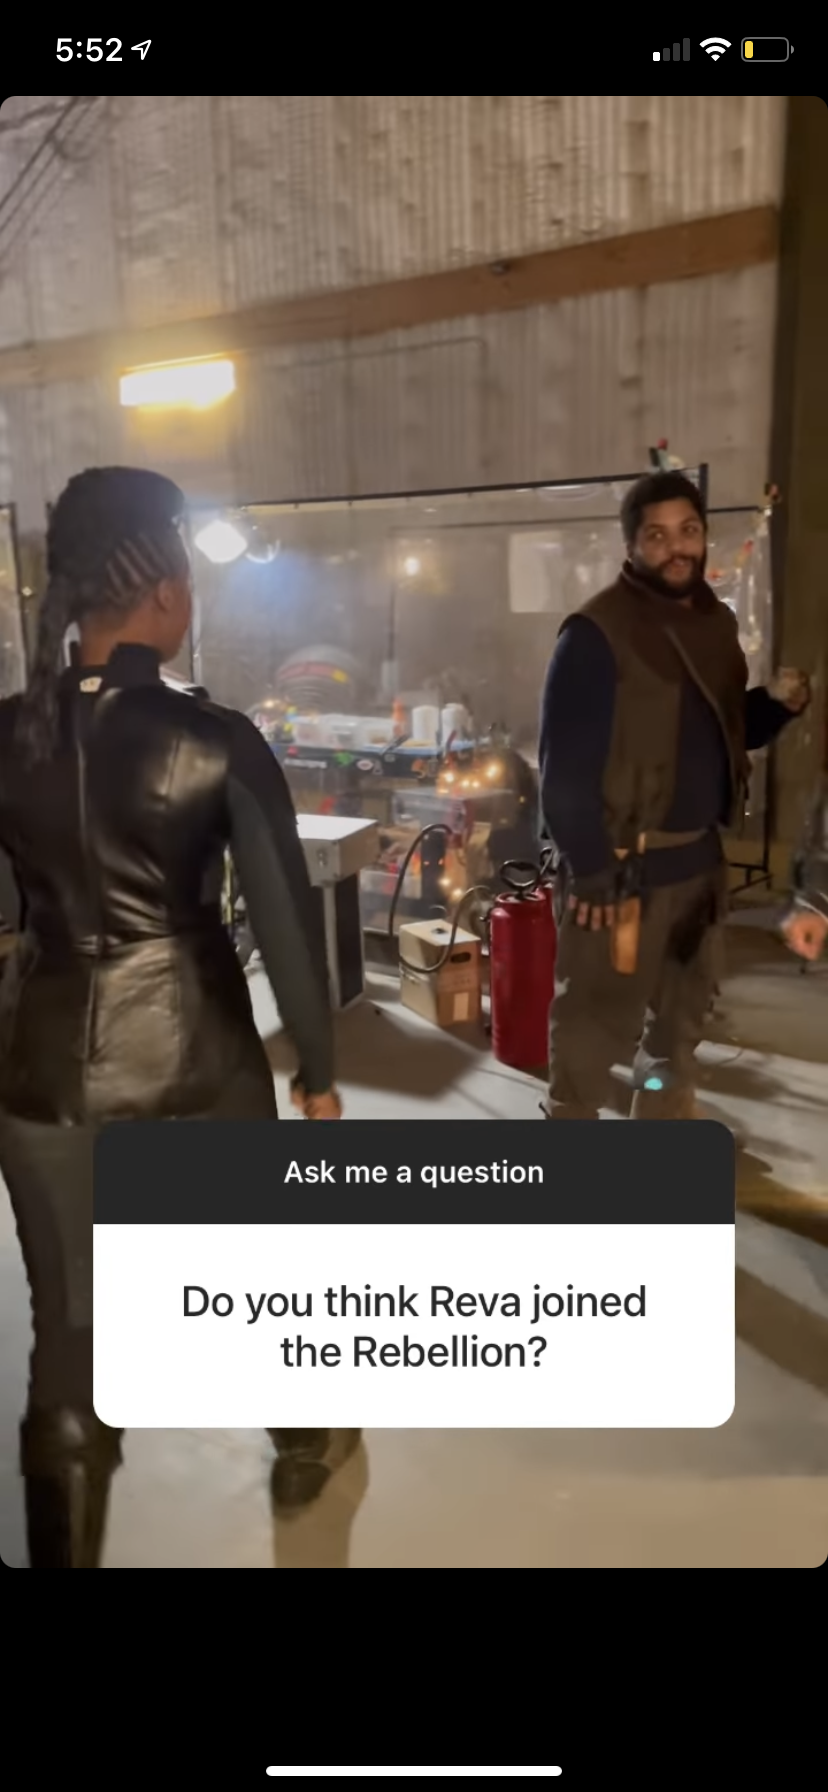
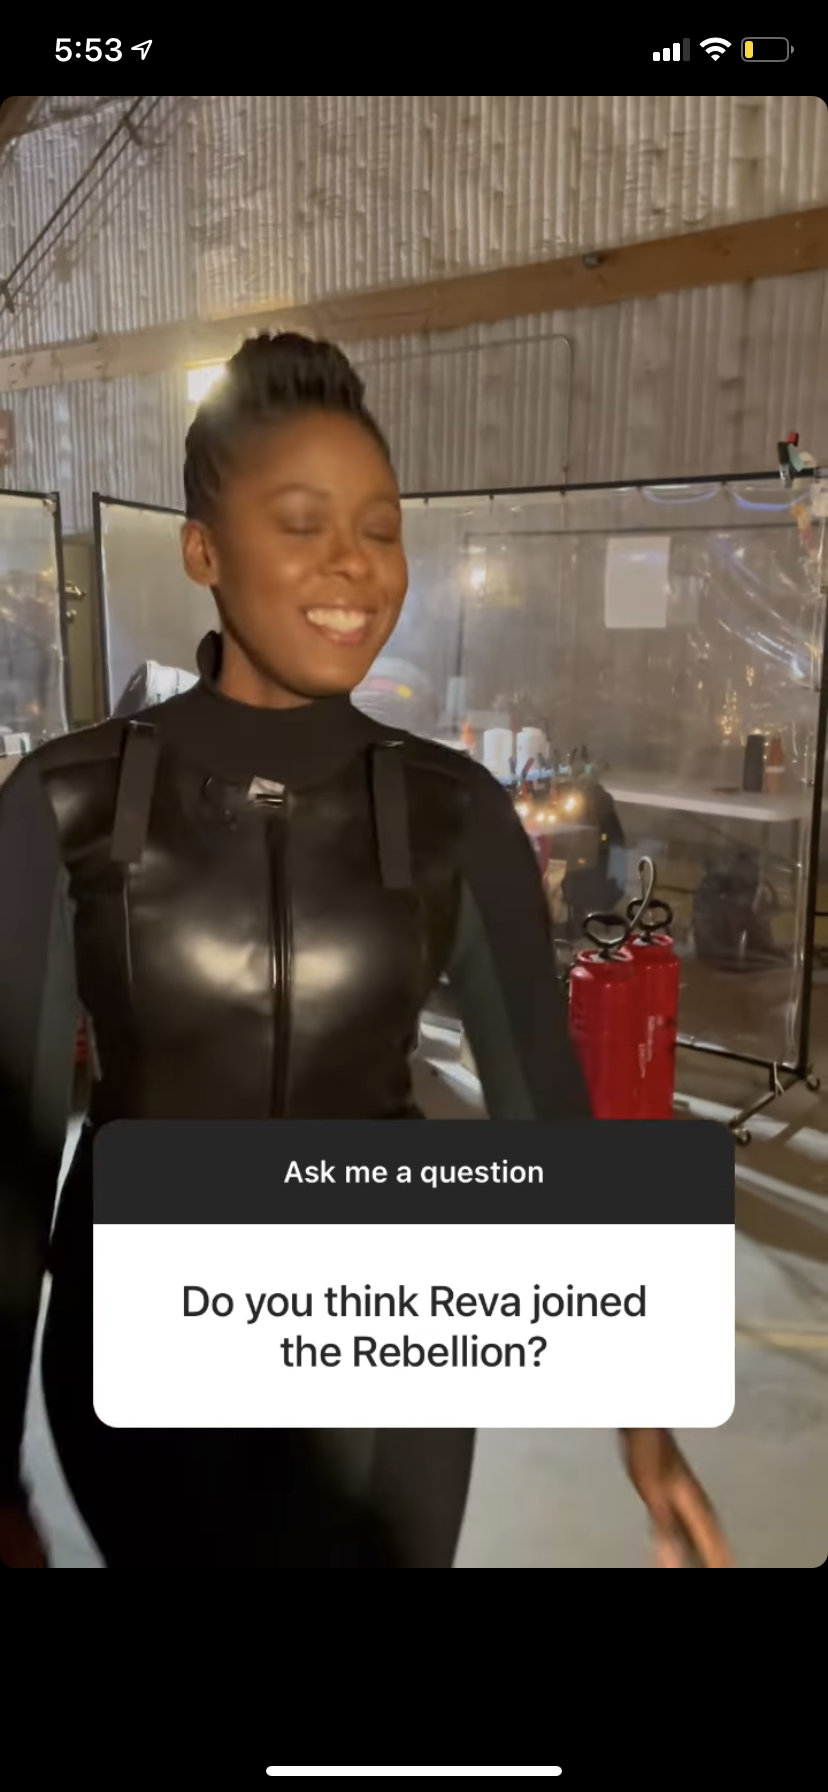
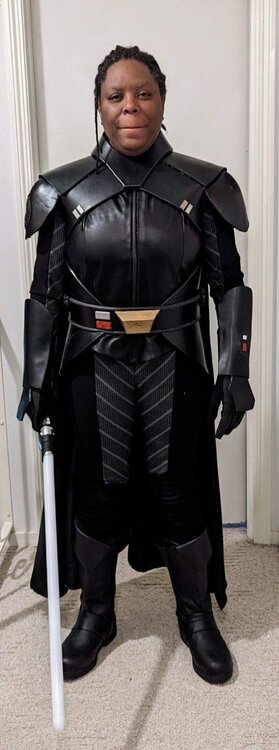
Dropping these in here in case you haven’t seen them! Moses Ingram posted some BTS on her Instagram stories today including some shots that show how the costume layers. Hope they help!

 3 points
 -
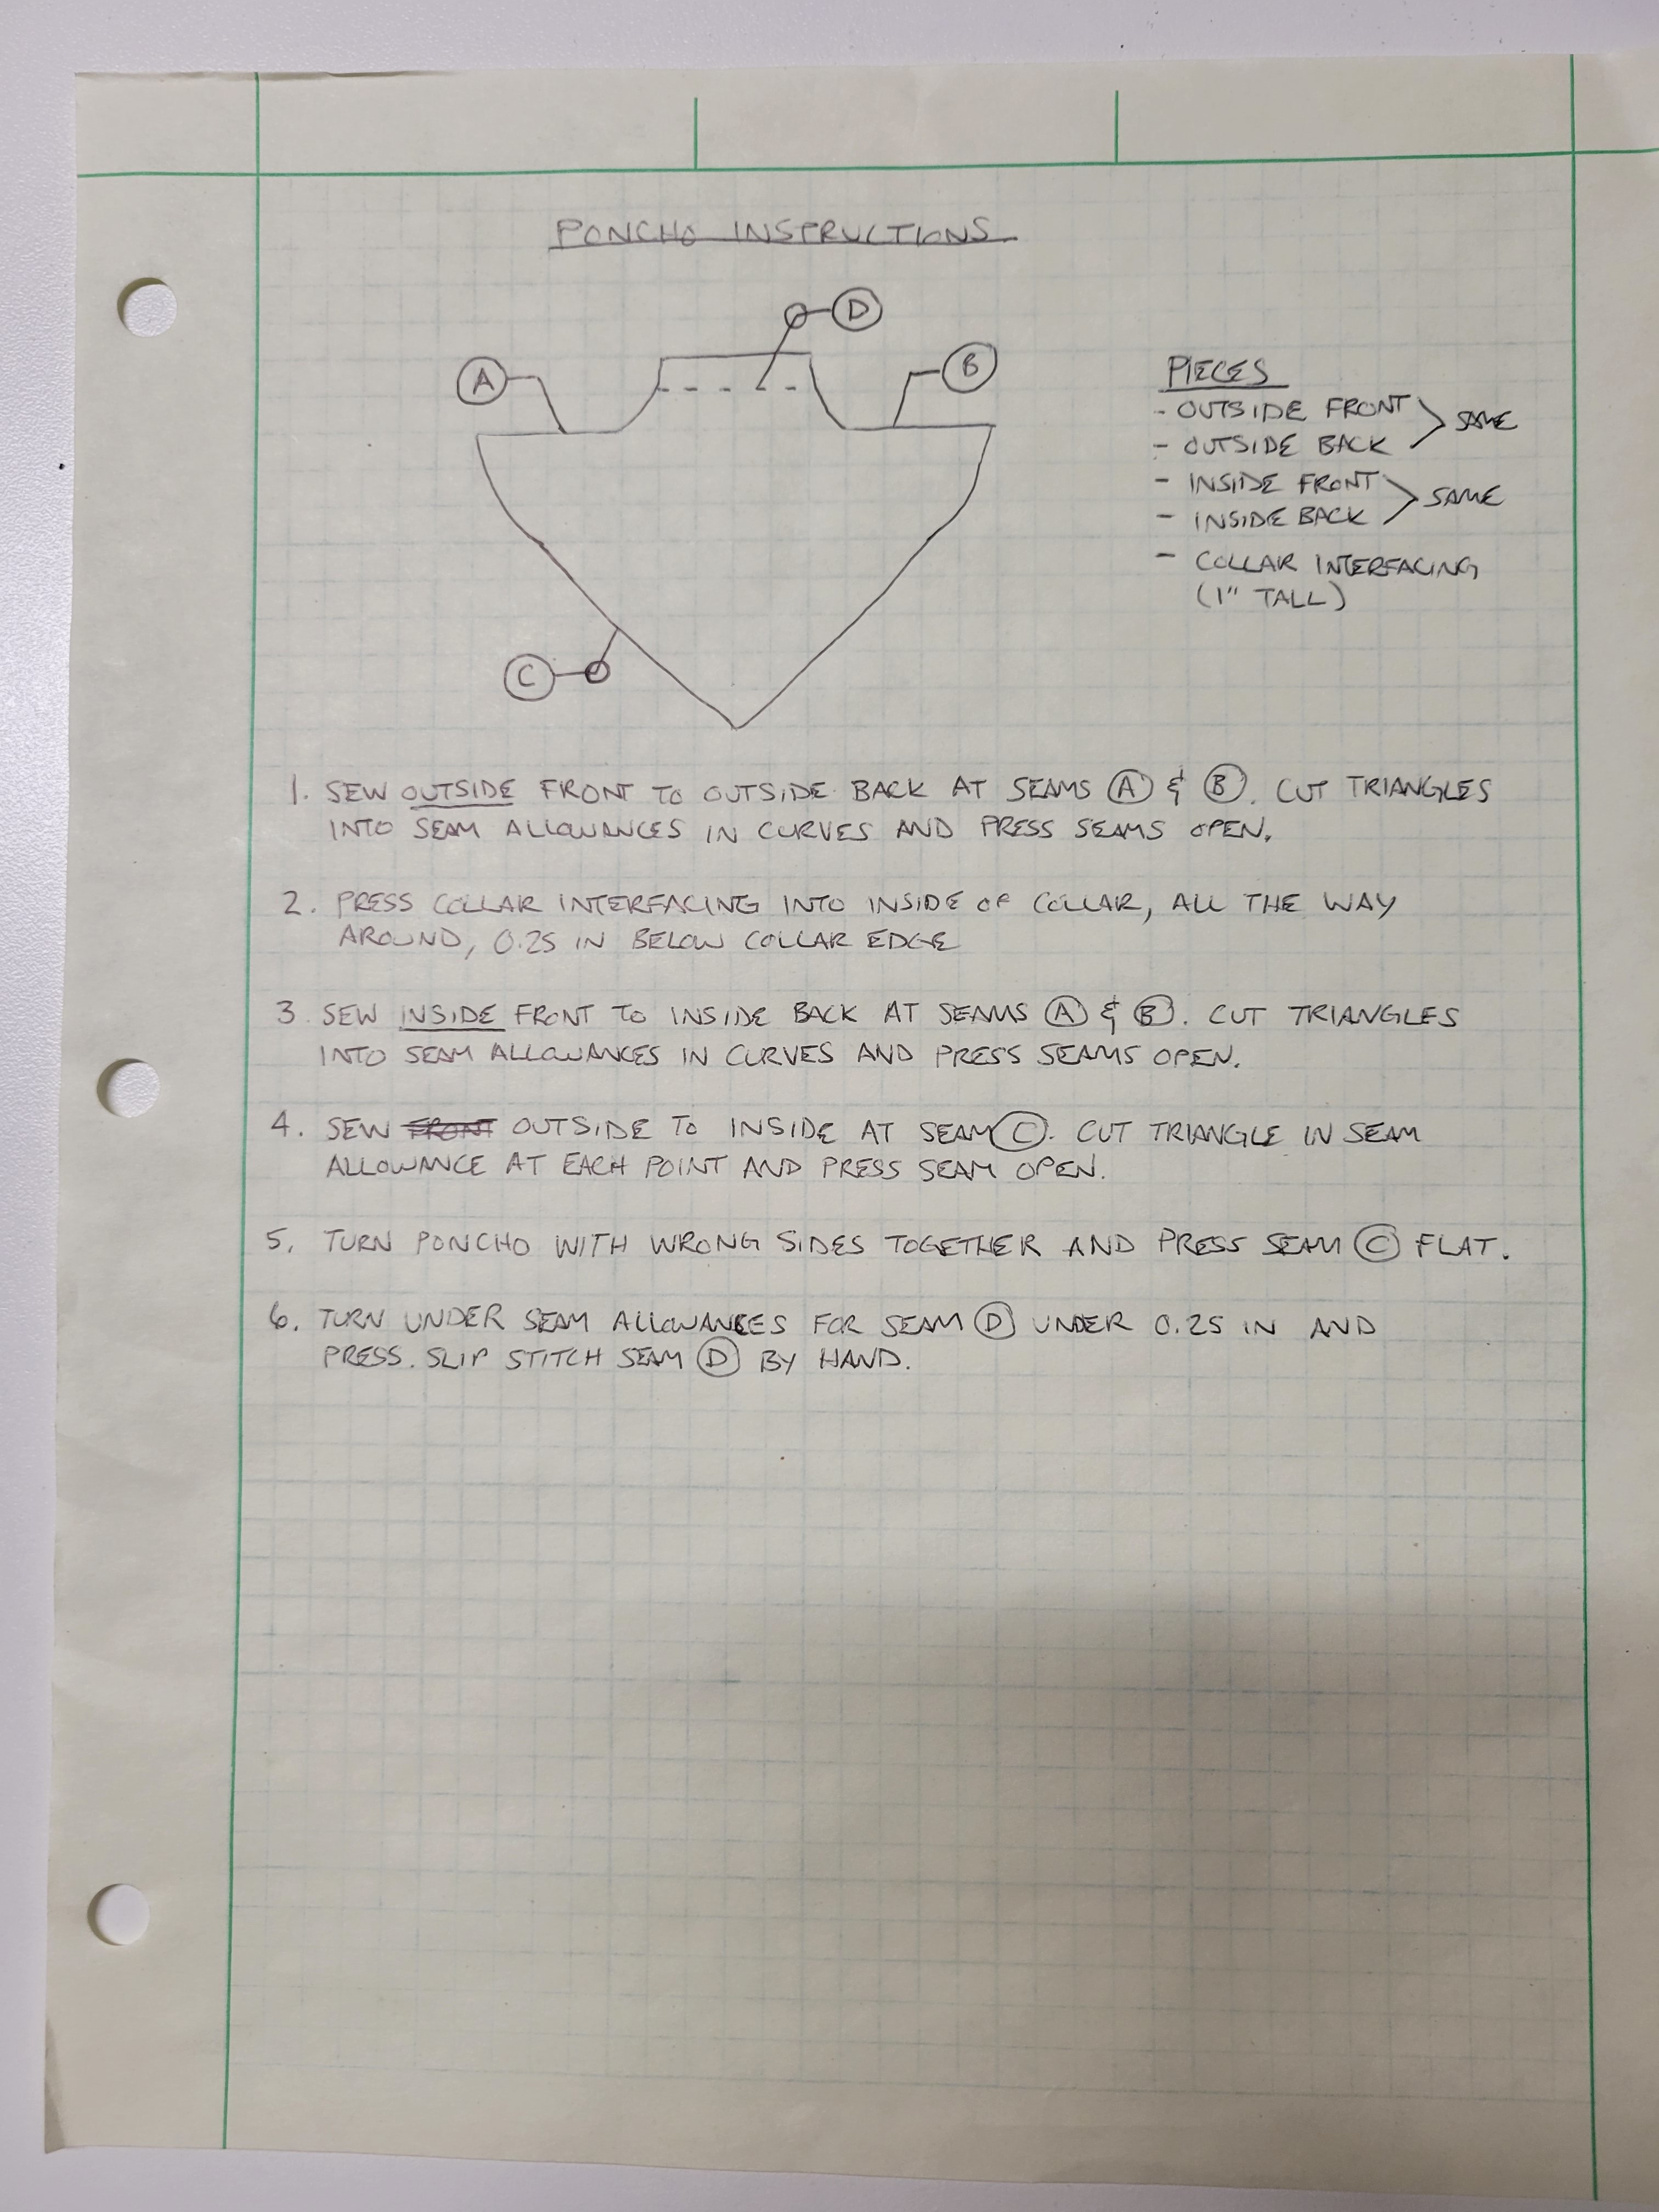
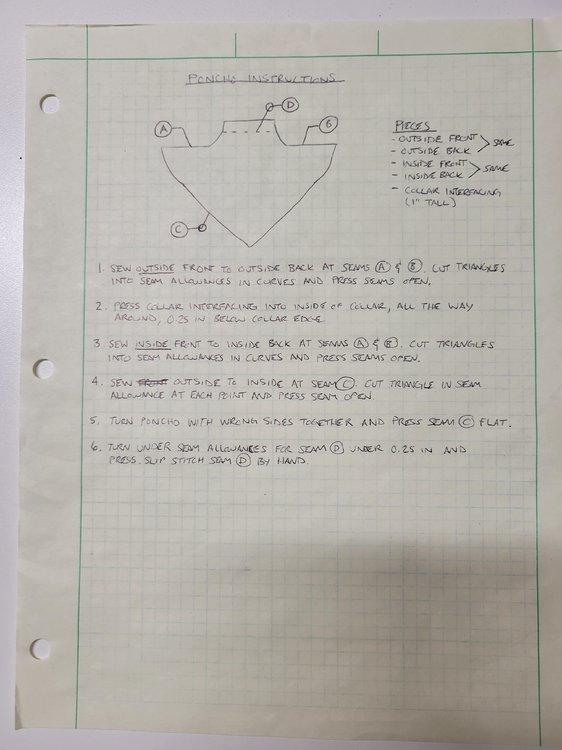
Yay! You're welcome for the help, and I'm excited to see this build happening and that my creation of this CRL was an inspiration! Here are some more answers to your questions: -Make sure your poncho color is lighter and less blue than the arm inserts. I had a *really* hard time correctly capturing the poncho color via photos. When in doubt, try to match the comic book color over the photos in the CRL 🙂 -Yes, there is a little bit of blue in the arm insert color. I noticed this in the comic book and added a tiny bit of denim blue to my dye bath to get it to match. -I'm attaching a photo of my poncho instructions I made for myself, so hopefully this will answer your questions on this topic. Sorry if the stitch callouts look confusing - I did them like weld callouts since I'm an Engineer and I was writing this for myself. 🤓 But if you come up with a construction that works for you, go for it! I opted for this to minimize visible seams and make it look as comic booky as possible. -For the small blaster, my husband modeled it from scratch in CAD (he's an Engineer too!), and we have 3D print files that you (or any other TFE members or prospective members reading this) are free to use if you wish! I just have to find them and will add them to this thread when I do. I would think a piece of orange tape on the end would suffice where orange tips are required, but I don't know for certain, as I never needed to do this. -For the bag, there is a frame in the comic book that I'm pretty certain is in my build thread with Mara's hand over the side of the bag. That's what I used for scaling. I made a bag out of paper and tape to check the porportions before cutting leather. As for the leather, I bought a 5 oz (I think) veg tan shoulder from Tandy a while ago that I've been using for several things, so that's what I used for the bag. You could certainly go thicker though! Let me know if you have any other questions, or free to reach out!
 3 points
 -
All the armor is in the painting phase now and assembling the weapons now. No pictures I wish to share yet except maybe this:3 points
-
Since I have been asked several times for different characters in GoH, both older and newly released, I'll make one post to hopefully help clear it up! 1. Yes, the current TFE Command and assigned LMOs for TFE support adding GoH versions of characters as eligible for TFE approval/new CRLs, SO LONG as there is a full 360 degrees of reference to show all the details. The view option in game makes that pretty much a non-issue, but we still need the highest resolution possible. 2. If the character in question already has an approved version in TFE, then a couple things can happen: a) If there are no differences between the approved version and the GoH version, then no new CRL is made and it is considered the same as the existing approval for said character. b) If there are differences between the approved version and the GoH version, then a new CRL can be made. In this case, it is considered a New to the Legion Work in Progress (NTTL WIP) and requires an entirely different approval process that includes the TFE Command Costume Staff and the TFE LMO directly. In this case (and any not already approved character, regardless of media source), it is recommended to contact the DL and LMOs directly so that the process can be set up and advisement can be given. In this case, you can contact the LMOs at LMO@501st.com and they will redirect to the proper folks, or email me directly at Nina501st@gmail.com and I can pull in our specific LMOs.3 points
-
Please move this to the forum that you think is most appropriate if this is not the right one. What is an LMO? The Legion Membership Team are responsible for reviewing and processing applications for membership, and maintaining and updating member information in the Legion database. The Legion Membership Officer drives costume policies, including acceptable costume types for membership and setting standards for costume submissions, and are the final arbiter of member costume issues and approvals. The Legion Membership Officer supervises and advises Detachments, Garrison Membership Liaisons, and Garrison Web Liaisons on any questions or issues they may have with members costumes. Have a question about membership these are the folks to talk to! LMO@501st.com *Thinking of starting a NTTL (New to the Legion) Costume? Please make sure you keep in contact with the Detachment. *For “New to the Legion” costumes please have a look here: http://databank.501st.com/databank/Costuming:CRLGuide Here is a brief list of some of the improvements we have planned for this term: • Communication, Clarity and Consistency: Utilizing the legion forum to regularly engage the membership and command staff alike through open and transparent lines of communication. (Ongoing) • Increase engagement with Detachment Leaders: Regular group meetings and conference calls to work with each other as a team. (Q1) • Launching “CRL Development Guide”: (Q1) • Streamline and document the process of creating and changing CRLs: (Q1) • Update the LMO Survival Guide: This will help current and future LMO understand the role and it’s responsibilities. (Q1) • CRL attainability: Ensuring CRLs and costumes attainable for all people in all countries and walks of life. (Ongoing) * Finishing 75% of unfinished CRLs: Supporting the detachments to find models and writing text for CRLs that are not yet green. (Q3) • Add galleries to every CRL: Increasing the use of detailed reference imagery in CRLs (Q3) • Create CRL Development Forums: Utilizing the legion forums for open and transparent development of new the legion CRLs.. (Q3) • Encouraging GML Feedback: Engaging the GMLs to ensure they know the LMO team is here to support them. Make formal efforts to receive feedback from GMLs about CRLs and the approval process. (Ongoing) • Regular Membership Surveys: We want to know what the members want. We serve the membership. (Ongoing) About Me My name is Dawn Bright and I am the LMO for the 501st Legion, ALMO with the Rebel Legion, I have previously served as XO of the Flagship Eclipse (501st) and the Senatorial Detachment (RL), GML of Southern California Garrison and a Legion Costume Judge (LCJ) for the Rebel Legion. I love making costumes (with an emphasis on EU and new to the legion), I have almost 60 (RL/501) Legion approved costumes. In my normal day to day life I am an Administrator of a care home for developmentally delayed adults in independent and inclusive living situations in sunny Southern California. I work with family's and social workers to establish communication between what the families and residents want for themselves to feel productive and able and I institute success for people in need. I'm a people person and as an LMO I put members first and foremost. People like you with passion for the costumes in this Detachment. We are all volunteers who have spent hundreds of dollars or/and hundreds of hours making costumes. I promise you that you will be treated with respect and deserve honest and efficient results. I look forward to serving you and working with this fine Detachment About the Team Michael Capell CT/SL/ID-3037 Timberline Garrison Michael has been an LMO and on the LMO Team for about a decade. He has done many things in the Legion since his wife told him she was joining and that he needed to as well. He has been the SLD Webmaster for ten years, as well as (over the years) been a GXO, GML, GWL, and GEC. He specializes in Clones, EU / Legends, Sith Lord costumes, and helping people where he can. He’s looking forward to another term helping expand our Costume Reference Library. Blair Douglas ID-12266 Midwest Garrison Blair is new to the LMO team but has served as a liaison for unity for the clubs for many years. She has LMO experience with the Rebel Legion and has led an effort in the RL around costume approval reform with a concentration on maintaining quality, improving consistency, and making approvals attainable. Her experience will help us address some of the current pain points within the 501st system. An additional bonus is that Blair is a lead software engineer by day helping to provide Fortune 500 companies technical solutions for their business needs. Her professional experience will also help us assess the current state of the systems supporting costume approvals and help to figure out how to improve them to facilitate a more positive costume approval experience. Fun fact Blair plays bass in the band Soft Speaker, extra fun fact she paid her way through college playing bass in a U2 tribute band and her nickname was Madame Clayton. Kris Kobus ID-33633 United Kingdom Garrison Kris is new to LMO but has held positions such as XO and DCA for the IOC and Events administrator for his Garrison where he is also a Officer costume adviser. Kris is a workaholic and does not believe in sleep so is usually always available no matter the time zone. Brian Anderson TK-7602 New England Garrison Brian has been the LMO team lead previously. He was one of the driving forces of Detachment empowerment and pushed for CRL changes. Brian has been on local staff and Detachment level staff for many years and brings a wealth of knowledge and experience to the table. Brian is known as the “make it look like the picture!” guy when it comes to standards and truly embraces current Legion culture. Eric Brager TK-9674 New England Garrison Eric was the lead LMO for the 501st Legion two terms from 2015 to 2017. He has twice been elected FISD Detachment Leader and has held a number of garrison level command positions in the 501st Legion We are so very excited to work with you guys! One thing I love so much about Detachments is the love for new CRLs and the passion. Both of which are very near and dear to my heart. Please do not hesitate to reach out to the Detachment or LMO team. I prefer messages Here or to LMO@501st.com that way I keep record of them and can tag appropriate parties Thank you and have a nice day, Dawn Bright SL-13377 www.SL13377.com https://www.501st.com/members/displaymember.php?userID=15902&costumeID=3433 points
-
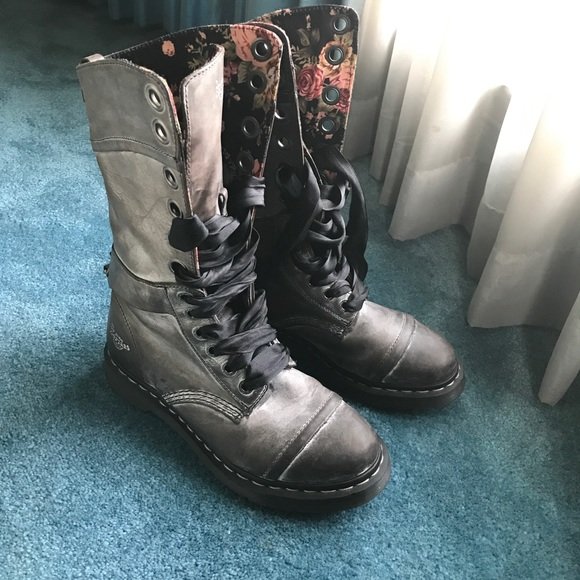
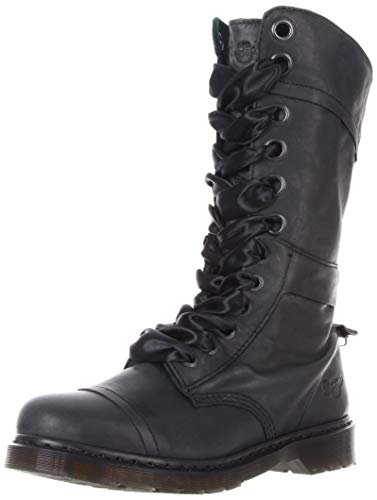
Here's the thing: these are animated characters. There isn't just one right answer because these are like art; the reference can support a handful of interpretations. The armor color is mottled, and is not just one color. I'll give an example of my favorite boots. These are black underneath, and the wax polish on top marked them look anything from grey to dark brown, but I know for a fact that the leather is black because I'm the one who put the polish on. It is the weathering that dictates how people interpret it, but these are what they looked like when I bought them: This is a real world translation of what the armor looks like in the cartoon. Now to the CRL. It is an animated cartoon, and just like 99% of the rest of our CRLs in TFE, the colors change as much as the number of times the character is seen. There is an accepted level of colors on a gradient that could be argued for the character's armor, but that does not make the CRL wrong. We only make CRLs for, "variants" that are approved, otherwise we'd have a 48 page long CRL for Aphra, alone, with all the Barbie dress up versions she has in the comics. So the correct statement isn't, "how can we make it not inaccurate?", but, "do I have the references to validate my interpretation for approval, which can then be ADDED to the existing CRL that already has done so?". The answer to that lies with the Detachment Leader, LMO, and your GML on how well you replicate the references to the real world.
 3 points
 -
Making them turned out to be very easy for me. I used foam and Worbla. It was the first thing I made with Worbla, so even if you’ve never tried it before you might find it easy enough. You can read my blog about it here if it helps- http://withoutastitchon.blogspot.com/2016/04/mara-jade-knees-and-shin-guards.html?m=13 points
-
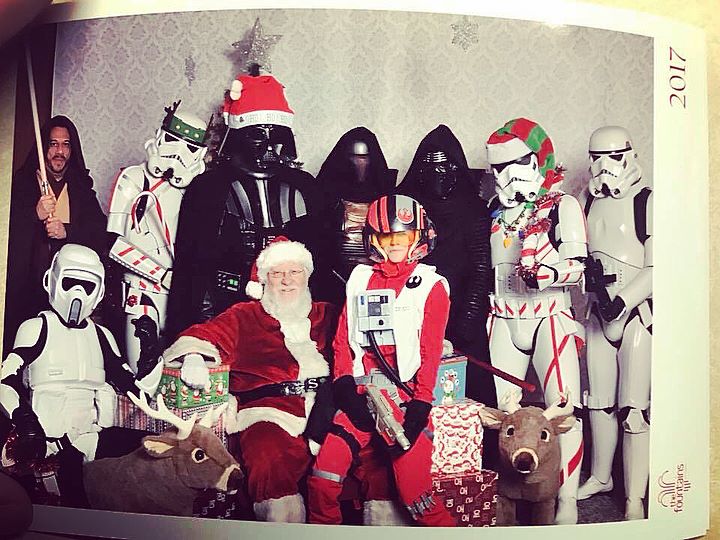
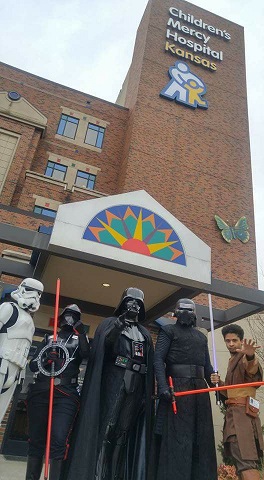
Some of my favorites I've gotten as Darth Nihilus: Darth Maul (no real shock there) Thor (no clue how the kid came up with that one) Mulan (dad was possibly drunk, or raciest, or both...) And today I heard this story from one of my local troopers talking to a little girl dressed as a stormtrooper - "Well, I'm going to go over there and talk to Darth Vader with the skeleton face ...bye!"3 points
-
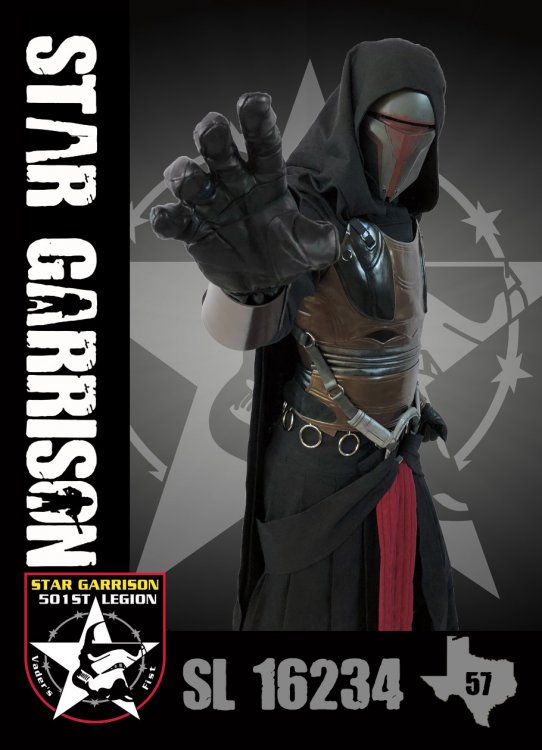
Hi everyone! My name is Jason and I'm with the Star Garrison, and representing the West Texas Squad. My first approved costume was my Pre-armor Darth Vader, which was a costume I honestly wanted back when RotS came out, long before I knew about the 501st. I recently got my Darth Revan approved and I'm happy about that. I've only trooped in it once, and that was when my squad decided to take a short break after the rush surrounding The Last Jedi. Next up, I'm working on Kylo Ren, specifically both his TFA CRLs. Maybe later on in the year I can go for the new TLJ CRLs.

 3 points
 -
Hi there! DS-32946 reporting in! I'm Jessica from the 70th Explorers Garrison (Firehawk Squad). I joined the 501st in May 2016 with my ROTJ Royal Guard. My Seventh Sister is my second costume and I am working on a Biker Scout for my third. Since joining back in 2016, I've been a trooping fool ever since. To date, I have done 84 troops in my Royal Guard and just did my first troop in my Seventh Sister today!
 3 points
 -
Forwarding this to the LMO so she can see it!3 points
-
Hi from the Redback garrison Australia! My name is Gabbi and I was approved last month in time to troop the biggest troop in the Southern Hemisphere At Dreamworld

 3 points
 -
I ended up modifying the backpack today. After rewatching of the Tales From the Underworld I could see the shape of the backpack better. I tapered it so it came in at the bottom more. I also modified the two boxes to be angular. I also added the toggle buttons (they are functional and hold the lid closed). Yes, I will be supplying the 3d files for them and how i made them. I tend to get hyper focused on stuff and choose to just work and record as i go. I figure i can do a writeup afterwards. I can go more into detail when I'm done for each part if folks are interested. I'm almost done with the build. The biggest hurdle was getting the pack to sit correctly without affecting the shoulder straps. Anyways, I need some sleep... it been a very long week hammering this kit out. Oh and a happy Father's day to all the Dads out there. Cheers Here's picture of the pack as it stands currently modified.2 points
-
Well time to necro my own thread. After far too long sitting on a shelf collecting dust, everything is back up in progress again. The seamstress is working on the robe. The voice program is still working nicely, pending a bit of last minute testing. The biggest thing I have to figure out is getting the mask and hood assembled together. No major update pictures yet, but figured I'd get myself held accountable by posting it publicly now. 🤪2 points
-
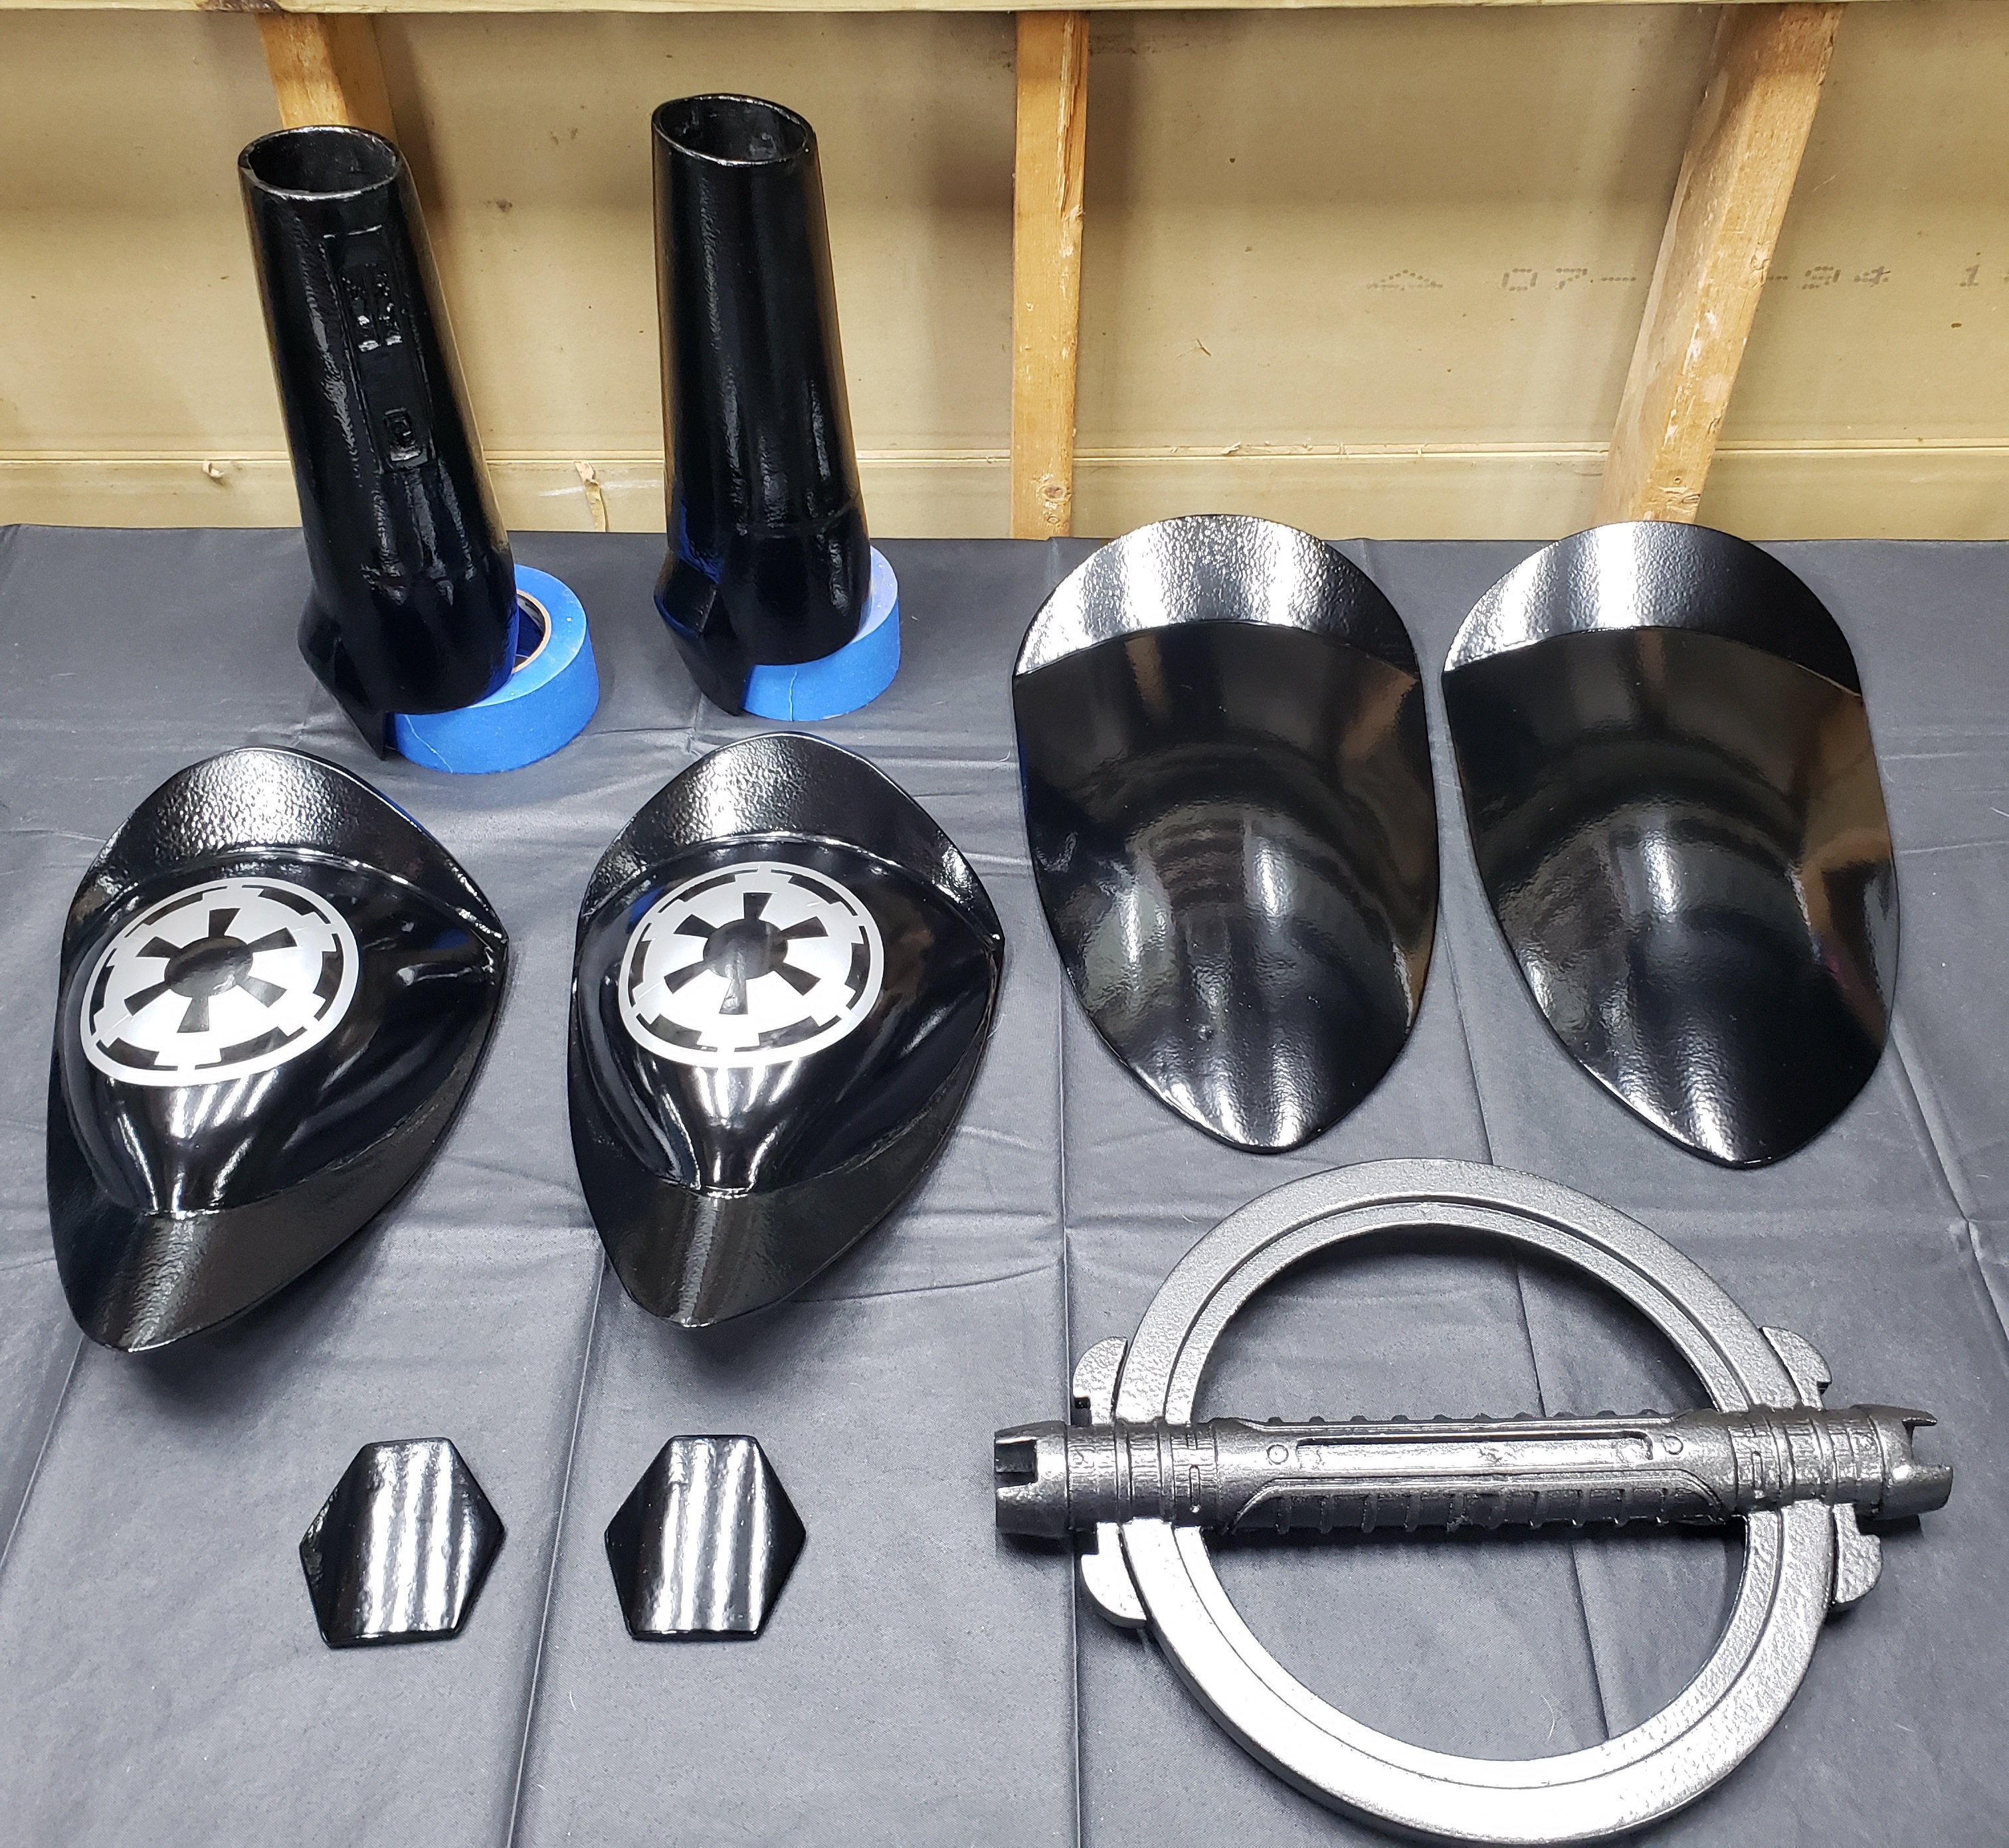
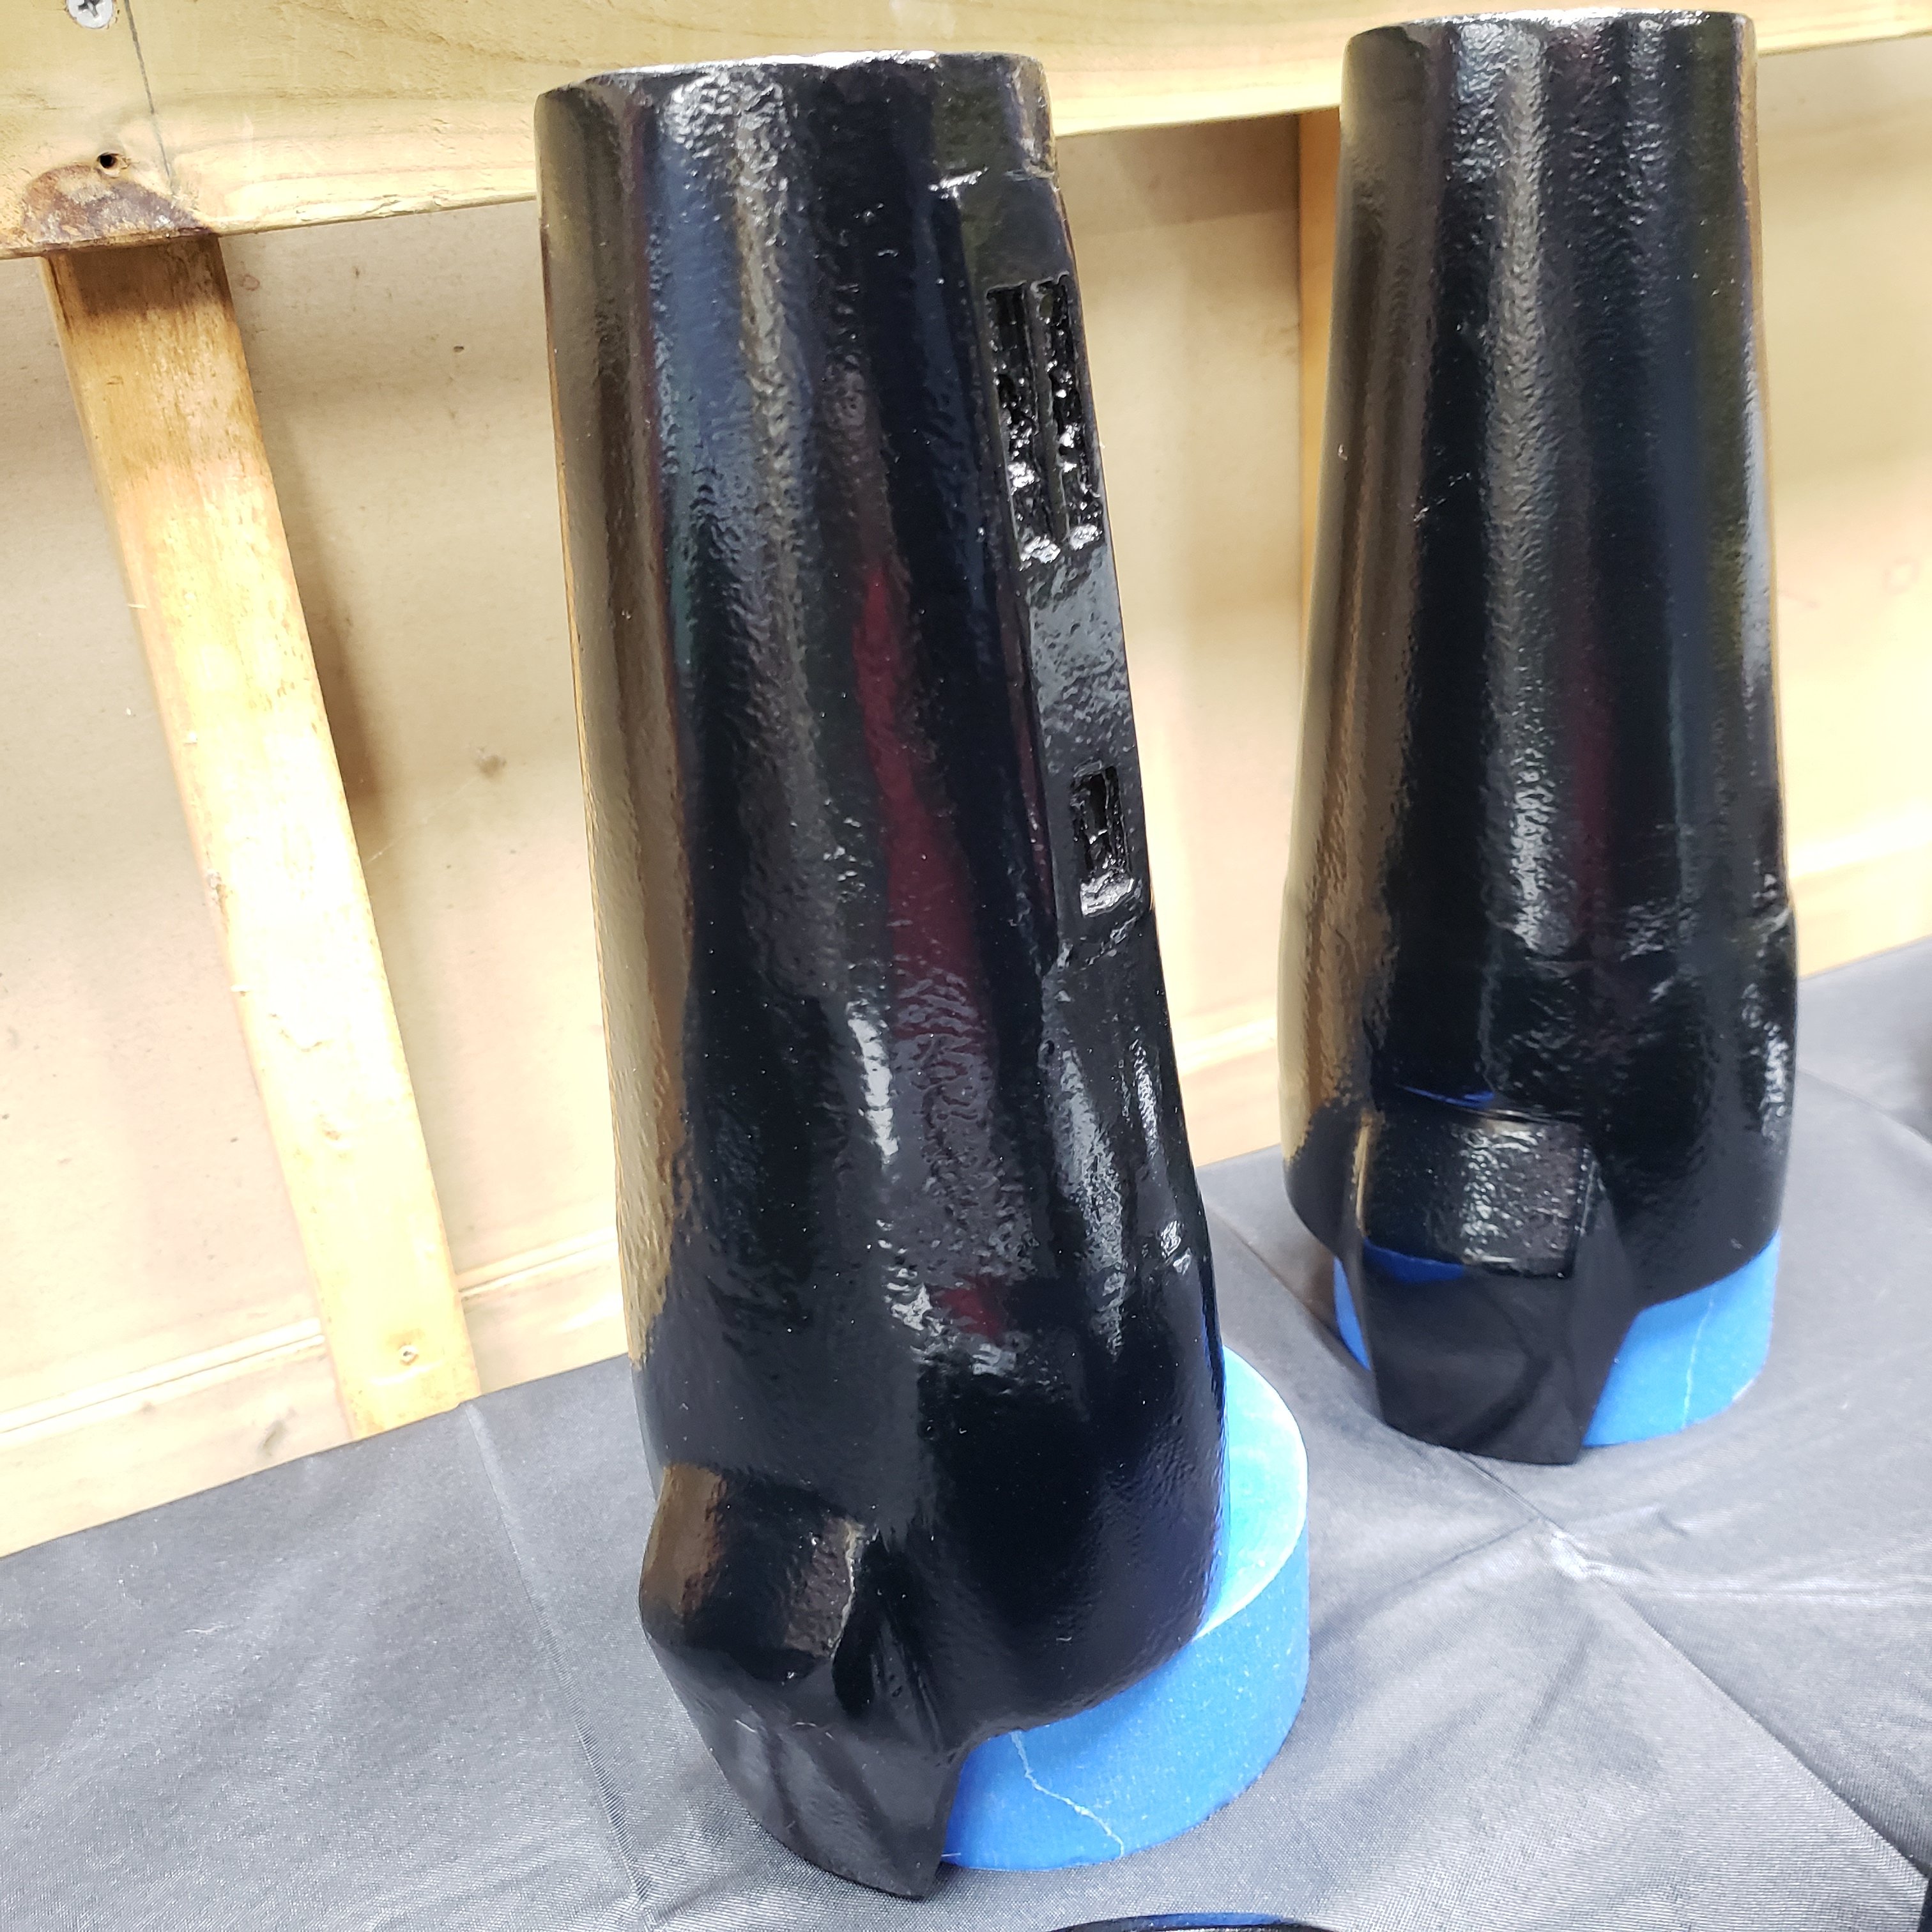
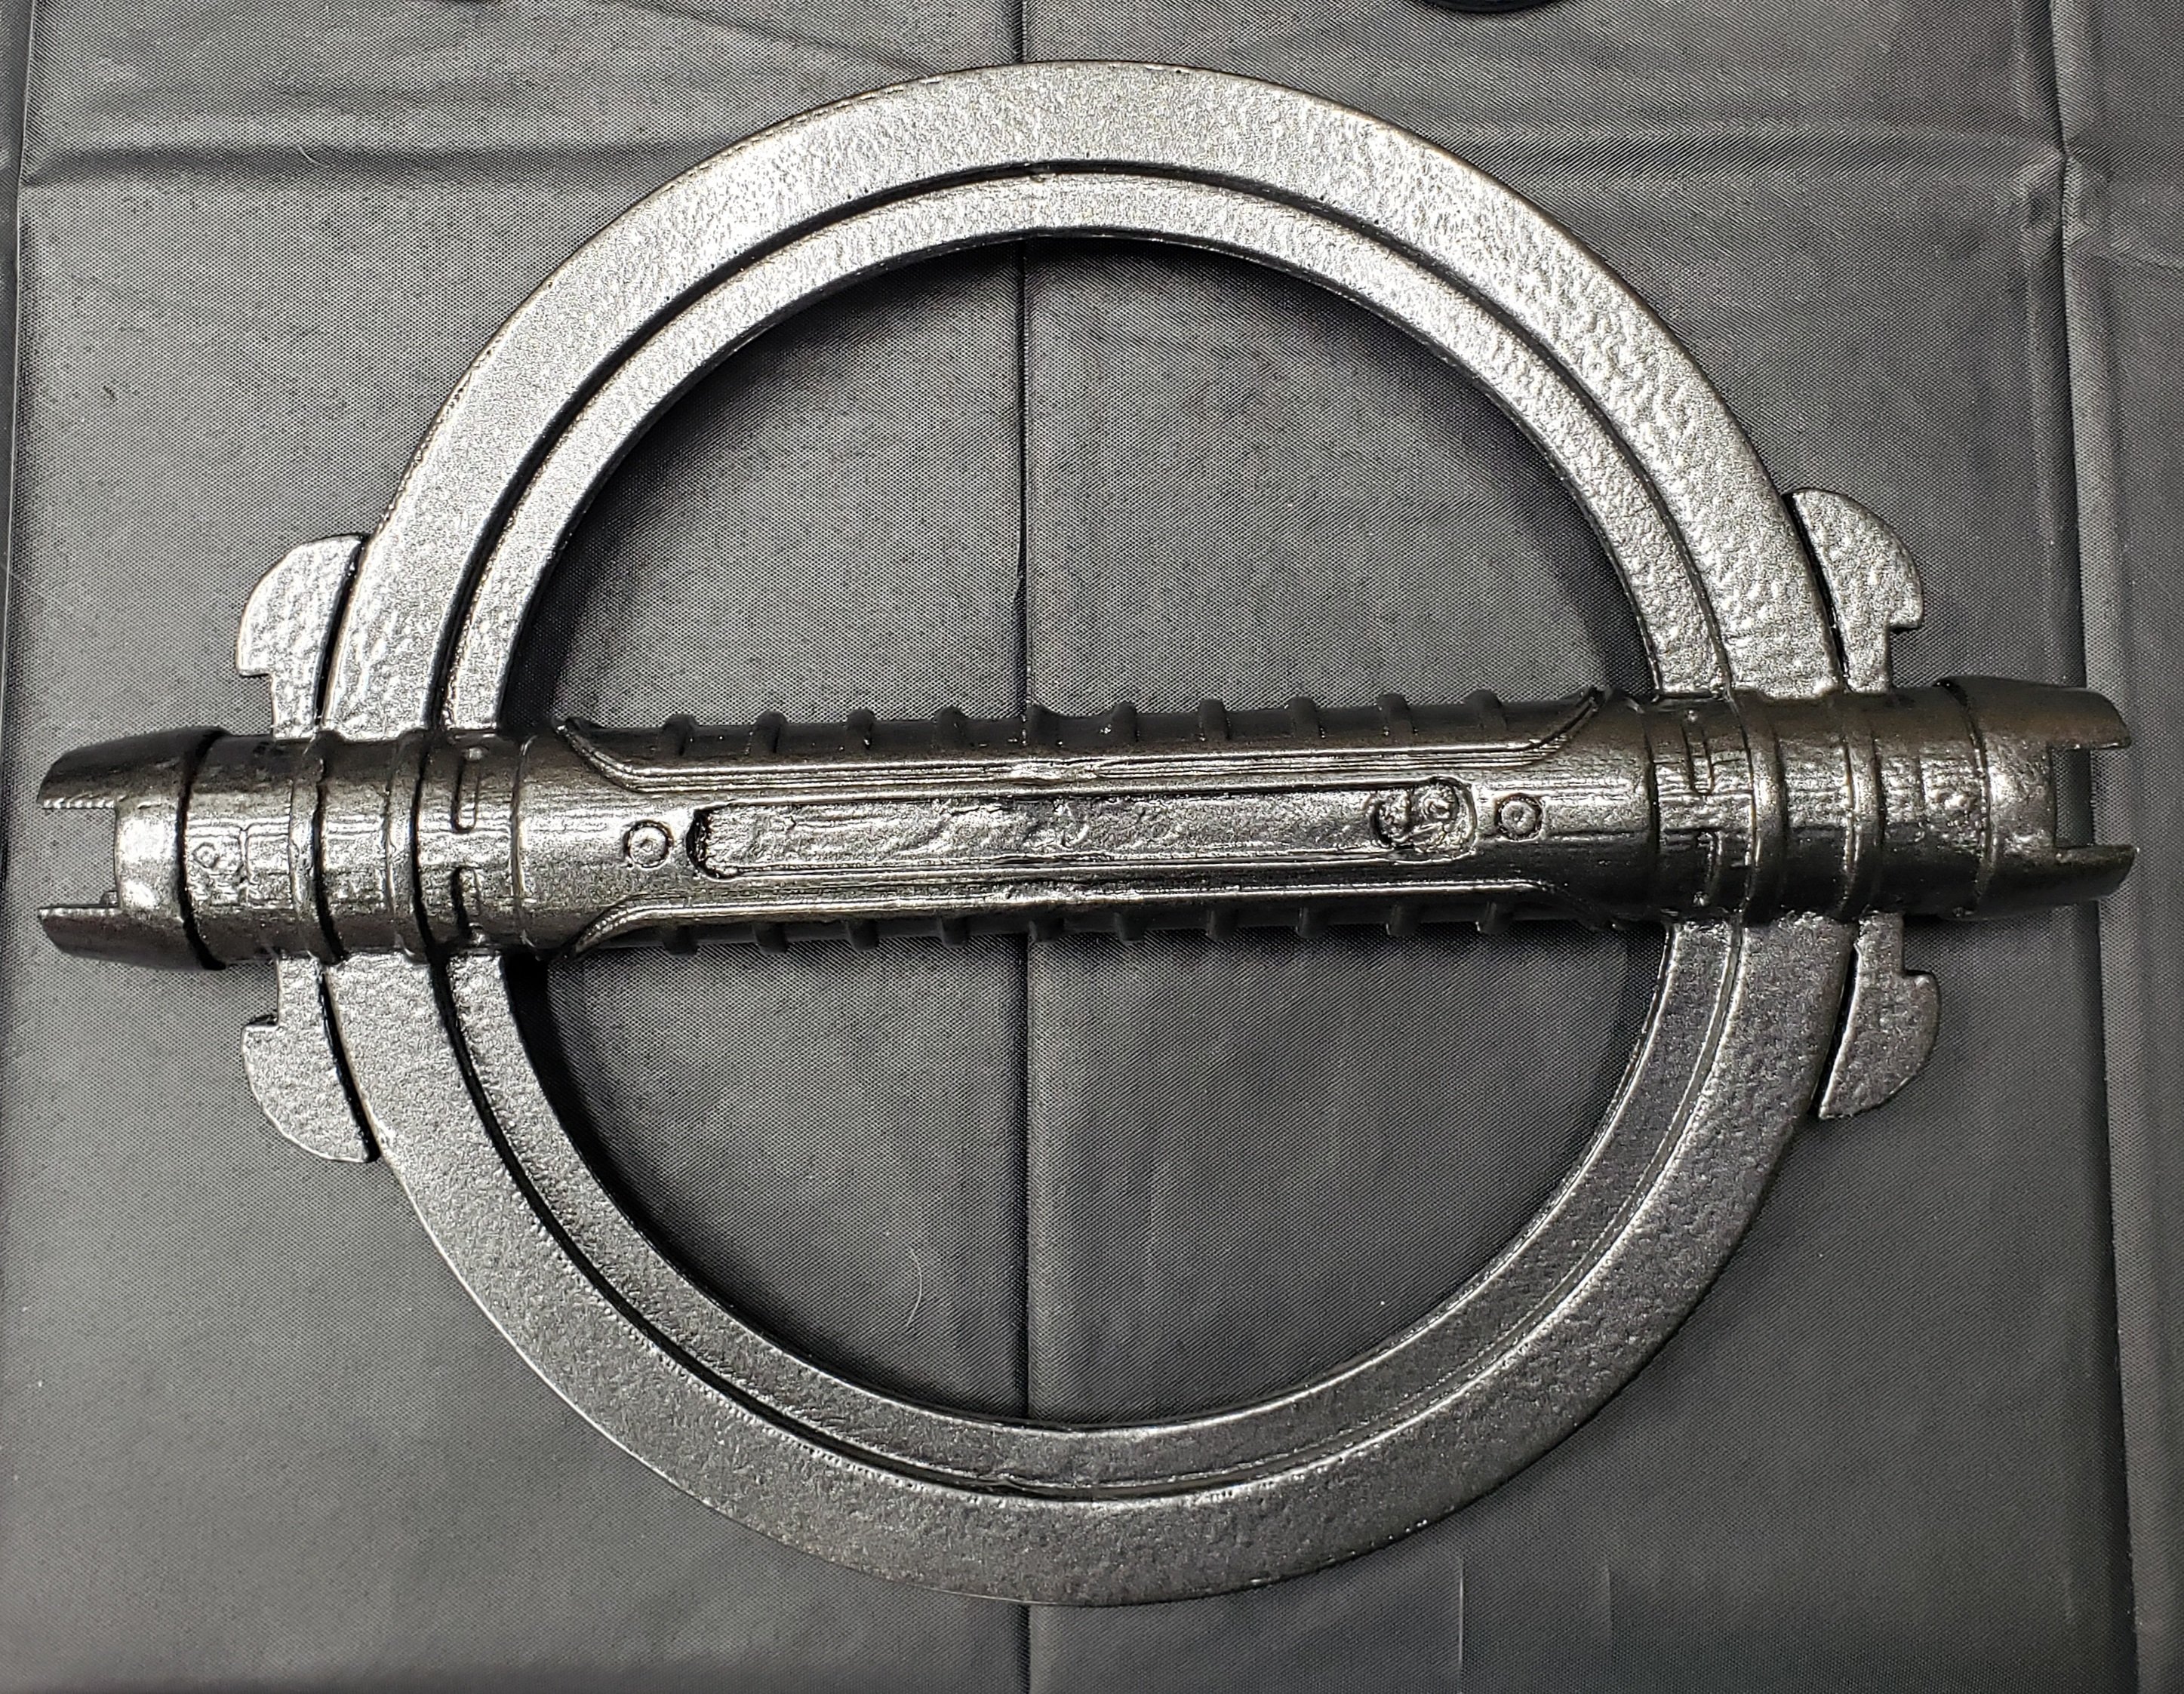
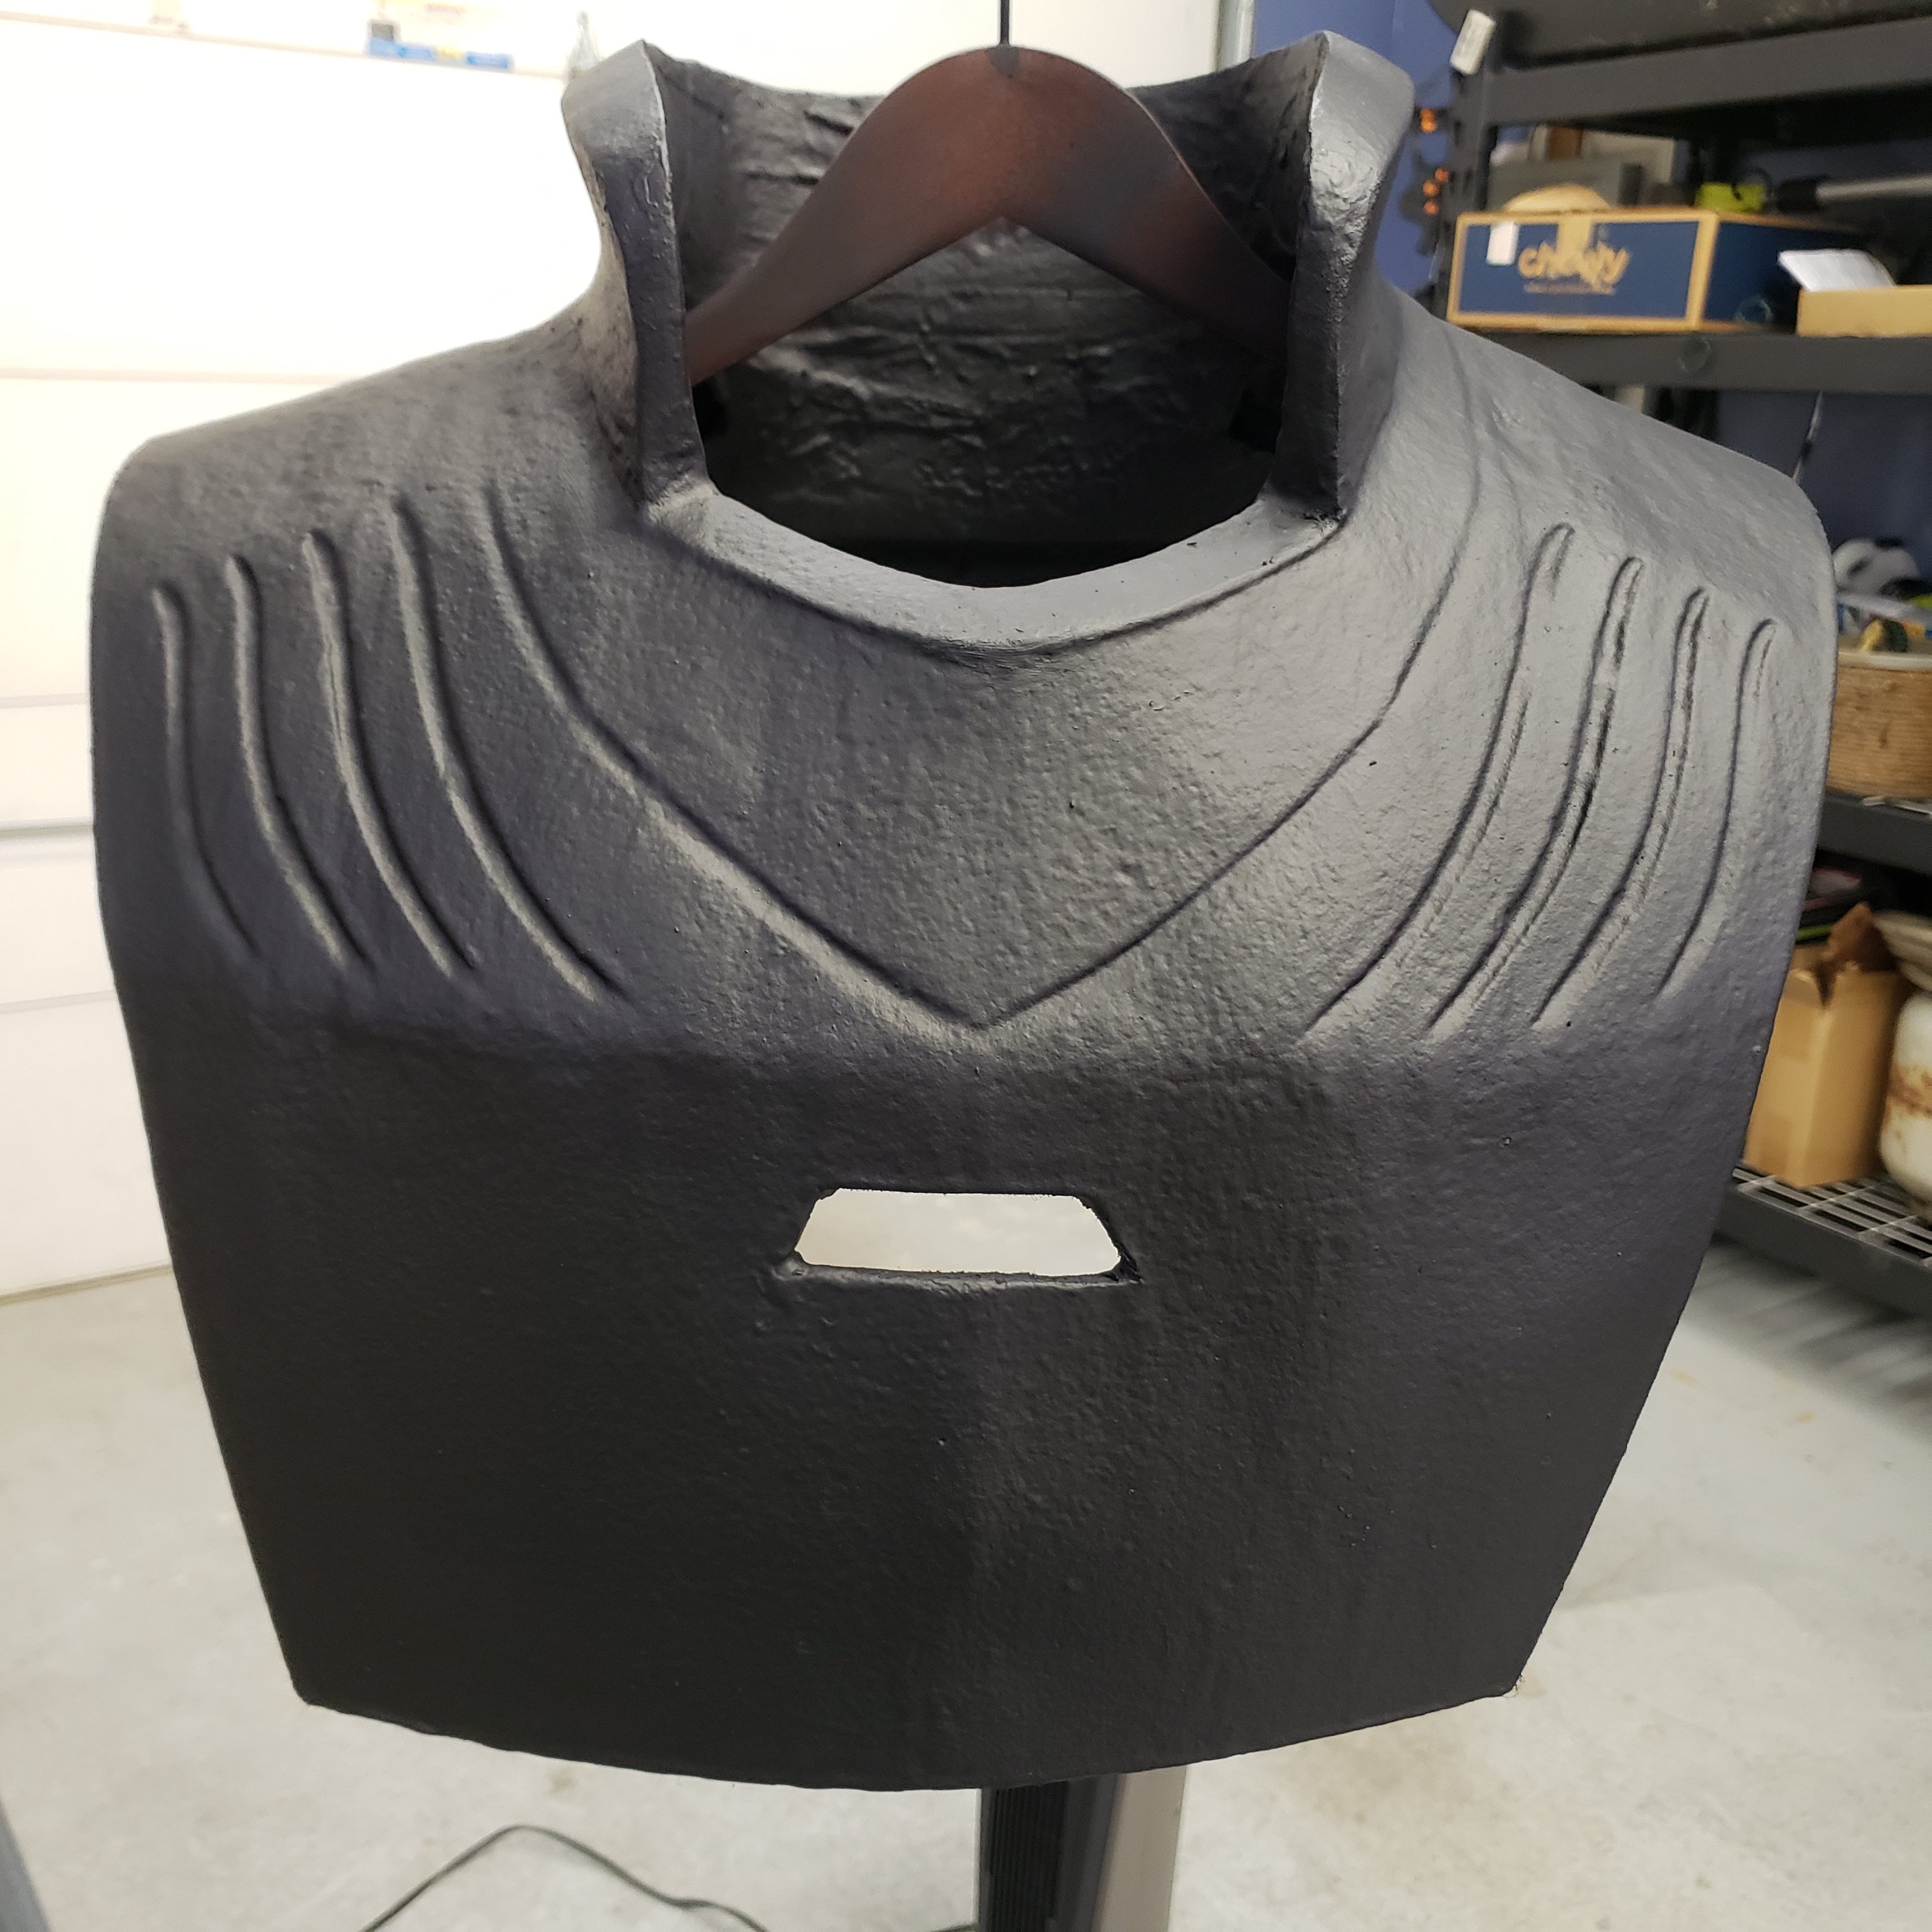
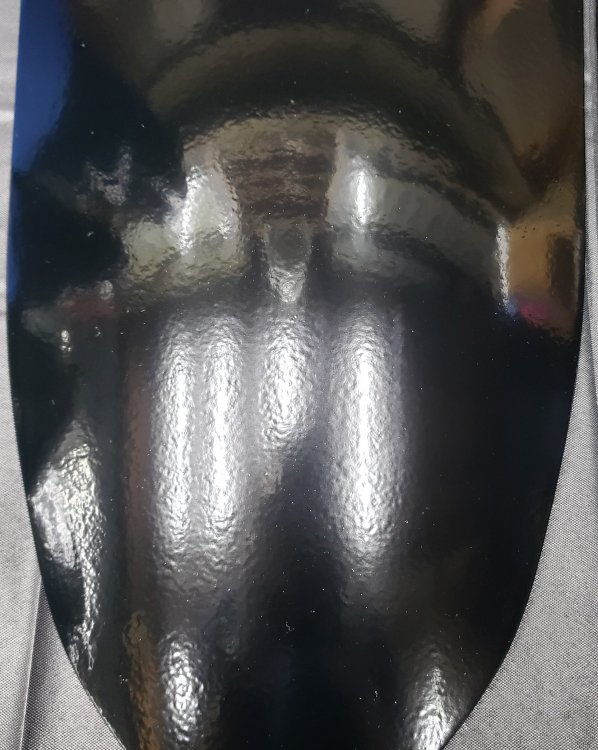
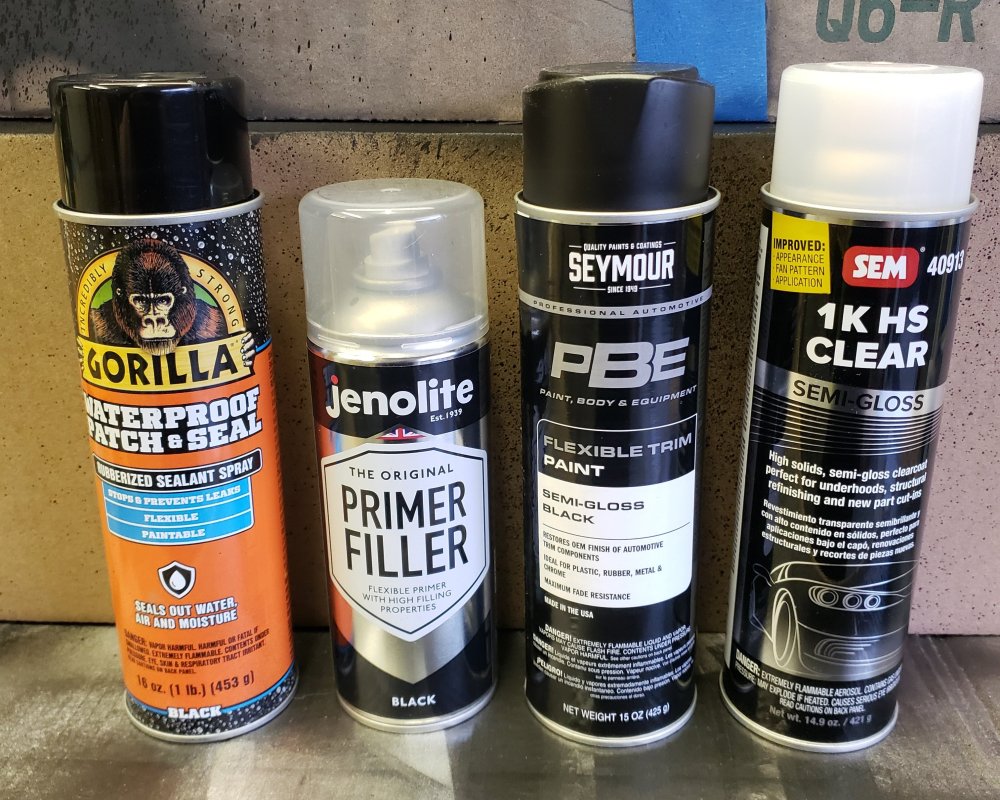
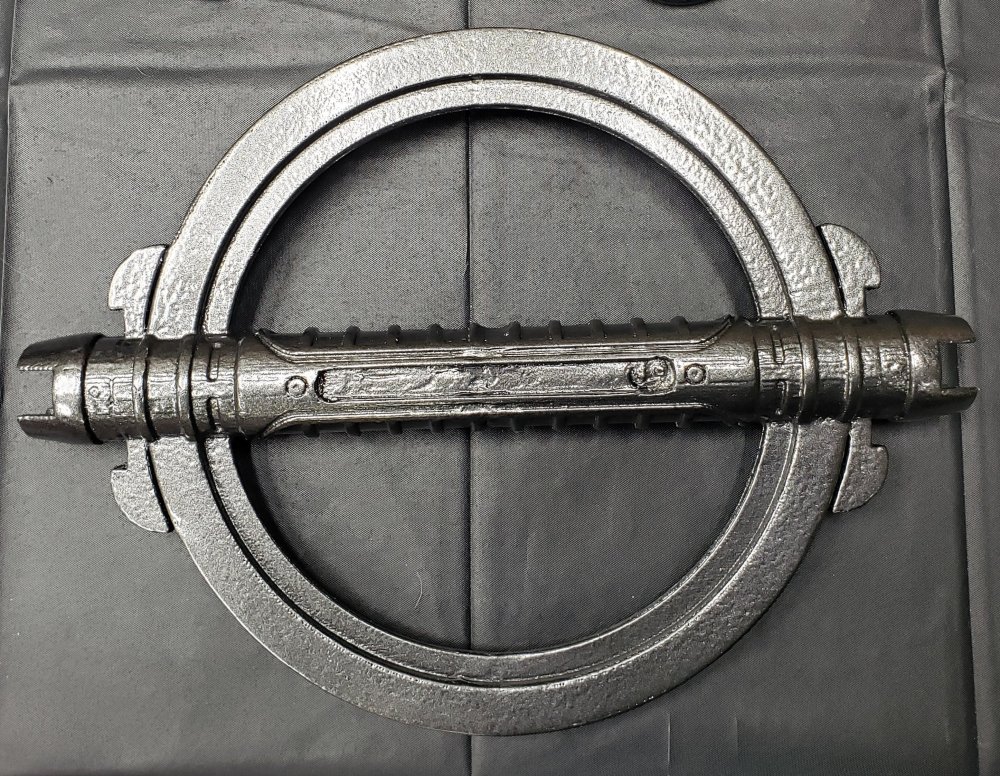
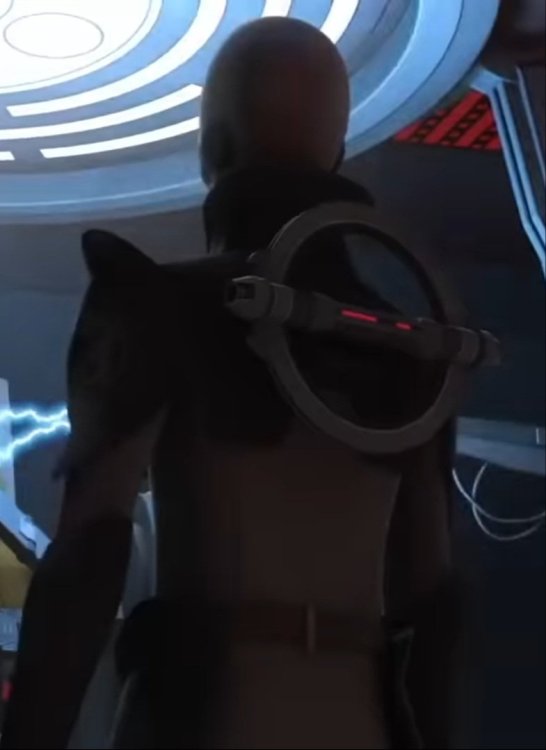
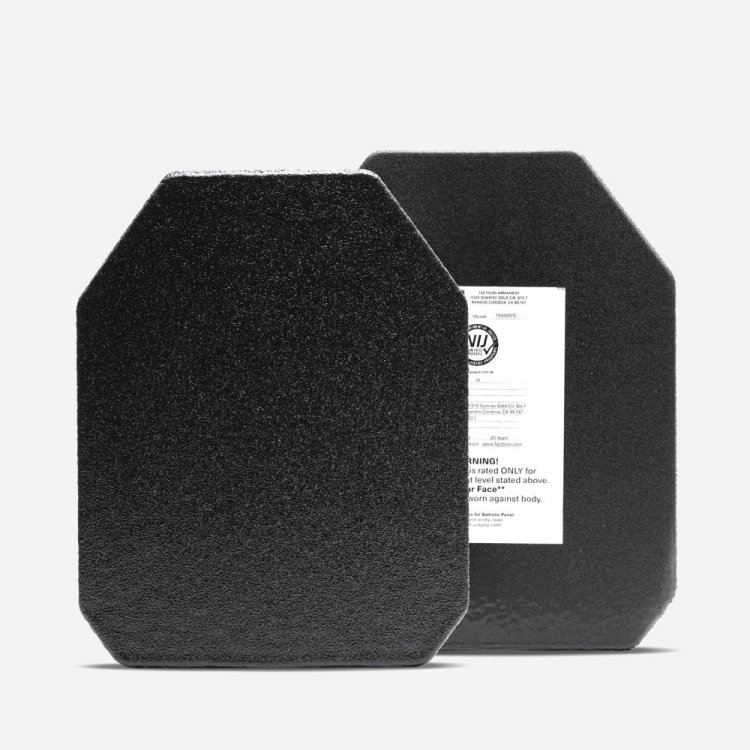
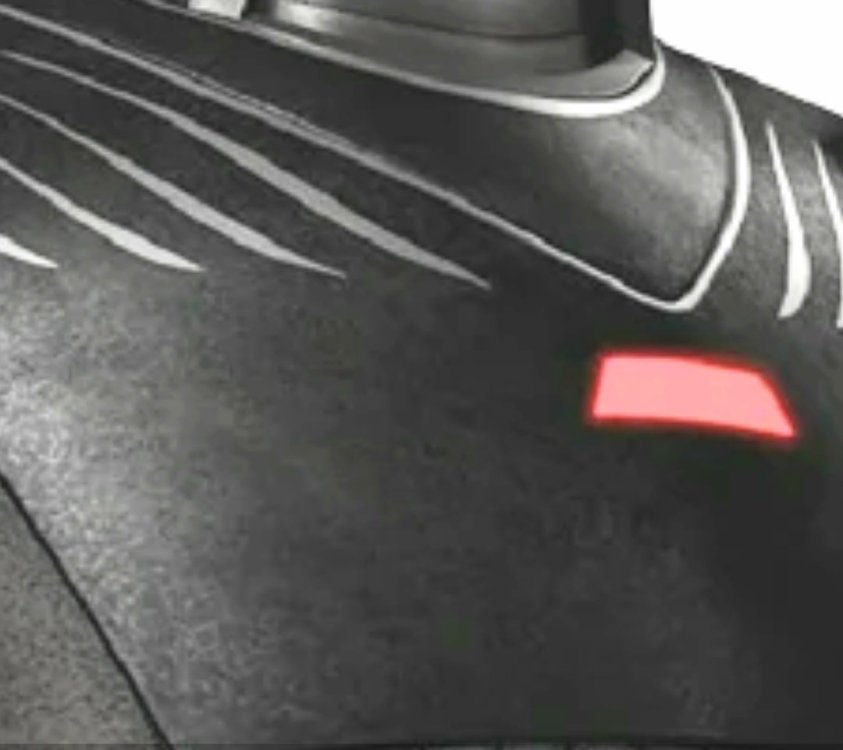
Here's the final versions of the updated armor that were painted and clear coated in semi-gloss today. From a distance everything just looks nice and shiny, but up close you can see everything has that nice uniform ballistic metal/SAPI plate look. I think it looks more believable as actual armor than the smooth finish did. So I definitely like the look much better, and I'm finally satisfied with the end result. Only thing left for these parts is just to add a couple spots of weathering on the bracers and hand guards, and then add the lights to panel on the left bracer. Here's the lineup I used for the armor pieces, used in order from left to right: The chest piece was sanded and primed today, so it will get some more sanding tomorrow and if all goes well, then I'll start applying the black semi-gloss trim paint. And again, this is the look I'm trying to create by adding texture to the armor: Also got the base layer paint on the lightsaber. It's metallic black stainless, but it reflects a lot of light so it looks lighter in the photo than it actually is. I'll be hand-painting the rest of the details such as the grip and emitters, and then I'll be adding in the red lights/magnet inserts into the center trays on each side. Then it will just be an ornament on the back of the chest armor like in the show.


 2 points
 -
Got more done!!!! So I continued on both the upper boot and the lower boot. I needed to fill out the lower boots. I ended up using Flex Paste as you can spackle it on in thick coats (takes around 24-48 hrs to fully cure). I've included a picture of the material I used in case anyone wants to go this route. After I filled out the shoe bases I worked on the upper sections of the boots. I drew out the lines on the different sections of the boots and painted Flex Paint on them. I let it sit for around 2 1/2hrs and then rubbed the surface to dull the extreme shine it had. This gives the rubber sections a bit of a lighter color compared to the fabric. One part of the boot (the top section of the upper boot, I ended up painting the very top section then let that dry and then painted the next shape just below it, but overlapping so it would pop out just a little on top. This will get even more accentuated when I paint white sketchy lines along the edges like in the show. Hopefully when you look at the photos what I have said will make sense. When all of the sections were dry I glued them together with Flex Glue (there's a theme going on with the materials as you can see). Once that was done, I worked on the raised edges that go around the boot base on the outer lower part (again, refer to images to understand what I am saying). I cut out the shapes from thin sheets of rubber and glued them together with the Flex glue. I traced the shape onto the boot so I had a reference for where the glue would be applied to the boot base. I applied the Flex Glue to the boot itself and roughly smoothed it out all over the area I had traced on the boot and then put the shapes into place. To keep the shapes pressed to the boot while the glue dries I used a trick I learned when putting my TK (Stormtrooper) kit together, magnets! It definitely helps when some areas are too hard to get a clamp in the area. At this point I am currently letting them dry. Tomorrow I plan on continuing the process. Who knows? Maybe if I'm lucky I might actually get most of the boot done by the end of this coming weekend! *knocks on wood*2 points
-
Hey, so I'm back with some updates. I've been working on the pattern for the tunic and leggings. I have some of the tunic sewn together. The vest pattern (the grey fabric) I have to fine tune and then cut out of the good black fabric. I also have a pattern for the upper sleeve and am ready to cut that out of the good printed fabric. I have the pattern pieces for the legging cut and partially sewn together as well. I'm also in progress of working on a pattern for the collars as well. I've been making a pattern for the boots. The blaster I'm going to have to make that in Blender (3D program) and print it on my 3D printer I've started drawing up the design for it. It's all starting to congeal together. Once I'm done with the tunic, vest and leggings I'll start patterning for the leather goods . My mannequin and I are not quite the same size and she's a little bit lumpier than I am, but I'm gonna wait for modeling the outfit when the tunic and leggings are done. Hopefully sooner than later. So here's some of what I have so far.2 points
-
We're about 1.5 weeks away from all 501st elections! This means Legion level, Detachments, Garrisons, Squads, and Outposts! Make sure you are prepared for TFE Detachment elections by ensuring you are listed as the correct Detachment Member rank. Also check with each Detachment to ensure that you fulfill their specific requirements if they are different! For TFE directions, please see here: I will be doing the final update to the 501st roster for TFE on Jan 28th, so please make sure you are correctly listed (your name should be in orange if you are not part of command). Cheers and long live democracy!2 points
-
I am approved with both versions of the wicked armor Nihilus. You have to add to both a bit to do it. The KOTOR2 mask they make would probably be approvable, but I changed the center detail to match the CRL better. You will also need to add the chest padding. I used a sheet of open cell foam, cut to fit. I recommend a different obi, but the one they sew into the skirt is approvable. In all cases, the wicked armor will give you the materials to do it, but go through the CRL and make it match up once you have it in hand.2 points
-
Belt & Rank bar from PHprops2 points
-
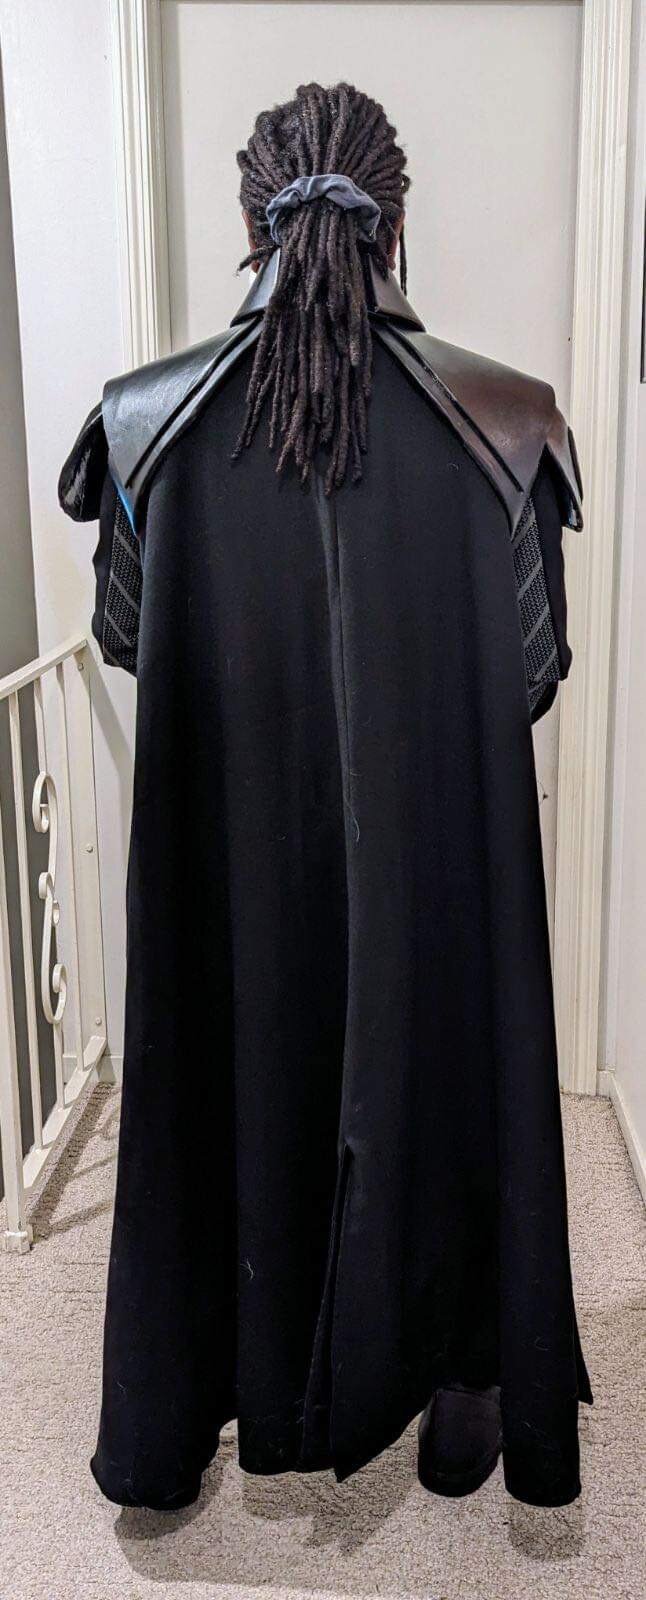
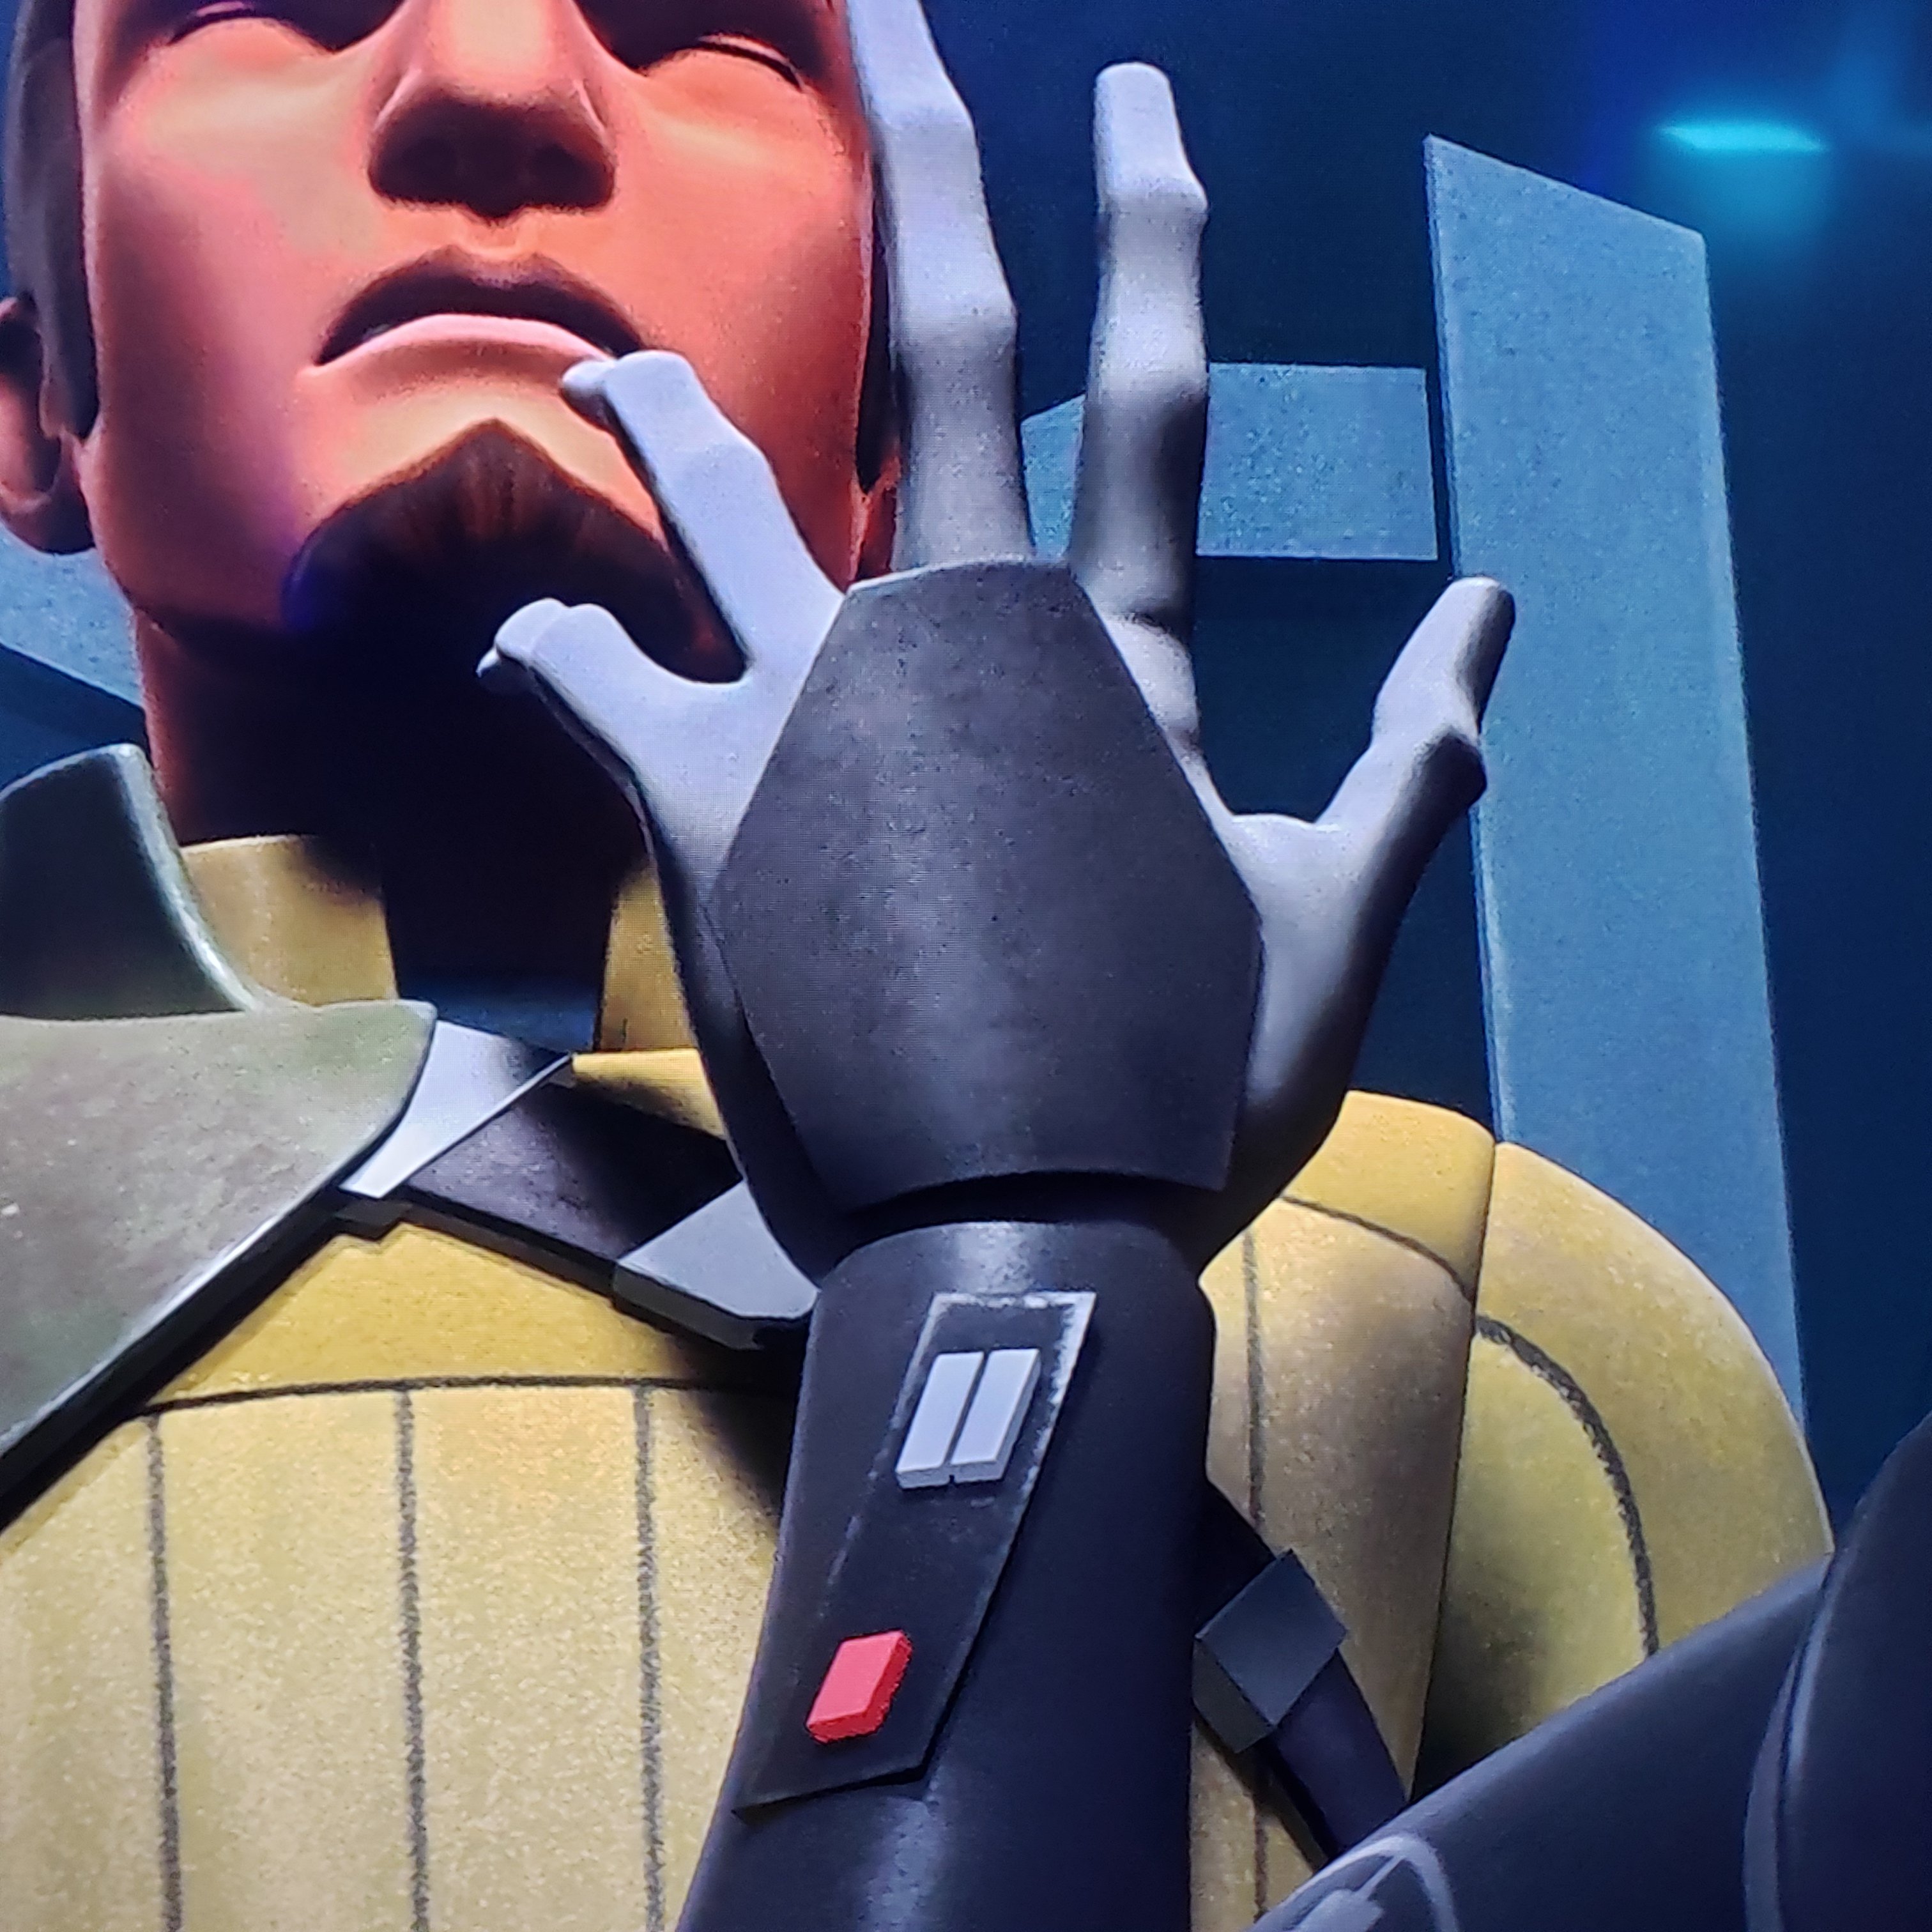
Hi Justin! I looked over the 3D Props NL pictures as well and I think the armor looks good. Overall I am impressed with the level of detail. I'm not sure if they are missing the shoulder bells or the elbow armor. This image seems to indicate that the narrow piece could be the elbow armor because there appears to be something above the forearm, but I'm not positive. I also noticed the thigh has some layering that I'm not familiar with. Here's a reference shot and the area that stood out to me in the 3d print. While there do appear to be some layering differences, I think the thigh still definitely retains the overall appearance. Perhaps @DarthValkyria can chime back in about whether the typical GML would approve this. Or maybe that would be a good question for your garrison GML?
 2 points