-
Announcement
Welcome to the forums!
If you are a newly-approved member, make sure you check out the New Member Checklist!
If you are a Detachment member and can't see the member-only area, post here for access.
-DV
All Activity
- Last week
-
Heck ya! Congrats on the approval!!
-
Congrats!!
-
 barryhicks changed their profile photo
 -
 Lucer joined the community
 -

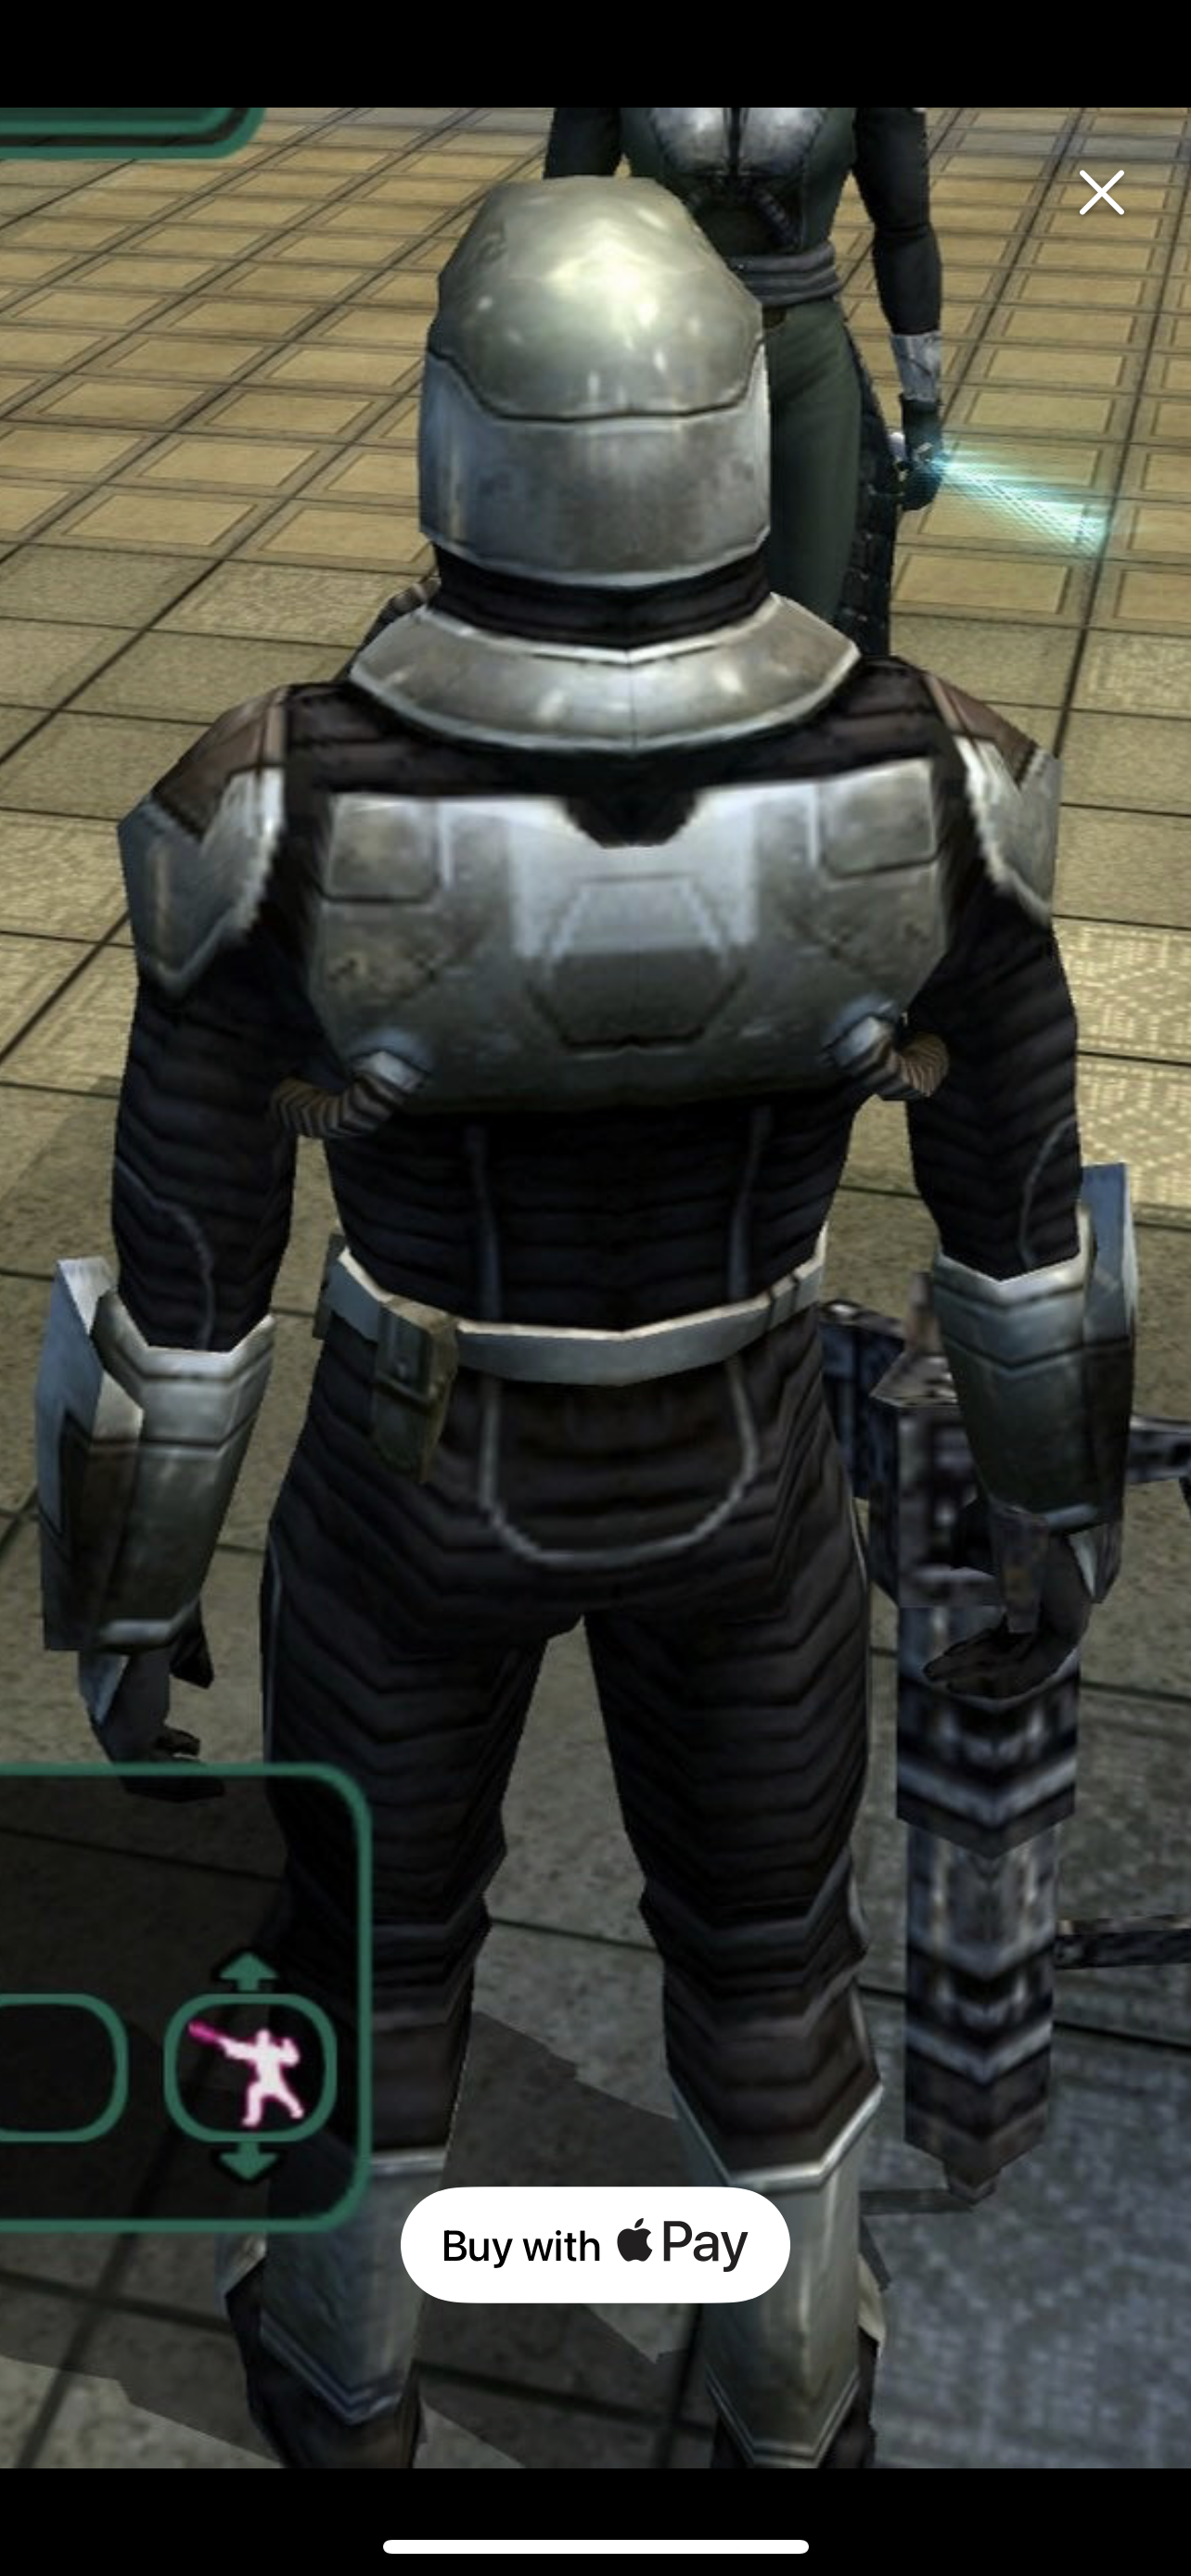
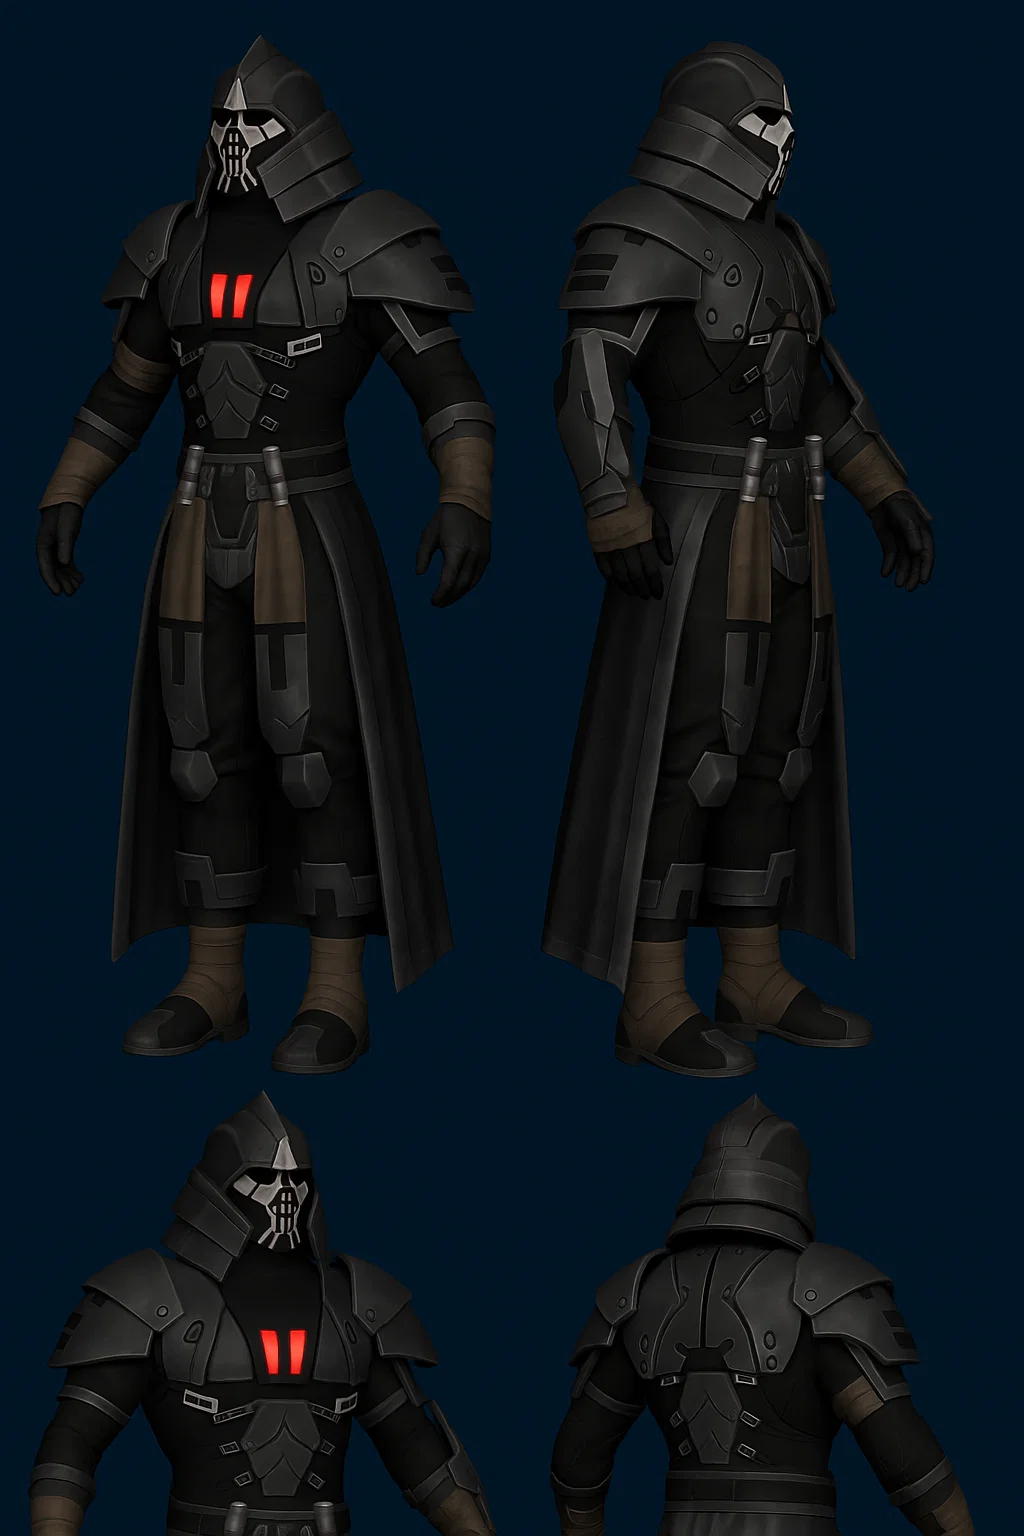
Sith Apprentice (KOTOR 1) Build Thread
romanovgirl replied to romanovgirl's topic in KOTOR I & II Characters
Finished product!
-
 Darthmaulsghost changed their profile photo
 - Earlier
-
@DarthValkyria
-
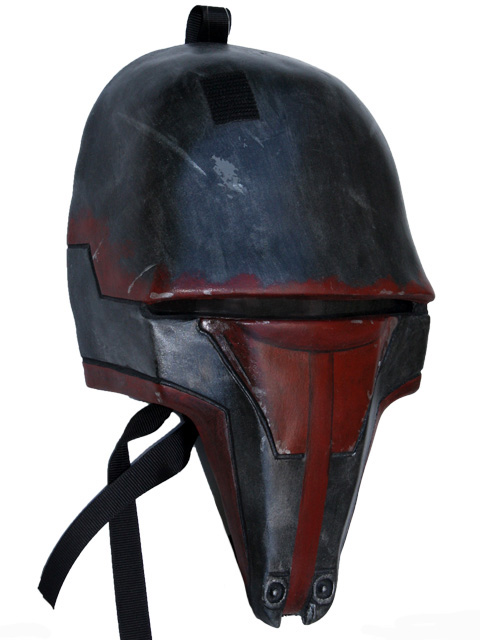
Hello. I am looking to make a Mandalore the Preserver from KOTOR 2. I have also posted this on the BHG forum, I know this will be a new to the Legion costume and that is going to take working with the Detachment staff. My question is, will he be on this detachment or the BHG? I’m working on the armor and a few other pieces. I know this is going to take some time, but I’m hoping we can get some solid info and I can start to make some progress. I feel like he would belong here as TFE has Mandalore the Ultimate, but I’m just not sure how it will fall. Any help would be most appreciated.


-
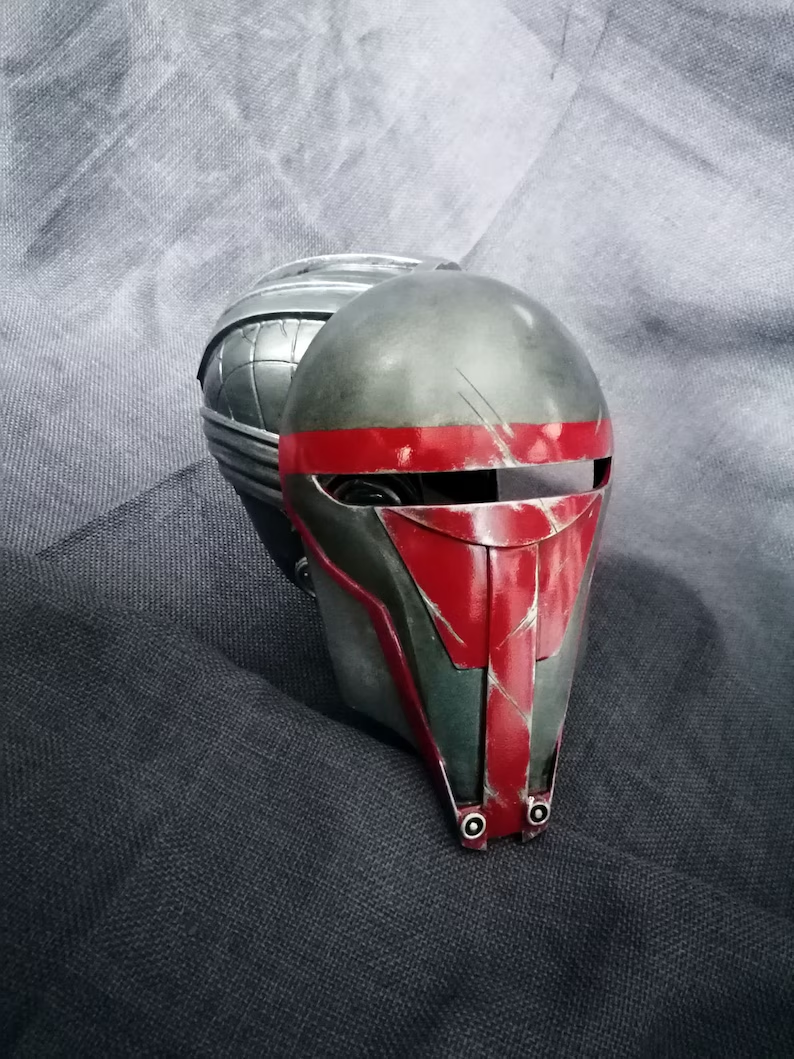
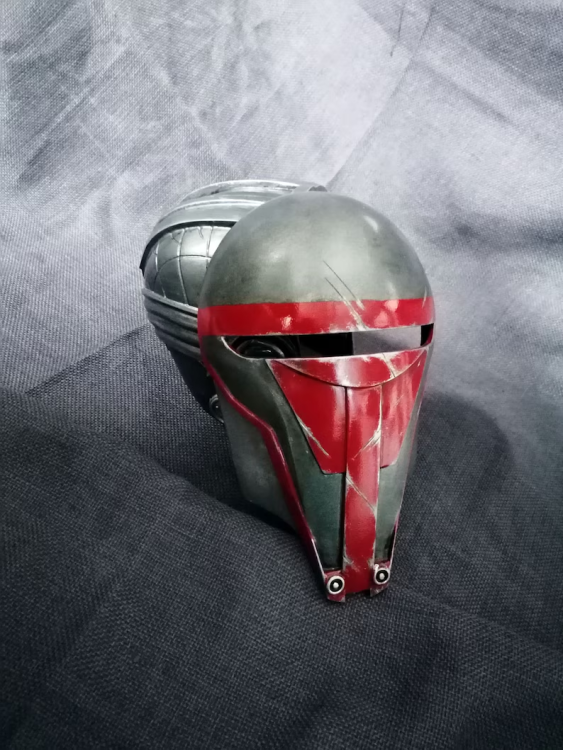
I feel like the CRL needs a review based on applying logic.. the first masks were al narrow and pointed for the chin piece because the first game images were hard to see and GFX technology didn't really do it justice.. Revan wears a Mandalorians Helmet. It should fully cover the cheeks and whatnot, but that's not represented in the approvable masks.. I get that we need things perfectly accurate, but sometimes I think there should be a discussion about the source materials "intent"..
-
It definitely looks good! But I would say check the CRL for the costume first before making any purchases: https://databank.501st.com/databank/Costuming:SL_revan Here's the mask you posted .vs the mask in the CRL (I always find it helps to put pictures beside each other for direct comparison). You can probably see as well that there are some major differences between the two. forehead section is too small for Etsy version different curve and shape in the eye slit the red painted embellishments at the front seem smaller for the CRL mask the chin to mask ratio seems to favor the mask in the CRL version (I mean that the mask is wider while the chin is thinner on the CRL version VS the Etsy variant ) red curved line running along the downside of the chin and jawline are different in shape blueish hue for CRL version VS. greenish hue for the Etsy Now I'm not an expert nor am I approved yet so don't take my word for it, but these differences should immediately make you wary of doing such a purchase. Would be sad to pay the money only to find out that it's not accurate enough. And it's a lot so I don't know if you can manage to get this one accepted.
- 3 replies
-
- 1
-

-
- helmet
- revan mask
- (and 1 more)
-
I would check with your local GML. I recently submitted photos wearing the Cyber Craft bucket which I thought was well done and hit all the marks for approval but was told that it was "This mask is VERY much not approvable. The size is absurd, the coloring is wrong, and the weathering is not canon to the video game.” While this board is a great resource, ultimately, I believe your local garrison is going to get the final say.. I might be wrong, but that's how I understand it..
-
Squeee! Thanks Lady! Absolutely honored. 💯
-
 Barry, this is absolutely amazing! I am constantly in awe of your hard work and the amount of details and energy you put into anything Asajj. They're currently updating how CRL's are stored as they were taking up too much room on the website and it needed a good ole overhaul because of just how many new costumes were being created. Hopefully that should be done soon and this will be released into the world. You should be so, so proud of yourself.
 -
 Madune joined the community
 -
Pictures! There are too many to post to this page... here's a link to the Dropbox folder. Enjoy Bad Batch Asajj Ventress with makeup Ventress
-
Oh! Thanks for the heads up. I had no idea. LOL! I'm still going to say I'm fashionably late though. 😉😂
-
 I just meant new CRLs in general are not being approved for some time it would seem. I had completed a costume build and a CRL draft for Inquisitor Cal Kestis months ago and no one has really said anything to me about it. From what I’ve seen in other detachments like Ahsoka Thrawn in IOC, they aren't approving new CRLs until the data migration project is complete. But this is only what I have heard.
 -
The curse of looking through other detachment forums 😋 Those boots look great though! There's really nothing to indicate on the references that they're anything but normal black boots, so I'd honestly pull the trigger on those You have complete free reign 😁
-
Since it's one of the things I can't make myself I have been on the hunt for boots, doing research, etc. I don't think I can find anything in my size cheaply that will fulfill my needs after having looked around for a long while. I have a 44/45EU size and preferably even larger for potentially adding lifts. Looking around at the Sith Lord Detachment forum I found a wealth of information regarding similar boots (Vader's) and I tried to find boots that were recommended there often (Chippewa, Soviet boots ) but they seem near impossible to find in the EU. Now I have to say, looking at the Vader threads in that forum, it really tickled my interest in building a Vader as well (eventually). So I figured if I were to order some custom albeit more expensive boots, I could use them for Tulak as well as a potential future ROTS Vader, which softens the financial blow for me so to speak if I can pull that off. Or atleast justifies the purchase a bit more 😂. Same with the leather body suit, hopefully I can reuse the same suit I'd use for Tulak for a ROTS Vader, if I also add a custom waist section like @NVSE suggested earlier in this topic. According to the CRL for ROTS Vader the heel is max 3 inch, sole 1 inch, and I was talking to this vendor about also adding 2 inch internal lifts, which brings total up to 5 inches. With me being 6"0 tall that would bring me to Vader height at 6"5 without the helmet, which is also what I was assuming Tulak Hord to be. Since there is no CRL for Tulak Hord yet, I don't have to worry about meeting it's requirements regarding boots. Here are some pictures of the boots I'm talking about. il_794xN.6984735133_l7yq (3).avifil_1140xN.6936765392_581p.avif
-
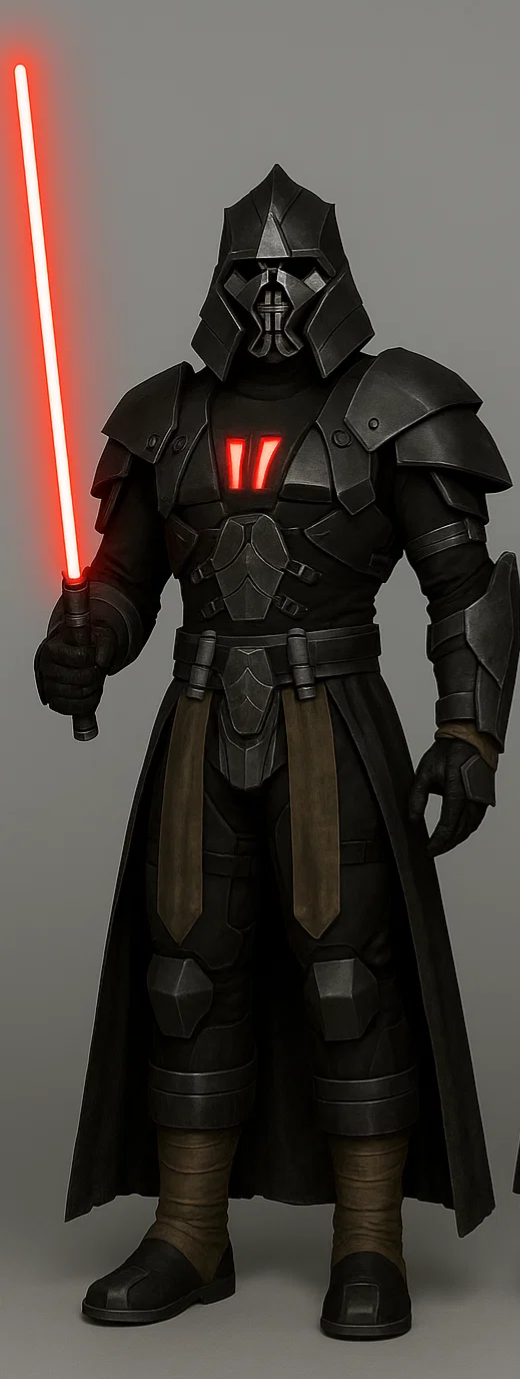
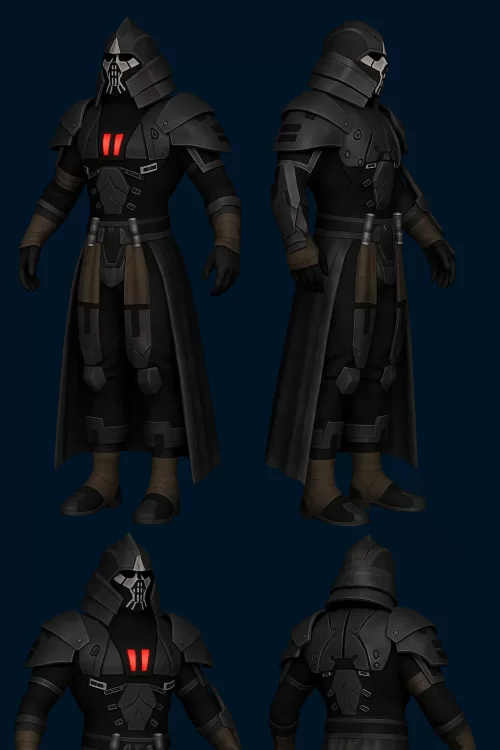
While I'm not a huge AI fan I do have to use it at work. I decided to see if I could get some AI renders of what the 'finished' costume would look like based off of my reference images. I think it did pretty well obvious mistakes aside in giving me a indication of what it COULD look like.

-

501st/SLD and/or TFE Detachment Access Requests
Palpatine77 replied to DarthBrute's topic in Welcome Area and Forum Help
Hello Requesting 501st member acccess https://www.501st.com/members/displaymember.php?userID=48144&costumeID=100 thanks -
The CRL isn't on hold btw. I'm currently working on doing the initial writeup. This is my test of final items. I'm getting fully kitted and makeup (etc.) for photos tomorrow. And I will hopefully have a pre-edited CRL by the end of this week, or by latest Monday next week. I'm the person holding stuff up. I'm just being fabulously late to the ball darling! 😜
-
This is super well done! I loved seeing this look from Asajj in the show and you captured it perfectly. Heres hoping the whatever is putting new CRLs on hold is finished soon so this can be made official hopefully. I don’t know how much longer I can calibrate my enthusiasm haha
-
 Jubbii joined the community
 -
When trying to find some information for writing up the CRL I ran into a few inconsistencies with some of my kit articles. I had to modify the model for my blaster because I realized that lever like thing was more in the center and I'm guessing is more like a sight. And the gauntlets are fully Sintra now. After doing some digging I read about no foam usage with armor parts. I didn't want to run into a roadblock. And I also got new photos from the show and from Star Wars dot com that showed me the gauntlet pattern was different than what I had seen earlier in other screenshots. Both of the items above were redone last week. The knife handle also is updated to the correct pattern at the base of the handle. The knife cannot be removed from the sheath by the way for safety concerns. I glued it in.
-
Thanks! As for the blue fabric it is weathered. I’m posting a picture below for you to see the original fabric against it being weathered. She had a lighter fabric and there were lots of white streaks and such on the blue. Same for the yellow or beige fabric, but that one I darkened and made more blotchy like what she has in the show. I had used a lighter fabric base when printing the pattern because around the edges the fabric was lighter but the main body was darker. I figured it would be easier to blend the darker paint with the pattern than trying to lighten the fabric around the pattern. I’m including some of the pictures I had of Ventress that I was using as reference.
-
 Lescott68 joined the community
 -
 Looks pretty good! I did not check with the original photos, but for me, it looks like you capture all details and it matches really well. One question: the blue and yellow fabric, they have spots where the pattern looks faded away. Is that lighting or did it fade? Otherwise awesome work!
 -
Pictures! Some things got a little frumpy and such (the tunic slid up when I was sitting down when checking out some photos we took inside and I didn’t notice till after taking off the kit). Hopefully one of my fellow Garrison members, who has a fantastic eye for details, is coming over on Wednesday to take full kit pictures. I have a background and lights for taking higher quality photos. I will be getting more detailed photos as well. Right now I wanted to get feedback from the heads here as to anything they feel should be changed? Anyways! Here’s my build…
-
Thank you so much!
-
Welcome!