-
Announcement
Welcome to the forums!
If you are a newly-approved member, make sure you check out the New Member Checklist!
If you are a Detachment member and can't see the member-only area, post here for access.
-DV

barryhicks
-
Posts
22 -
Joined
-
Last visited
-
Days Won
5
Recent Profile Visitors
280 profile views


barryhicks's Achievements
11
Reputation
-
Balancesheet's Savage Opress WIP ***Approved - June 3, 2023***
barryhicks replied to balancesheet's topic in Savage Opress
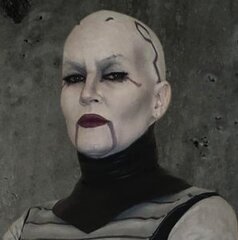
WOW! You look fantastic! Your makeup looks great and I love your horns! Wish you lived closer! I'd be all about trooping with you! Great job! -
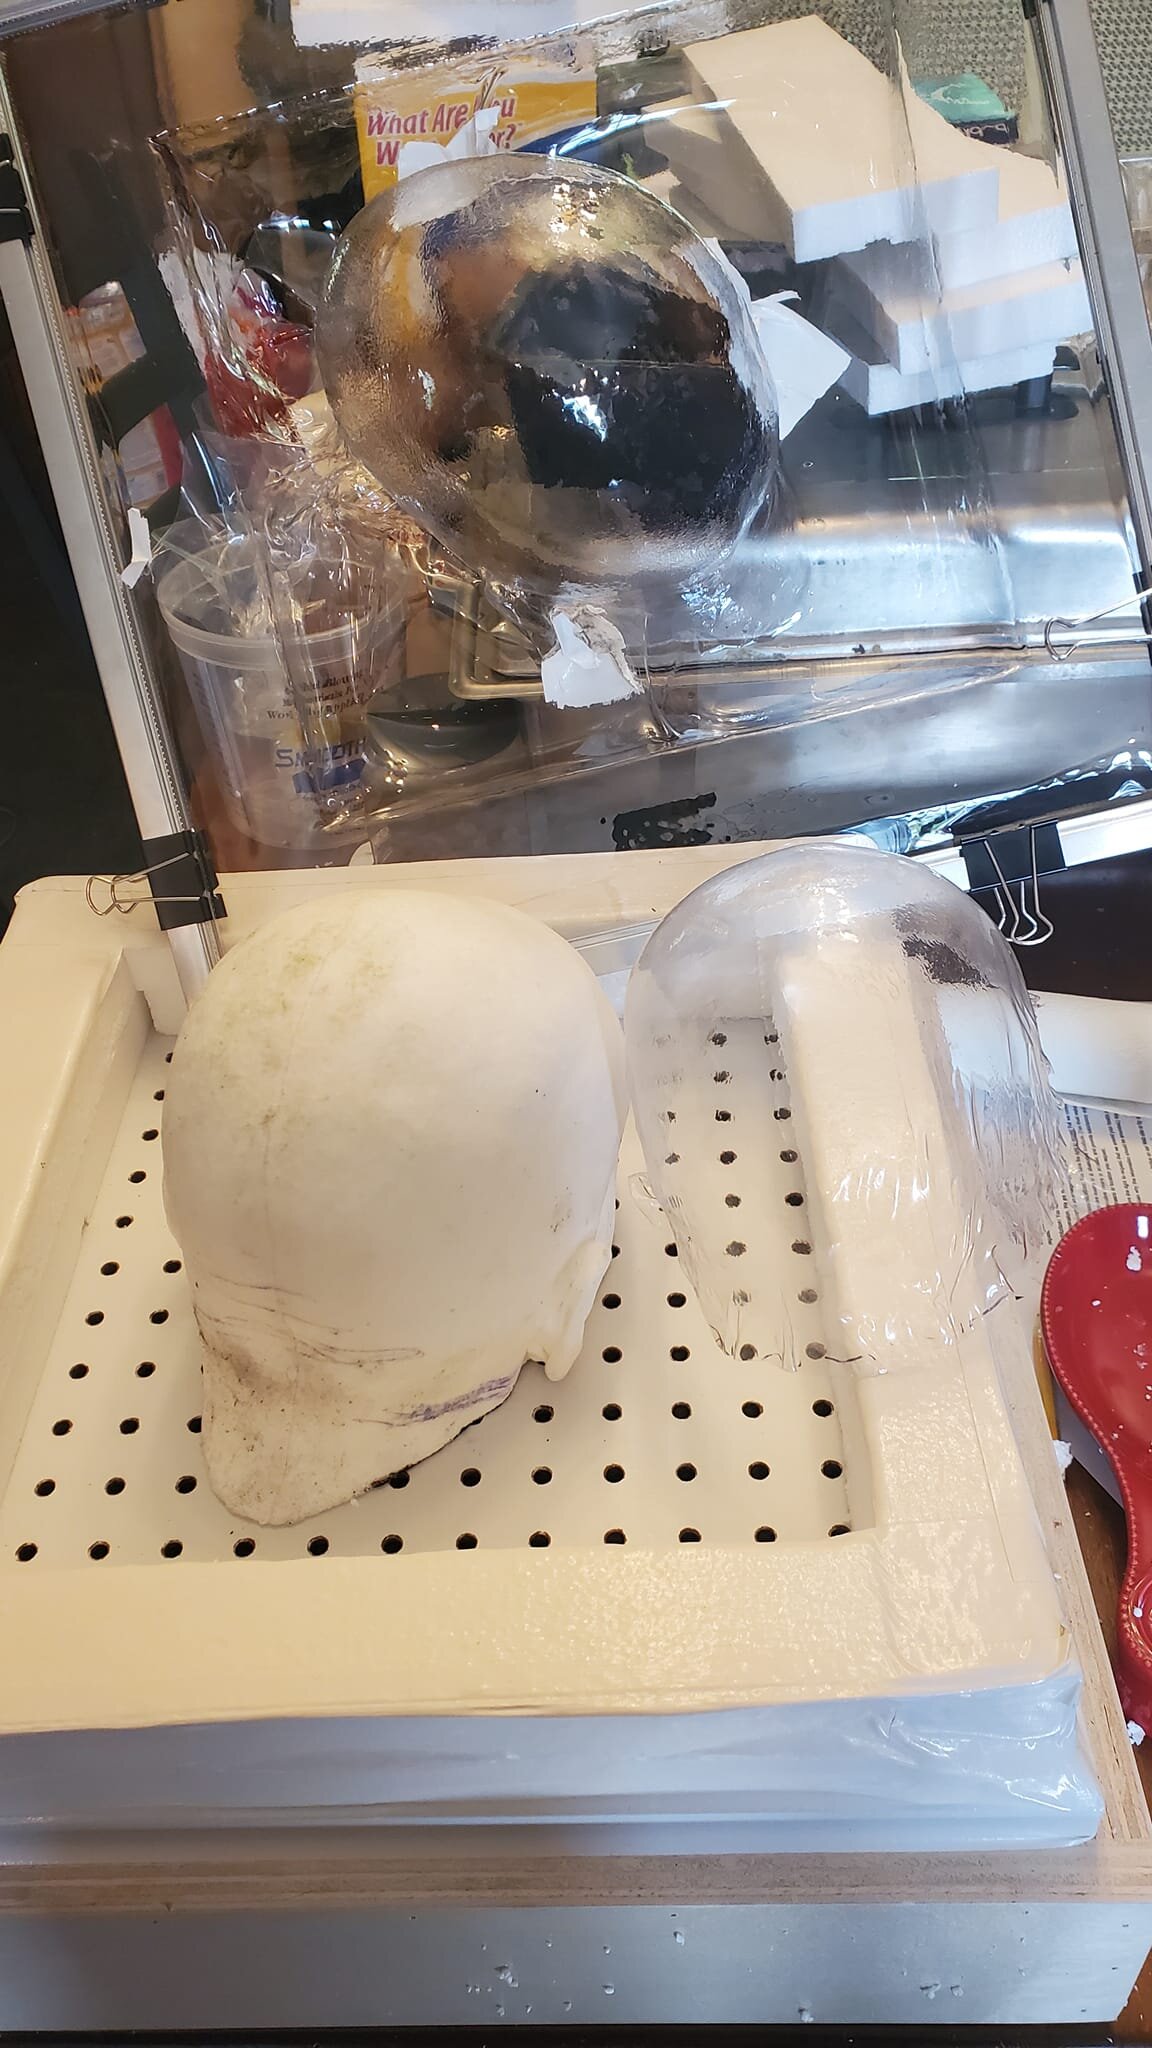
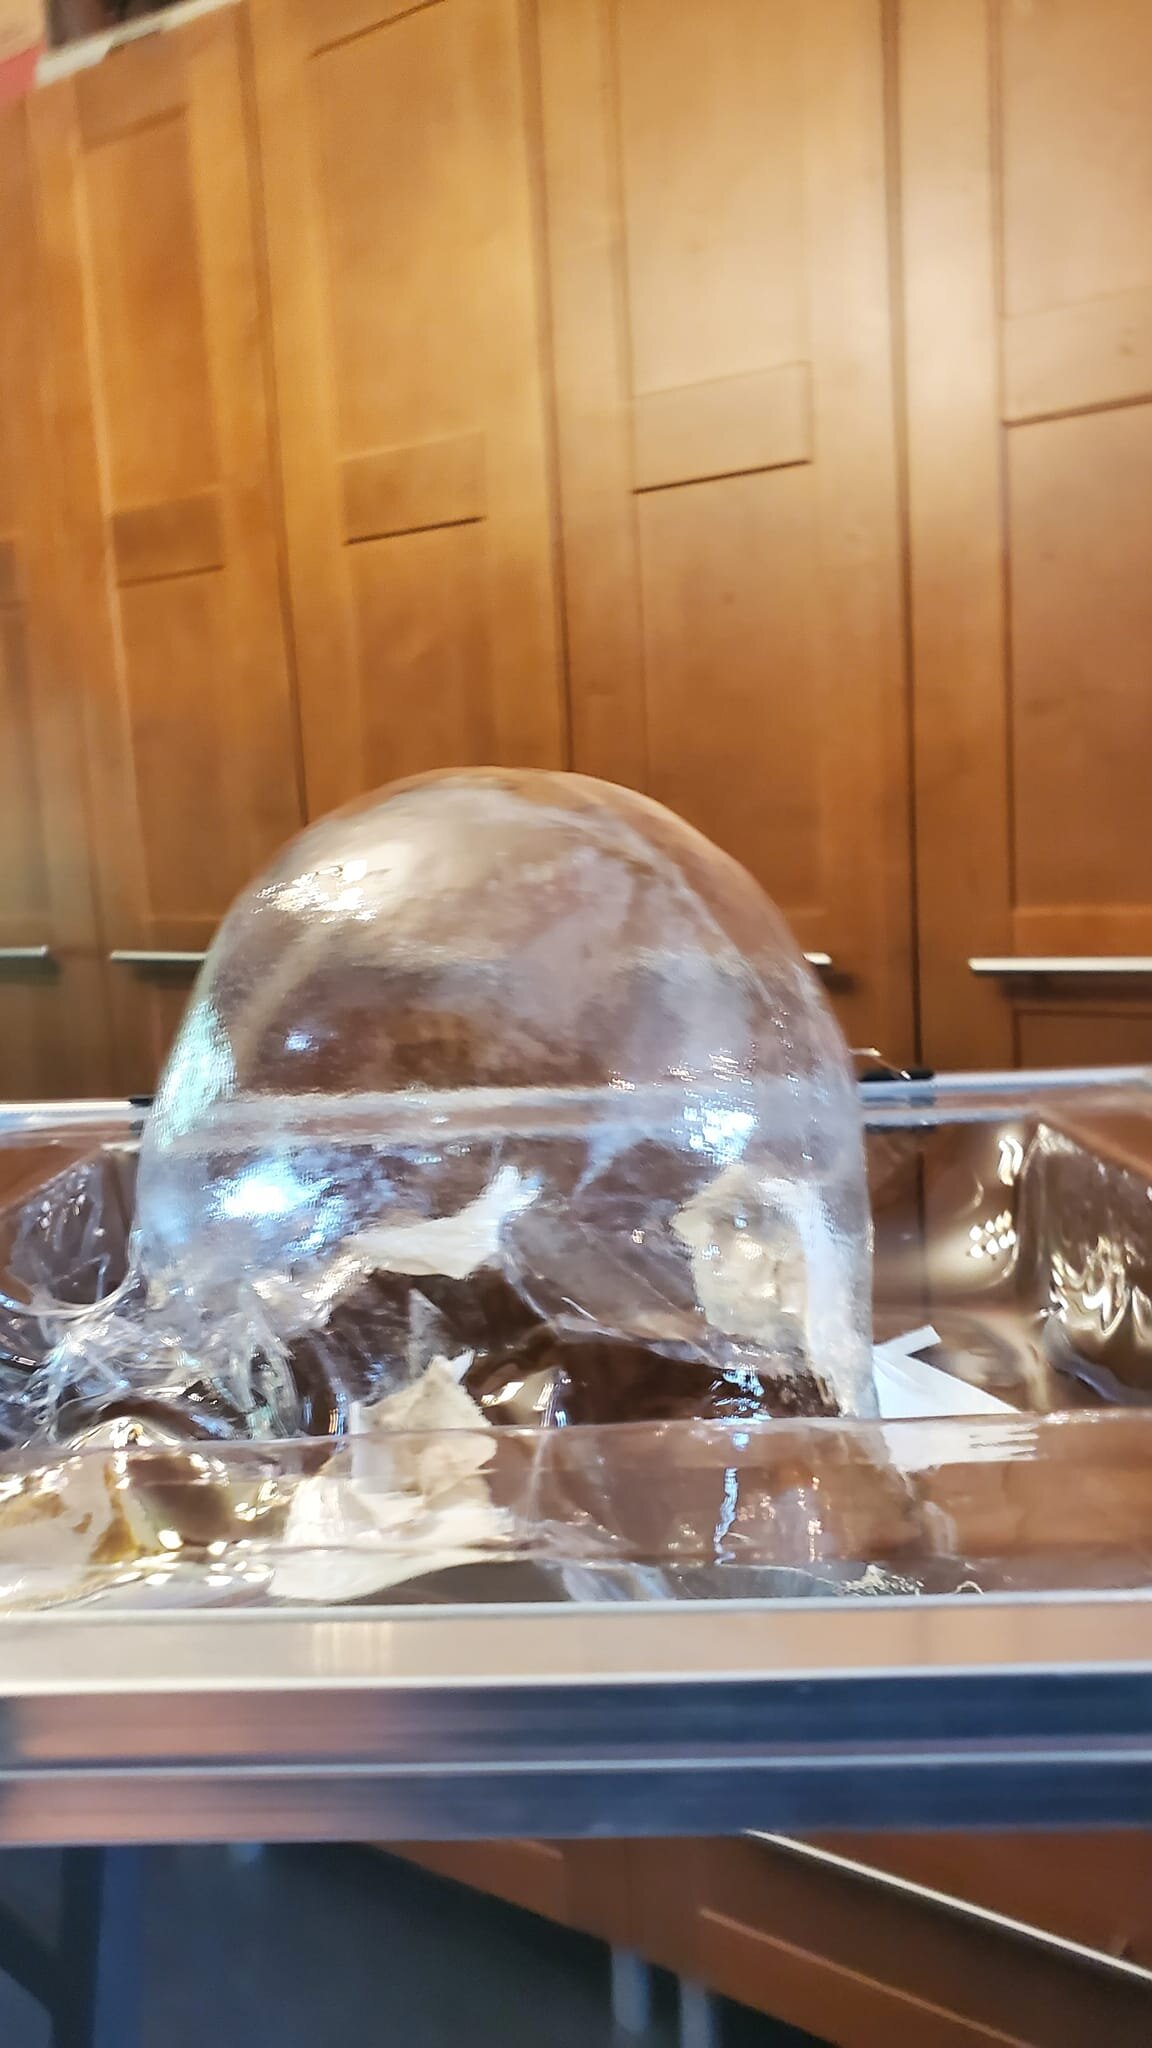
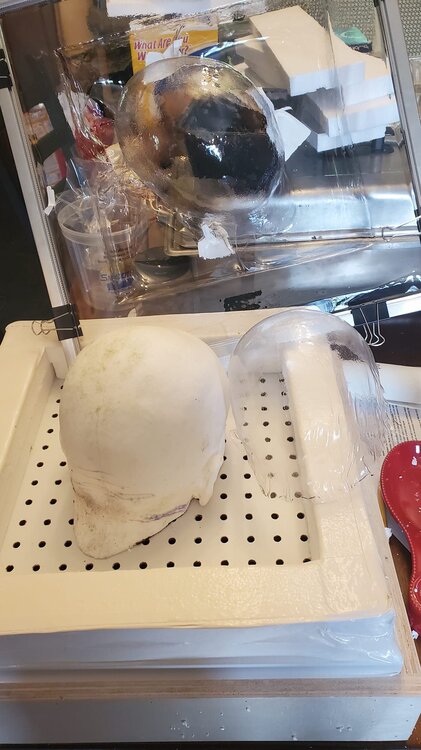
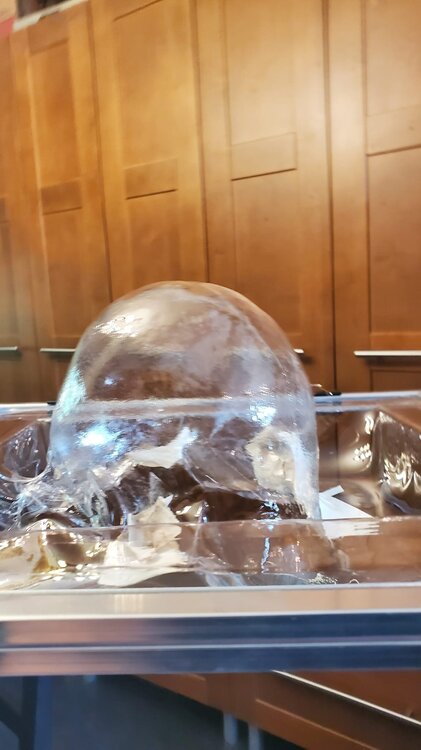
I will do a better write up of this in the next month or so. I will write more about how to make a casting of your head and such, but for now this is how to make the actual hard plastic re-usable stencil. Okay so this is going to be a bit of a long post. For my Ventress I have been planning trying to make a hard plastic stencil to use for airbrushing my Asajj Ventress tattoos on the scalp part of the head. I wanted something that is pretty much a continuous shape that doesn't have to have sections that need to be created every couple of inches. And would fit my head without large gaps. I have been using a Halloween bald cap that I tried to modify to fit my head, but because the material is flimsy the stencil shapes have to be cut into sections and then have to be connected when the bald cap is removed. I had my head cast. Which I did but I had to go to a place to get it done. Mind you I plan on doing other things with my head mold. The process for making this stencil can be done with just casting the scalp and ear area and doesn't have to include the face. I purchased a small (16"x16") Vacuum forming table. Got it on Etsy. Pm me if you want a link. You can also go on Youtube to learn how to make one. I used my house vacuum to create the suction. I also purchased a sheet of PETG from Amazon. .020" thickness. I also had a heat gun for this process. I made a cast from the mold of my head using Smooth-Cast 305 from Reynolds Advanced Materials. I made it a little bigger (deeper) than I had planned on. But I figured out a workaround without having to cut the head shape down. You can learn more about casting at the Smooth-On website. or you can search Youtube. I used the metal frame that came with the vacuform table and secured the plastic sheet I had cut down to the same size as the frame. I then put it in the over, raised a few inches above the metal wire shelf under my broiler (around 3-4") and let it sit for around 30-45 seconds. I pulled it out and pushed it down over the head form. My first try at molding the head stencil failed (mostly). When I first pulled the hot sheet down over the head form, it wouldn't stretch far enough down over the head form to reach the edges of the table to suction down the plastic. I tried using a heat gun while putting pressure on the plastic pulling it down, however this really didn't work very well. So, I tried again. This time I remedied the suction issue by building up walls of the vacuform table with Styrofoam I had in the house and then using duct tape to attach them to the table and seal the edges. This would allow the plastic sheet to come down onto the surface edge of the table to allow the suction of the vacuum to work on pulling down the extra plastic to the table. I repeated the steps like I did the first time with heating the sheet of plastic in the oven. I then pushed the sheet down over the head form onto the wall edges where it then started to suction down the plastic. The plastic cools quickly. When it does it will not stretch anymore. It still needed to form a bit more, so I used a heat gun (550 deg) in spots around the head form while the vacuum was on. Some spots I melted the surface and created holes where I had the heat gun to close to the plastic, so I patched them up with duct tape to create the suction again. I kept going around the head till I was happy with the results. I have cut the head shape out and will be drawing and cutting out the shapes of the tattoos that go on Ventress' head. The only thing I would like to do again differently is using a bit of a thicker sheet of PETG. I feel it would hold up better for future stenciling. For now, I will use this. But I am also currently ordering more PETG in a thicker sheet. I will be posting more pictures of the head stencil being cut tout and being used with the airbrush when I get there later today. If you do not know about Vacuum forming I suggest googling it to learn more. The first image is showing the vacuform table with the failed stencil to the right of the head form and the successful one still clamped to the frame for the vacuform table standing upright (you are looking at the top of the head). The second image shows how deep the forming of the plastic was made. You can also see the pieces of white duct tape I used to seal the holes where needed.
-
barryhicks changed their profile photo
-
501st/SLD and/or TFE Detachment Access Requests
barryhicks replied to DarthBrute's topic in Welcome Area and Forum Help
Thank you for that information! I've updated my info. -
501st/SLD and/or TFE Detachment Access Requests
barryhicks replied to DarthBrute's topic in Welcome Area and Forum Help
I've updated my profile. Officially approved! Here's a link to my profile. Thanks! https://www.501st.com/forum/memberlist.php?mode=viewprofile&u=24526 -
Hey! I just realized I didn't post that I was approved! I was approved on the 19th. Little late to the game on my announcement here. Very much looking forward to trooping as her!
-
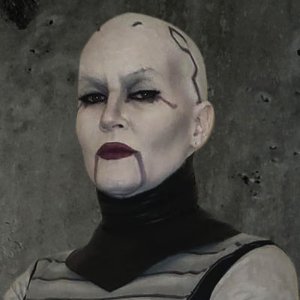
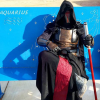
Hey. So here are a few of my submission photos. I really need to find a good photographer at some point for getting good photos of this character.
-
With some luck on my side I was able to get enough time today to finish the last of what needed to be done for the outfit. Got the thumbs up from my advisor. Tomorrow I will do makeup and get the submission pictures going. What a crazy ride this has been so far!
-
Okay, some updates! I've been busy. I am/have been backtracking a little on my outfit. After some talking with my advisor, I realize that I'm really supposed to be making the version of Ventress that is in the photos of the CRL not the cartoon character (which was more my focus beforehand). I do have the gauntlets and grieves done but I don't have photos currently to show here. I'll have them up hopefully in a few days. I made the lines on the bodysuit much wider and darkened the shading. I also took out my shoulder pads and completely altered the upper part of the bodysuit to look like the one in the photo. You can see things points at the top of the black sides now touch at the top. I also remade the collar to look like the one in the photo. And I am currently remaking my belt. I'm wet forming leather to get more of the shape of what is in the photo. I actually find this funny, because I'm a leather worker. One way to form vegetable tanned leather is to form it over a mold. And sometimes we need to sandwich the leather between a positive and negative mold. I'm wearing a long line corset under the outfit. I then have all of the regular accoutrements on over that and then the damp leather, saran wrap, and then another corset (short line) on top to sandwich the leather between the two corsets so as to get the right shape for it to dry into. Never in my life did I think I'd be a mold for a piece of leather! Anyways, here's a few pictures.
-
Today was play with makeup... I didn't get around to doing the back of the head tattoos. I do plan on making a stencil for that part. This took around 2 1/2hrs. Still learning the best way to work with the materials. I think I did a pretty good job.
-
Makeup question. Do we have to "hide" our eyebrows like with glue or can we just let them be hidden with the white makeup? I'm fighting with the glue. Is there any other way to hide them?
-
I have a question about the lines going across the gray areas. Should they be thicker or are they alright the thickness they are? Also, should the shading be darker? I'm trying to find a balance between the image of the woman in the CRL page and the images of Ventress in the Reference library.
-
Hey everyone. So got some stuff done over the last week. Here are photos of the soft parts done. I'm going to be working on my greaves, guantlets, collar and corset belt over the next two weeks, along with playing with more makeup. I'll post pictures soon with my next makeup practice (hopefully this weekend). Cheers!
-
Hey everyone. I have a question about contacts. I got a pair of silver contacts just to see how they would look. I think they look really good for the character. However, in the CRL it says "Light Blue or Turquois". Do you think these would pass? I did look at some of the reference images on this site and found a close up of her face from the episode where she is wearing this outfit and her eyes do look very similar. I'll try and link it to this post. Thanks for your help ahead of time!
-
Thank you! Happy New Years to everyone! Well I got my boots finished, they needed modifying because the sides had elastic and I needed to cover them with faux leather. I glued the edges down so it can still stretch some. I've also been working on the bodysuit. I spent the last three days getting to this point. I'm hoping to add the black cuffs and decorative stitching and paint/texturing this week. I'm gonna try to hit up my leggings sometime in the next few weeks. Here's to chugging away during the New Years!
-
Hi guys! So my name is Barry. I'm currently starting on my Asajj Ventress Betrayed kit. I've been wanting to do a costume of her for the 501st for a very long time and I finally decided to take her on. I'll be sharing my work as I go. And I will have questions I'm sure. A bit of info about me. I am also an approved member of the Mando Mercs, and have a custom kit I made for them. I am also a member of the SCA and do a good bit of sewing, leather working and fighting. I am an artist/craftsperson. I love to create so making costumes has always been a big joy in my life. A few things that I am doing currently for the AVB costume I am working on. I have decided to go with Mehron cream makeup and varying eyeshadows/eyeliners. My skin has been getting dryer as I have gotten older these last few years. I have been working on trying different techniques for my makeup and have started taking notes on what I need to do for the whole process. This particular part is a journey in itself as I am not big on wearing makeup in my day to day life. So I have been doing a good bit of research on it. I am shaving my head for the character. I normally shave my hair off every so many years cause I get tired of growing my hair out. I've been bald many times, so luckily I don't have to worry about using a bald cap. I found a pair of boots and need to modify them slightly (I'll post pictures over the next few weeks, when I get to them). I found the fabric I want to use. I will be doing a mockup of a bodysuit over the next few weeks as well, to get a good pattern for the body of the outfit. My husband just bought me the Sister Wen lightsabers from CCSabers. They can be used to do choreographed fighting. I also like them because I can remove the blade if I want. When I get them in hand I'll post pictures/video. That's about it for the moment. I'm very excited to finally get the ball rolling on this one.