-
Announcement
Welcome to the forums!
If you are a newly-approved member, make sure you check out the New Member Checklist!
If you are a Detachment member and can't see the member-only area, post here for access.
-DV
All Activity
- Yesterday
-
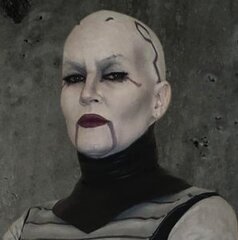 The CRL isn't on hold btw. I'm currently working on doing the initial writeup. This is my test of final items. I'm getting fully kitted and makeup (etc.) for photos tomorrow. And I will hopefully have a pre-edited CRL by the end of this week, or by latest Monday next week. I'm the person holding stuff up. I'm just being fabulously late to the ball darling! 😜
 -
 This is super well done! I loved seeing this look from Asajj in the show and you captured it perfectly. Heres hoping the whatever is putting new CRLs on hold is finished soon so this can be made official hopefully. I don’t know how much longer I can calibrate my enthusiasm haha
 -
When trying to find some information for writing up the CRL I ran into a few inconsistencies with some of my kit articles. I had to modify the model for my blaster because I realized that lever like thing was more in the center and I'm guessing is more like a sight. And the gauntlets are fully Sintra now. After doing some digging I read about no foam usage with armor parts. I didn't want to run into a roadblock. And I also got new photos from the show and from Star Wars dot com that showed me the gauntlet pattern was different than what I had seen earlier in other screenshots. Both of the items above were redone last week. The knife handle also is updated to the correct pattern at the base of the handle. The knife cannot be removed from the sheath by the way for safety concerns. I glued it in.
-
Thanks! As for the blue fabric it is weathered. I’m posting a picture below for you to see the original fabric against it being weathered. She had a lighter fabric and there were lots of white streaks and such on the blue. Same for the yellow or beige fabric, but that one I darkened and made more blotchy like what she has in the show. I had used a lighter fabric base when printing the pattern because around the edges the fabric was lighter but the main body was darker. I figured it would be easier to blend the darker paint with the pattern than trying to lighten the fabric around the pattern. I’m including some of the pictures I had of Ventress that I was using as reference.
- Last week
-
 Looks pretty good! I did not check with the original photos, but for me, it looks like you capture all details and it matches really well. One question: the blue and yellow fabric, they have spots where the pattern looks faded away. Is that lighting or did it fade? Otherwise awesome work!
 -
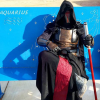
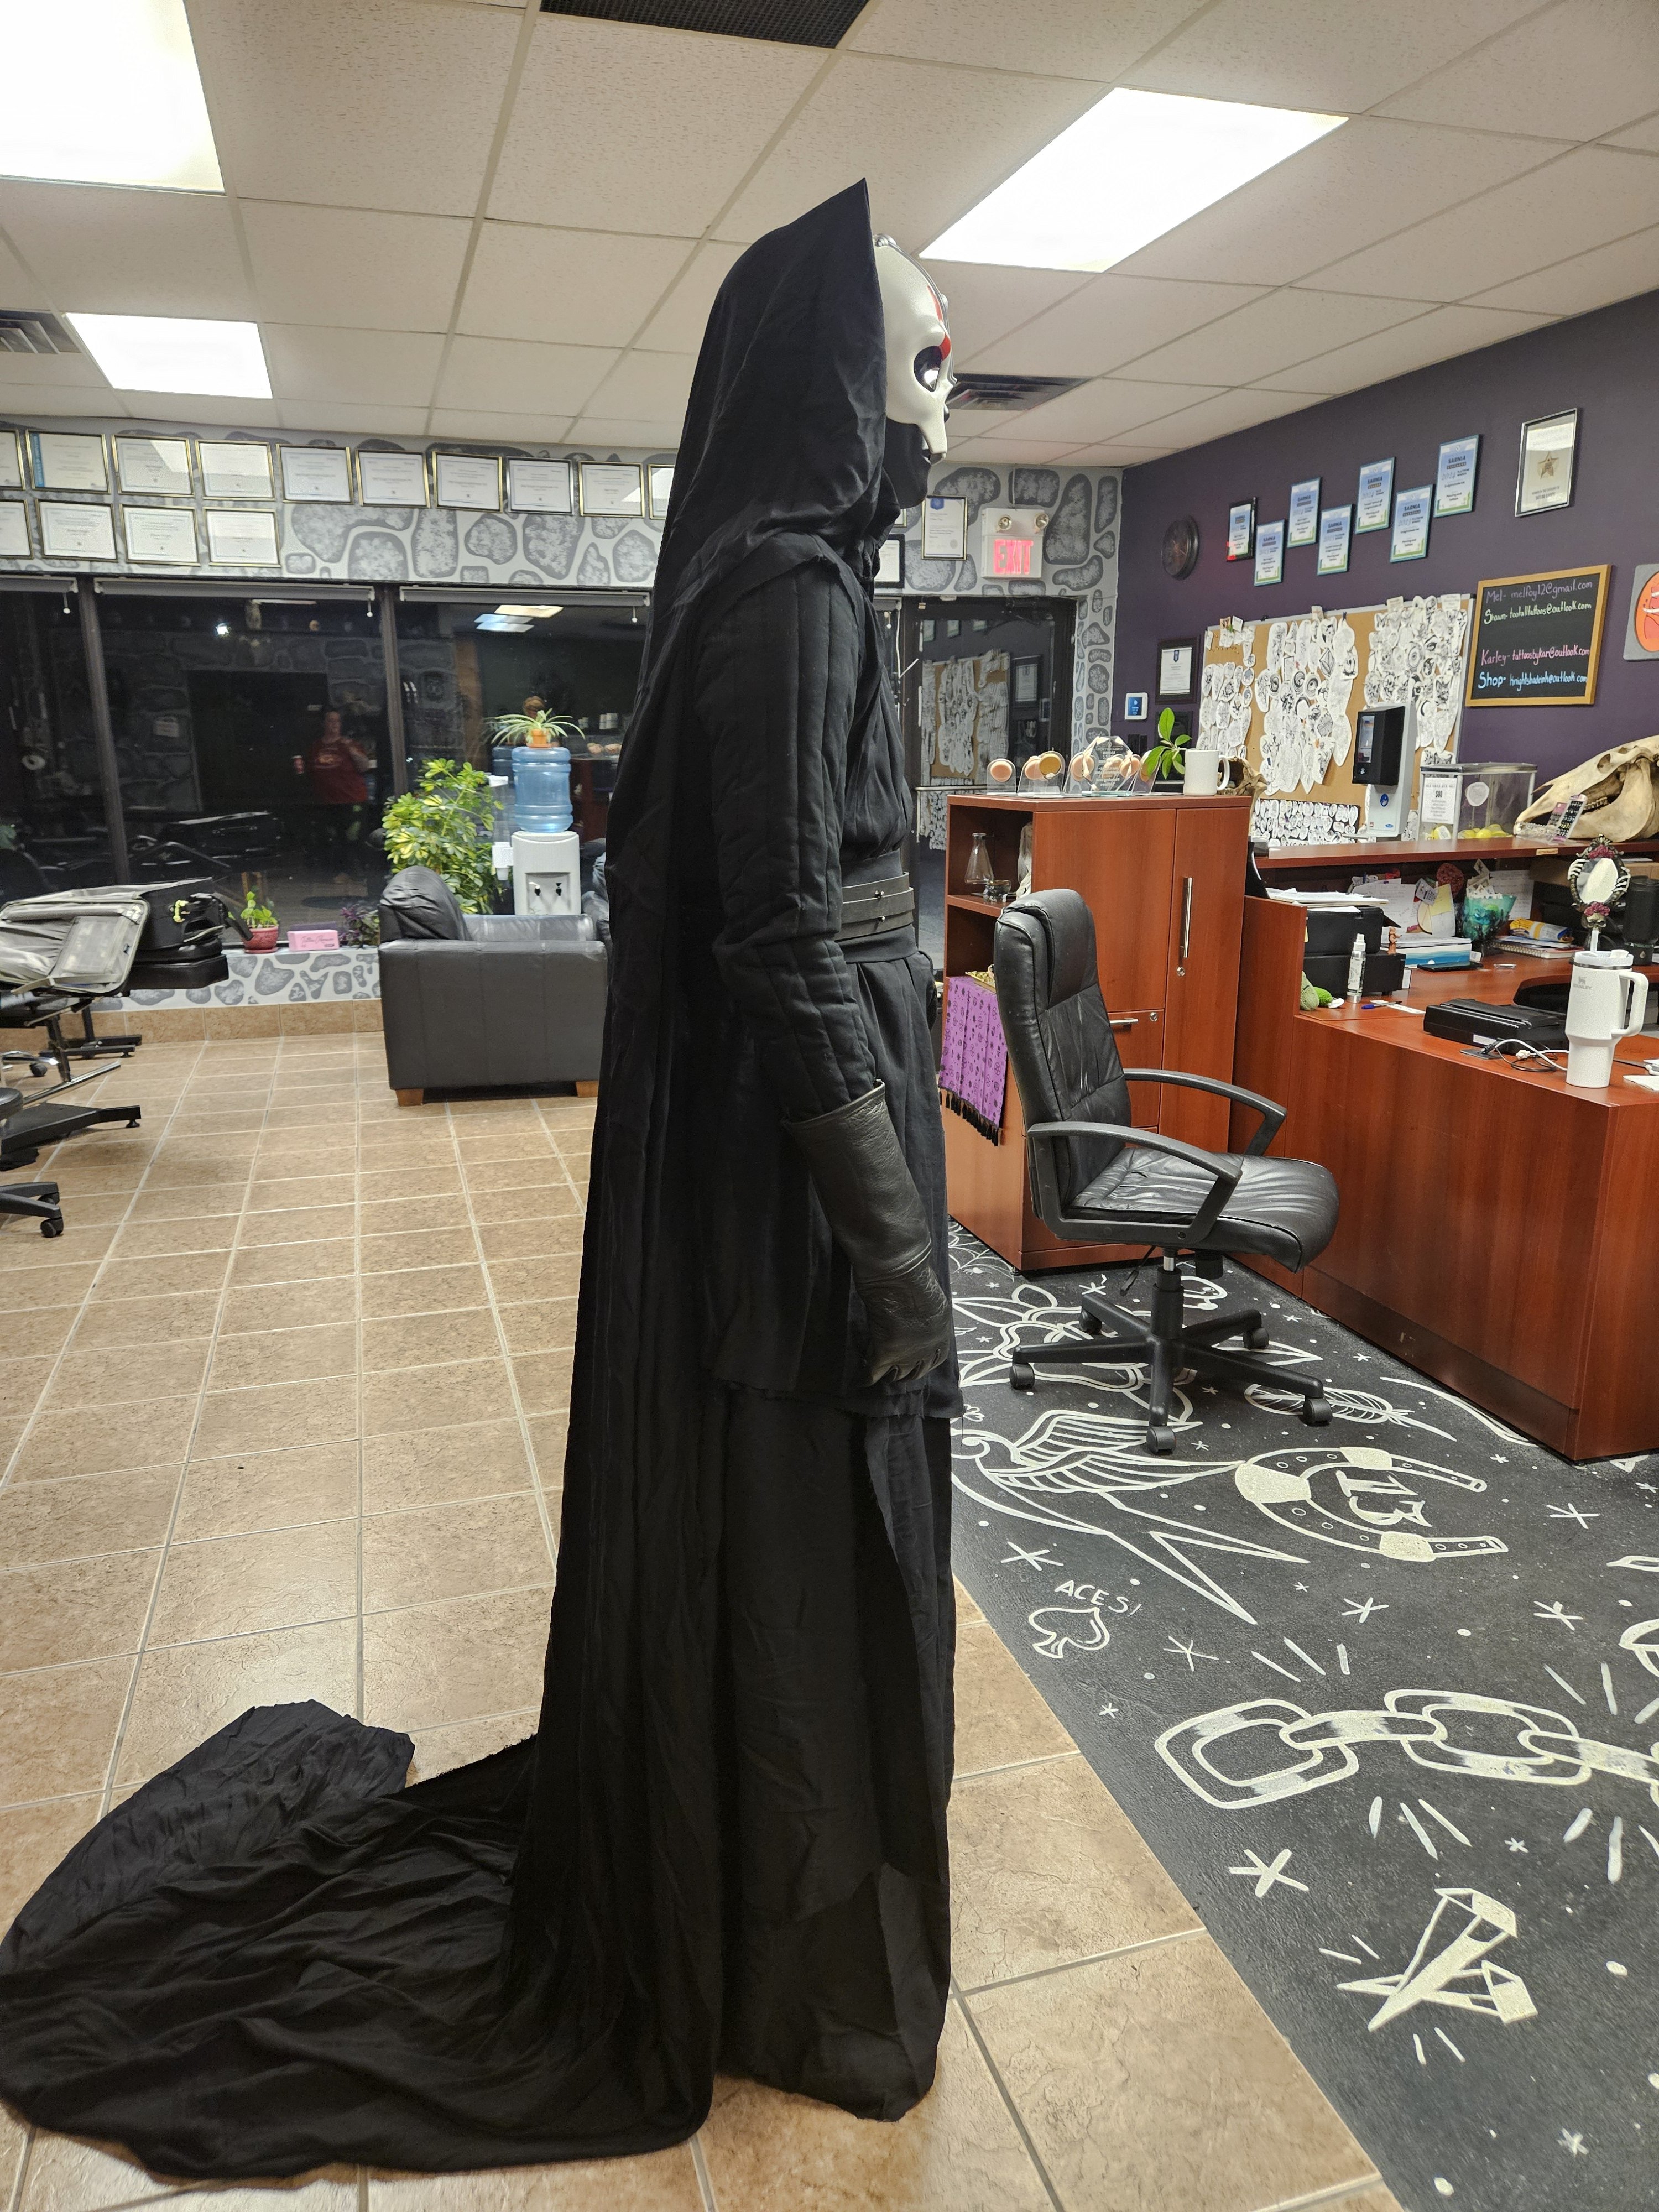
Pictures! Some things got a little frumpy and such (the tunic slid up when I was sitting down when checking out some photos we took inside and I didn’t notice till after taking off the kit). Hopefully one of my fellow Garrison members, who has a fantastic eye for details, is coming over on Wednesday to take full kit pictures. I have a background and lights for taking higher quality photos. I will be getting more detailed photos as well. Right now I wanted to get feedback from the heads here as to anything they feel should be changed? Anyways! Here’s my build…
-
Thank you so much!
-
Welcome!
-
How to Propose Edits to the CRLs
The Clone Emperor replied to DarthValkyria's topic in Imperial Forces
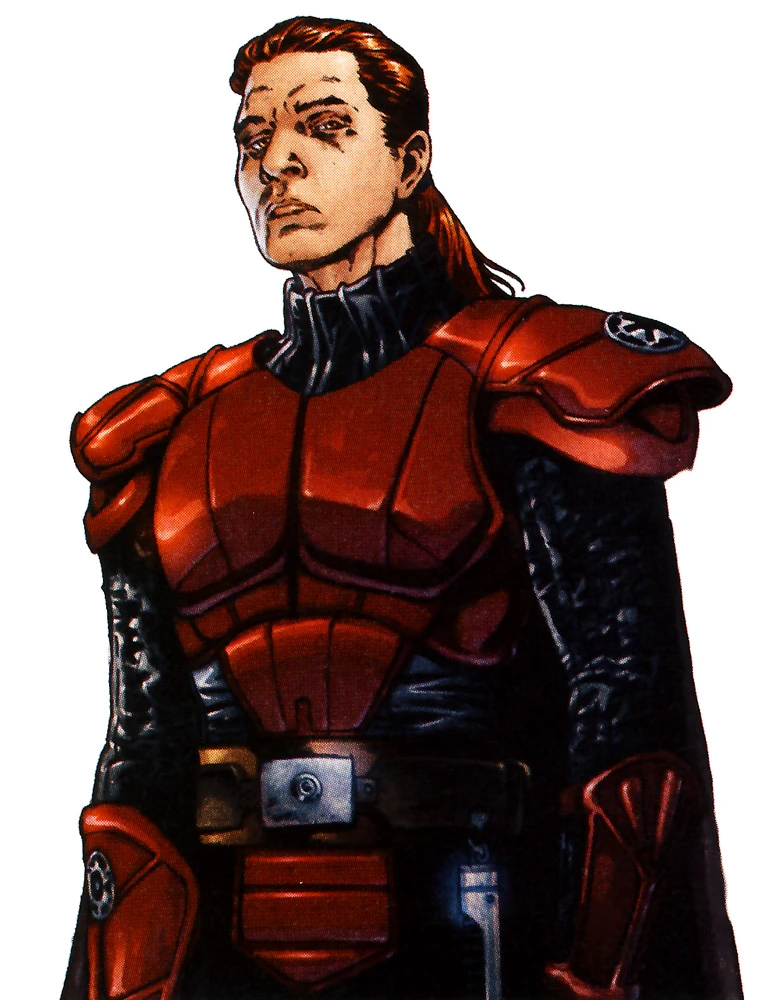
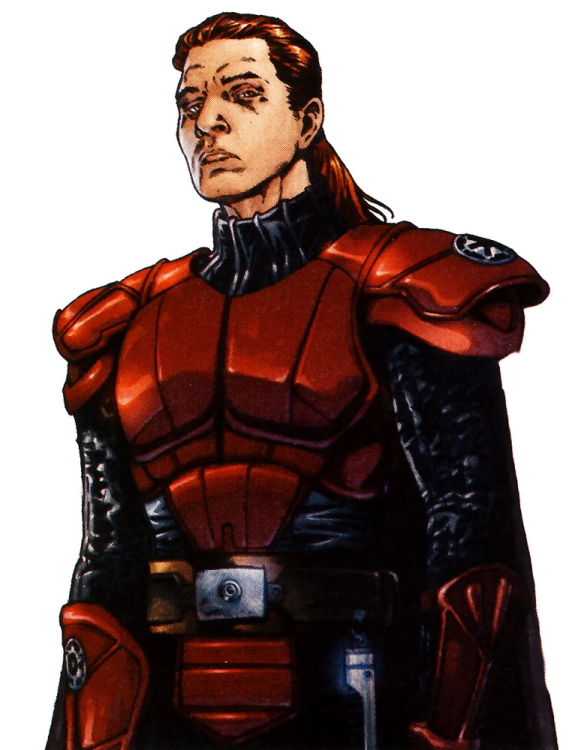
TR Imperial Knight as of 28. June. 2025; Armor The shoulders have dual layer armor; overlaying one another. The outermost portion of the armor has piped line detailing. The costumer's right set of armor has a circle detail inlay into the top shoulder. Bracers The bracers begin at the costumer's wrist and end at the elbow. There is a pointed end at the elbow and two small square hand covers. The hand covers and bracers are etched with simple detailing. The costumer's left arm has a circle with an imperial cog design. Edit; Armor The shoulders have dual layer armor; overlaying one another. The outermost portion of the armor has piped line detailing. The costumer's set of armor has an Imperial Logo detail inlay on the top left shoulder. Bracers The bracers begin at the costumer's wrist and end at the elbow. There is a pointed end at the elbow and two small square hand covers. The hand covers and bracers are etched with simple detailing. The costumer's right arm brace has a circle with an Imperial logo. Reason; To be in agreement with reference and current CRL images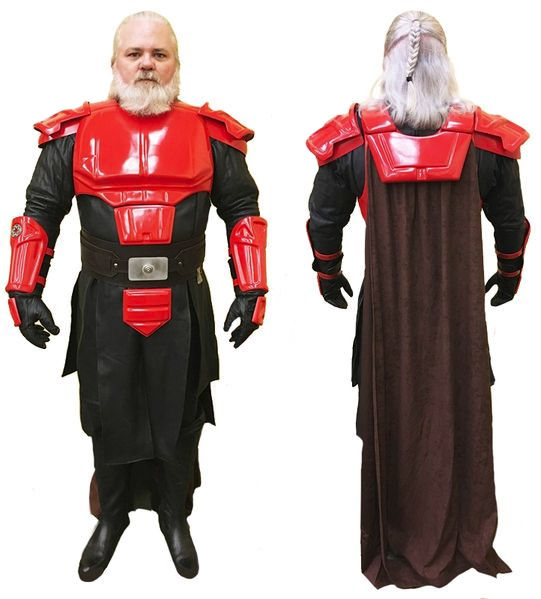
-
Hello from Mississippi! My name is Sonja and I'm currently with the Rancor Raiders and JRS. I am looking to do a Tales of the Underworld Asajj Ventress. Happy to be here!
-
I was approved by: RL in March SG in May 501st June
- Earlier
-
Those are some really good ideas, thanks. I will look around for some tall black boots and if I can manage a relatively cheap one I will maybe attach it with glue, else I think I'll go the route you're describing. Indeed if I create the sabatons with a sole I should probably use sintra and not print it for extra durability. Maybe even add a thin rubber sole to the bottom of them. Alternatively I could forego the sole of the sabaton and have it wrap around the boots like you say. Magnets sound good either way though and probably the easiest way to make the boots modular.
-
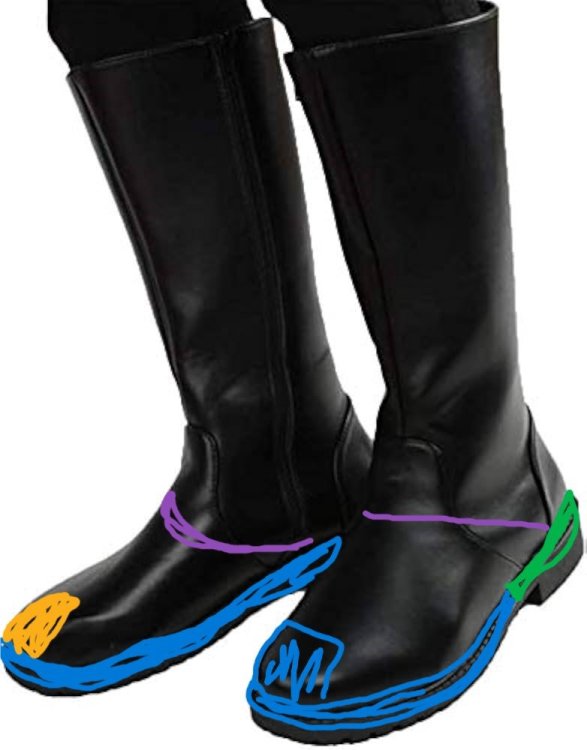
I honestly think you have pretty free reign on the boots themselves since there's not much detail on them, comfortable black boots are more than enough. Then for the metal parts, I think sintra would honestly would be the go to way for this, that was you can make it a snug fit, besides the design of it is pretty easy. If you don't want to butcher the boots with glue and damage the boots by putting the parts on and off constantly I think there's 2 ways to go about it. 1. (With a seam) once the parts are shaped cut them in 2 parts, front and back and put some magnets in the parts where they meet so they snap onto each other and then put a strap on the back part so it doesn't sag down. 2. Make the part that goes over the front of the boot a separate part, and then allow it to be attached by magnets to the part that goes around the boot, then a strap at the back around the front of the boot so it doesn't sag down as well. Here's a picture that shows both ways, left is 2, right is 1. Hope it makes sense 😆 The wrappings seem to be the same as the hand wraps and the other fabric straps on the costume, your best bet would honestly be to go to a fabric store and just look around for fabric with the same-ish texture that's tan, you can always make it darker.
-
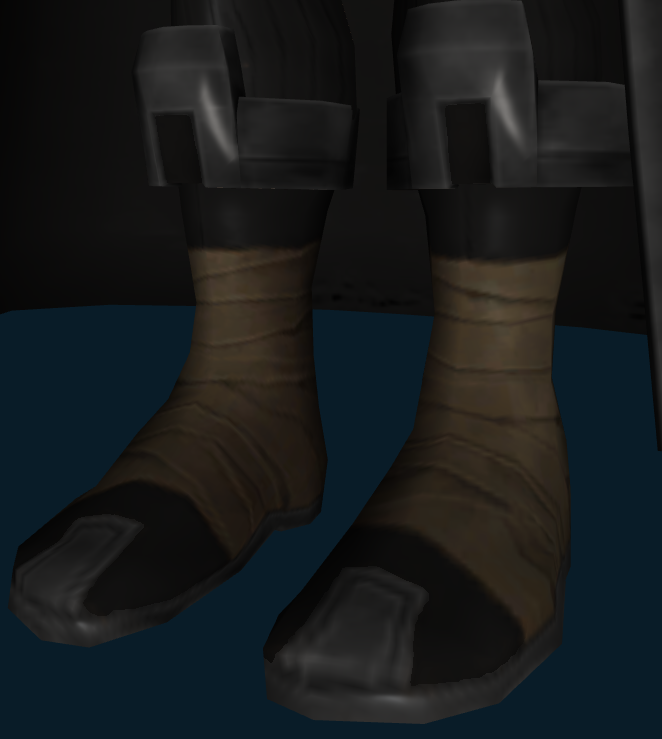
Boots The last thing I'm trying to wrap my head around is these boots. The look of the boots in the game is kind of ambiguous, especially the part where the boots end and seem to transition into the knee armor part. It's unclear to me whether the knee armor parts are supposed to be integrated with the boots or not. When looking at the concept art image, the knee armor does look like it is attached to the boots. Hard to tell in reference images from the game, possibly due to game engine limitations? Regarding the boots themselves, they look like they are about knee high, black, possibly leather? Wrapped with some kind of fabric, maybe cotton gauze in beige/brown. Then these boots have a medieval sabaton like armor piece under the sole and a small section overlapping the toe section of the boots. I also have 3D files for this sabaton-like part, and I could probably somehow attach this part to the sole of the boots. Maybe with straps if that is sturdy enough, since then I'll be able to reuse the boots for a different costume (vs. glueing it). I think I'd be able to hide said straps with the cotton gauze that'll be wrapped around it. I am considering which type of boot I should get now. It looks like a officer type jackboot like for Vader would do the trick here as well. Though if I went that route, I'd preferably not make permanent alterations to expensive boots. If I didn't went with officer boots, do you guys think a cheaper but similar shaped boot would do the trick here?
-
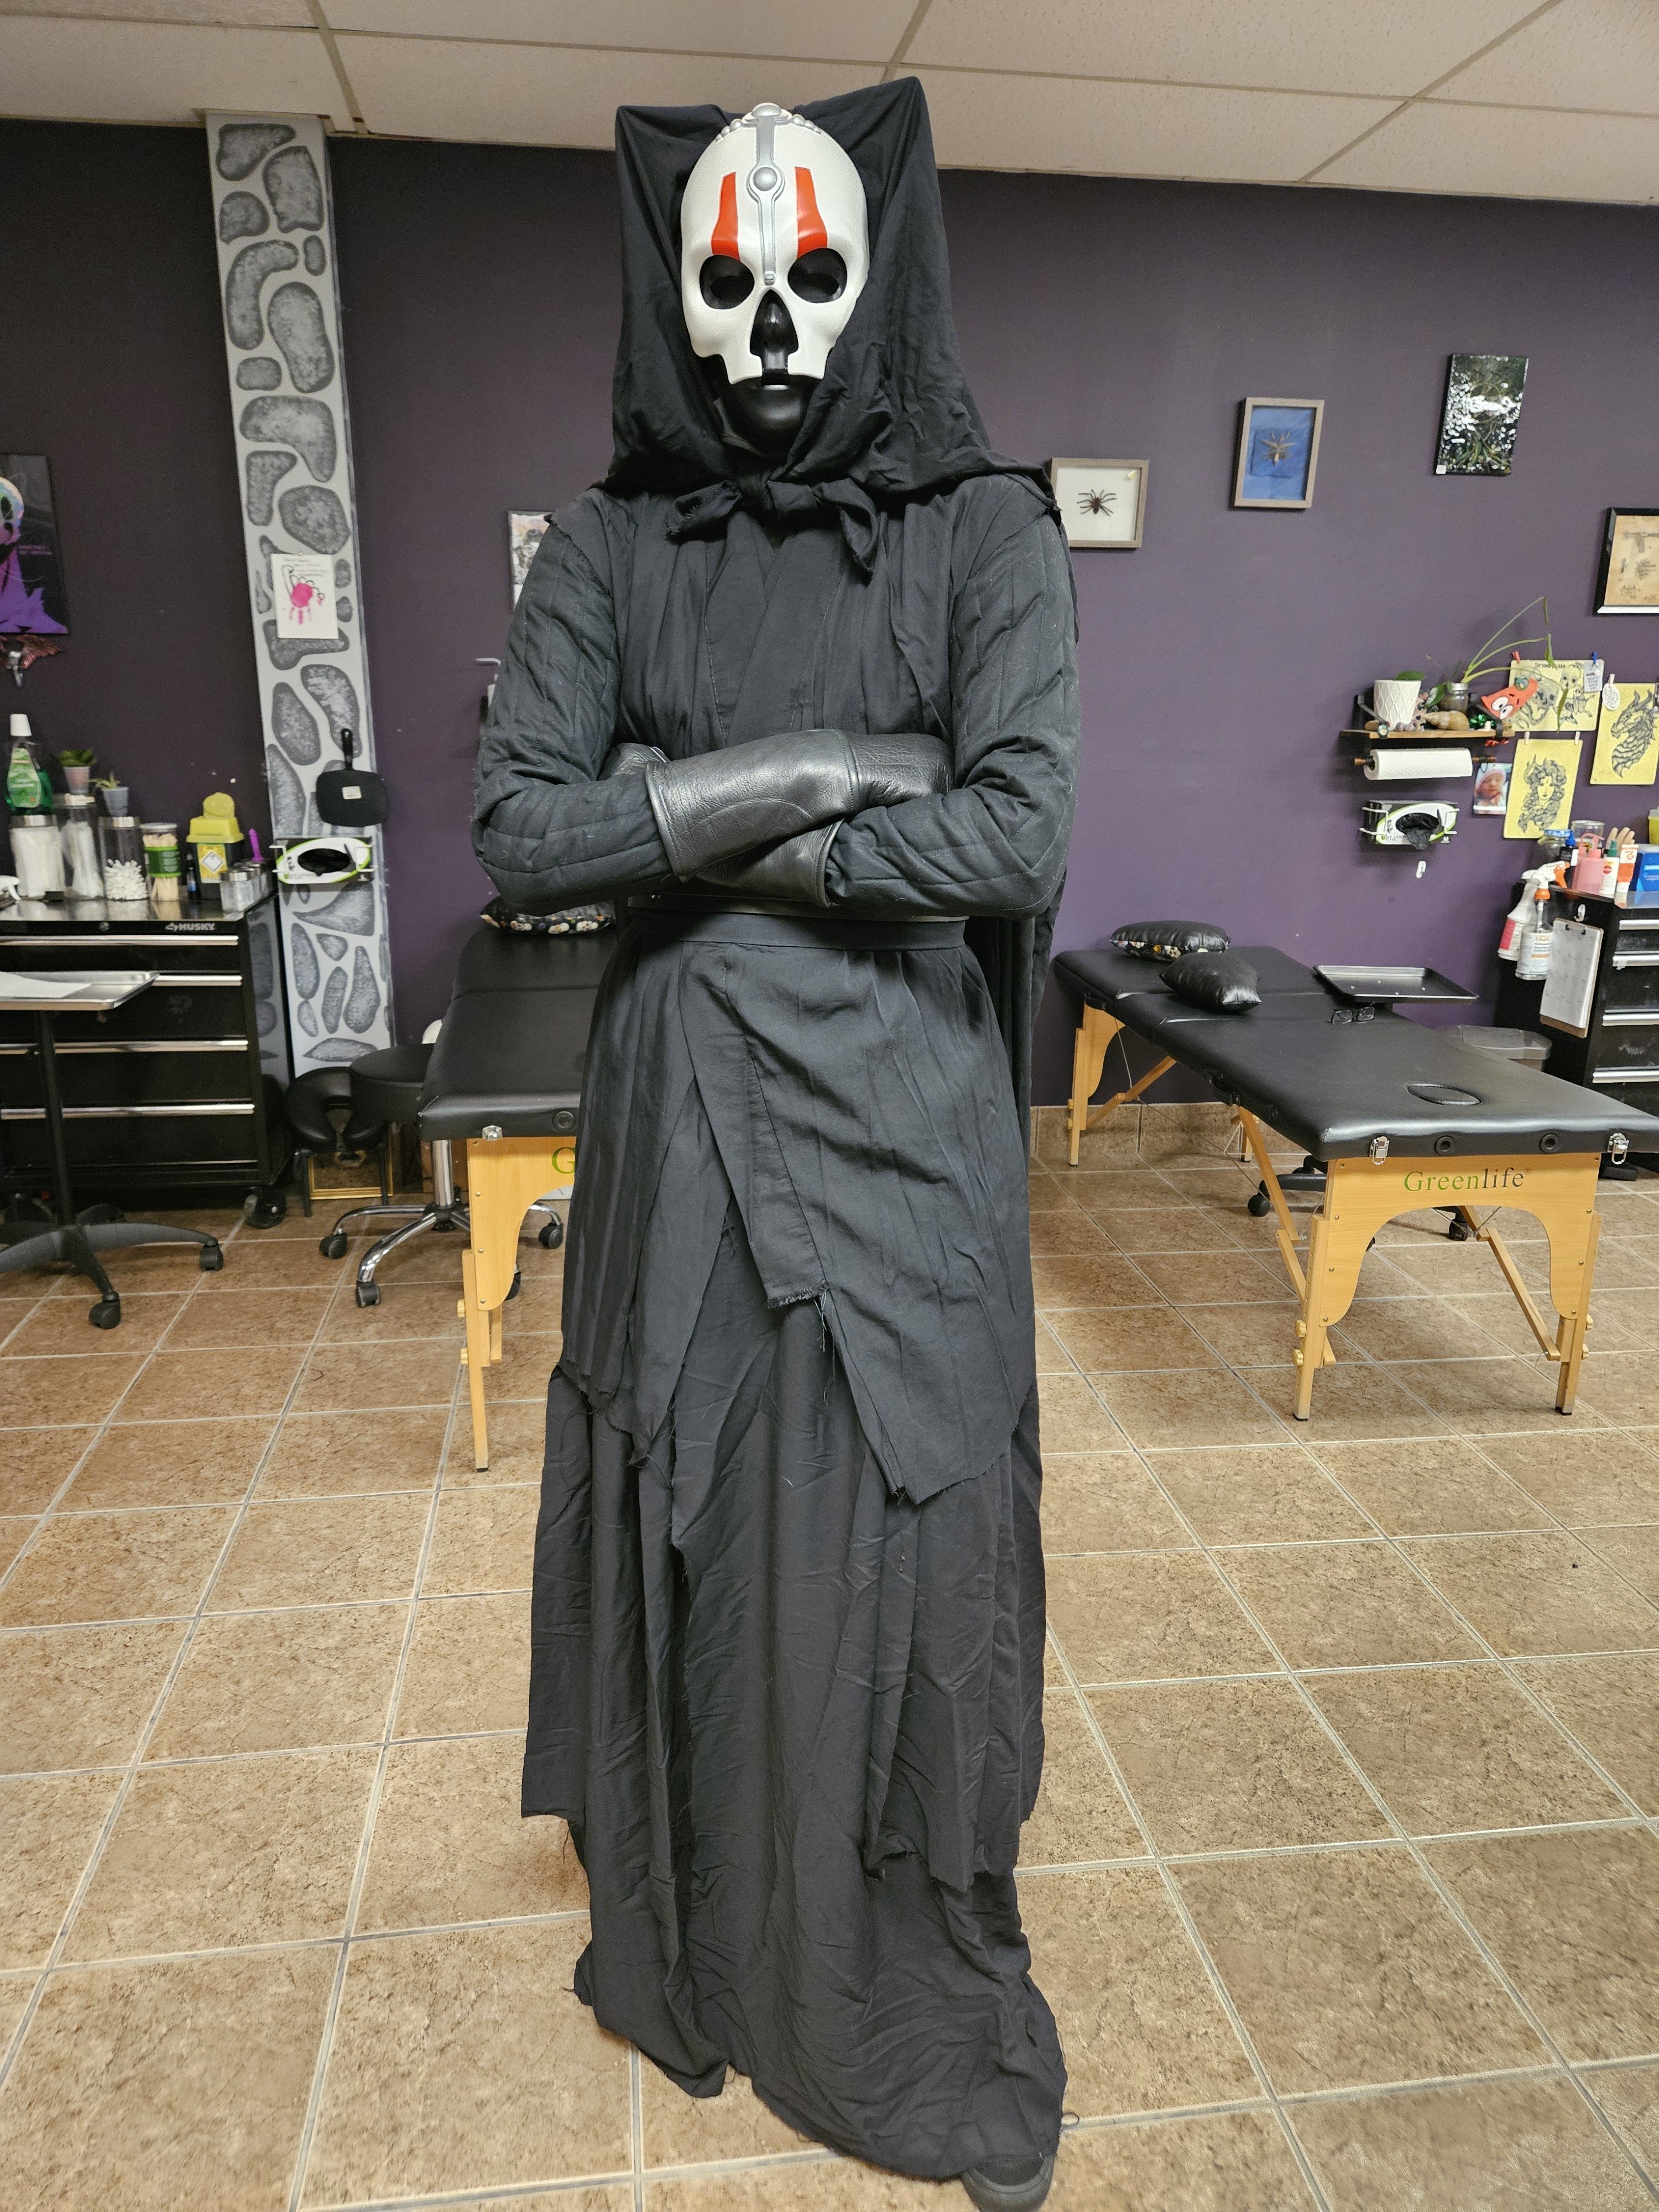
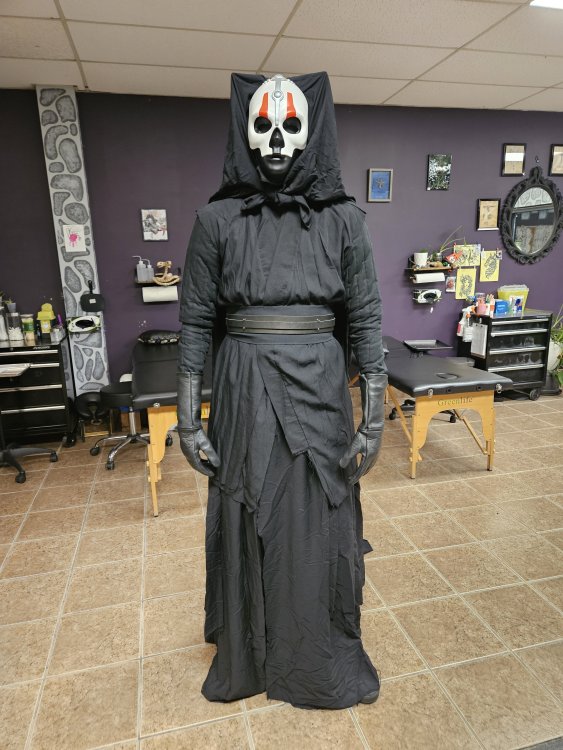
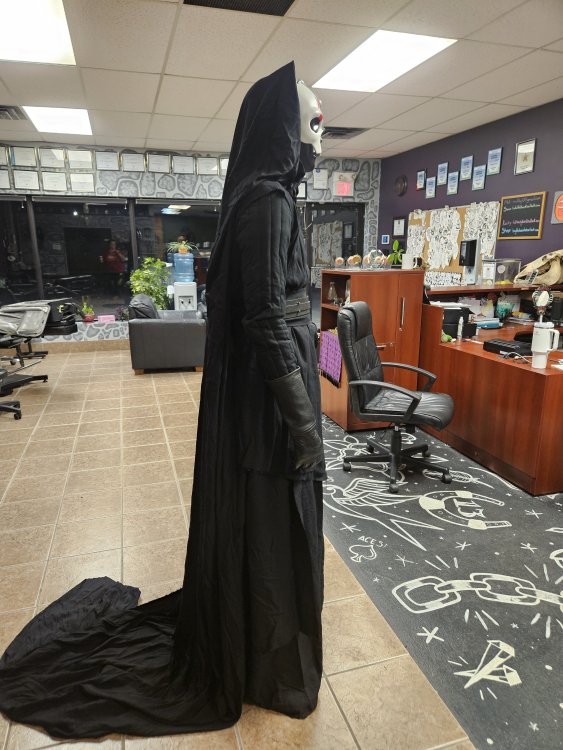
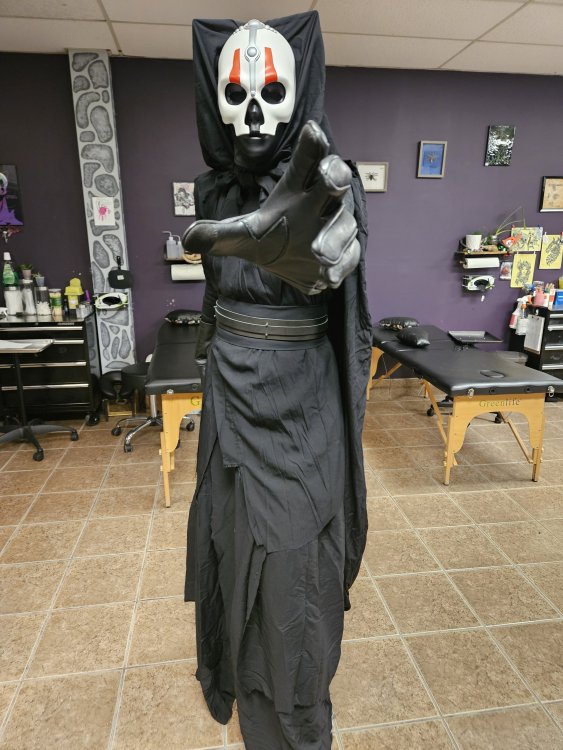
Hi You need to pull the hood more forward, it sits to far behind on top of your head, and I am a bit concerned that the catears are a bit to pointy looking. The knot in the front will need to be lowered a bit, as it should sit at your upper sternum. Skirts, cape and tunics, as you also state, needs to be shorten as per the CRL - but so far great work on it, you´re almost there
-
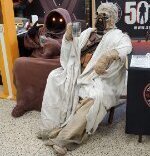
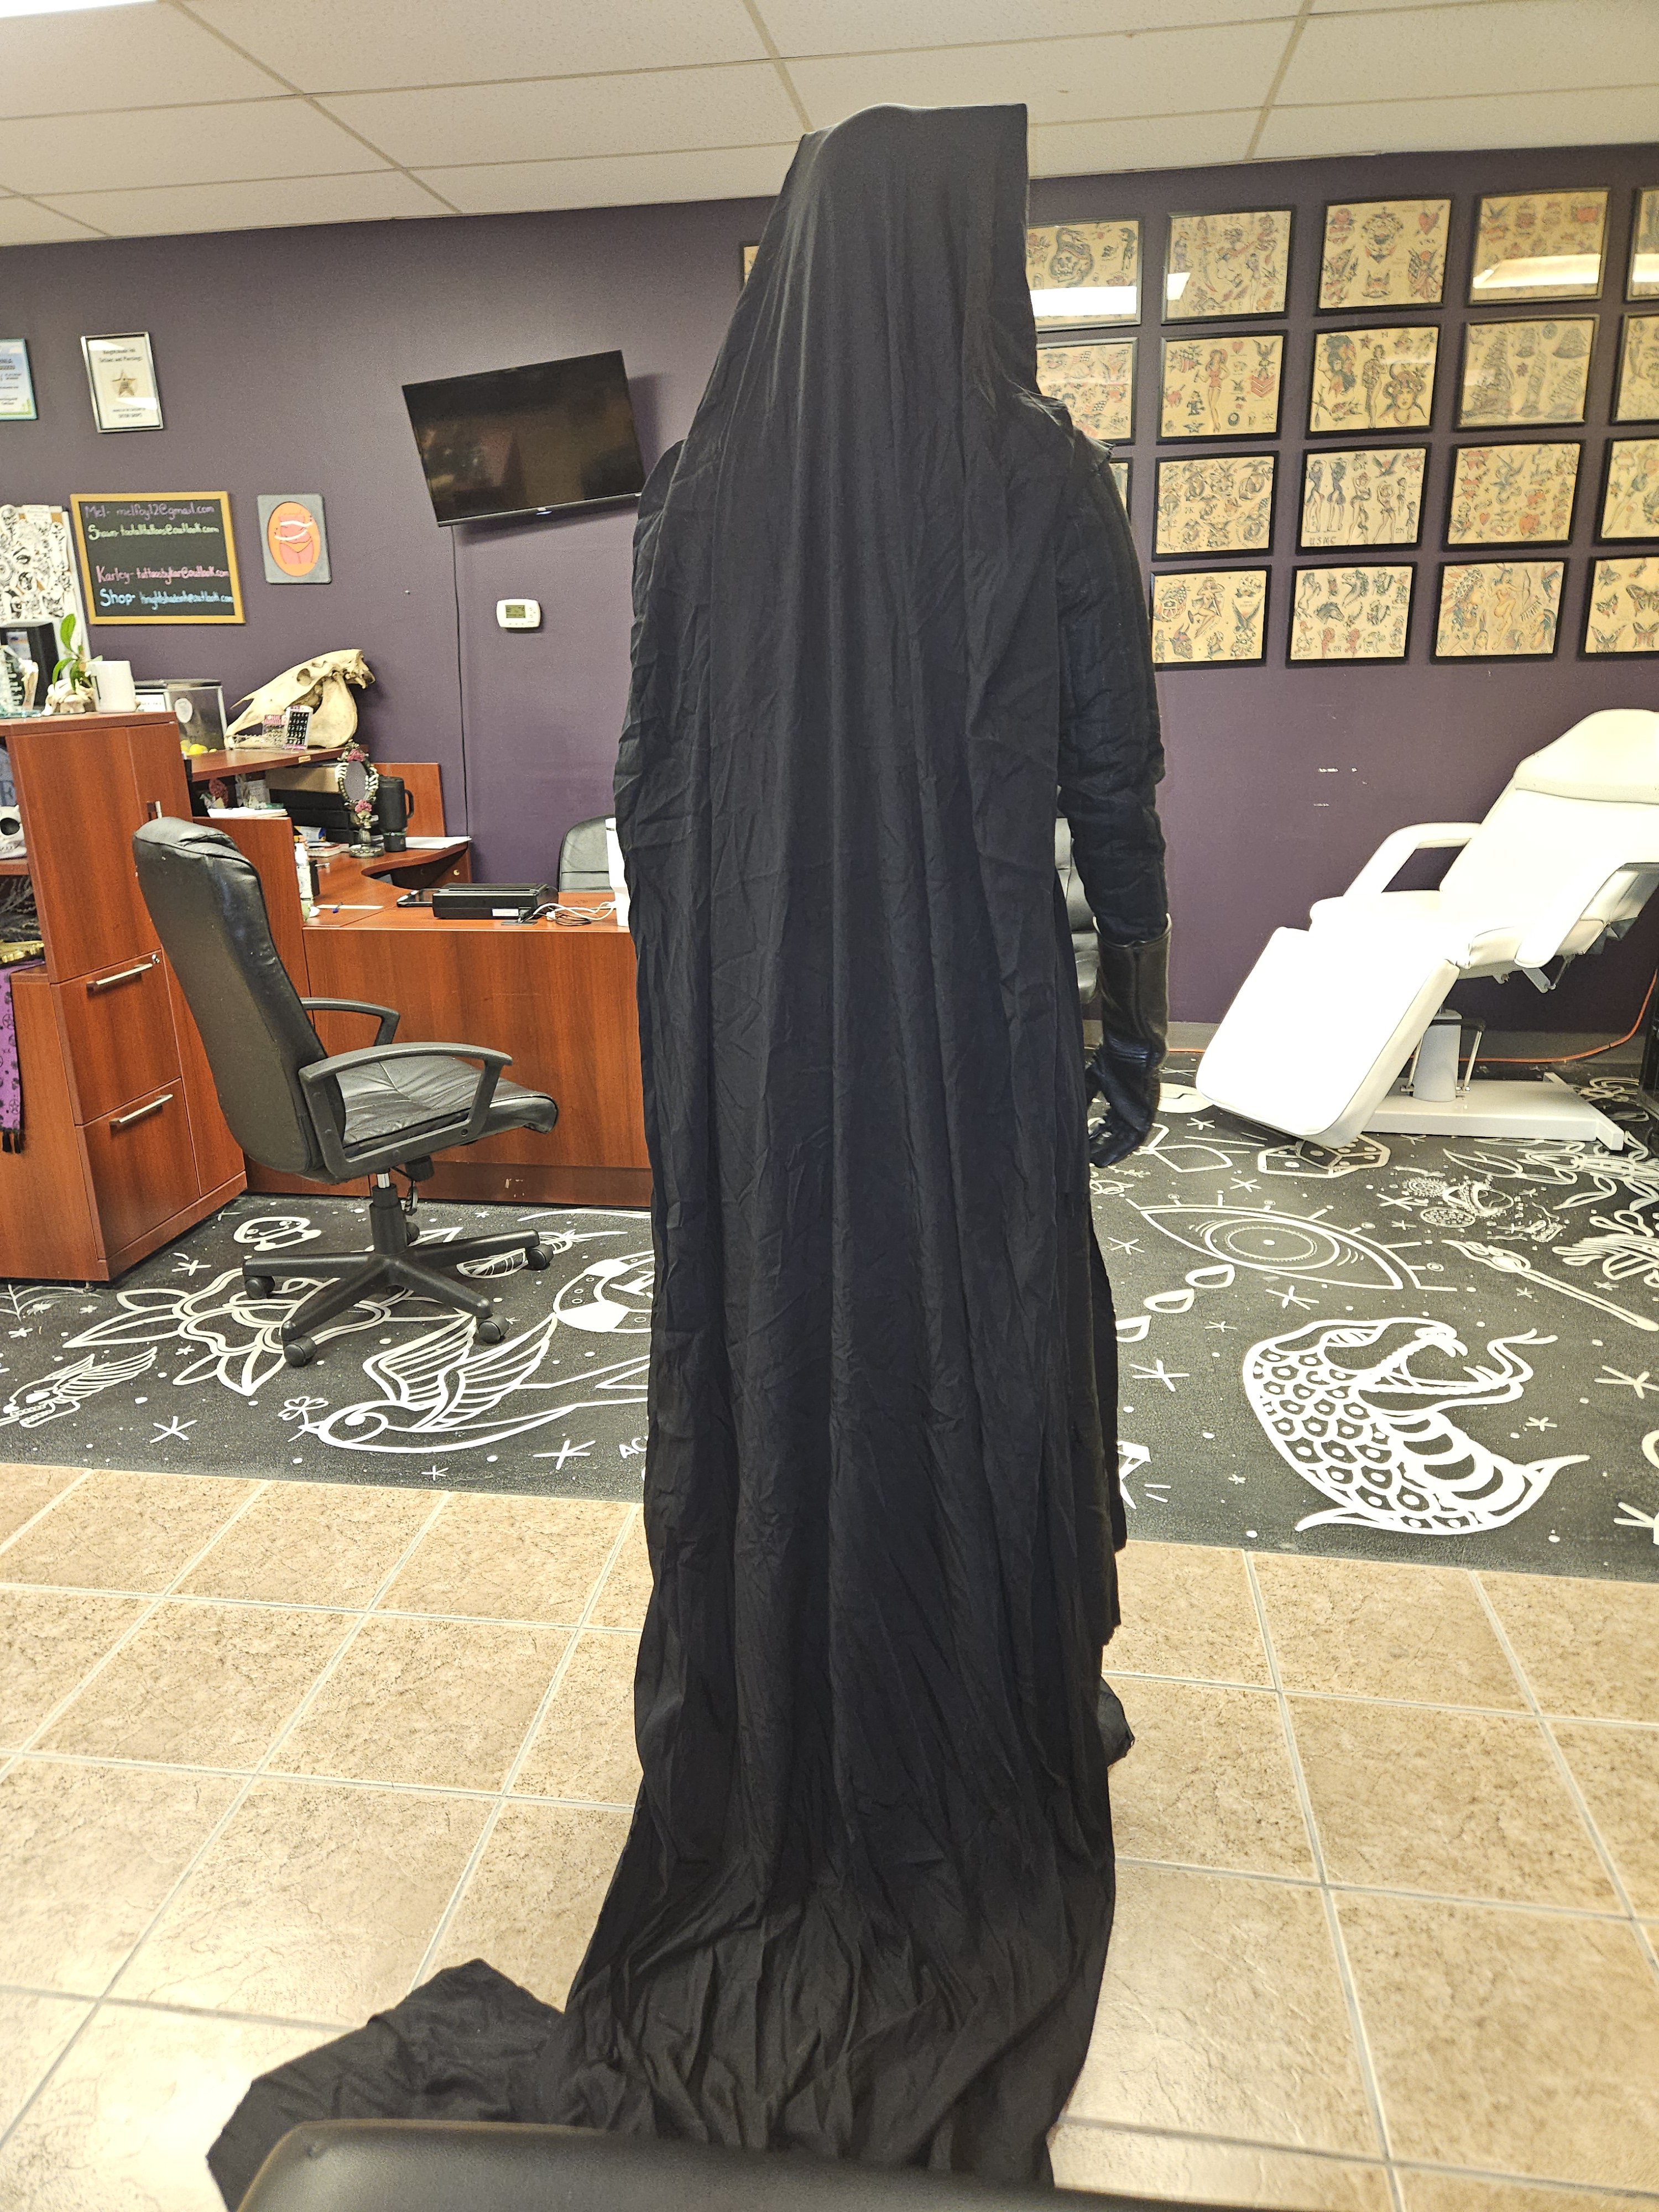
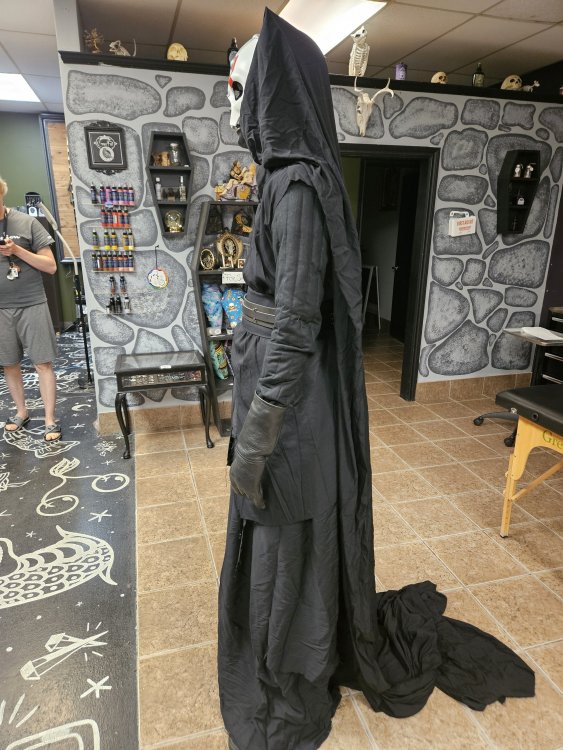
Here is my first complete atire test run. *The cape needs to be shortened, of course, and is only connected to the mask with sewing clips! *the fabric is all rough cuts right now, it will be shortened and properly tattered once everything fits well. *fabric behind mask may change layers. How is it looking so far? Thoughts? Opinions?


-
I just read through the whole thread, amazing work man! I love the desert starkiller outfit and you totally nailed it 🙏
-
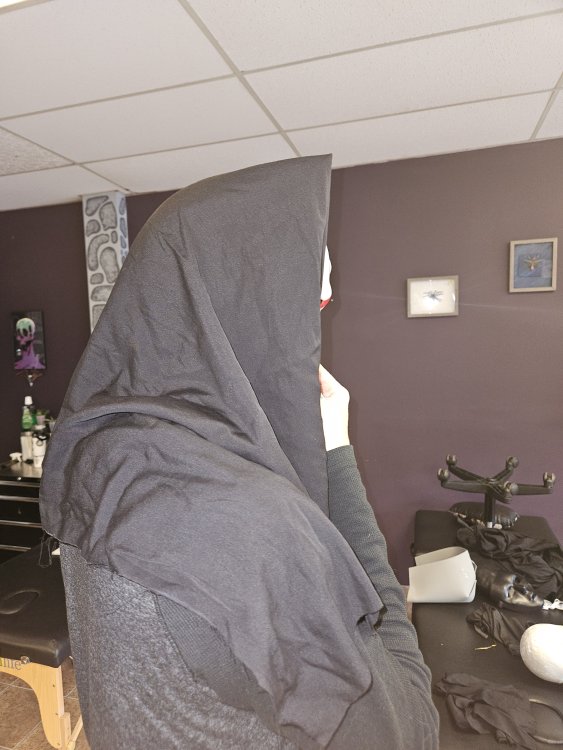
One learns to get creative in this hobby if it doesn´t hold, you can take a look at Pams page regarding the support hood that she offers ? just do a search on Darth Nihilus Hood – P&S Costume Creations.
-
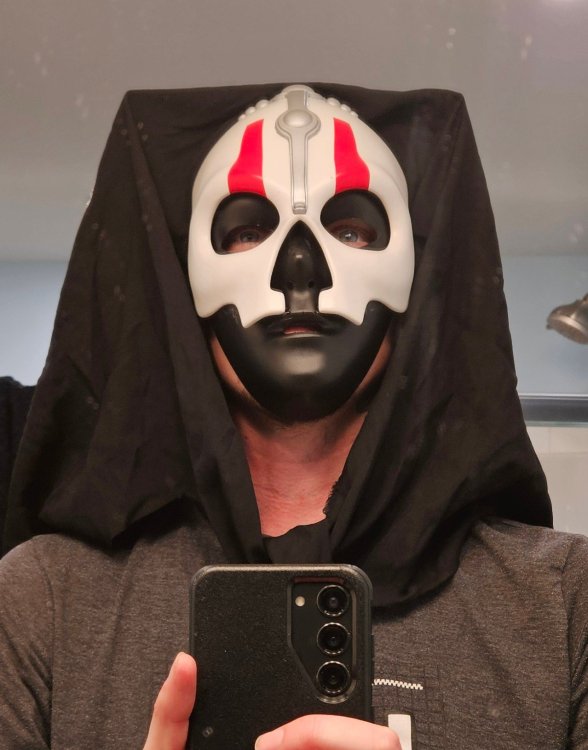
The black fabric is glued on the inside of the white mask
-
The fabric where your eyes are, is that in front of the black mask(behind the white mask), or behind the eyes on the black mask (face side)?
-
Rough put together of my mask and hood! After a lot on fandazzling, my attempts to make a molded hood had failed, and out of desperation, cut and bent a coat hanger... and it seemed to work so effortlessly lol.
-
Yes a helmet or neck fan is something I'd like to add as well! Thanks for all the support man 😁
-
A lot of cooling will be your best friend, I think you'd even be able to fit a neck ventilator in your helmet, which will help a lot already. 😁 Can't wait to see progress on this costume, will be following closely!!
-
Thanks for the link! That's definitely a good solution and I will have plenty of eva foam left from my previous costume. Always fun to try and learn something new as well imo and that way I can customize the vest. Getting even more excited about this build now! Thanks again man. Gotta say though I hope the weather will be cooler than it has been in the Netherlands these past few months when I finally get to wear this costume. It's 33°C today over here. 🥵🤣
-
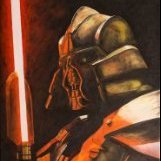
I don’t think that’d be an approvable way for the spike vest for Starkiller This Starkiller here has a pretty good way of going about the spike vest, which I think would be the go-to way of doing it too for Tulak Hord- foam and then covering it with pleather or real leather, it’s a fairly cheap way of going about it too. If you want reusability I think going for a Starkiller undersuit would be best since the visible parts are the same, but the spike vest part wouldnt be usuable for both without sacrificing accuracy for one of the costumes.