
-
Announcement
Welcome to the forums!
If you are a newly-approved member, make sure you check out the New Member Checklist!
If you are a Detachment member and can't see the member-only area, post here for access.
-DV

roguewedge
-
Posts
51 -
Joined
-
Last visited
-
Days Won
3
Content Type
Profiles
Forums
Gallery
Events
Posts posted by roguewedge
-
-
a first test run for the paint job on the shoulder armor, after I have filled all little bits of imperfection (not the holes I drilled, because they are supposed to be there).I am not really happy with how the machine sanding job from the vendor shows through the paint. So I will have to sand/polish that manually...
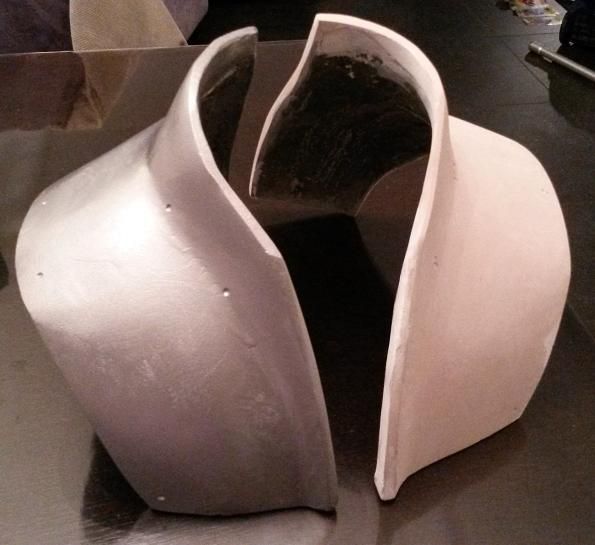 texture...
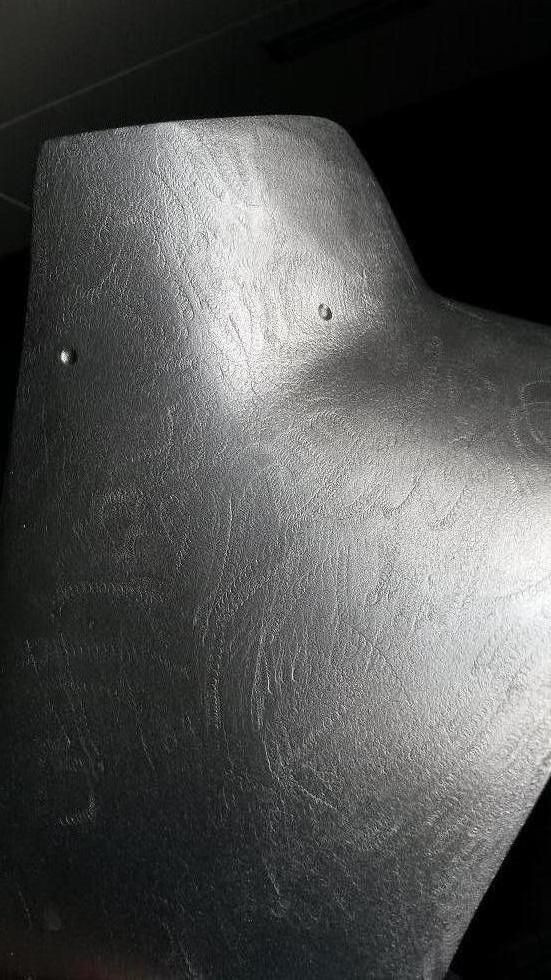 So, if there is a volunteer who wnats to do a few hours of tedious manual labour. just give me a call!
-
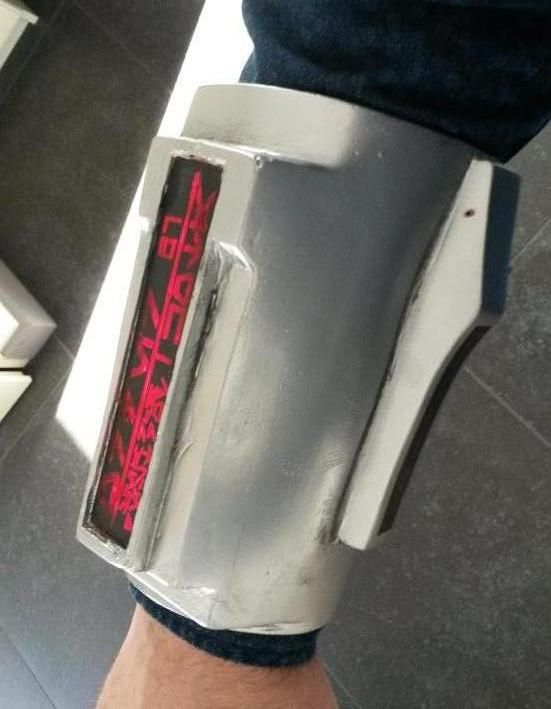
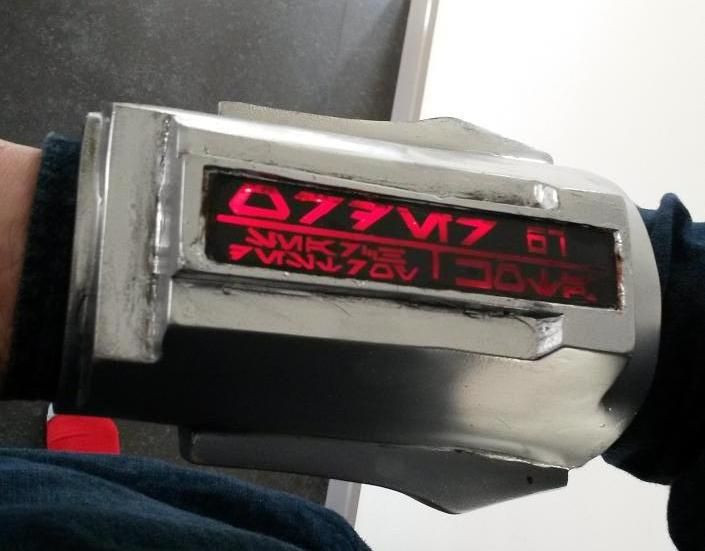
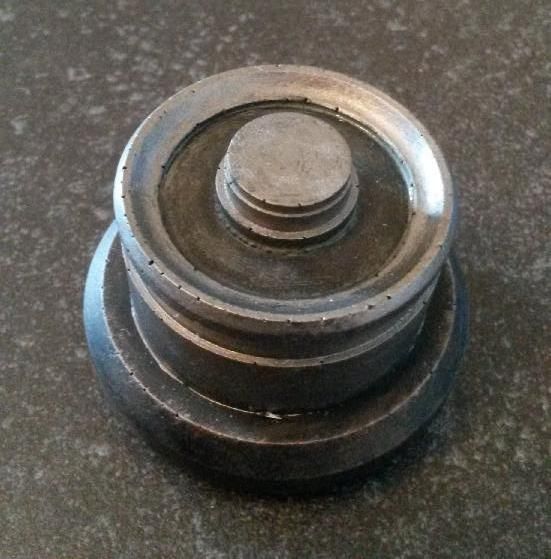
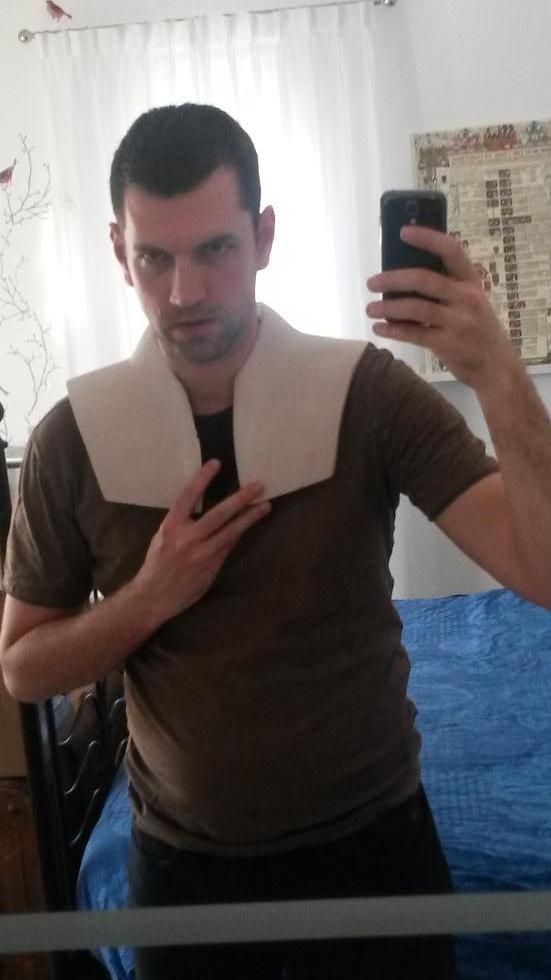
painted the gauntlet and restraining bolt.
-
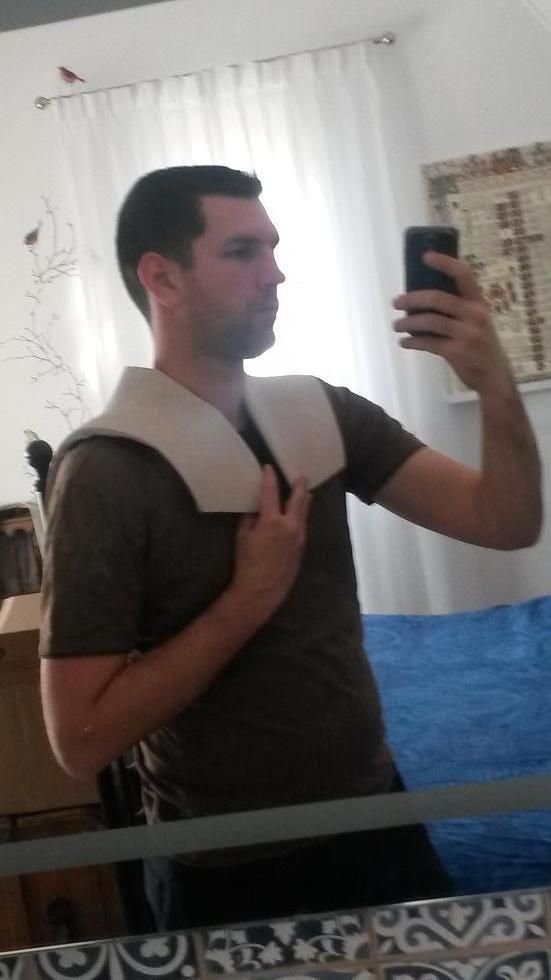
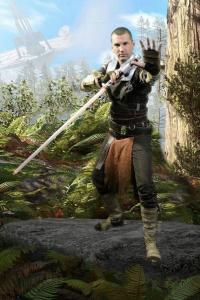
ANd here I am practicing the intimidating Starkiller look. I still need some more practice!
-
-
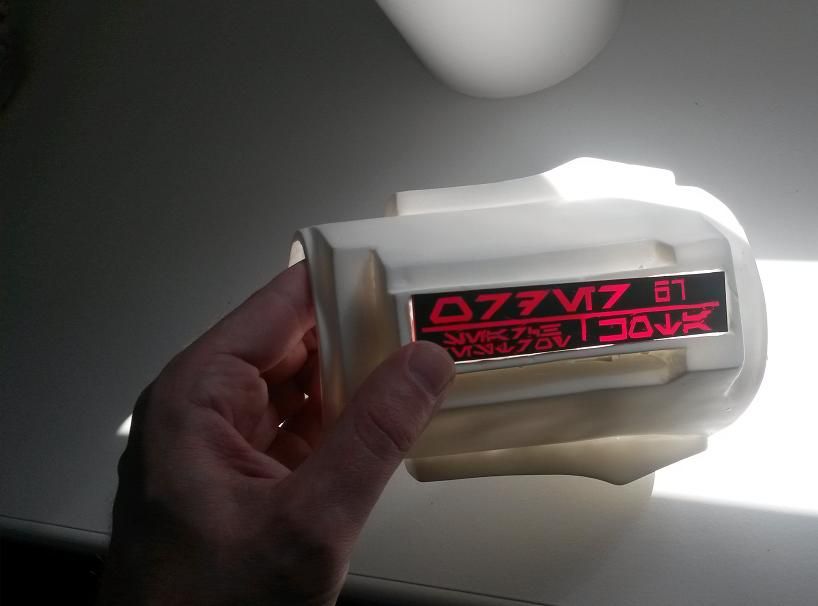
Yesterday, a shipment arrived, with the blanc Armor and gauntlet. My jaw almost hit the floor. really good stuff! (pitctures will follow shortly)I will do the paintjob/wheatering myself. Really looking forward to that!Since I am a n00b in terms of armor making, what should I use to fill some of the minor imperfections?Also, according to the CRL and the pictures: 'A series of rivet holes are located at intervals around the edges of the armor'Should I just drill some holes? or what would you recommend?As for the gauntlet: same question regarding filling up imperfections.As for the power switch: what location would you recommend installing it? on the inside? or having the lever pop out on the back? (covering it with wrappings?)
-
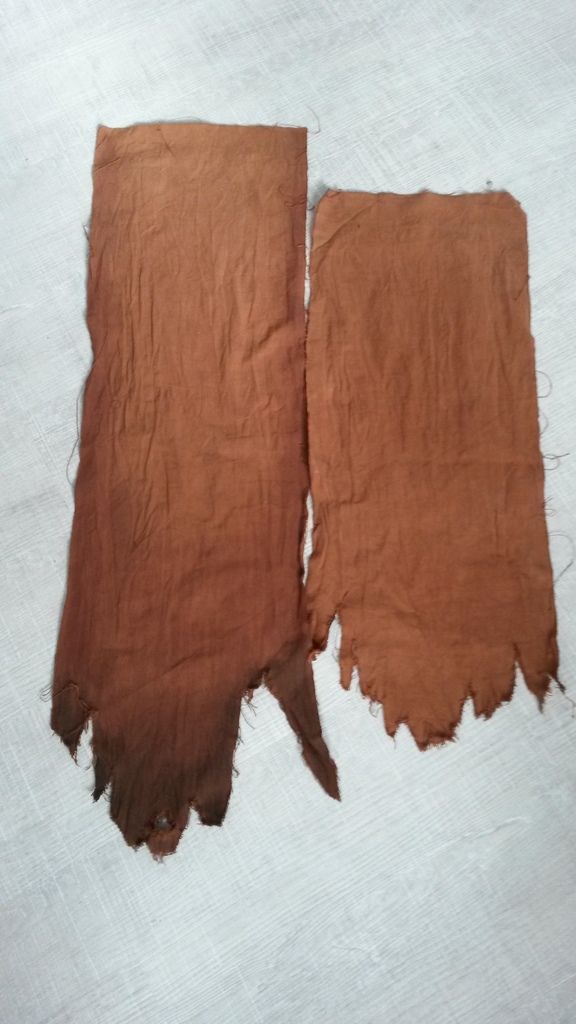
some progress.
The loinclot is almost finished. you can see a clean part and a wheatered part. I think I am too carefull with the wheatering. It probably need more...much more
I have bought the fabric for the tunic/pants/wrapping
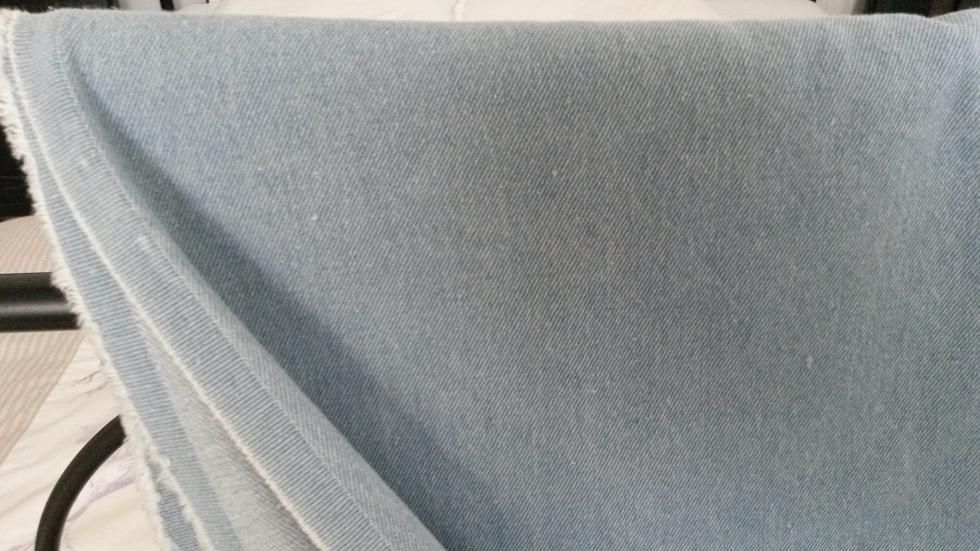
The fabric is a bit more blue than the sample, so I need to bleach it (without using actual bleach) in order to prepare for the wrappings to be dyed grey/tan.
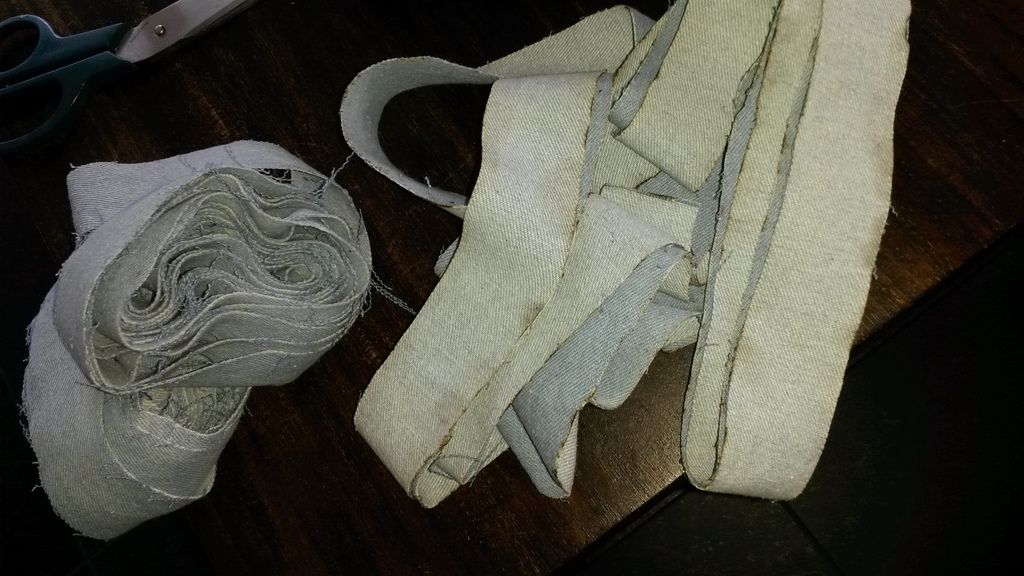
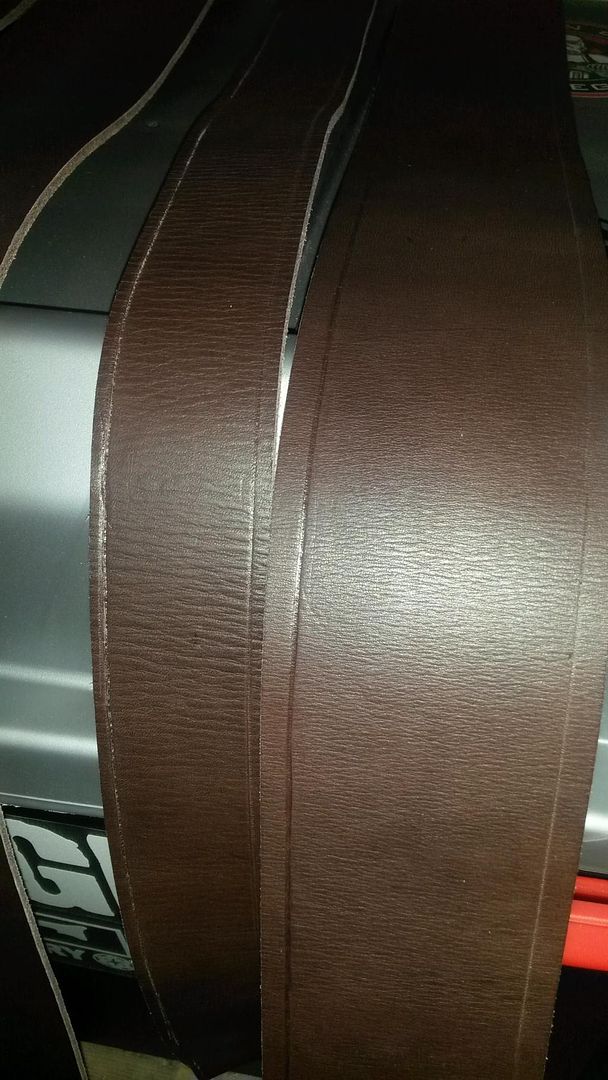
I have done a test run to see if 8 meters of wrapping is enough for the boot. and it is enough.

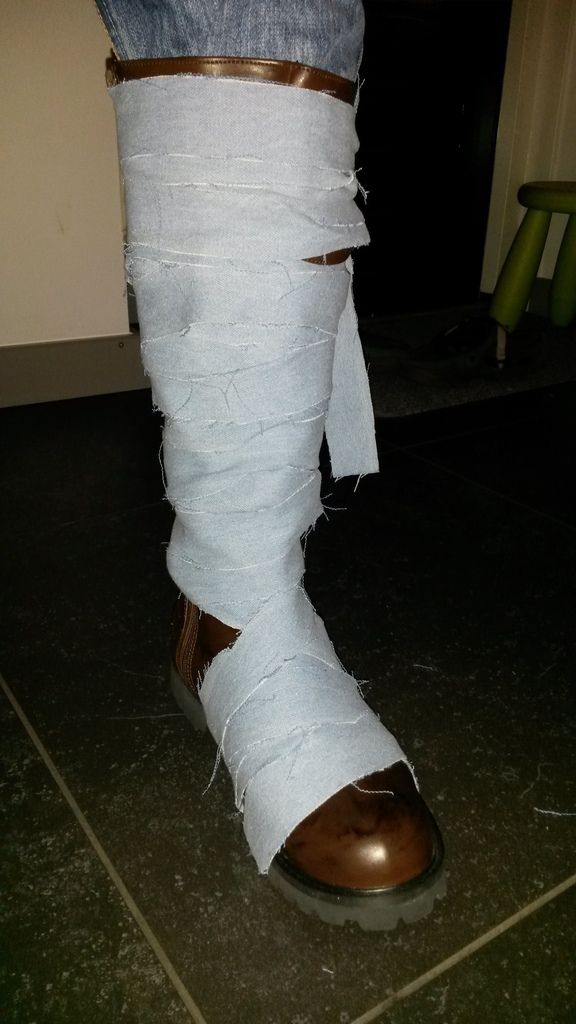
The wrapping should not be badly fraying, so I have burnt the edges. In fact I like the burnt colour so much, that after dying and wheatering, I am going to burn them again. Also, for the right upper arm wound, these burnt edges will be very appropriate, I think.
-
If you look at this picture:
http://www.theflagshipeclipse.com/forums/index.php?/gallery/image/1829-no-caption/
You will see the larger metal parts on various belts. for lack of better discription, they are called 'slide clasps'.
They are non-existing metal parts which you will have to make/cut yourself out of metal (best use a thin aluminium plate). just like the D-rings and strap hook on belt 3 and 5. They do not have to be functional, but they can be used to cover possible seems where the belt ends join.
-
TNX Alan, much appreciated
-
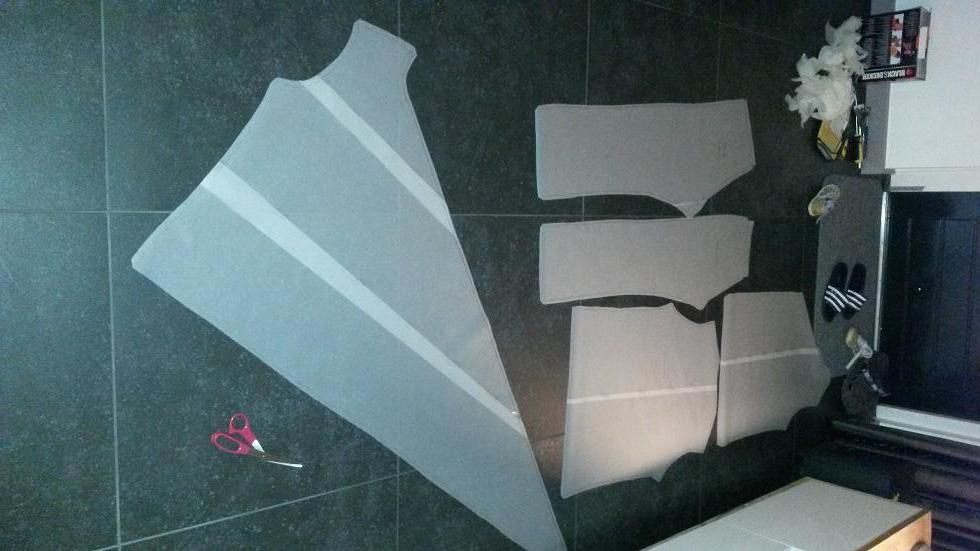
started working on the tunic and pants.
since I am a total n00b tailor I simply took an old pair of pants and a long sleeve shirt and copied the different parts plus some space for the seams, on paper.
For the tunic, I drew two front parts. I just imagined a long triangular bit on the lift side for the wrapping. (arms are not on the picture)
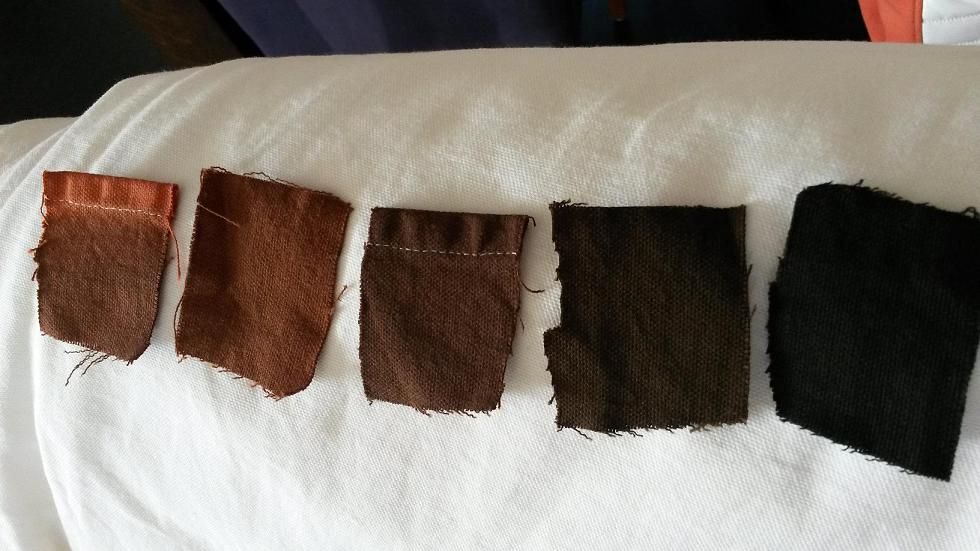
Also, I did some paint tests. I think I have the right colors now for the different types of fabrics.
-
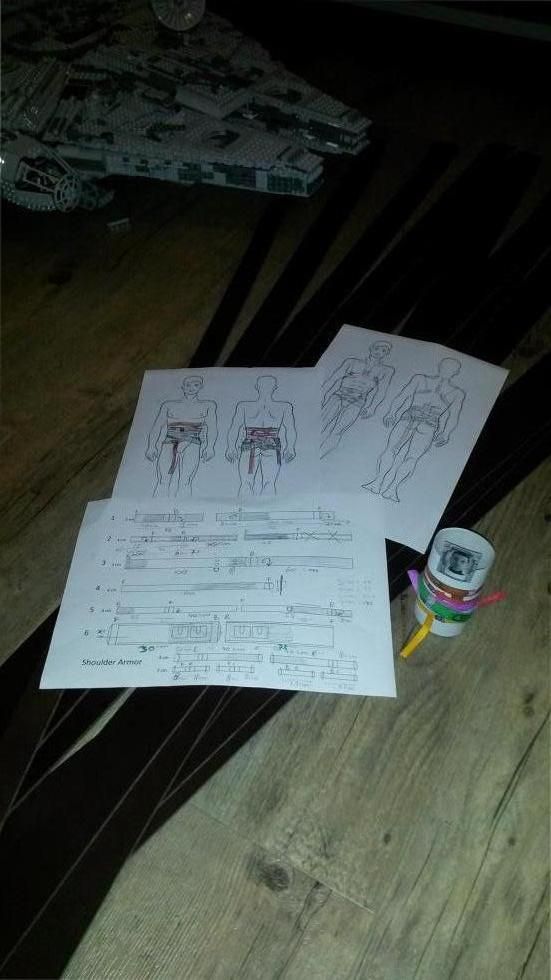
The belts and belt scheme
working on the belts
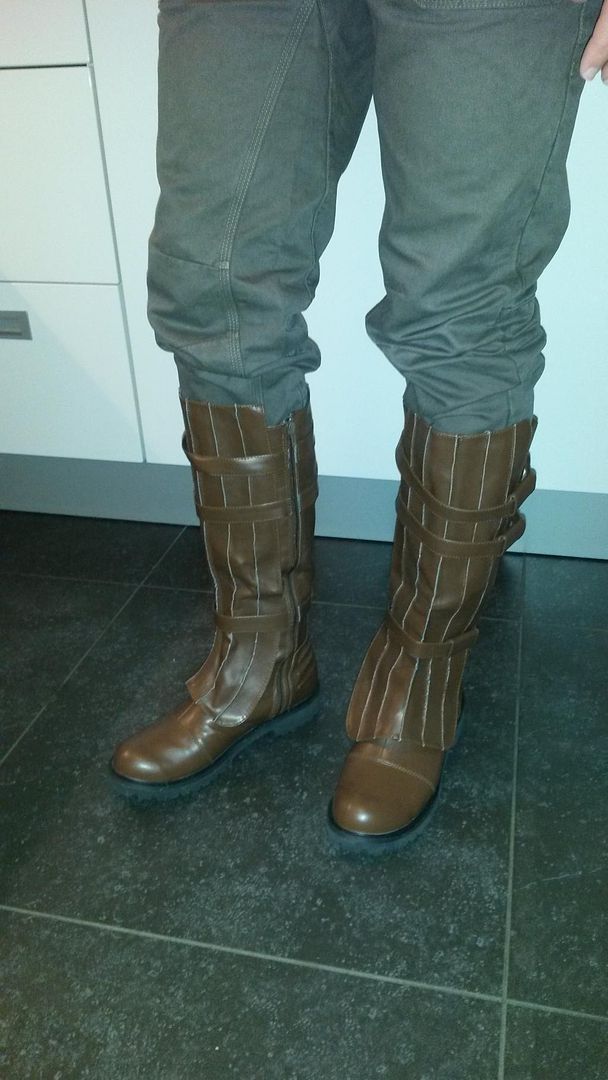
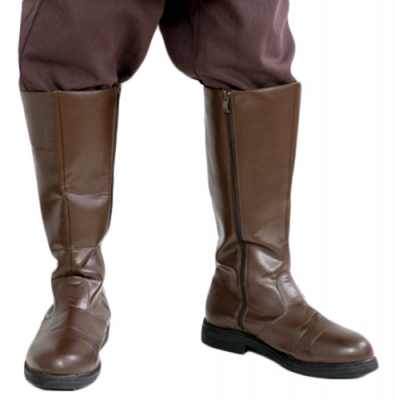
Boots (ignore the pants)
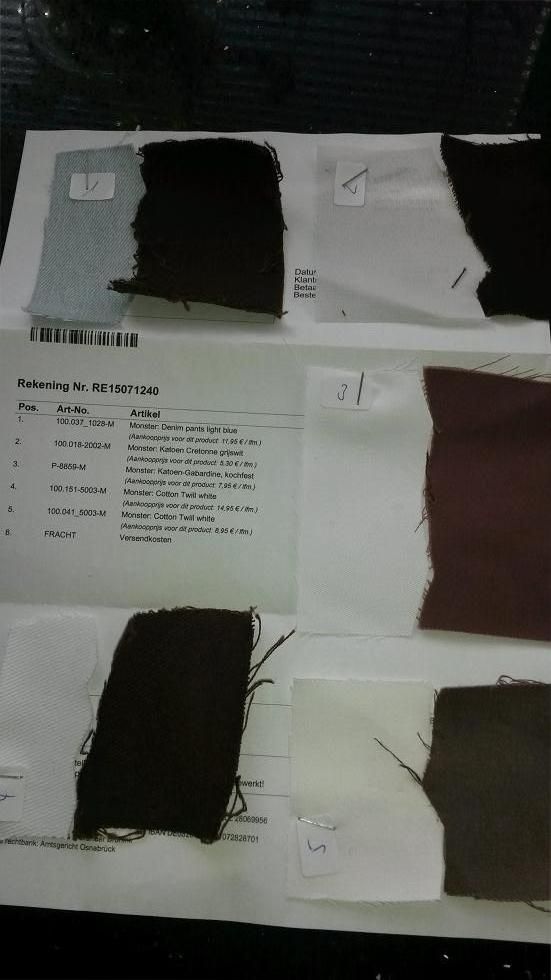
fabrics to choose from (I cut all samples and dyed 1 part with the same brown coloring, to see if it would hold)
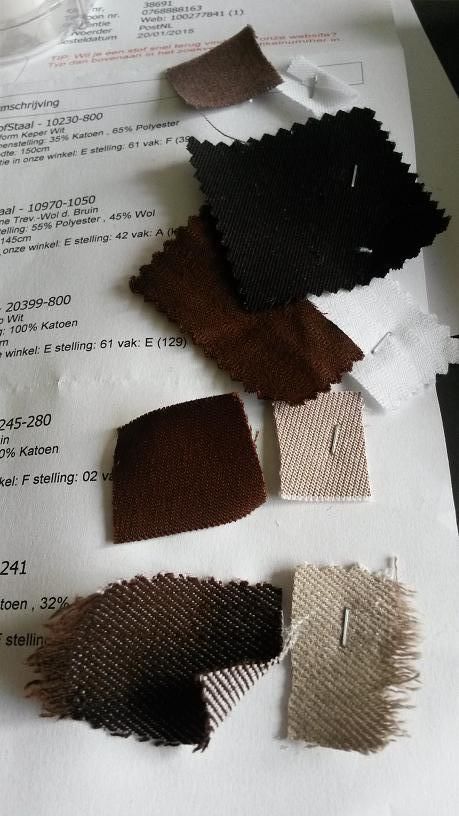
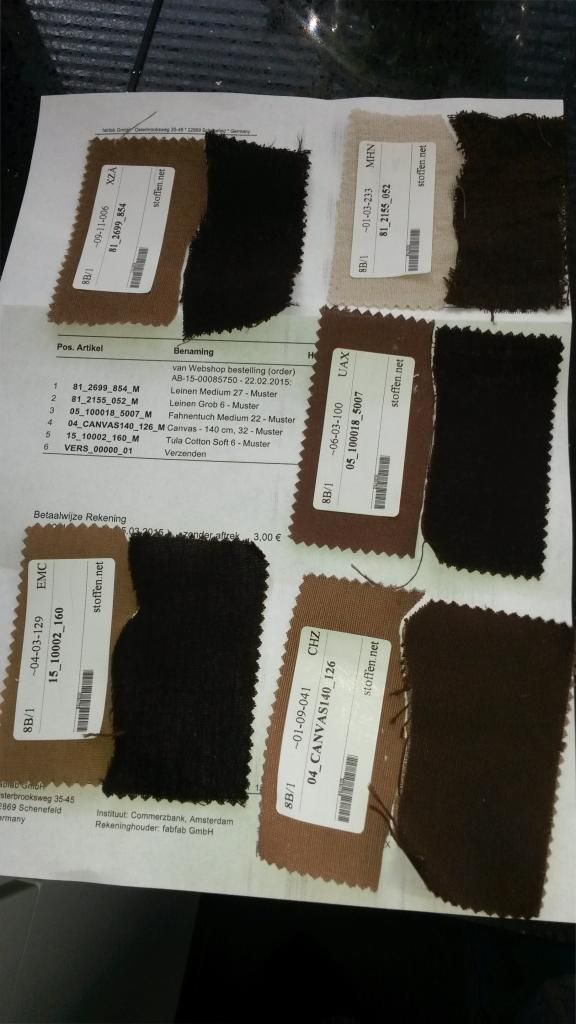
edit: can't seem to make the first picture show anything but up-side-down.... but you get where I am going with that...

-
 1
1
-
-
I am building a Starkiller Tie Factory Training gear from scratch. That is to say...the soft parts.
All 'hard'ware is being bought.
The Shoulder Armor and Gauntlet are being made as we speak by the Mandolorian Arsenal.
The Saber will come from...yes...Saberforge. (Trust me, I know what I am risking here. but I have done my research, and found more and more positive feedback from the last few months. as opposed to the 2010-2012 era, they really have seemed to have stepped up their game. Also, I have had some good and prompt replies from them, so I am going to trust my guts here.)
The boots are the epIII Anakin boots. I have painted them a darker shade of brown.
What else? I have bought the leather and started working on them. I have an aluminum sheet, so I can cut out the metal belt buckles, hook and D-rings. Also, I have the Covertec belt clips.
I bought the wrong set of slide clasps, so I will need to obtain the right ones.
I have spent the last 3-4 months researching every inch of the costume.
Figuring out the belts was really hard. But I made a nice miniature to help me out.
I am almost ready to start making the tunic and pants.
I looked for fabrics. The Denim was really hard to find. In my area (Netherlands) it seems to be impossible to get Bull denim. But I found rough denim that looks like it.
Also fabric for the wraps and loin cloth has been identified.
The below photo's are all very early stage. Not really much of an outfit to be seen. Just the materials.
Any advice or comment will be much appreciated in whatever stage of the proces.
-
that is the whole issue with comic book characters summarized:
3 pictures, 3 artists, 3 very different interpretations.
go for whatever looks/feels best
-
Ok. overall, I love the look of what you have done so far.
Now it comes down to nitpicking. Mind you, I am all for ultra screen accurate. I am a Centurion TK, myself, meaning that my armor is 100% screen accurate. But how screen accurate can you go from a comic book character? Let's try this:
- The eyecatcher: the bra. really like the much improved version. when I looked at the comic pictures I noticed that the cleavage is U shaped rather then V shaped. (and then not even U but really square)
as can be seen here:
http://www.google.nl/imgres?imgurl=http ... CQQMygCMAI
the armor looks accurate.
Only thing I would like to see is that you upgrade the gloves. As in the above referenced picture, you can see that there are two leather(?) bands across Talon's gloves. one across the palm and one across the thumb. that shoul be a small thing to so, but it will add in the depth of the costume (not likely anyone will look at your palm, being a fiery red Sith!
other then that... I think you are ready for the paint job!
-
really enjoying this ellaborate WIP.
Keep up the good work. looking forward to your progress.
-
It's the same for me. I emailed them back in December. never had a reply...
-
It's looking good. I like this built!
-
I am flabbergasted how a few tinkered elements can totally change a costume from 'mew' to 'wow'!
The skirt looks do much better. the overall look of the costume benifits from it greatly
-
gorgeous build!
-
I also see that they have a nice Starkiller saber.
What is the price at this site?
-
-
-
I am going to do a training gear as well, and I am choosing the cheap option, like I described it.
Let's be clear: I think your phone option would be really good, but I am just worried that while trooping, it might break. some folks out there are sometinmes a bit to enthousiastic/rough.
If that is not what you have experienced, while wearing your Mando...then who am I to say otherwise.
Just exploring the options here!
As soon as I have my stuff (still deciding where to buy what), I will make a trhead of my own.
Untill that time, I will be here thinking aloud about the hottest gear out there! (let's face it...Starkiller is a babe magnet!
 )
) -
overall: everything should be a lot less black. the only black in the outfit should be the black undershirt, off which you can only see a very small part (avery very small part) where it is not covered by the V line of the Tunic
-
Did you consider looking at the 501st Costume Reference Library?
http://www.501st.com/databank/Costuming ... e_training
Escpecially this picture is pretty good for the gauntlet screen:
http://www.501st.com/mw501/images/b/b1/ ... untlet.jpg
I would not use your cell phone for this.
If you are going to make this yourself, I would use a red hardplastic glass, backlid with led(s). Just block out the black part with tape/paint/or whatever.
This guy also has a nice example:


Dutch Starkiller Tie Training Gear WIP
in Starkiller
Posted
big news!
My Saber Forch 'Monarch' saber was just shipped!
Let's find out if the 10 week wait was worth it, or if I have been a fool to ignore (outdated?) advice and waste my money.