Jump to content
  • Announcement

    Welcome to the forums!

    If you are a newly-approved member, make sure you check out theΒ New Member Checklist!

    If you are a Detachment member and can't see the member-only area, post here for access.

    -DV

Glory530

Costume Advisors
  • Posts

    139
  • Joined

  • Last visited

  • Days Won

    5

Everything posted by Glory530

  1. I would be concerened about holes being left behind after removing all the straps and buckles, depending on how they are attached. Just cutting away a strap or two that is sewn into a seam would probably be ok, but these seam like they might need some pretty heavy modifications. Also the cutout in the back looks too large. The vertical expanding elastic slits that are in a lot of boots are ok, but I think I would say no to this one. I see you listed your size a few posts up, so I'll try to help out with some searching as well. Fortunately we'll see the best boot options and availability this time of year. Hang in there!
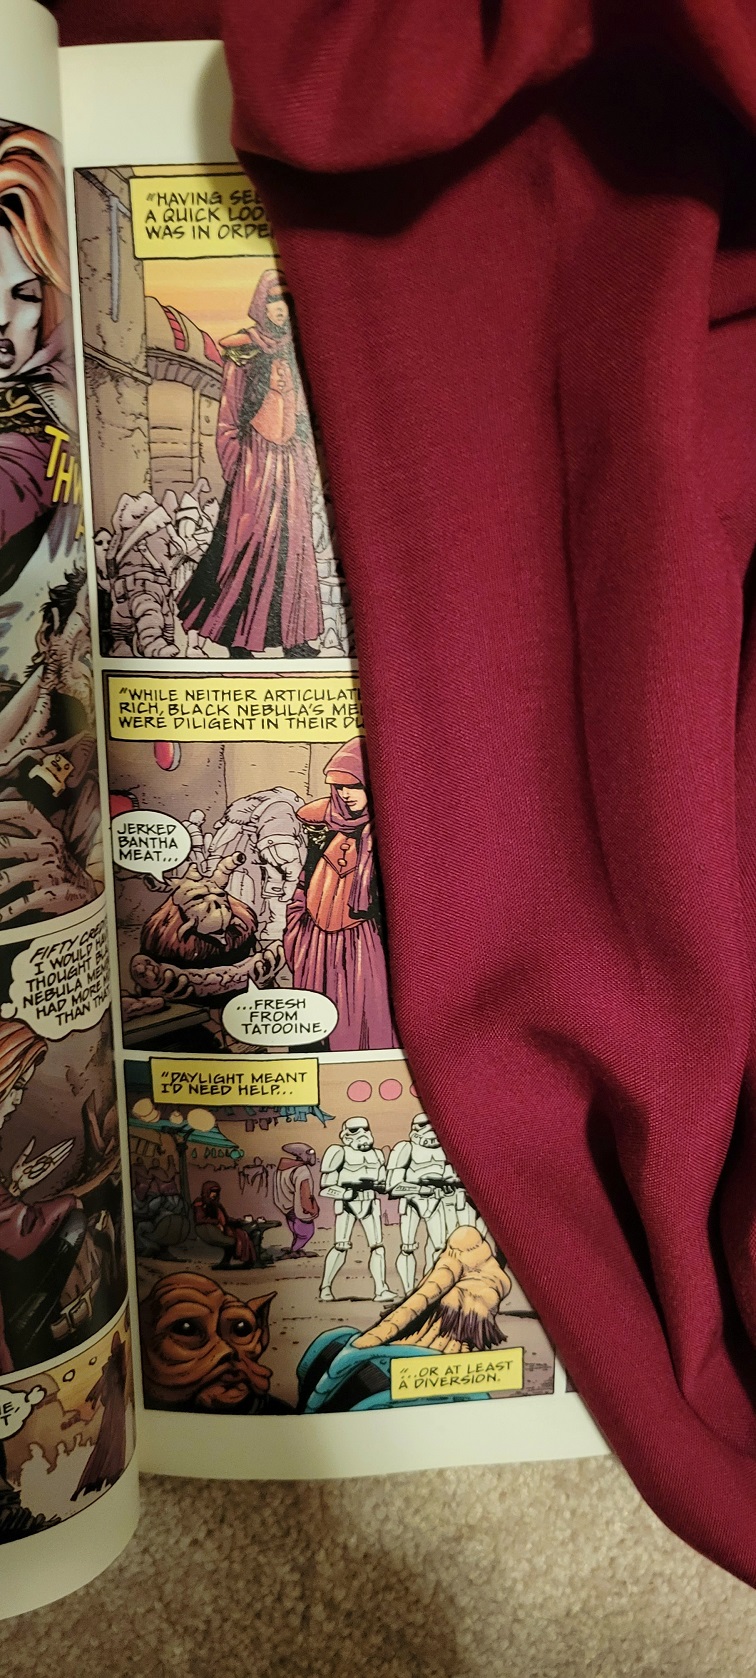
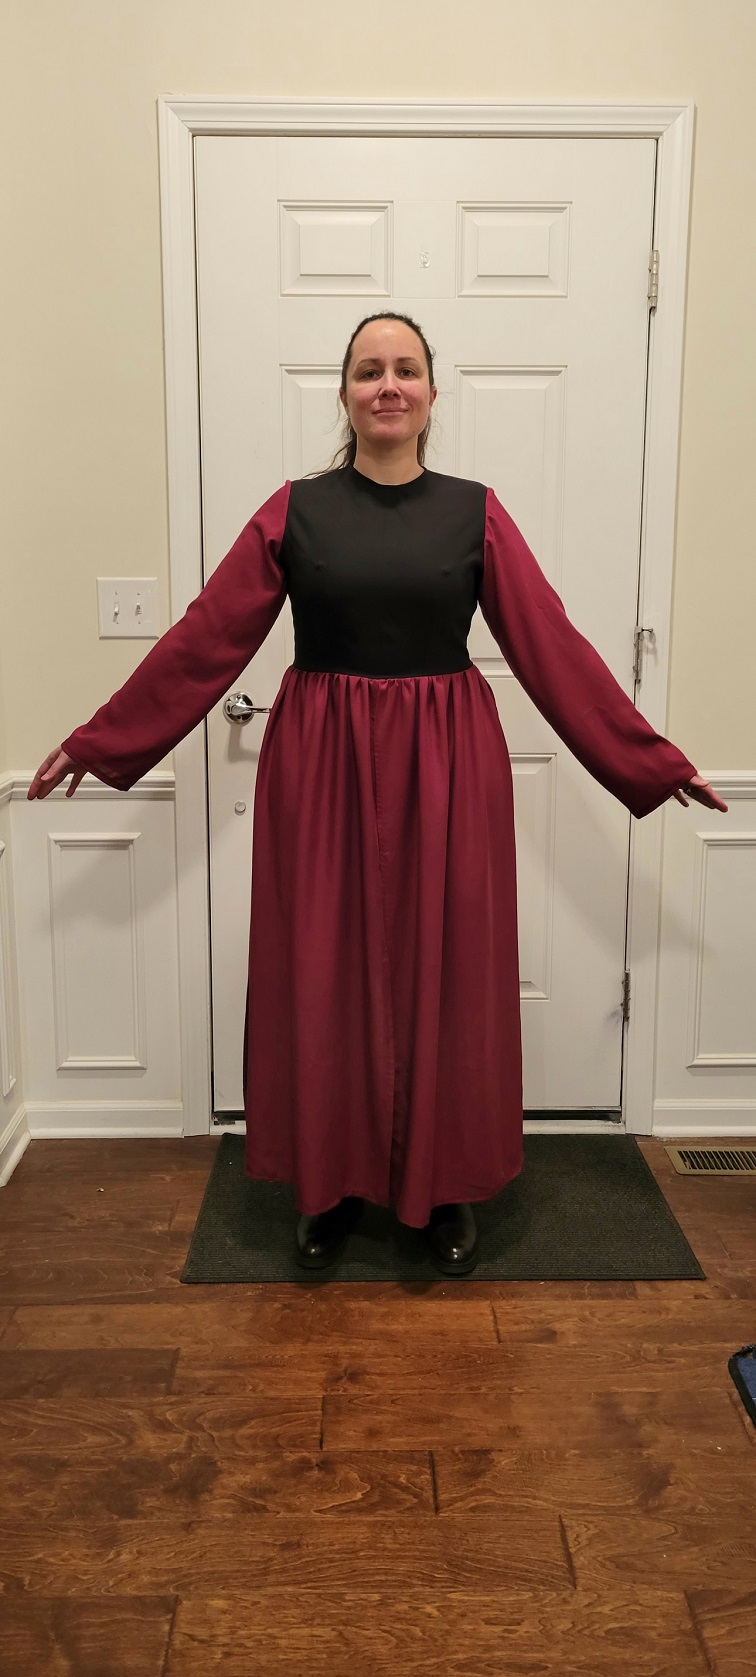
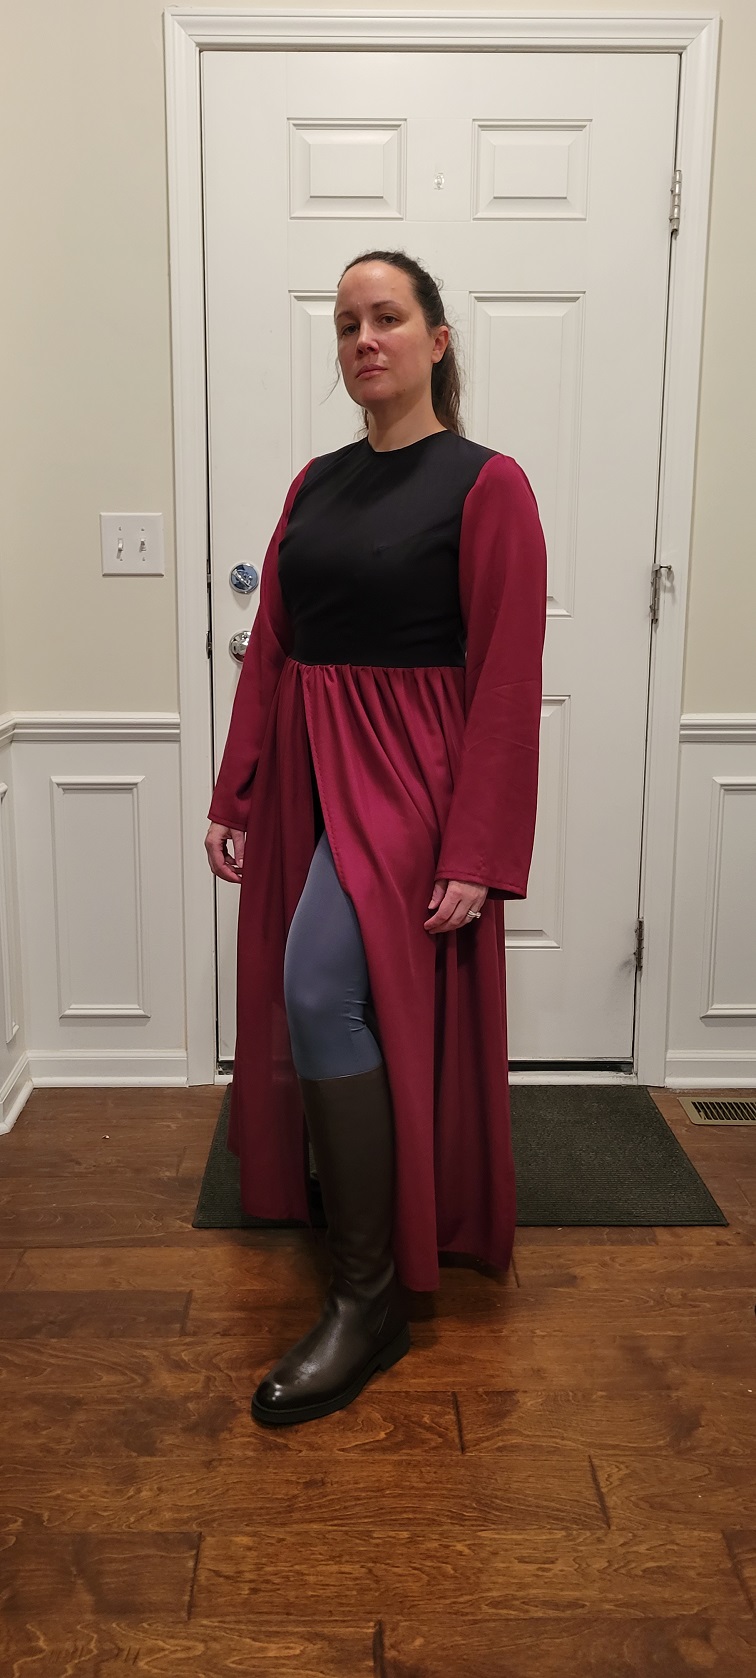
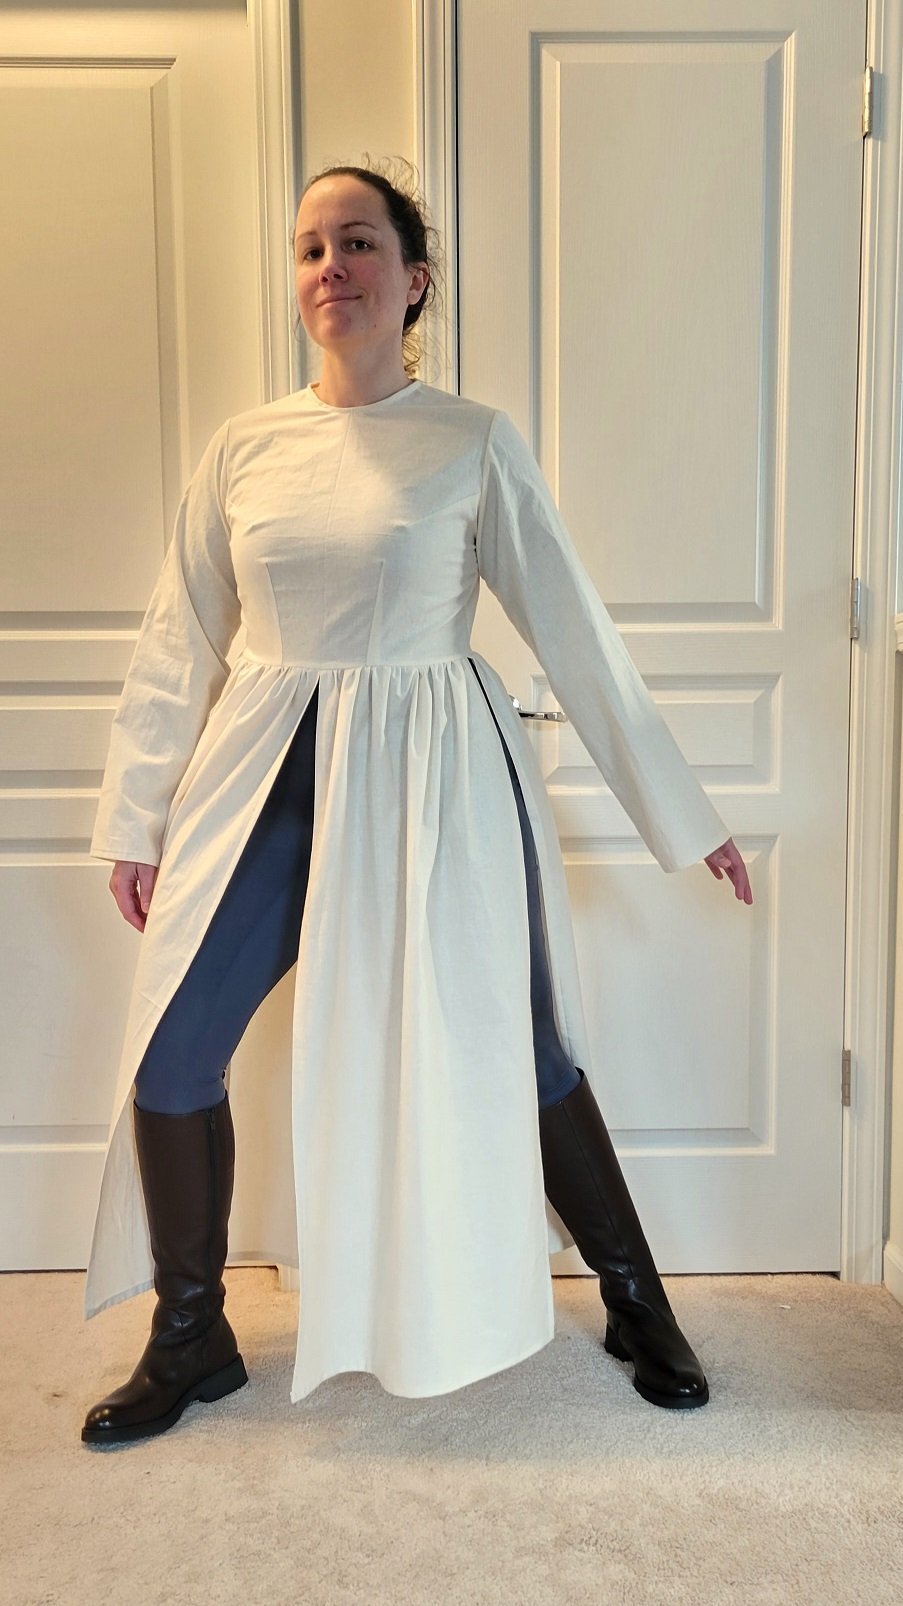
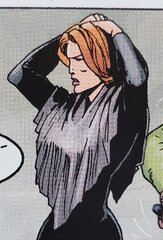
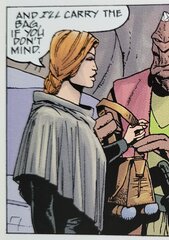
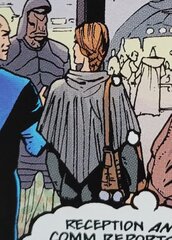
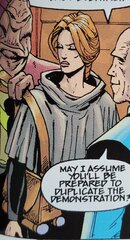
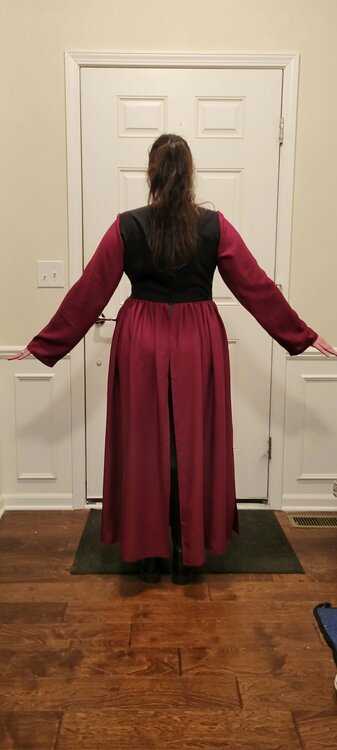
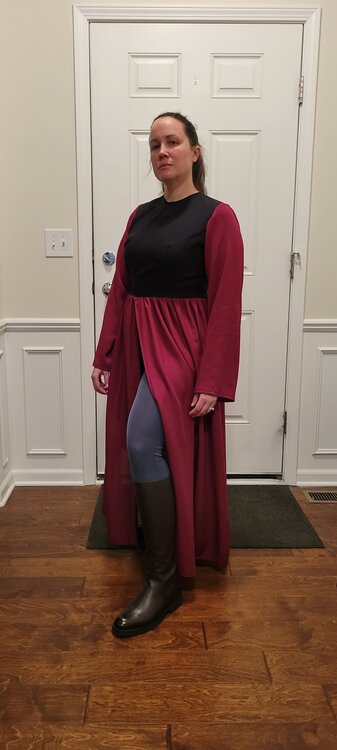
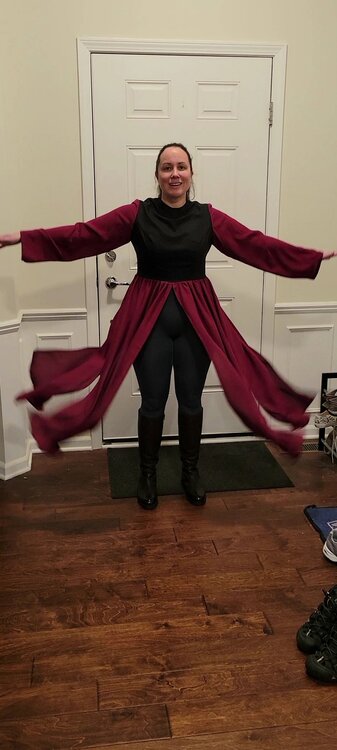
  2. Very slow progress (I've been dealing with extremely painful tennis elbow in my dominant arm since early September), but I've finished the dress! Here's the materials I used: Black fabric: Rayon challis (black) from Fabric Wholesale Direct Maroon fabric: Rayon challis (burgundy) from Vogue Fabrics Zipper: Invisible separating zipper from Amazon A couple notes on the fabric: rayon challis frays SUPER easily, so French seams are KEY. But it's very comfortable and drapes and flows just like the dress in the comic, so I think it's a really good match for fabric type. Also, the burgundy fabric is not a perfectly exact match to the comic (it's just a tad darker), but it's probably closer that I could get trying to dye match exact and saves me a ton of stress. I say it's close enough! Here are the photos of the completed dress. Note: the cell phone camera doesn't capture colors exactly as they appear to my eyes, and the shot with the skirt panels in the air is a still from a video, so it's way off (but it was fun to take and looks cool). I'm going to be shooting submission pictures with the DLSR and studio lights, so those will be much better! There is a little gap between the two back skirt panels at the zipper, which was pretty unavoidable, but this will be hidden by the leather vest since the bottom goes below the waistline in the back.
  3. Thank you! Hopefully they may be helpful for whoever stumbles upon them or at lest help me remember what I did should I need to reference back.
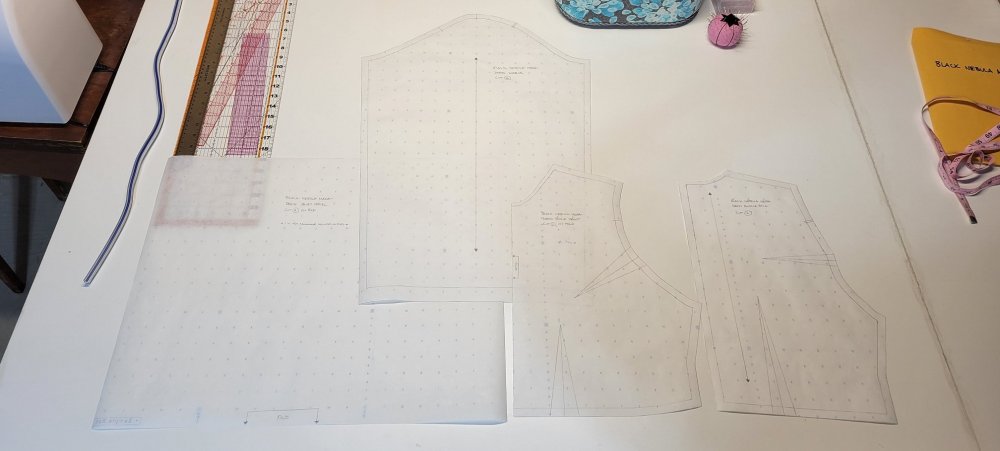
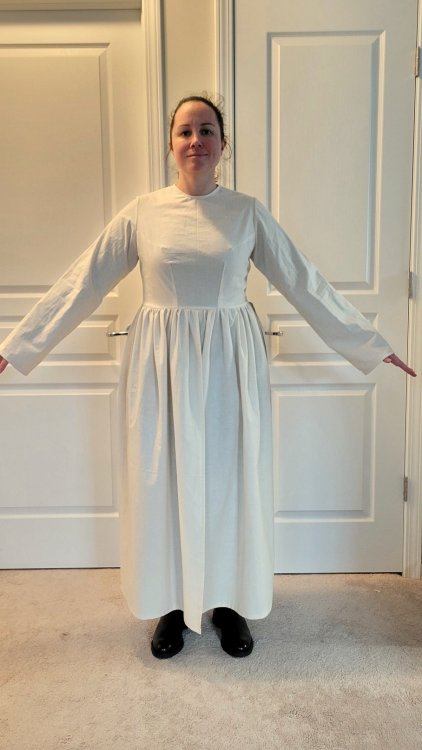
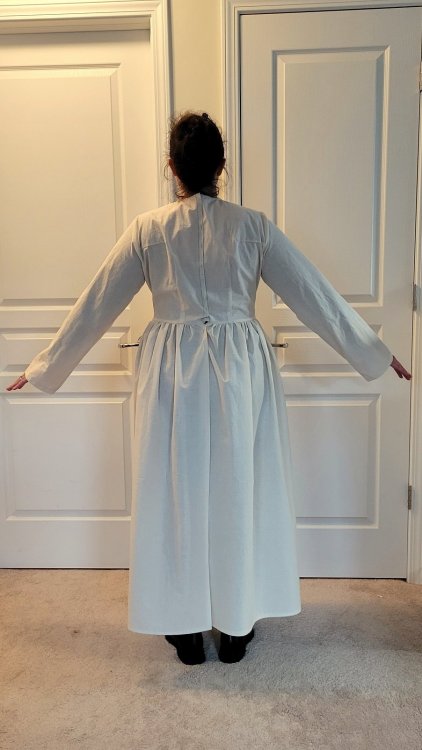
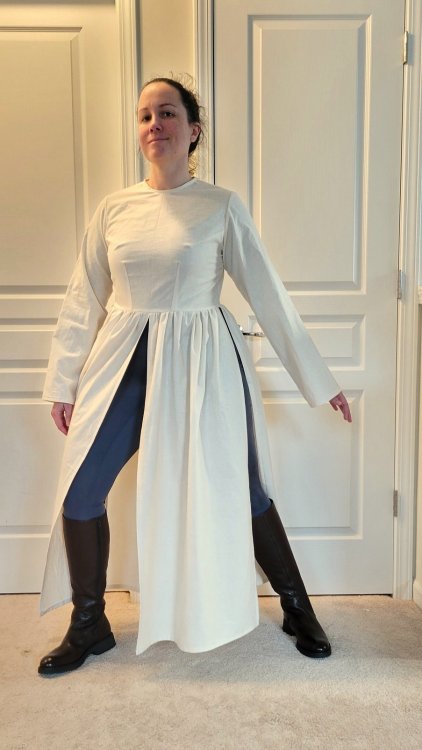
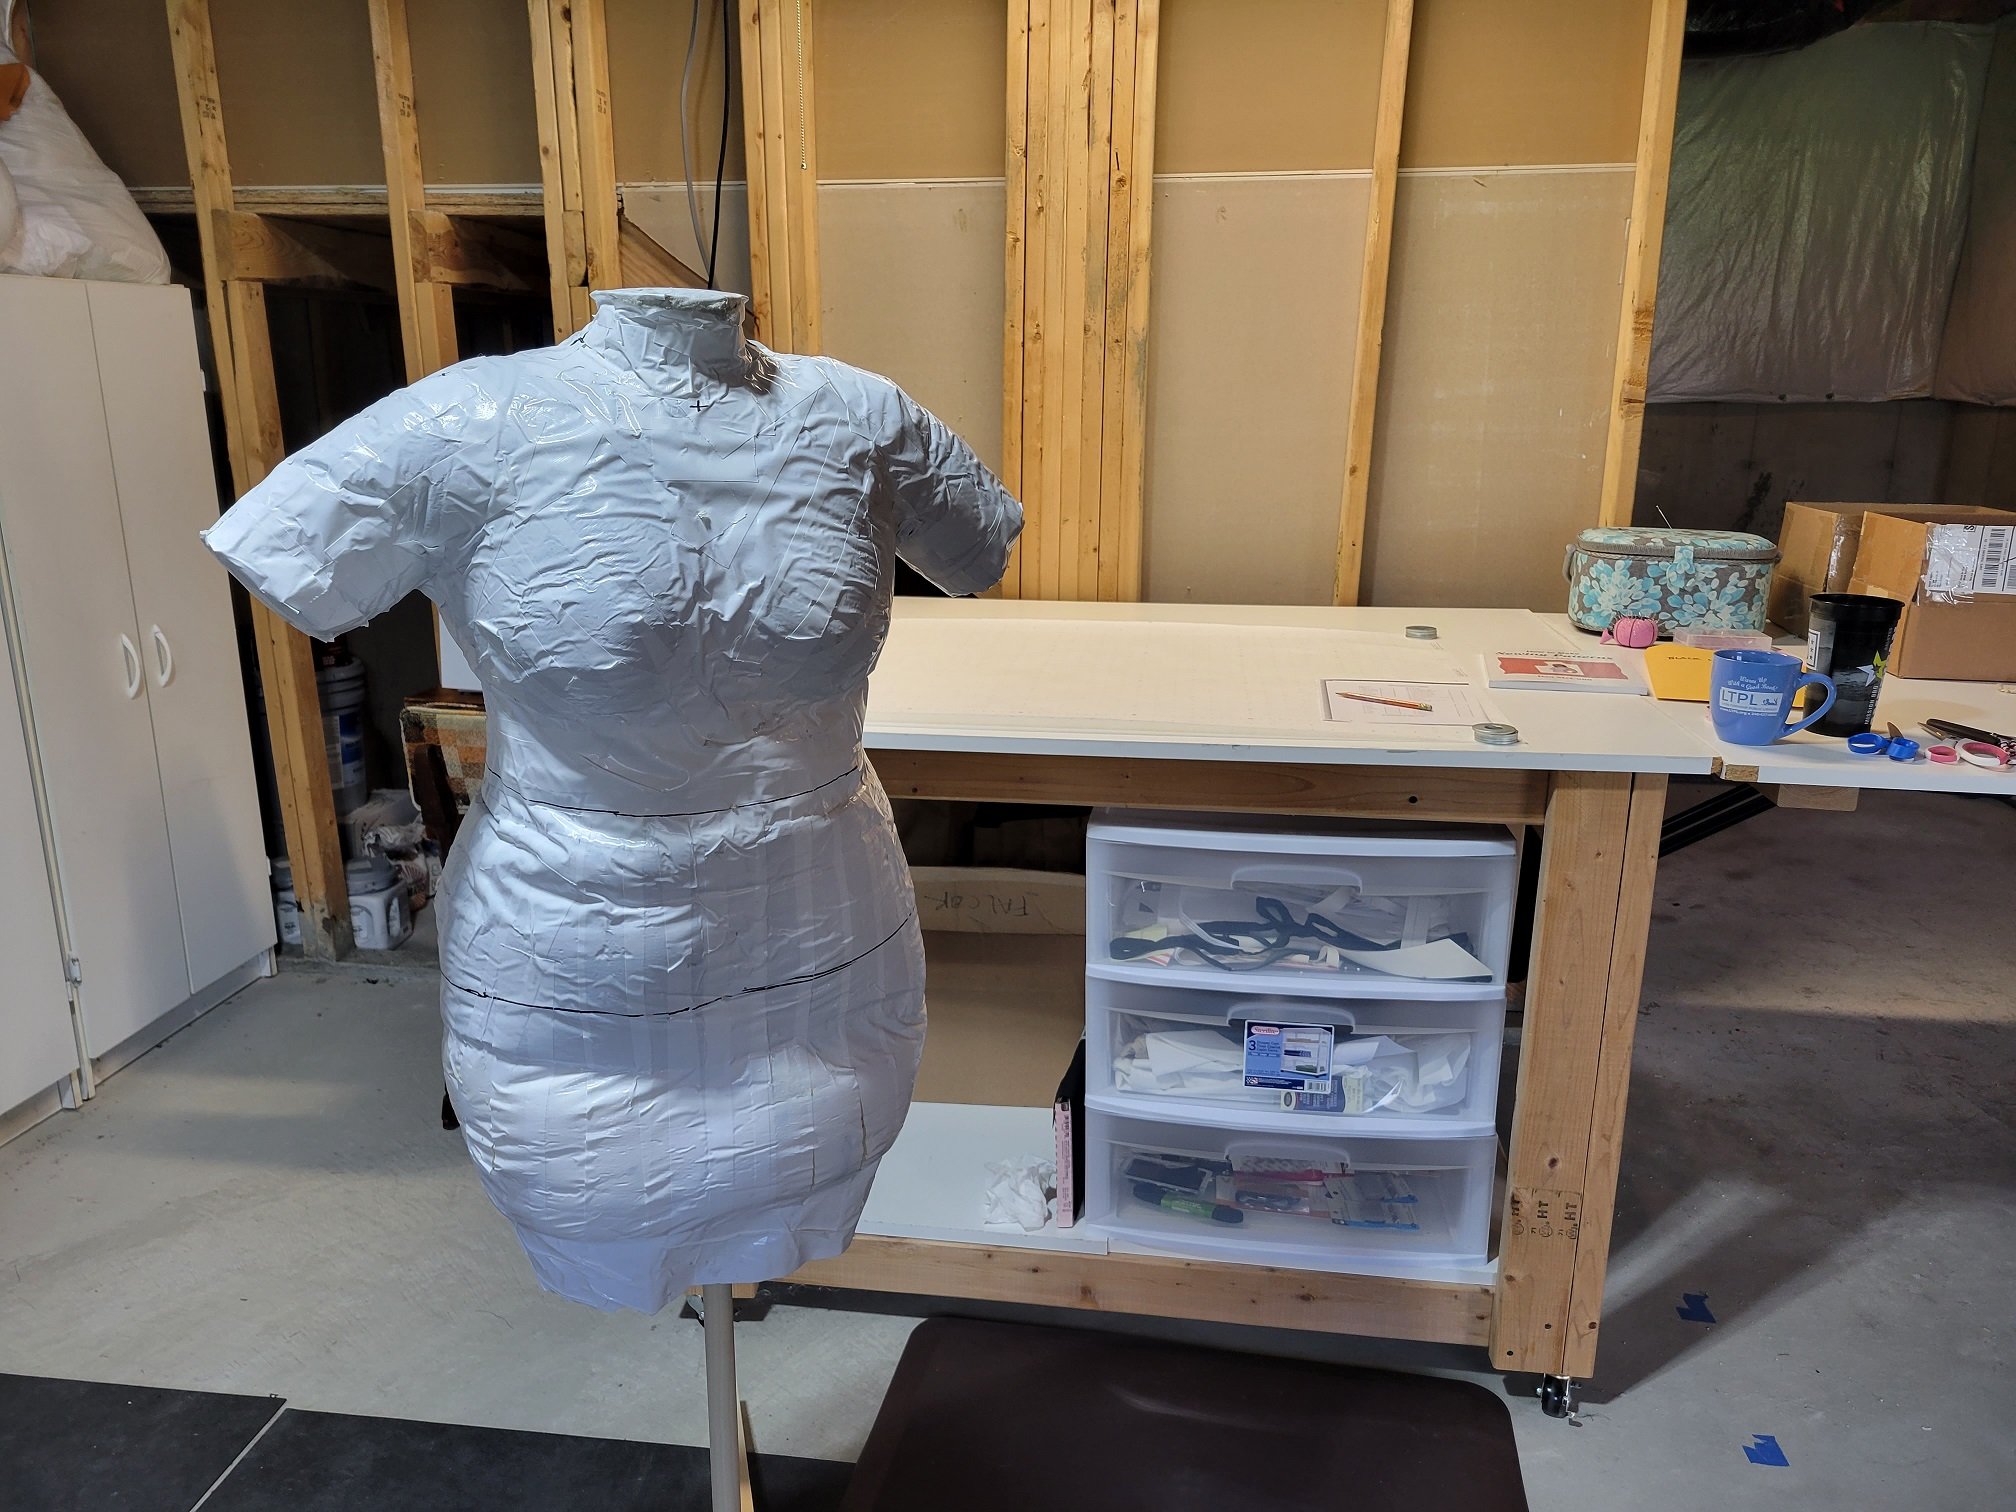
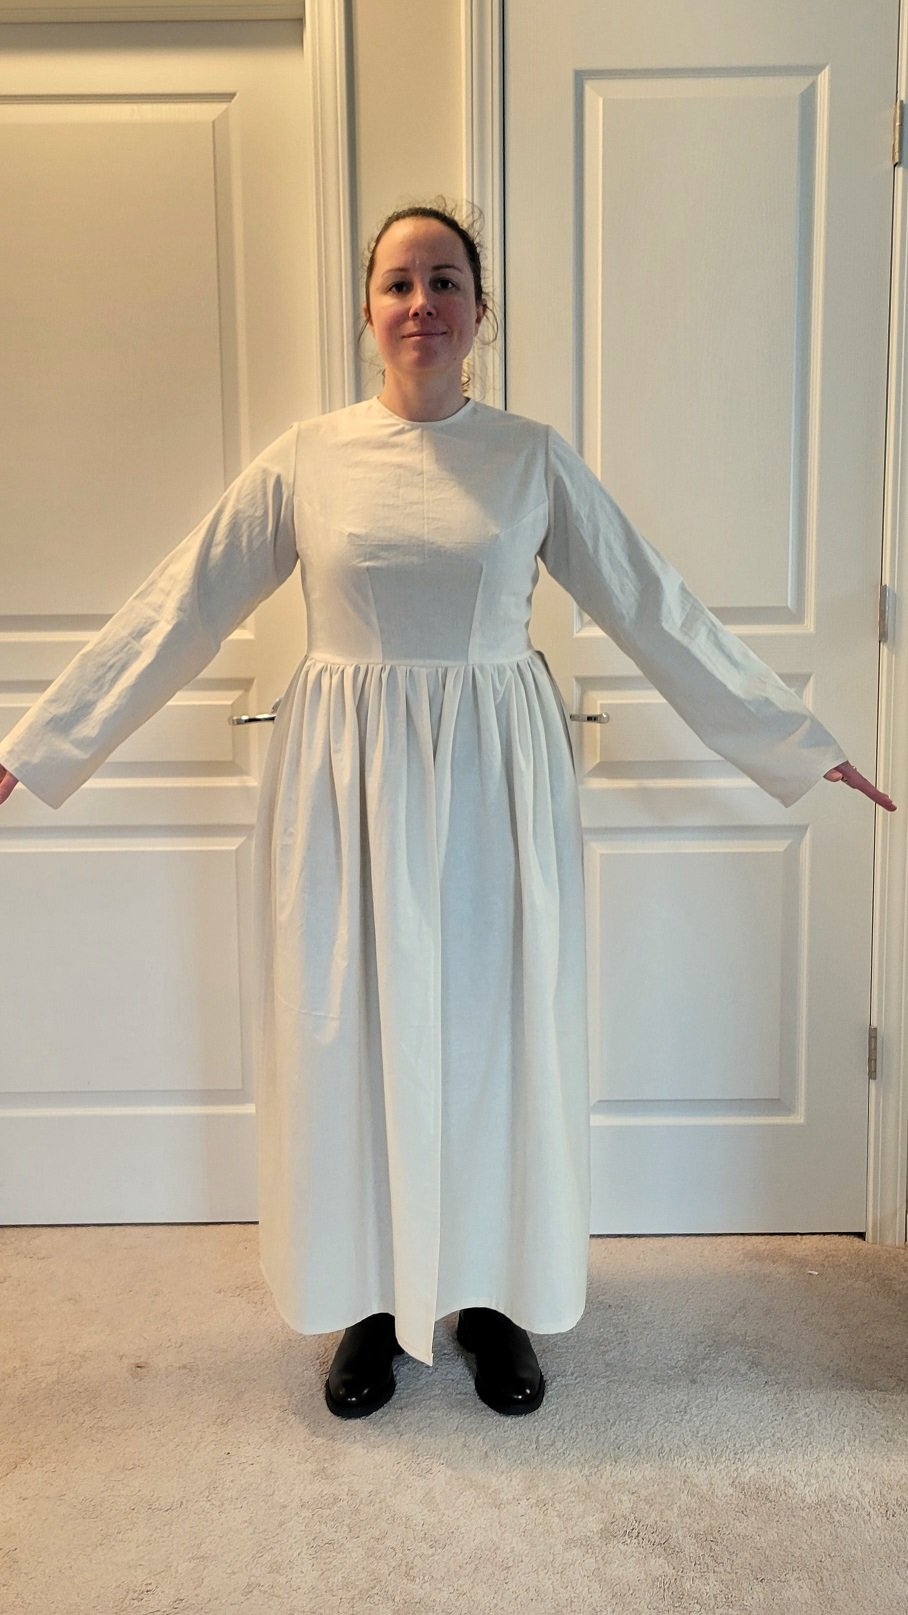
  4. Major progress has been made! Since I completed the unitard, I made a duct tape dummy, created pattern slopers, created patterns for the dress, and made a muslin "practice" dress. The duct tape dummy was necessary, as I don't believe there is any dressform in the world that can be adjusted remotely close to my body shape. This was dirt cheap to create (plastic wrap + duct tape + fence post expanding foam) and didn't take much time (thank you to my husband for helping!). This dummy made taking measurements and fitting the slopers super easy. I learned how to create my slopers from the book How to Make Sewing Patterns by Don McCunn. The pattern drafting videos on Creative Bug were also very helpful. Basically what the slopers are are generic, fitted patterns that you can then use as a base for pretty much any pattern you want to create for yourself based on a series of measurements you take from you body (or duct tape dummy) and a pretty lengthy (at least for me since this was my first time) fitting process. The bodice and sleeve patterns were very simple modifications from the slopers - just add seam allowance and sleeve fullness. Then for the the skirt panels, I went off of a tutorial for a Hobbit-style full gathered skirt I found online that suggested a skirt circumference of 3 to 3.5 times your waist circumference. I made some panels based on this (panel width = (3 x waist circumference)/4) and sewed them to a makeshift belt to try on. The skirt looked a little too full and the panels too wide compared to the comic images, so I cut 4 inches off the width of each one and was pretty happy with the result. So that makes the final ratio of the skirt circumference to waist circumference 2.5. I made each panel long enough to go from my waist to almost the floor when barefoot so that there would be plenty of wiggle room for hemming. Before I make something that I developed myself, I like to do a test run on muslin to validate my pattern (or pattern modifications) and process. Yes, it took a full day yesterday and a few hours today to make a dress just for practice, but doing this brings my anxiety way down and my confidence up before going into the real thing. I'm pretty happy with how this turned out (except for looking like I belong on Little House on the Prairie), and I'm ready to start the final dress! Note: the bottom of the center back is a little funky and has a small gap because we just pinned it shut. This should be better on the final dress with the zipper.
  5. It's been a little while since I've updated. I've been working steadily on the bodice and sleeve slopers I will use to develop the patterns for the dress. It's been a pretty slow process since I've never done this before and I'm learning how to do it from a book. I'm getting close - I should hopefully be able to build and try on a trial dress within a month! In the mean time, I received some boots several weeks ago that I ordered for this costume, and I think they will work nicely. These are the Capree boots in Espresso color from Jones Bootmaker. They were a little bit on the pricey side (about $200), but they are beautiful, comfortable, and the closest color match to the book I can find in the correct style (my perfectionism goes into overdrive when it comes to color matching!). There are two pictures in the comic where Mara is outside in daylight where the boots can clearly be seen. These match the color in one of them almost perfectly (comparison photo below). I've also added a picture of me wearing them with the unitard.
  6. I made the easiest part first - the unitard. Could I buy a unitard off the shelf instead of making it? Yes. Would it fit me? Absolutely not. My body has some pretty wacky proportions going on, most problematic being my EXTREMEY short torso. Therefore, all of my costumes have to be custom sized. Lucky me. For the pattern, I used the same one I used for Nezmi Mara (Jalie 2105). I already extended the sleeves and pants to full length and made the necessary modifications to the pattern to make the suit fit me correctly when I did my Nezmi build, so all I had to do for this was add back in the portion of the sleeve I cut out for the sleeve insert. I also got clever and designed in an "easy access gusset" for when nature calls (reverse engineered from my Spanx) because removing four layers of costume to use the restroom would be awful. Now for the fabric. I initially had a ridiculous thought that I could find a nylon/spandex fabric about the right color off the shelf and not have to dye. I found one that looked really close - the Storm Grey Milliskin Nylon Spandex Matte #216 from stretchhouse.com, but when I ordered it, the color was more like a light grey than a dark steel grey. Back to the dye bath and the headaches it involves (sigh!). Luckily after less than ten small-scale trials, I was able to lock in the formula that gave me a very close match to the comic. I overdyed with 50% RIT Pearl Grey, 25% RIT Denim Blue, and 25% RIT Hyacinth, at 4 oz total dye per lb of fabric. Note: the color looks slightly different picture to picture because this fabric/color does not photograph consistently. So then I spent a few hours with the scissors and sewing machine this weekend and banged out a unitard! One piece down, several to go.
  7. I'm doing it. I'm going for the Mara Jade triple threat! I already have Black Bodysuit, I built the Nezmi Base version and got the CRL released, and now I'm going to build the Black Nebula version. Mara has been my favorite Star Wars character for over 30 years, and one of my favorite ways to honor her is to, well, become her, so this just seems right. Carlos Ezquerra's depiction of Mara is my favorite of all her comic appearances, so I'm pretty excited to add another of her outfits from By the Emperor's Hand to my collection. I would LOVE to also build the Arica bodysuit from the same series, but unfortunately I have bad plantar fasciitis, so the shoes are a deal breaker (also covering up multiple tattoos would be a pain). Onward to my latest costuming adventure...
  8. Your dye color for the poncho looks great so far! Congratulations on getting past one of the most stressful parts of this build (at least for me - I HATE dyeing!). I don't think anyone is going to be too picky on contact colors. As long as they're some shade of natural-looking green, you should be good to go. I use Air Optix Colors in gemstone green and get them through my eye doctor (since I wear Rx contacts anyway), and they look pretty close to your Caribbean Green picture. You should be able to find contact info for your GML(s) here: https://www.501st.com/members/displayUnits.php. Also, if you haven't already done so, hop on your garrison's forum to introduce yourself and what you're working on as another way to make contact.
  9. Link to .stl files for blaster: https://home.mycloud.com/action/share/0bbec51d-eb9f-4add-a70b-12c20d3a1642
  10. Yay! You're welcome for the help, and I'm excited to see this build happening and that my creation of this CRL was an inspiration! Here are some more answers to your questions: -Make sure your poncho color is lighter and less blue than the arm inserts. I had a *really* hard time correctly capturing the poncho color via photos. When in doubt, try to match the comic book color over the photos in the CRL πŸ™‚ -Yes, there is a little bit of blue in the arm insert color. I noticed this in the comic book and added a tiny bit of denim blue to my dye bath to get it to match. -I'm attaching a photo of my poncho instructions I made for myself, so hopefully this will answer your questions on this topic. Sorry if the stitch callouts look confusing - I did them like weld callouts since I'm an Engineer and I was writing this for myself. πŸ€“ But if you come up with a construction that works for you, go for it! I opted for this to minimize visible seams and make it look as comic booky as possible. -For the small blaster, my husband modeled it from scratch in CAD (he's an Engineer too!), and we have 3D print files that you (or any other TFE members or prospective members reading this) are free to use if you wish! I just have to find them and will add them to this thread when I do. I would think a piece of orange tape on the end would suffice where orange tips are required, but I don't know for certain, as I never needed to do this. -For the bag, there is a frame in the comic book that I'm pretty certain is in my build thread with Mara's hand over the side of the bag. That's what I used for scaling. I made a bag out of paper and tape to check the porportions before cutting leather. As for the leather, I bought a 5 oz (I think) veg tan shoulder from Tandy a while ago that I've been using for several things, so that's what I used for the bag. You could certainly go thicker though! Let me know if you have any other questions, or free to reach out!
  11. I made my off white gloves from the same stretch knit as my cowl, so they match. It was pretty simple - trace the outline of your hand twice on the fabric for each glove (like a little kid drawing a turkey for Thanksgiving πŸ˜„), cut them out, sew them together, and hem the cuffs.
  12. Hello! Not only have I made this costume, but I also developed/modeled the CRL πŸ˜ƒ To answer your questions, I used silk charmeuse for the poncho and a nylon/spandex blend for the arm inserts (same blend I made the black part of the unitard from). I purchased both in white and dyed them to match the comic. The silk is pretty pricey, so if you're looking for a less expensive alternative, I think rayon would also work well. Check out my build thread. It's super detailed and includes lots of pictures, so hopefully you will find it helpful! Feel free to message me as well if you have more questions πŸ™‚
×
×
  • Create New...