
-
Announcement
Welcome to the forums!
If you are a newly-approved member, make sure you check out the New Member Checklist!
If you are a Detachment member and can't see the member-only area, post here for access.
-DV


Avatar190
-
Posts
131 -
Joined
-
Last visited
-
Days Won
3
Content Type
Profiles
Forums
Gallery
Events
Everything posted by Avatar190
-
From the album: Imperial Knight WIP
Snap setup for ab plate and cod piece to chest plate -
From the album: Imperial Knight WIP
Upper back plate positioned into place -

From the album: Imperial Knight WIP
Cape velcro'd to back -
From the album: Imperial Knight WIP
Pauldron and shoulder strap snap setup -
From the album: Imperial Knight WIP
Velcro attachment for chest to back -

From the album: Imperial Knight WIP
Right pauldron w/no cog -
From the album: Imperial Knight WIP
Pauldron snap strap setup -
From the album: Imperial Knight WIP
Left pauldron w/cog -
From the album: Imperial Knight WIP
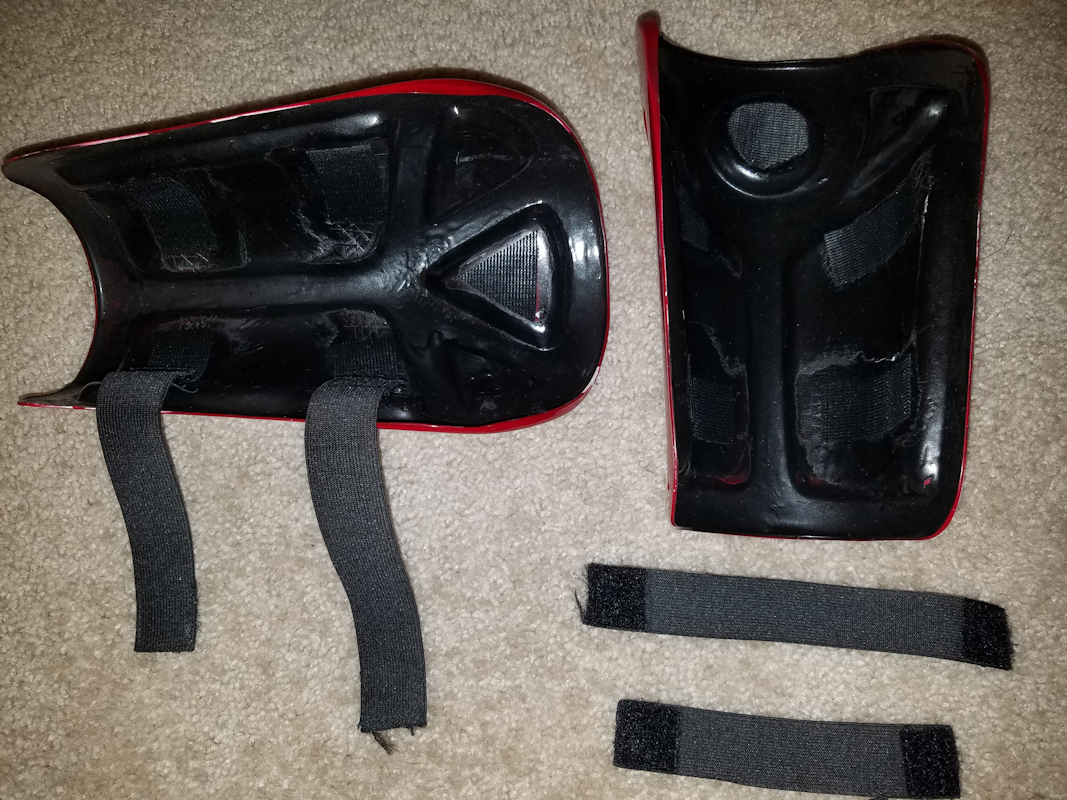
Velcro strapping setup of the bracers -
From the album: Imperial Knight WIP
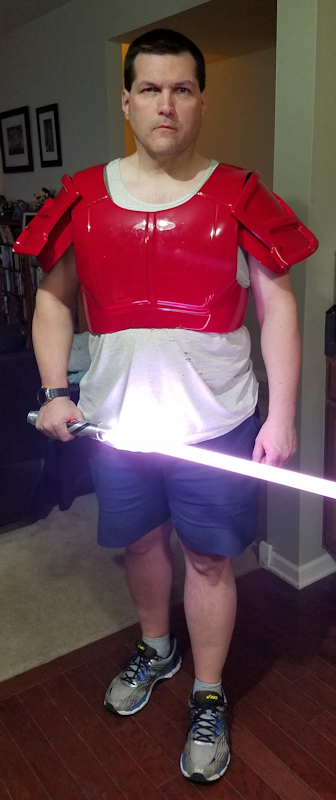
First test fitting of the armor -
From the album: Imperial Knight WIP
Gluing shoulder straps onto the chest plate -
From the album: Imperial Knight WIP
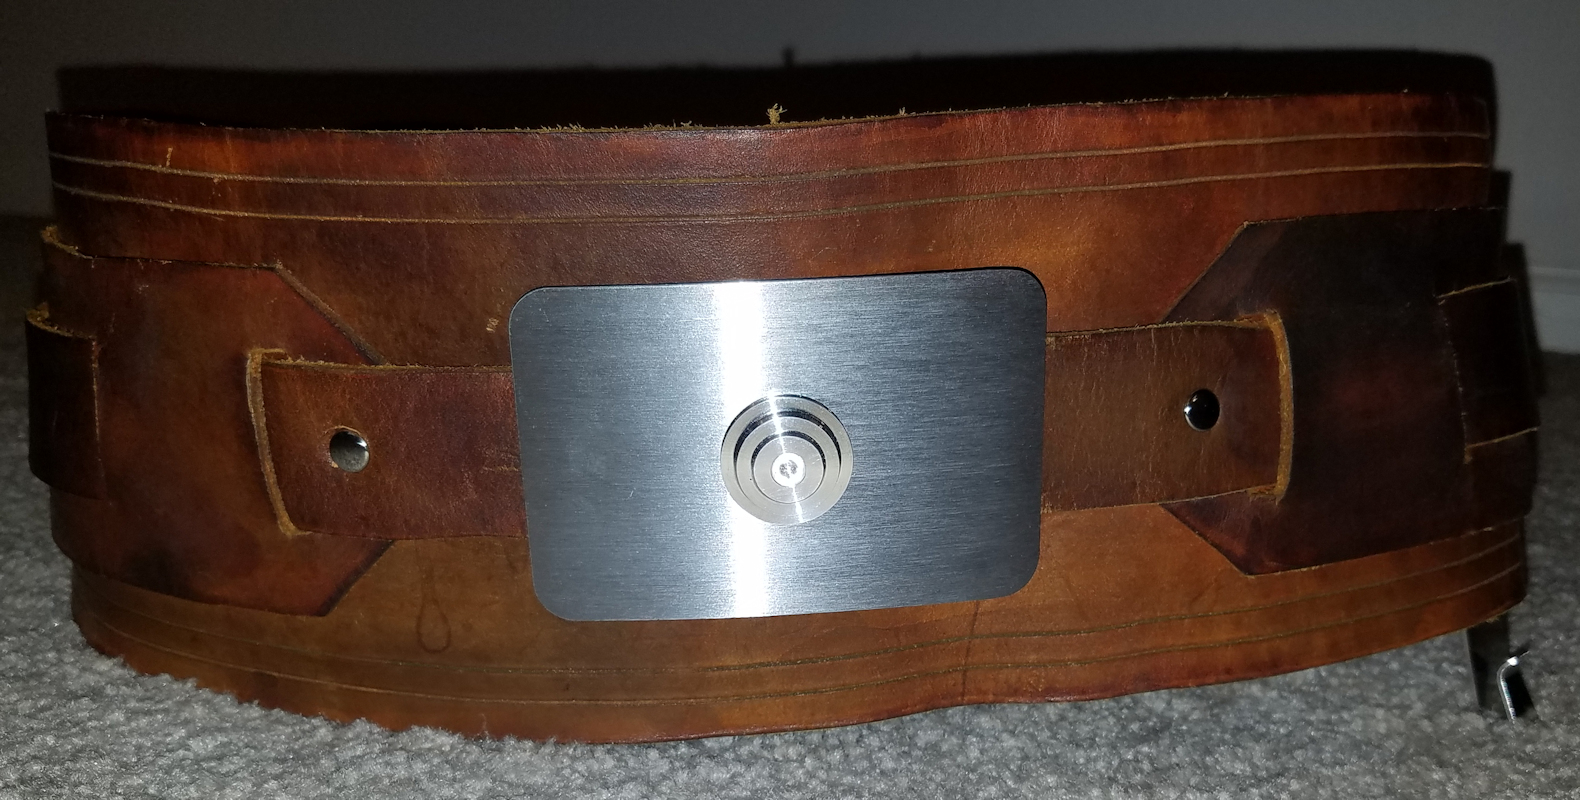
Completed IK belt -
From the album: Imperial Knight WIP
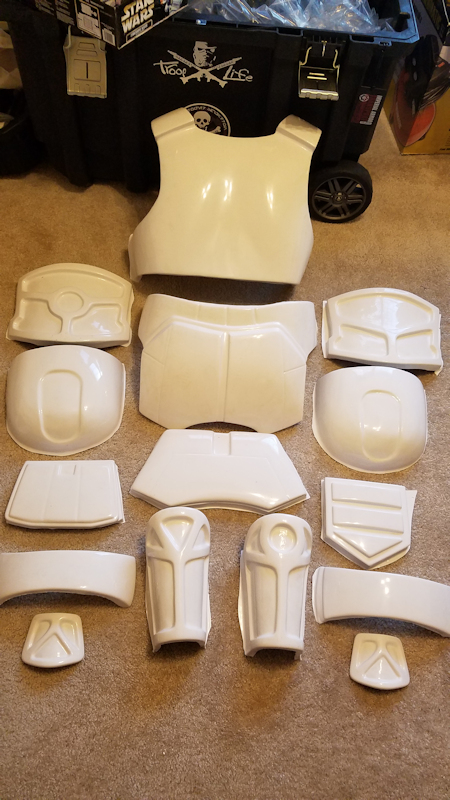
Untrimmed armor, as received -
From the album: Imperial Knight WIP
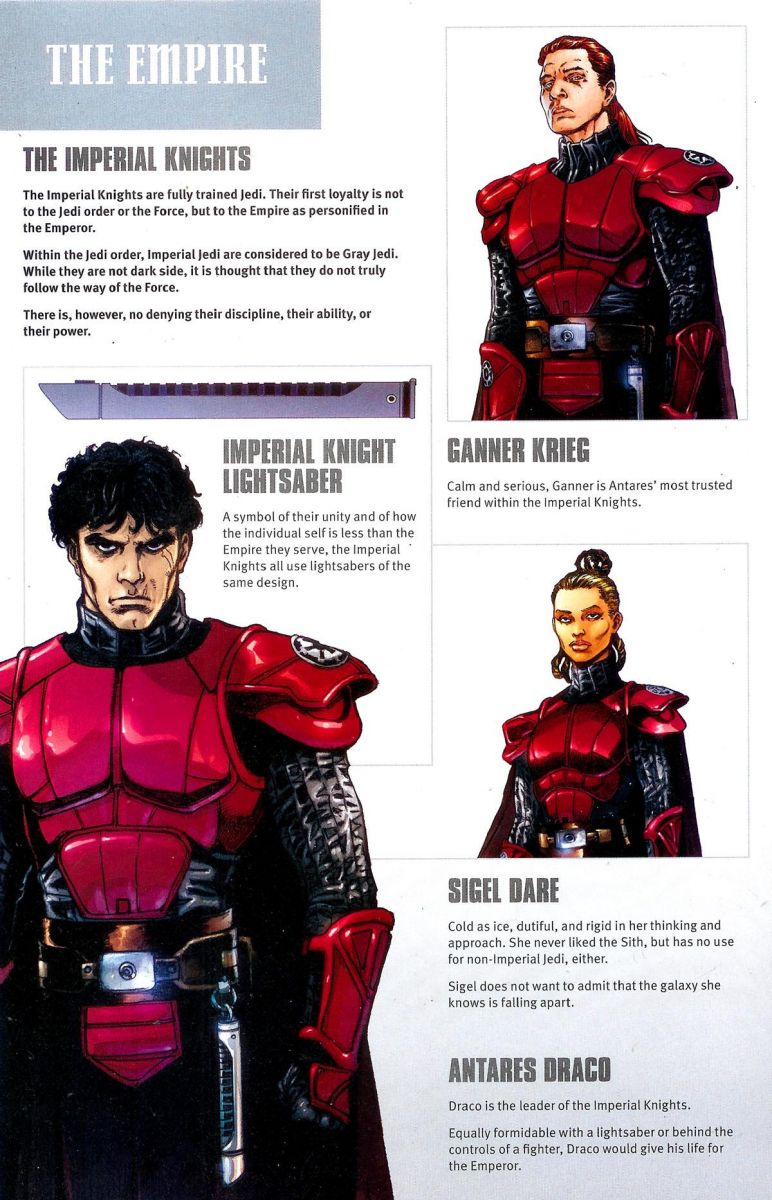
Imperial Knight description -
Current checklist for changes needed: Pants - ones in these images are incorrect. I do have a pair of Vader pants, but I do not like them they are too hot. But if my replacement takes too much longer to arrive, I'll do what needs to, and suffer. Sleeves - need to tighten up the wrists, they are too big Bracer & Hand guards - after fixing the wrists, get that gap closed up Upper back plate - ensure velcro is not visible below the shoulder straps Touch-up Painting - not really visible, but I know it's there, and I want it fixed Shoulder straps - install padding That's it for now...I think...
-
So, the latest test run was at RennCon this past weekend at Bristol Renaissance Faire. The cod piece definitely held in place better. Ab plate still pops out a bit, and the snaps kept popping out, which might have been the problem at the time of this image. Might replace the snaps for stronger snaps, or incorporate velcro with the snaps (likely this). Wondering if I reinforce the pleather, or go with leather and harden it... Really need to get that hand guard and bracers placed correctly...too much gap. I'm going to tighten up the sleeves on my tunic, and make sure those bracers are sitting in the proper place to marry up with the hand guards. Oh, and pad the shoulder straps, like I mentioned before...damn I was sore after this run. I'm just waiting for my pants to arrive, and aside of those few tweaks, I might be ready to go. Anyone here have any thoughts, comments, suggestions?
-
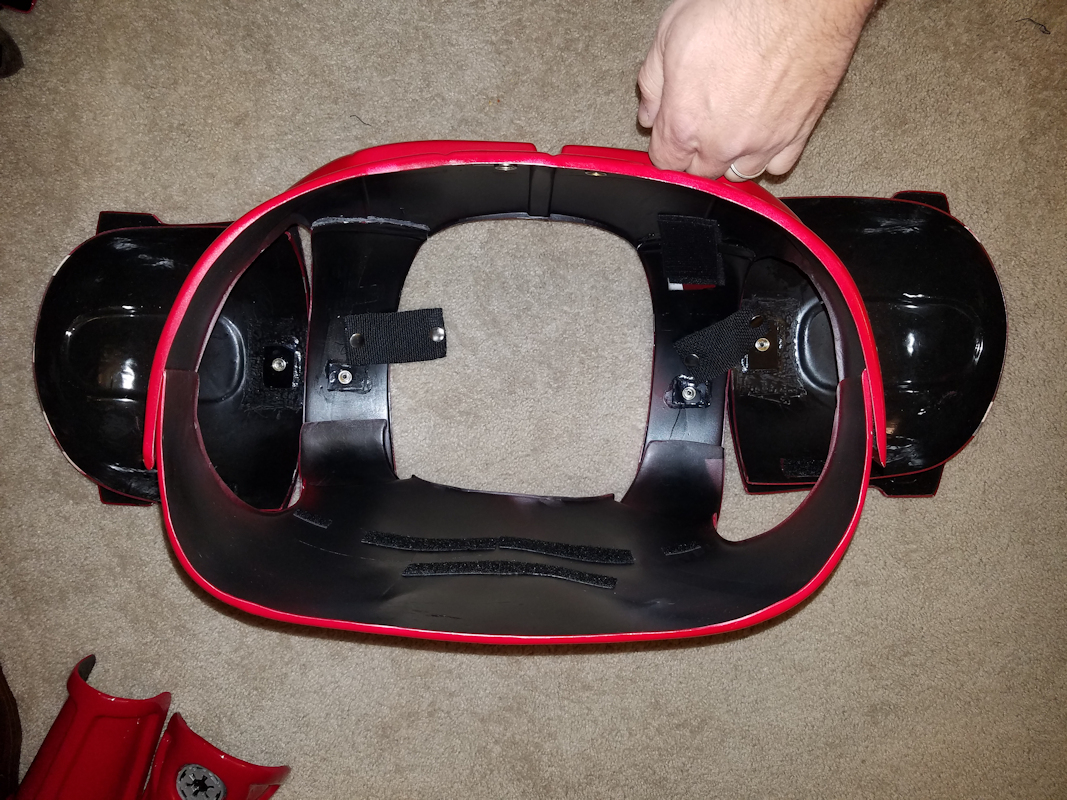
The snap configuration with the strip of pleather. Hoping this provides enough rigid support to prevent breathing and my gut to pop the armor pieces out or alignment with the belt. All of the pieces snapped together, as viewed from the backside. This is the front view, without the belt Front view, with the belt
-
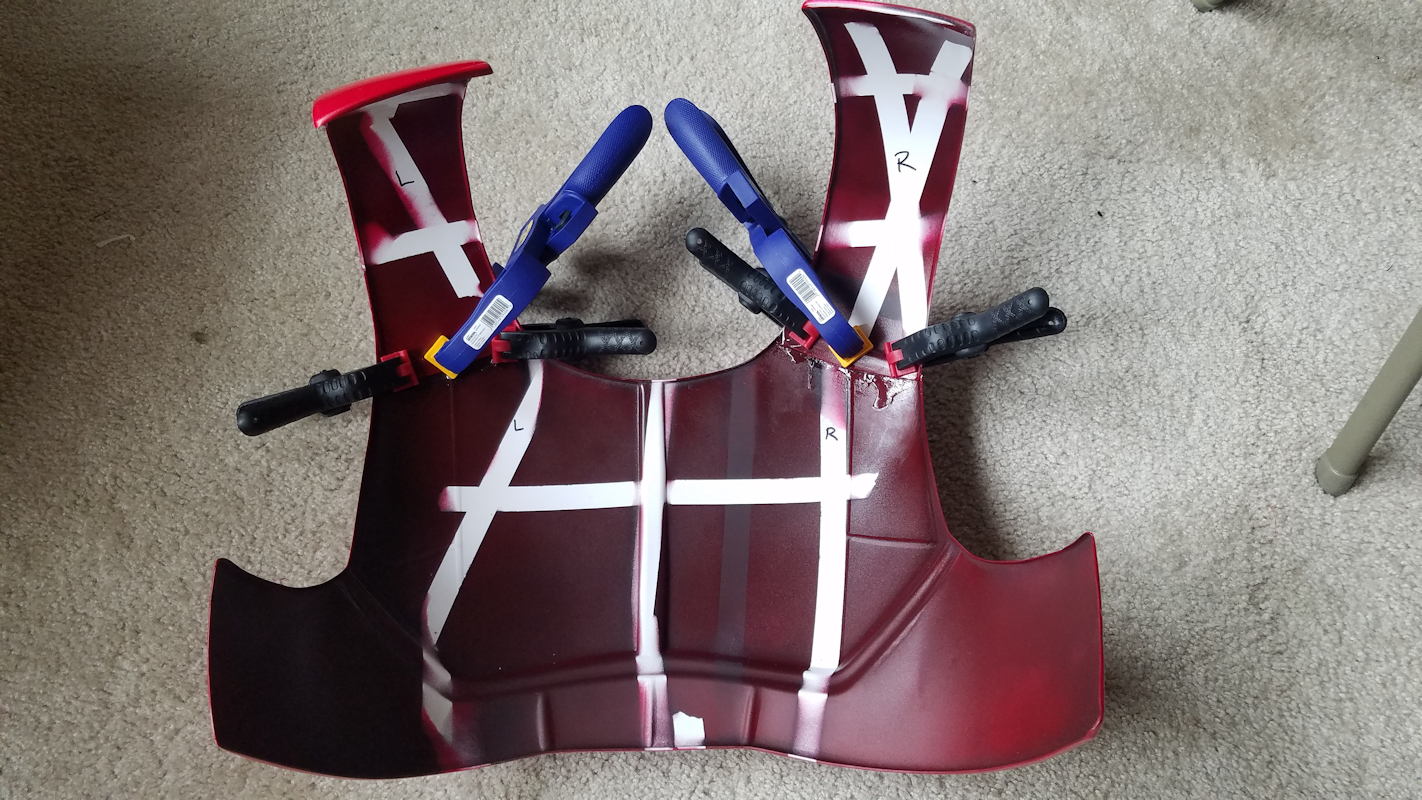
Back to square one, I decided to switch to a snap system and a hopefully less pliable strip of pleather. So, replaced all the velcro, and glued snap anchors in their place.
-
I used YaYa Han "leather" fabric strips to tie the armor pieces together behind the belt with velcro, It worked well, I had no problems with anything popping off. Problems I experienced, the YaYa Han fabric was too stretchy, so it allowed for a lot of movement. This would be comfortable, but... As noted above, the stretchy YaYa Han fabric was too stretchy, and as I found out at Celebration, the armor pieces would be popped out of place from my gut. I didn't care for the look.
-
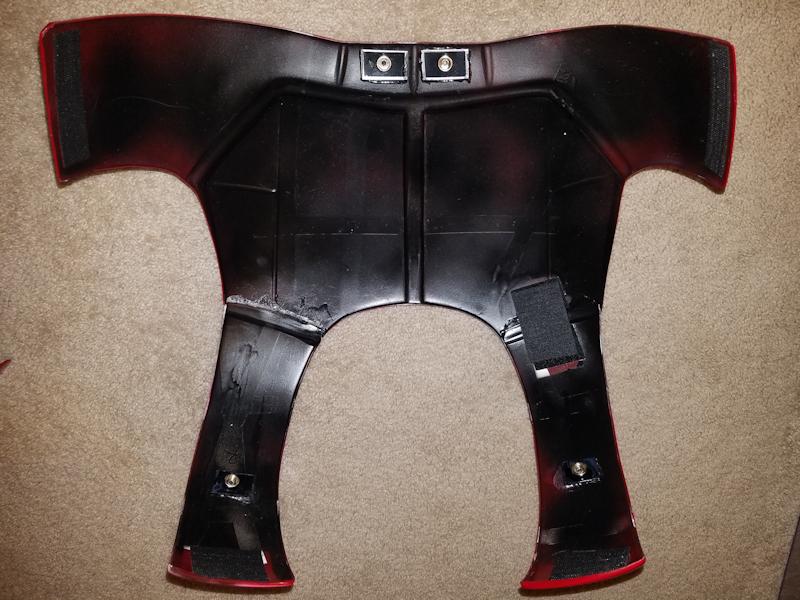
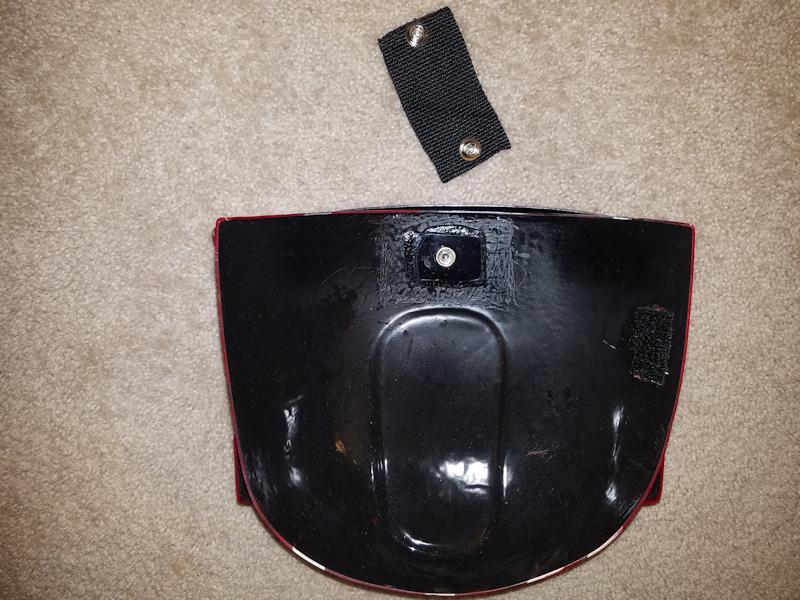
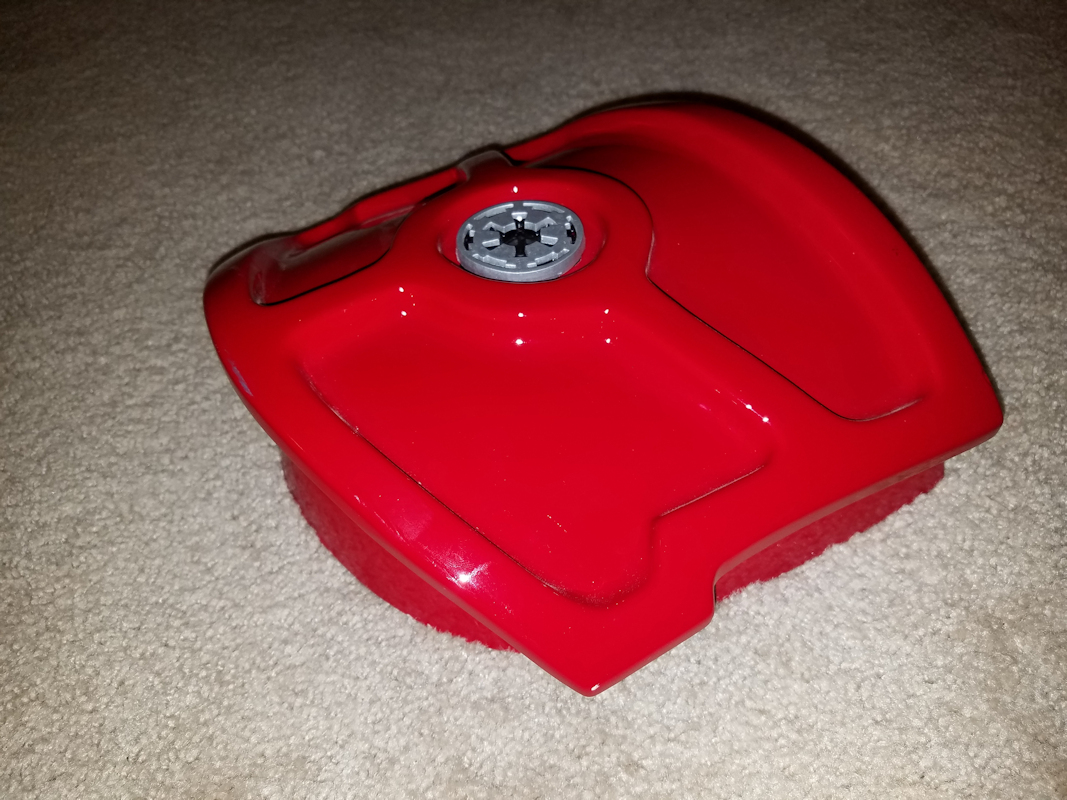
Backside of the chest plate and pauldrons, now painted black. Used snap system, à la stormtroopers, to attach the shoulder bells. Velcro to attach the sides and, as I mentioned before, the ab plate and cod piece. Ab Plate (front and back w/velcro) Btw, notice the black...this isn't paint. I thought I'd give it some "weight" by using Flex Seal. DON'T DO THAT. It does give it weight, but Flex Seal does not let you stick anything to it. So, none of the velcro or any glue that I tried to put onto it would not stick. And it was a HUGE pain in the testicles to get the residue off, so things would adhere. Cod Piece (front and back w/velcro)
-
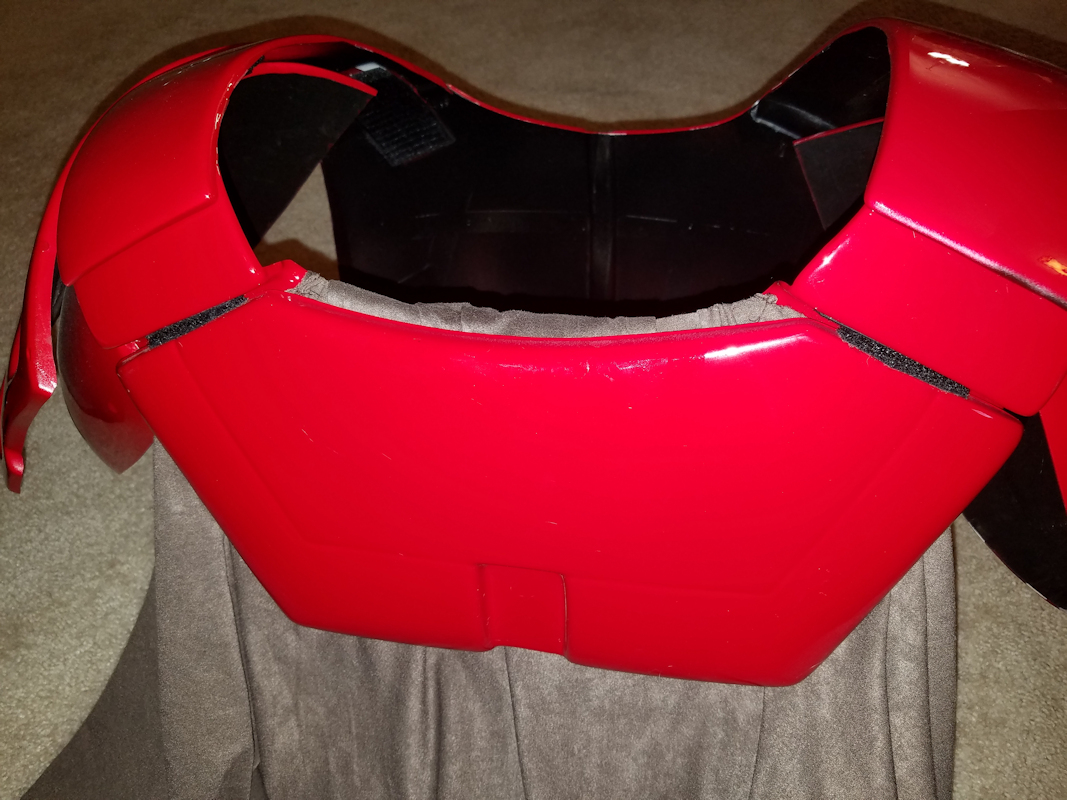
Strangely that last image didn't post, it only linked...let's try again. And here is the upper back plate, secured in place. I feel that the velcro is far less noticeable when I'm wearing it, then it appears in this picture...
-
Chocolate brown cape, made from YaYa Han suedecloth. Velcro strips sewn along the top to secure it along the inside of the back plate, the outside of the back plate at the shoulder blades, as well as under the left and right pauldrons. Attached first to the top of the back plate. Then pulled down to the inside of the back plate, and secured again with more velcro. Here is the upper back plate, which covers the top of the cape. Inside of upper back plate, with piece of velcro for a strip of cloth, I velcro that cloth strip to the upper back plate so as to be able to secure the upper plate to the back plate. And here, secured over the top of the cape, holding it in place, and keeping the upper plate anchored as well. http://i.imgur.com/fYdy3eY.jpg
-
Here's how I did my snap assembly for the pauldrons and the shoulder straps. After a few test troops with the armor, I have determined that I do need to pad the shoulder straps, as the snap buttons dig into the tips of my shoulders, and it really starts to hurt after about an hour...
-
Ok, by now, I've painted the inside of the chest and back plates black (mostly to cover the white stripes left from hanging the armor when it was painted red). And, velcro strips are in place to secure the shoulder straps to the top of the back plate, and the sides of back and chest together. Also, velcro pieces in place for attaching the cape and the upper back plate. This is a newer photo, initially those snap anchors were not on the bottom of the chest plate, I had velcro there. I'll explain later.
-
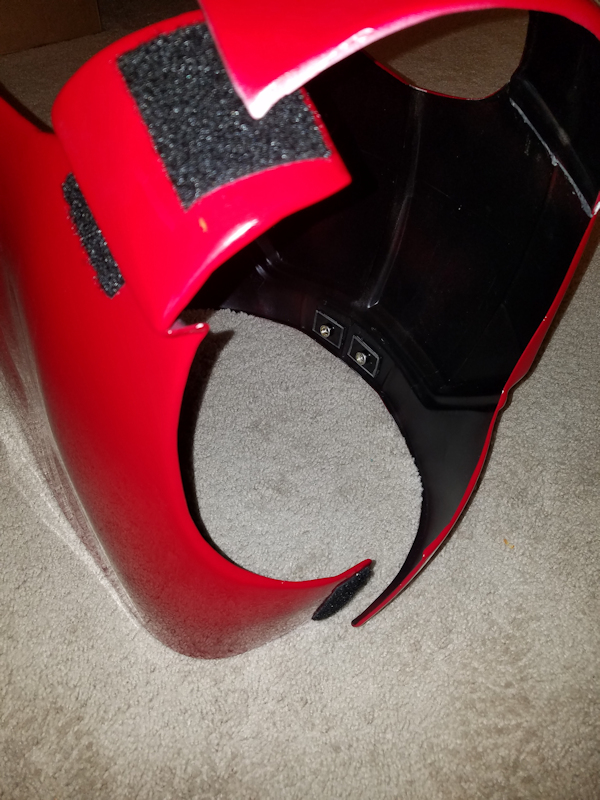
And also drop the cog in the left pauldron... Shown here with the snap strap attached (which secured is to the shoulder) Here is the snap assembly. You can also see the piece of velcro where I attach the cape to the shoulder bell. Right pauldron (no cog)

