-
Announcement
Welcome to the forums!
If you are a newly-approved member, make sure you check out the New Member Checklist!
If you are a Detachment member and can't see the member-only area, post here for access.
-DV


Black Falcon
-
Posts
17 -
Joined
-
Last visited
Recent Profile Visitors
253 profile views
Black Falcon's Achievements
1
Reputation
-
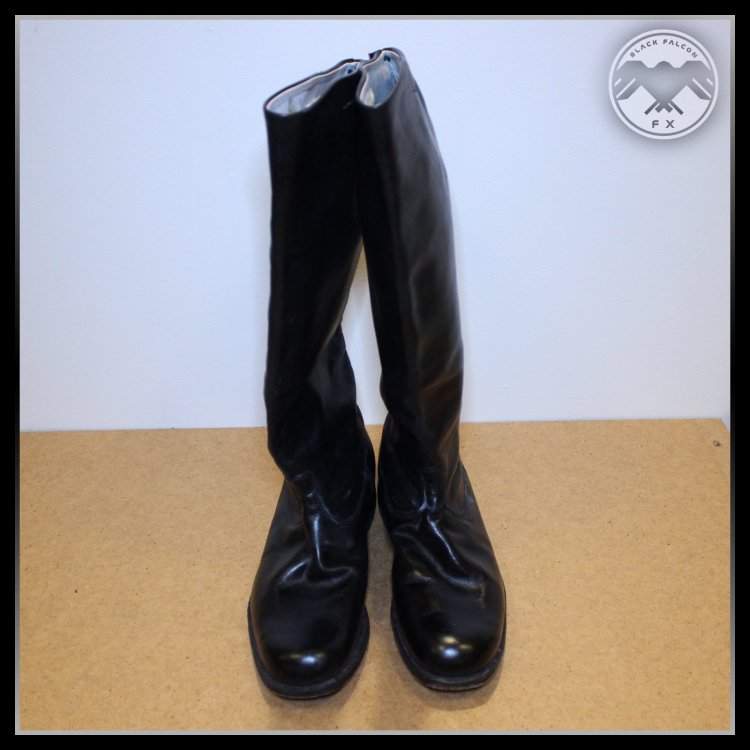
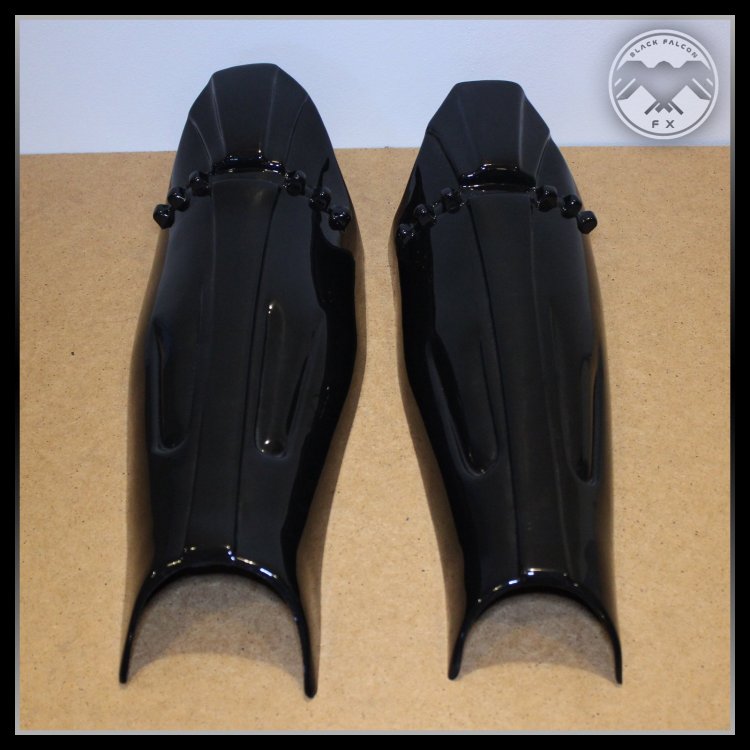
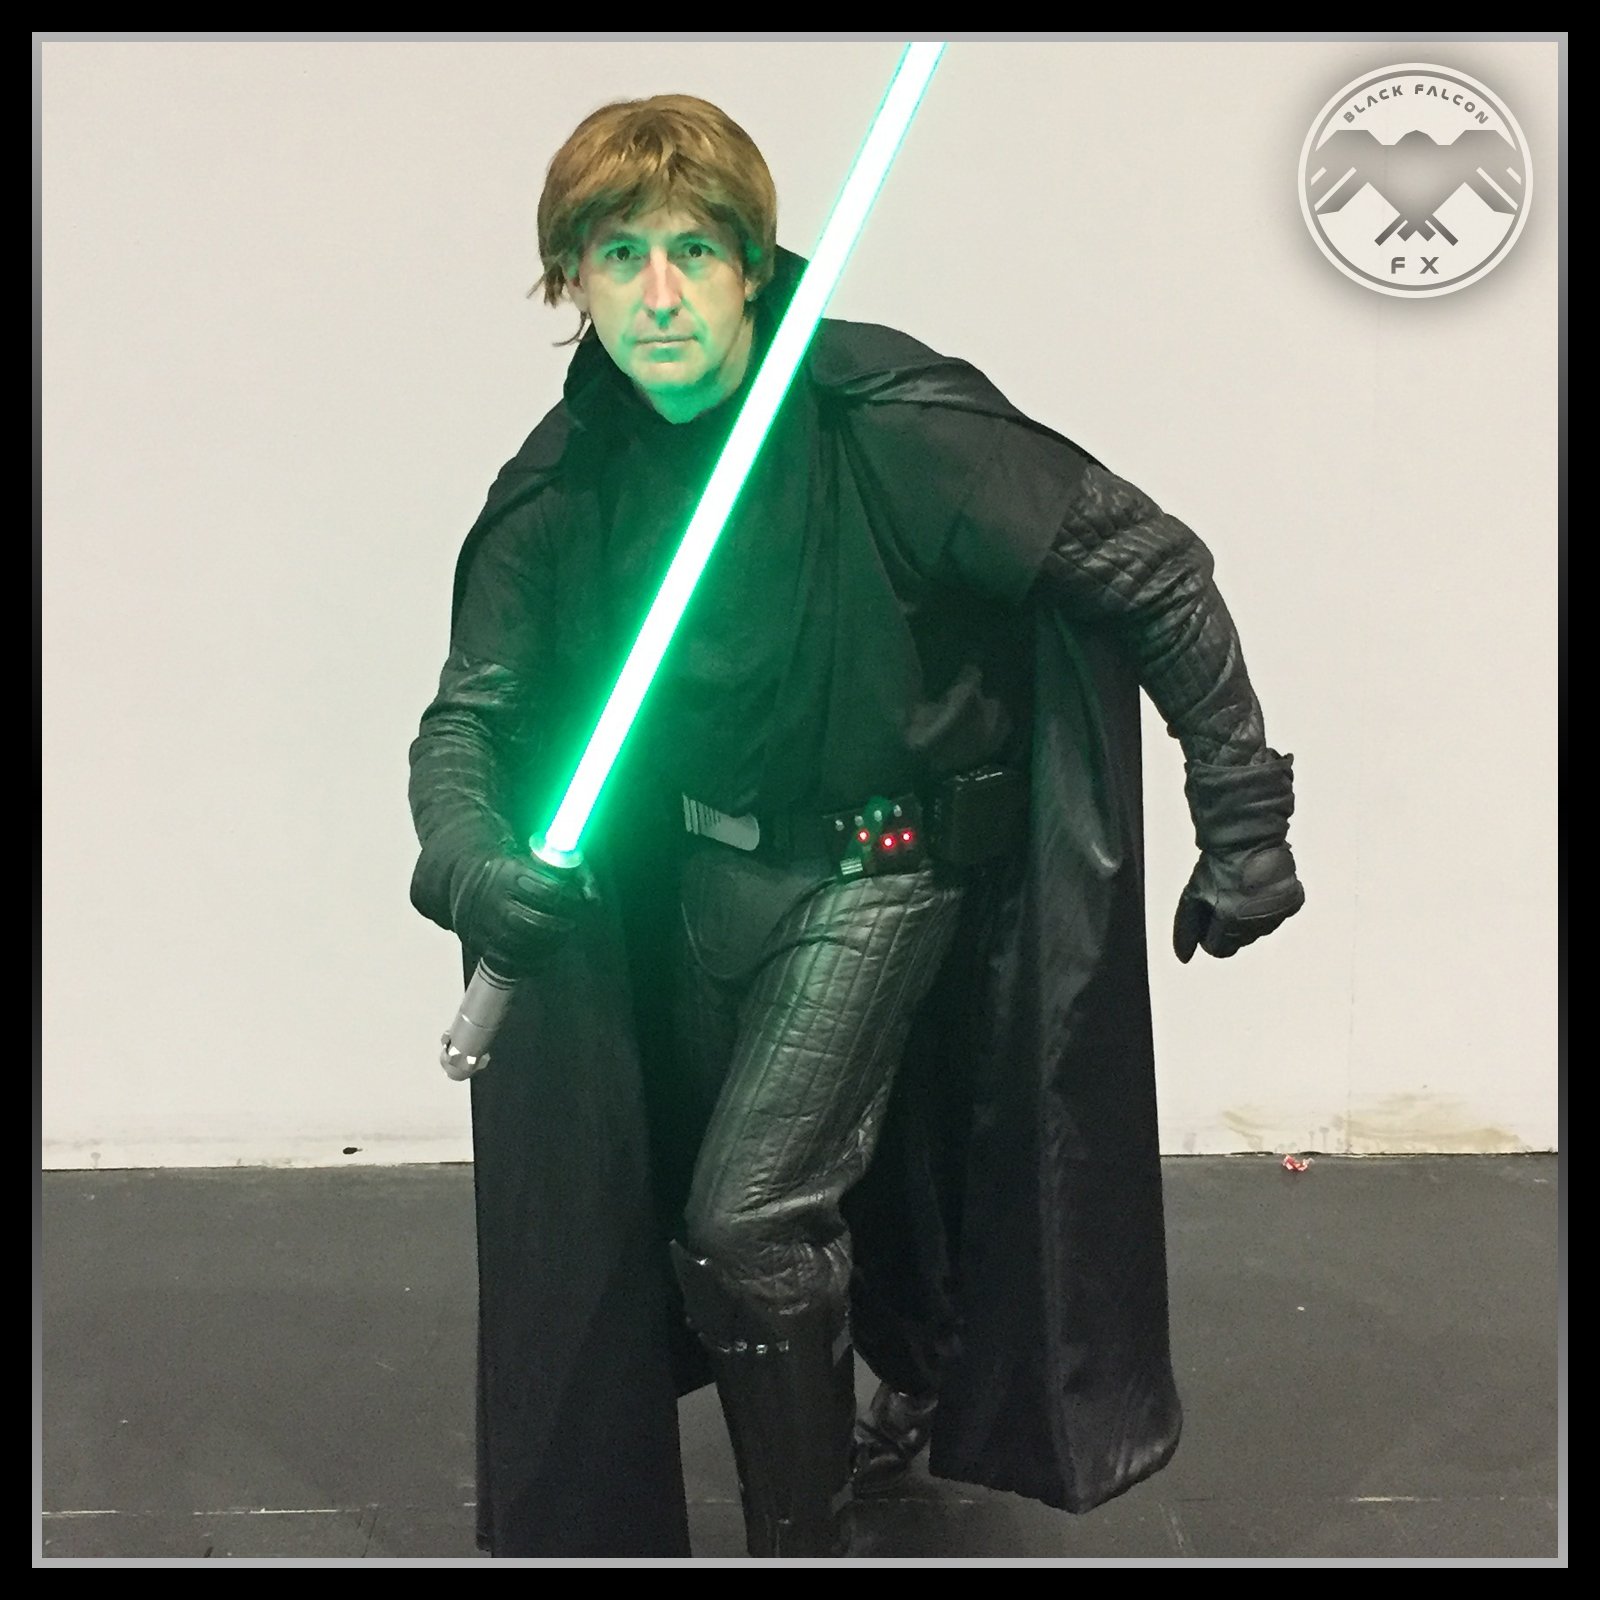
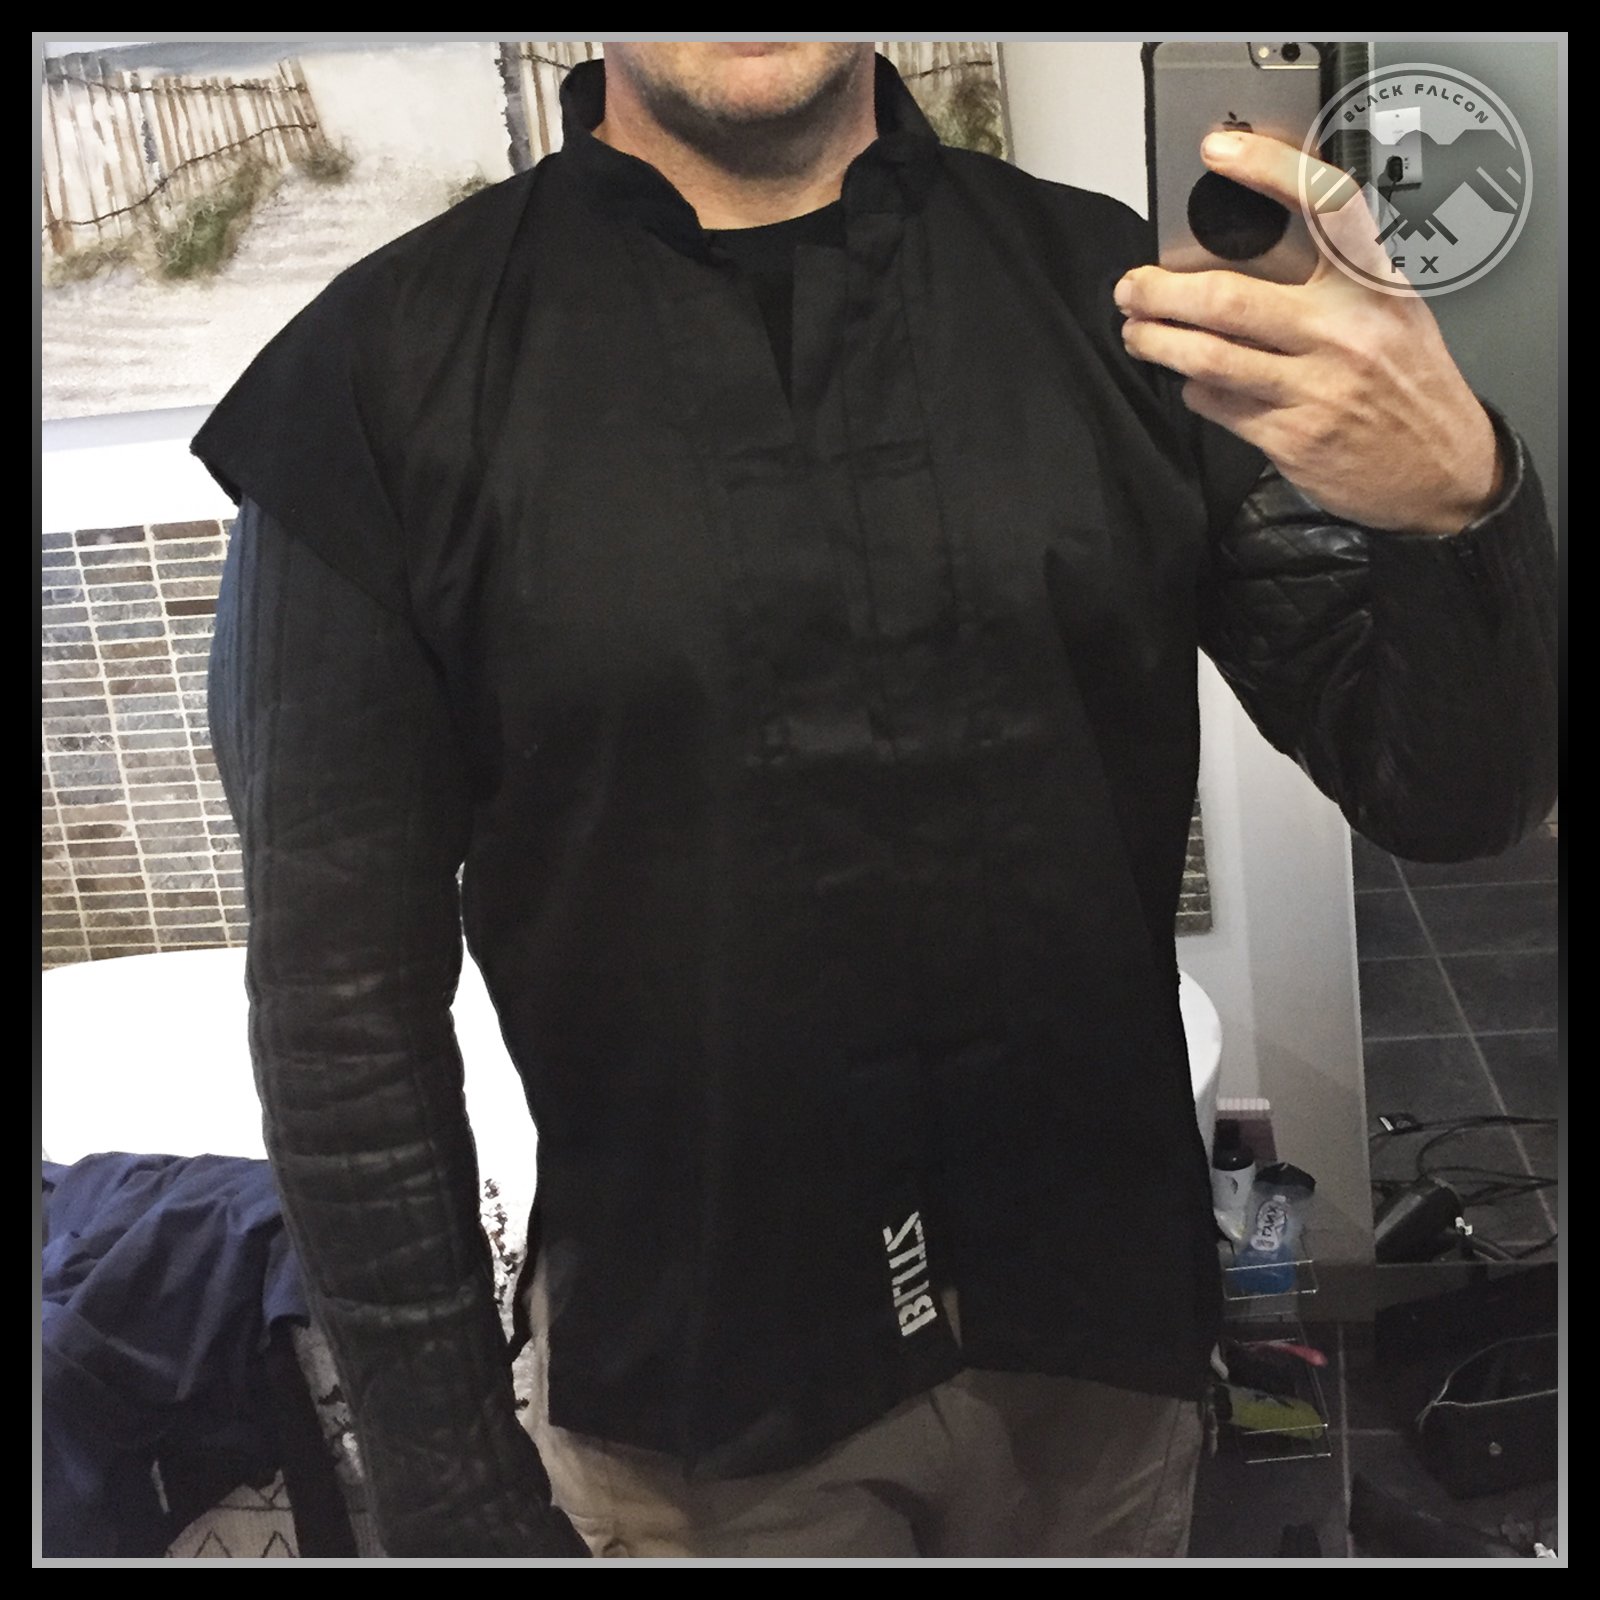
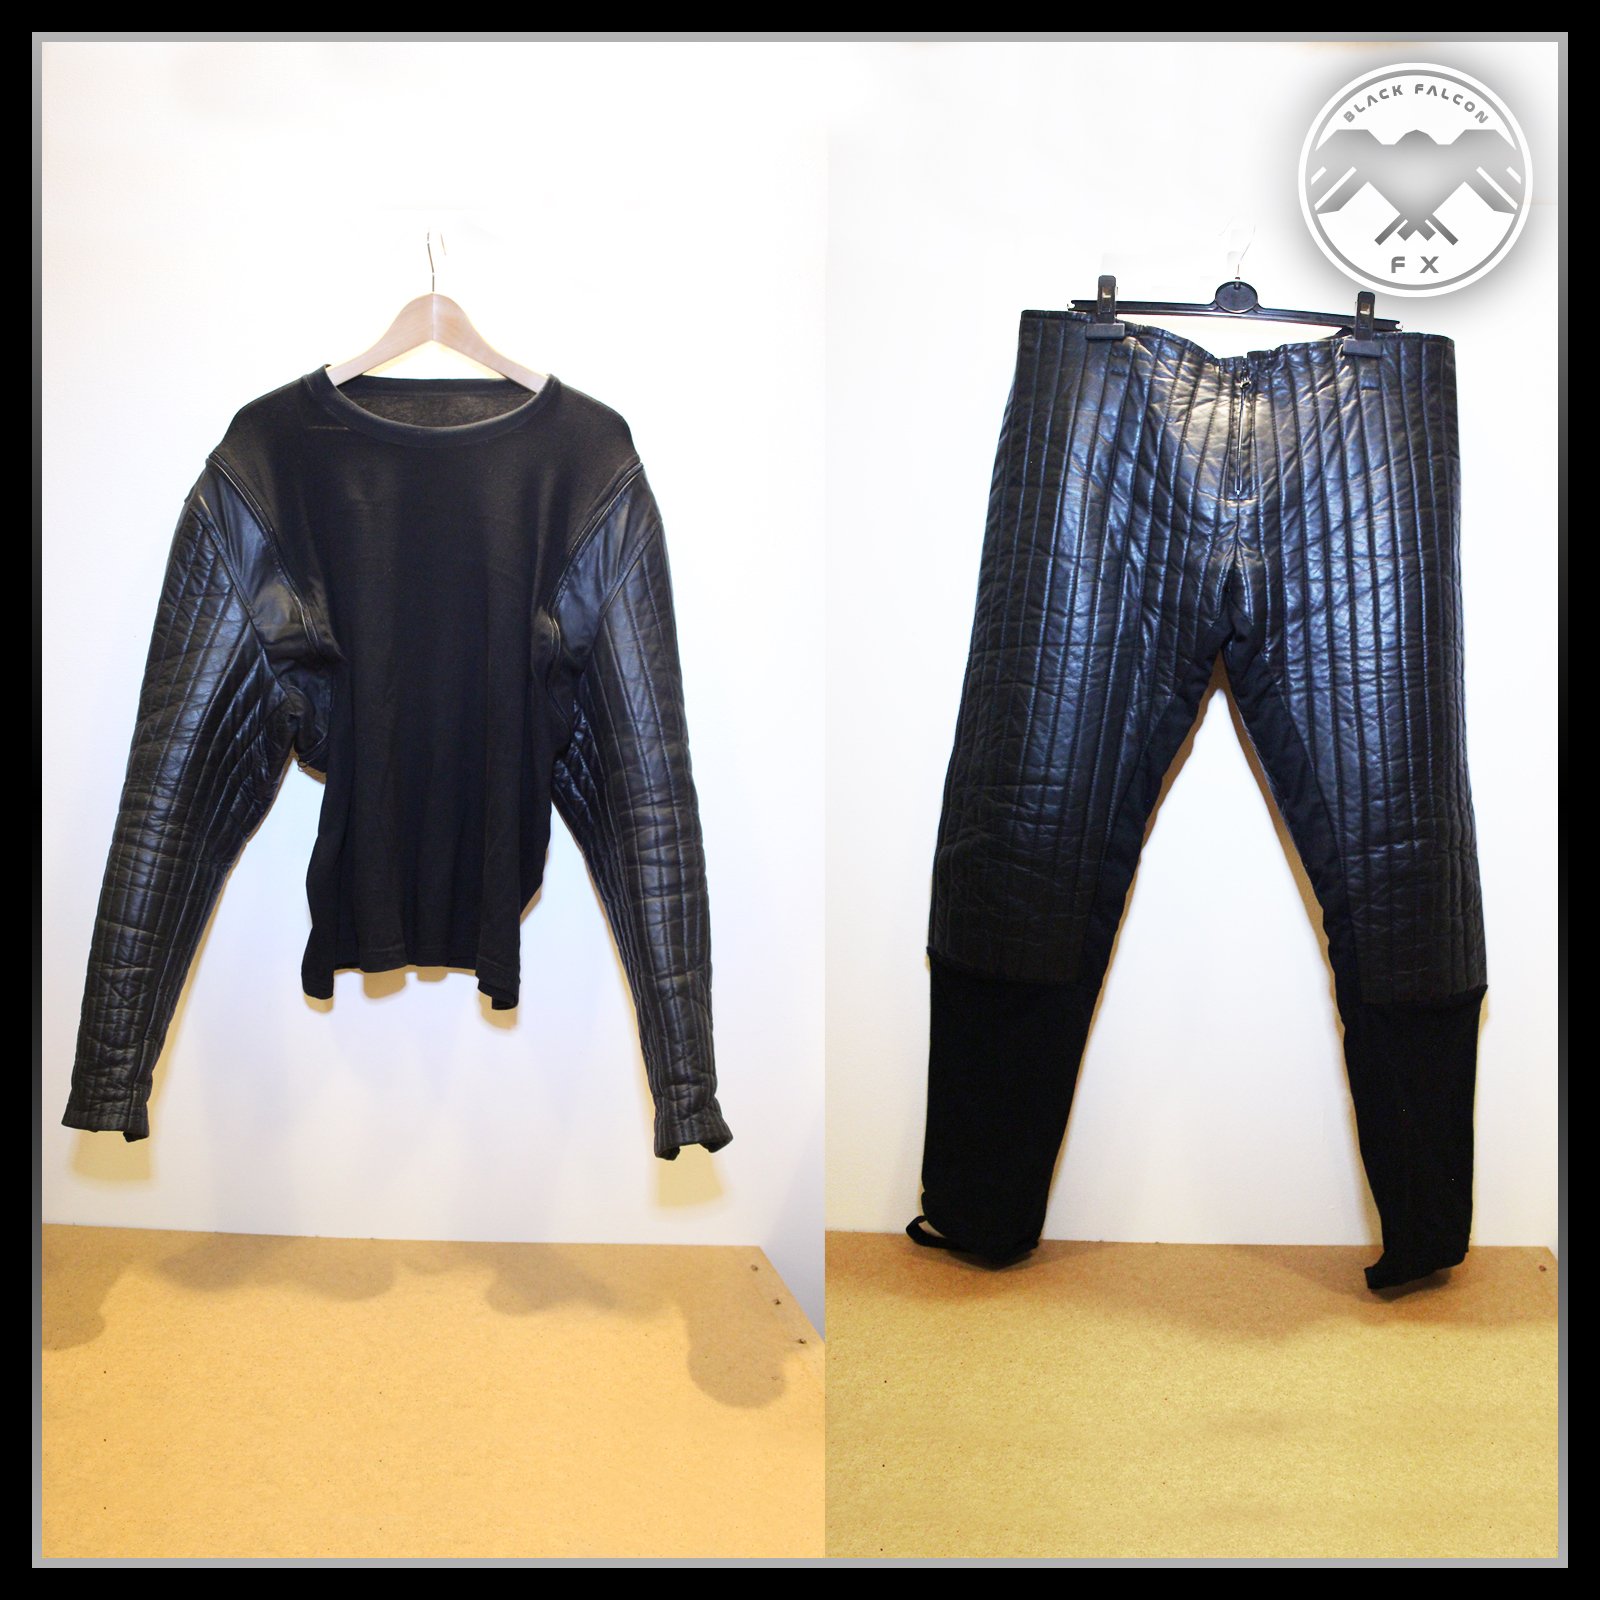
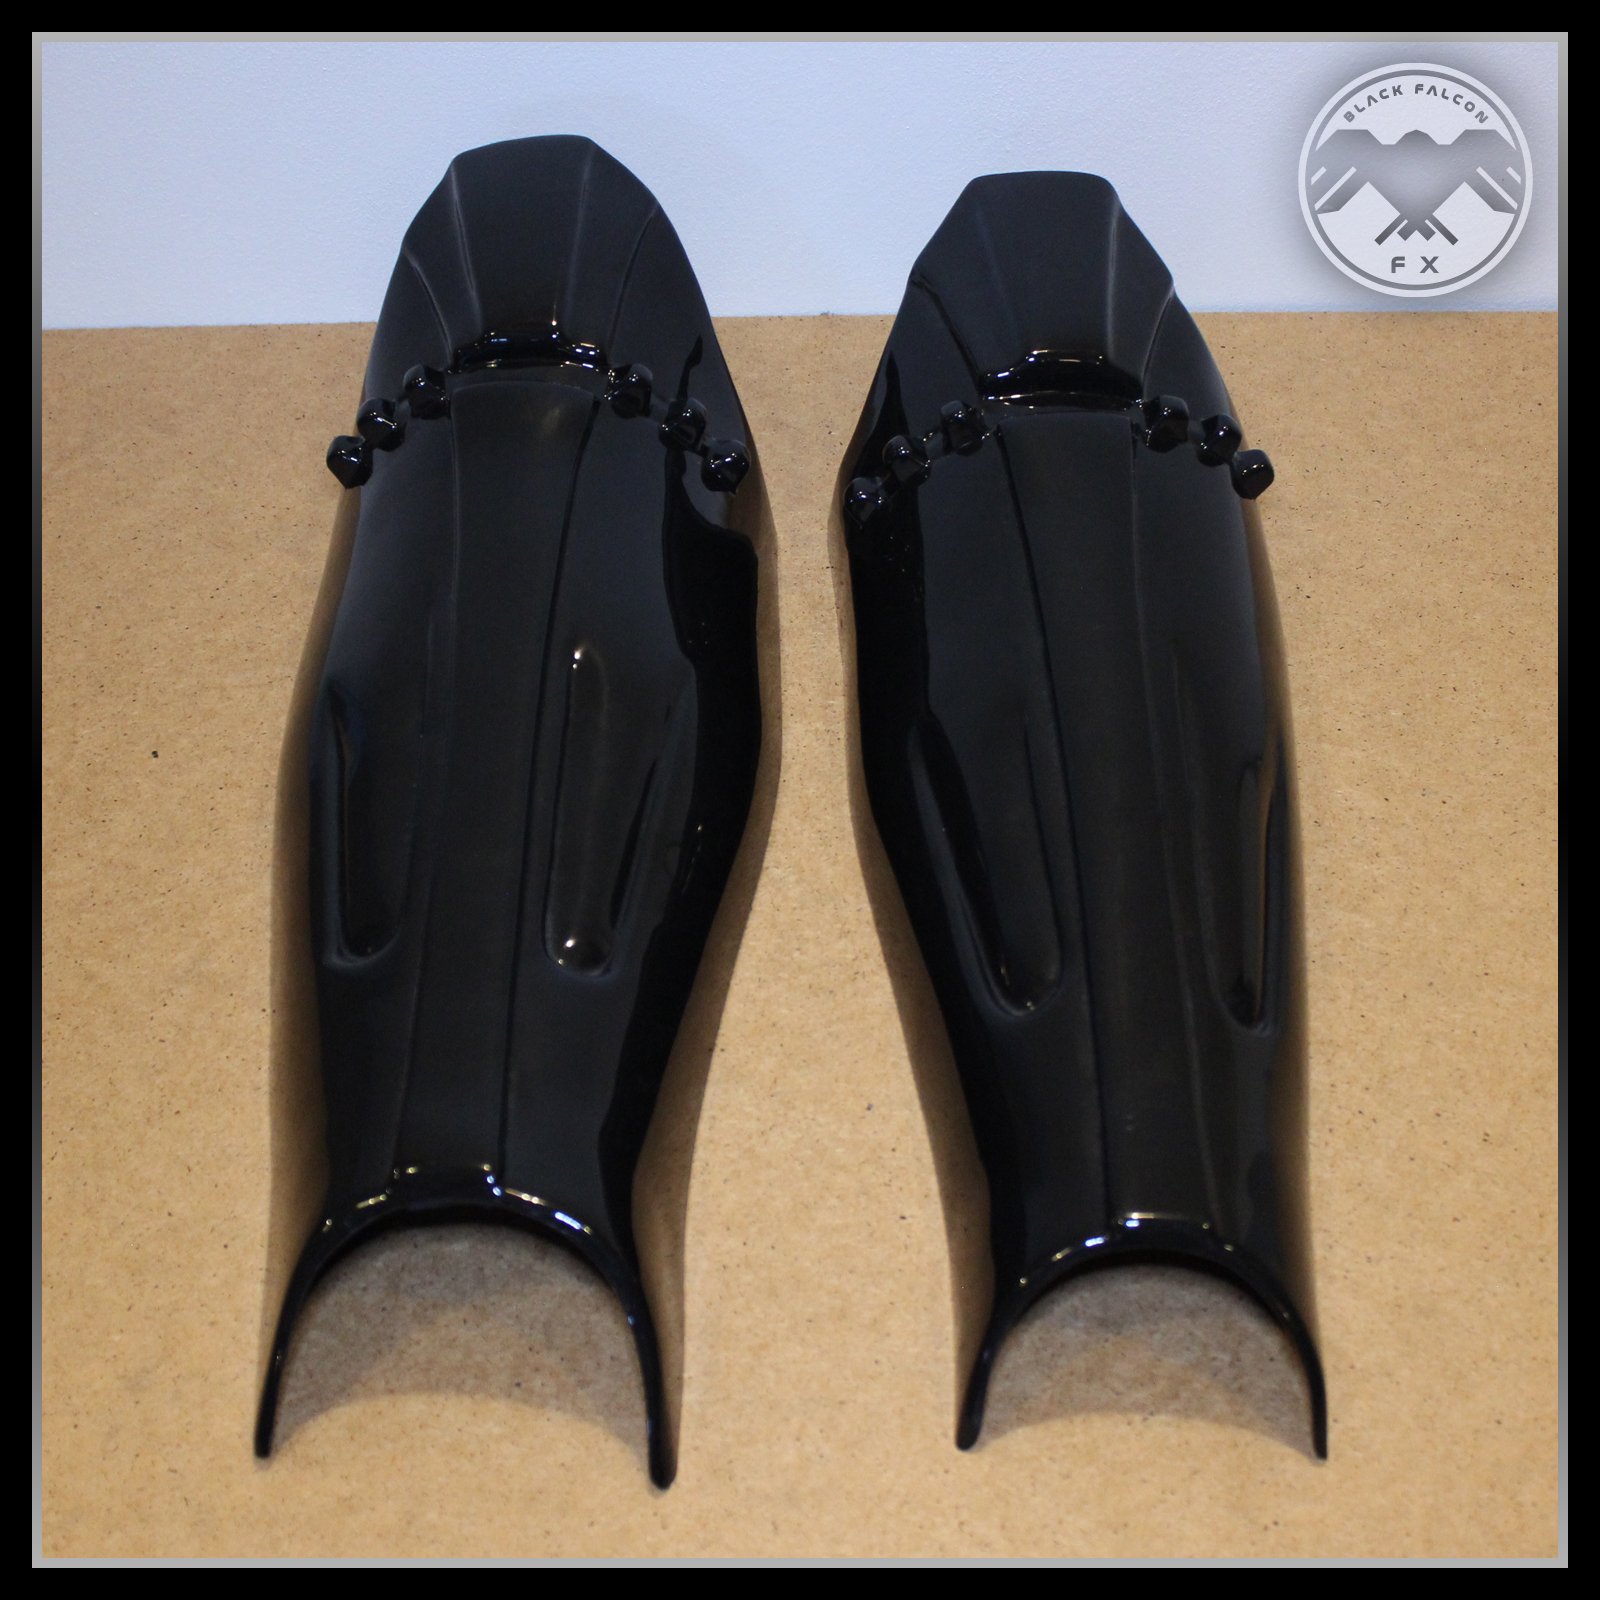
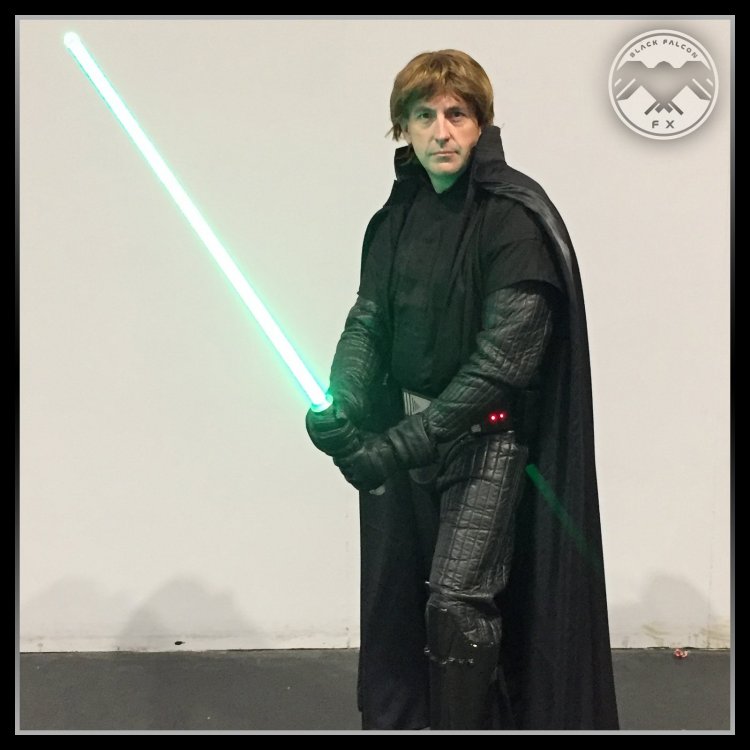
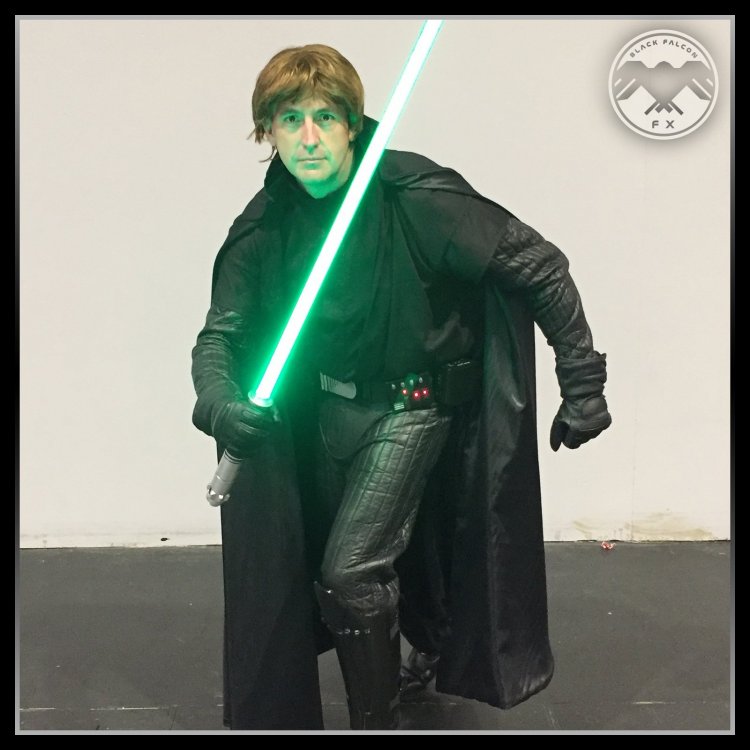
OK...I was in two minds as whether to post the images as even though I am quite pleased with how this turned out, I still feel it could be so much better. I debuted this at MCM Birmingham UK last weekend. Improvements to look at; 1 - The leather trousers are too loose. 2 - The shins need to be taller so that they completely cover from ankle to over the knee. 3 - The jacket sleeves need to be more prominent. 4 - The wig needs a lot of attention. All that said, I was really pleased when someone actually recognised the costume.
-
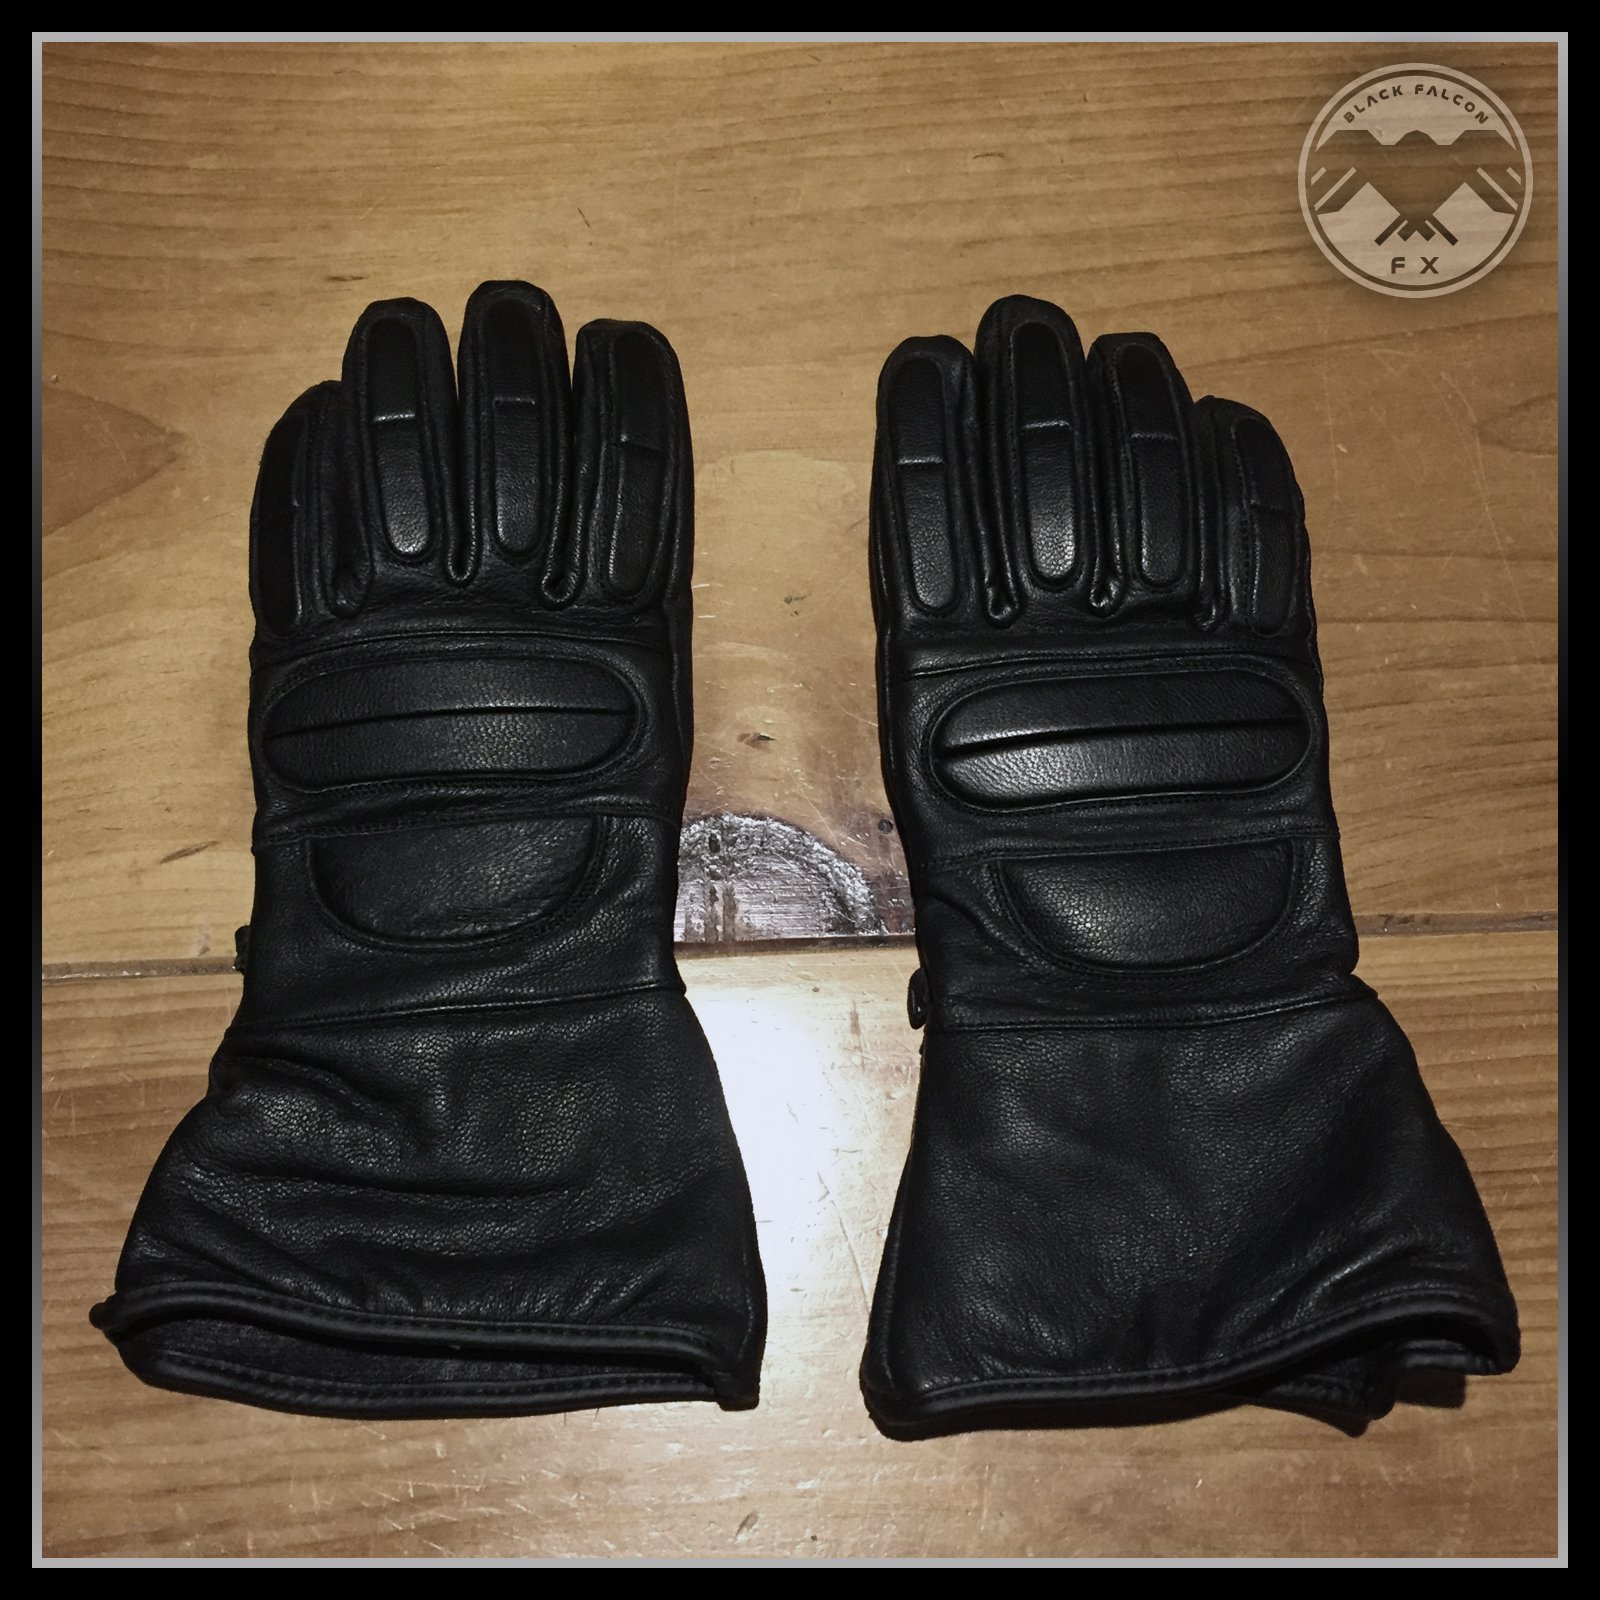
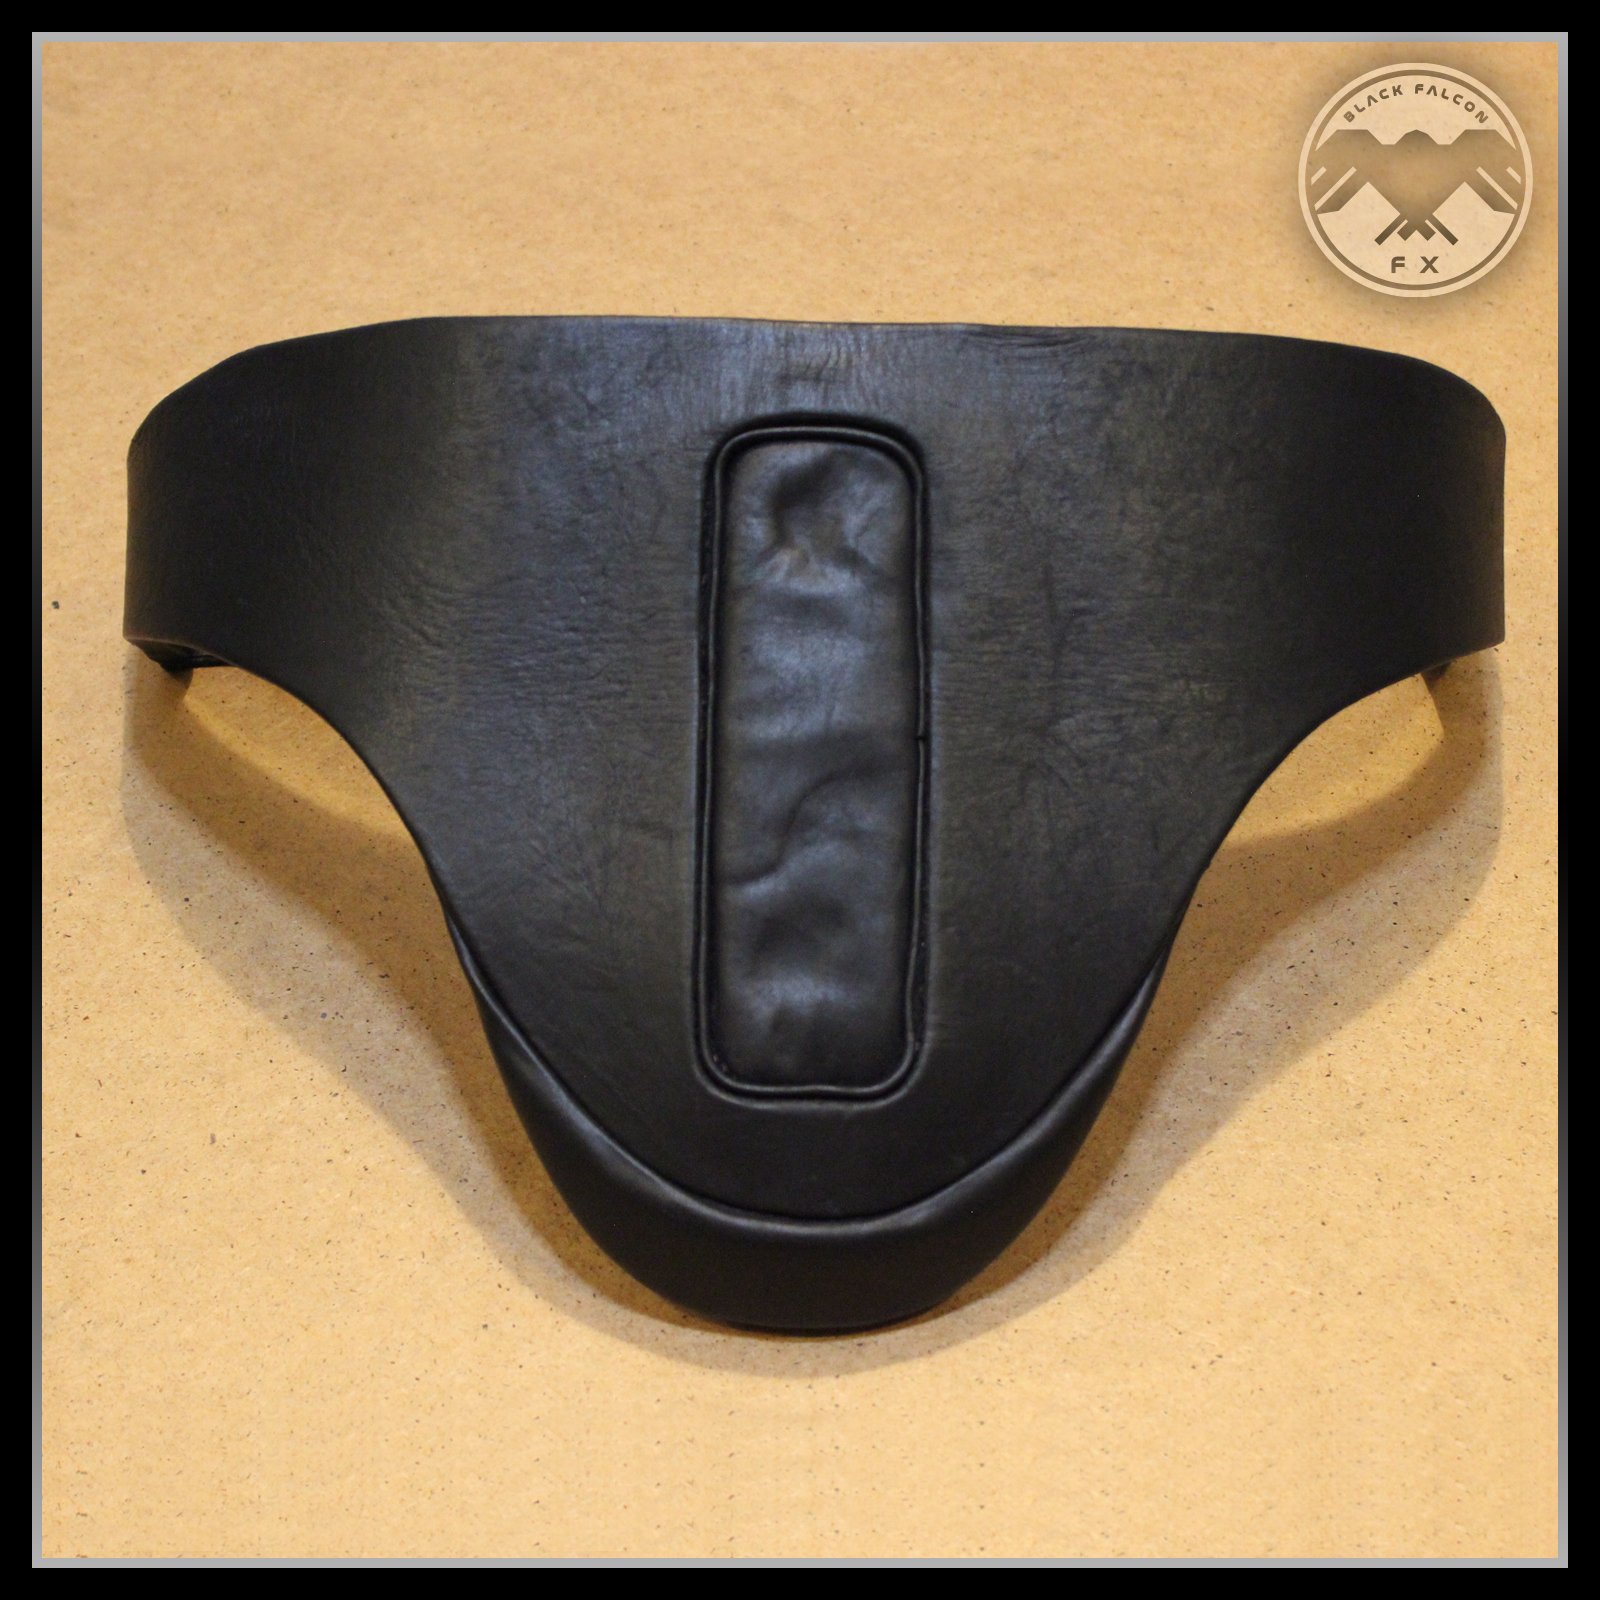
I also found an interesting pair of gloves with some nice padded sections. Still unsure which I will use, these or the plain gauntlets.

-
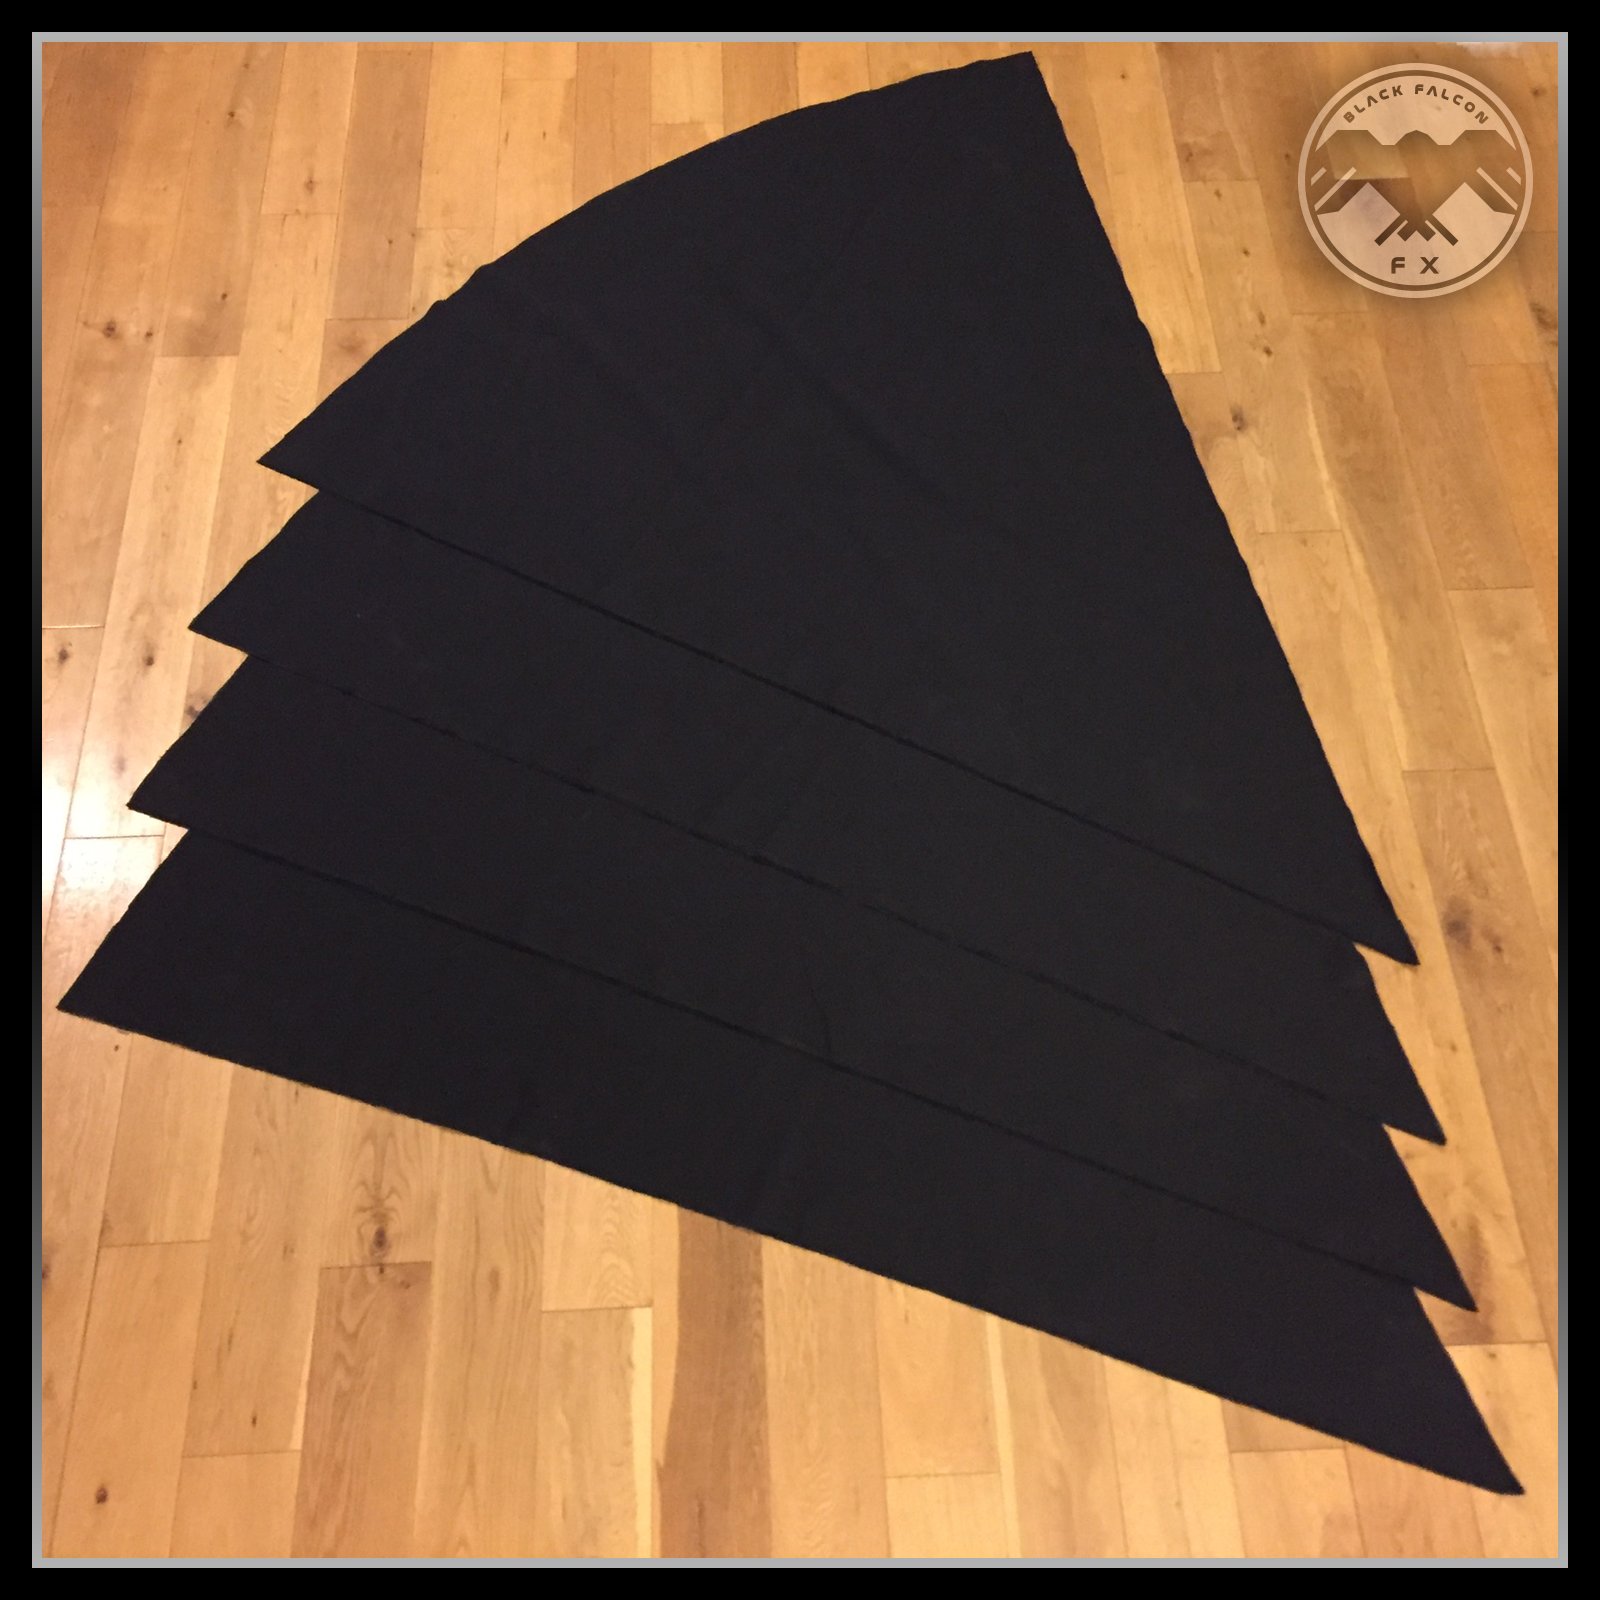
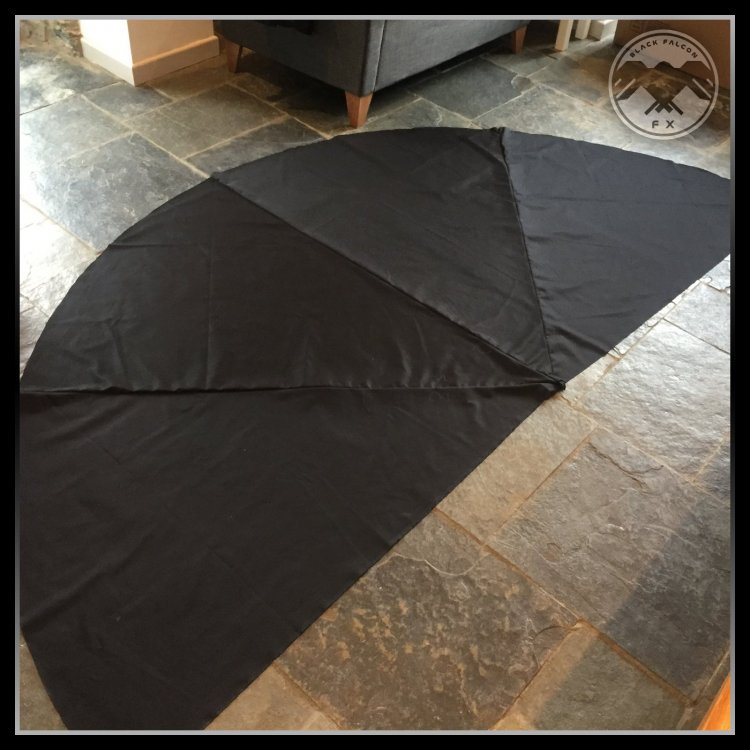
Next was the cape. I cut 4 panels in both the sateen material that I had chosen for the outer material and the satin which will be the lining. I sewed the panels together and then the 2 half circles to each other. Lastly I cut the curve for the neck. I also decide to fold the cape back at the edges so it would fall behind my shoulders. This also gave the cape more visual texture by showing the satin lining.


-
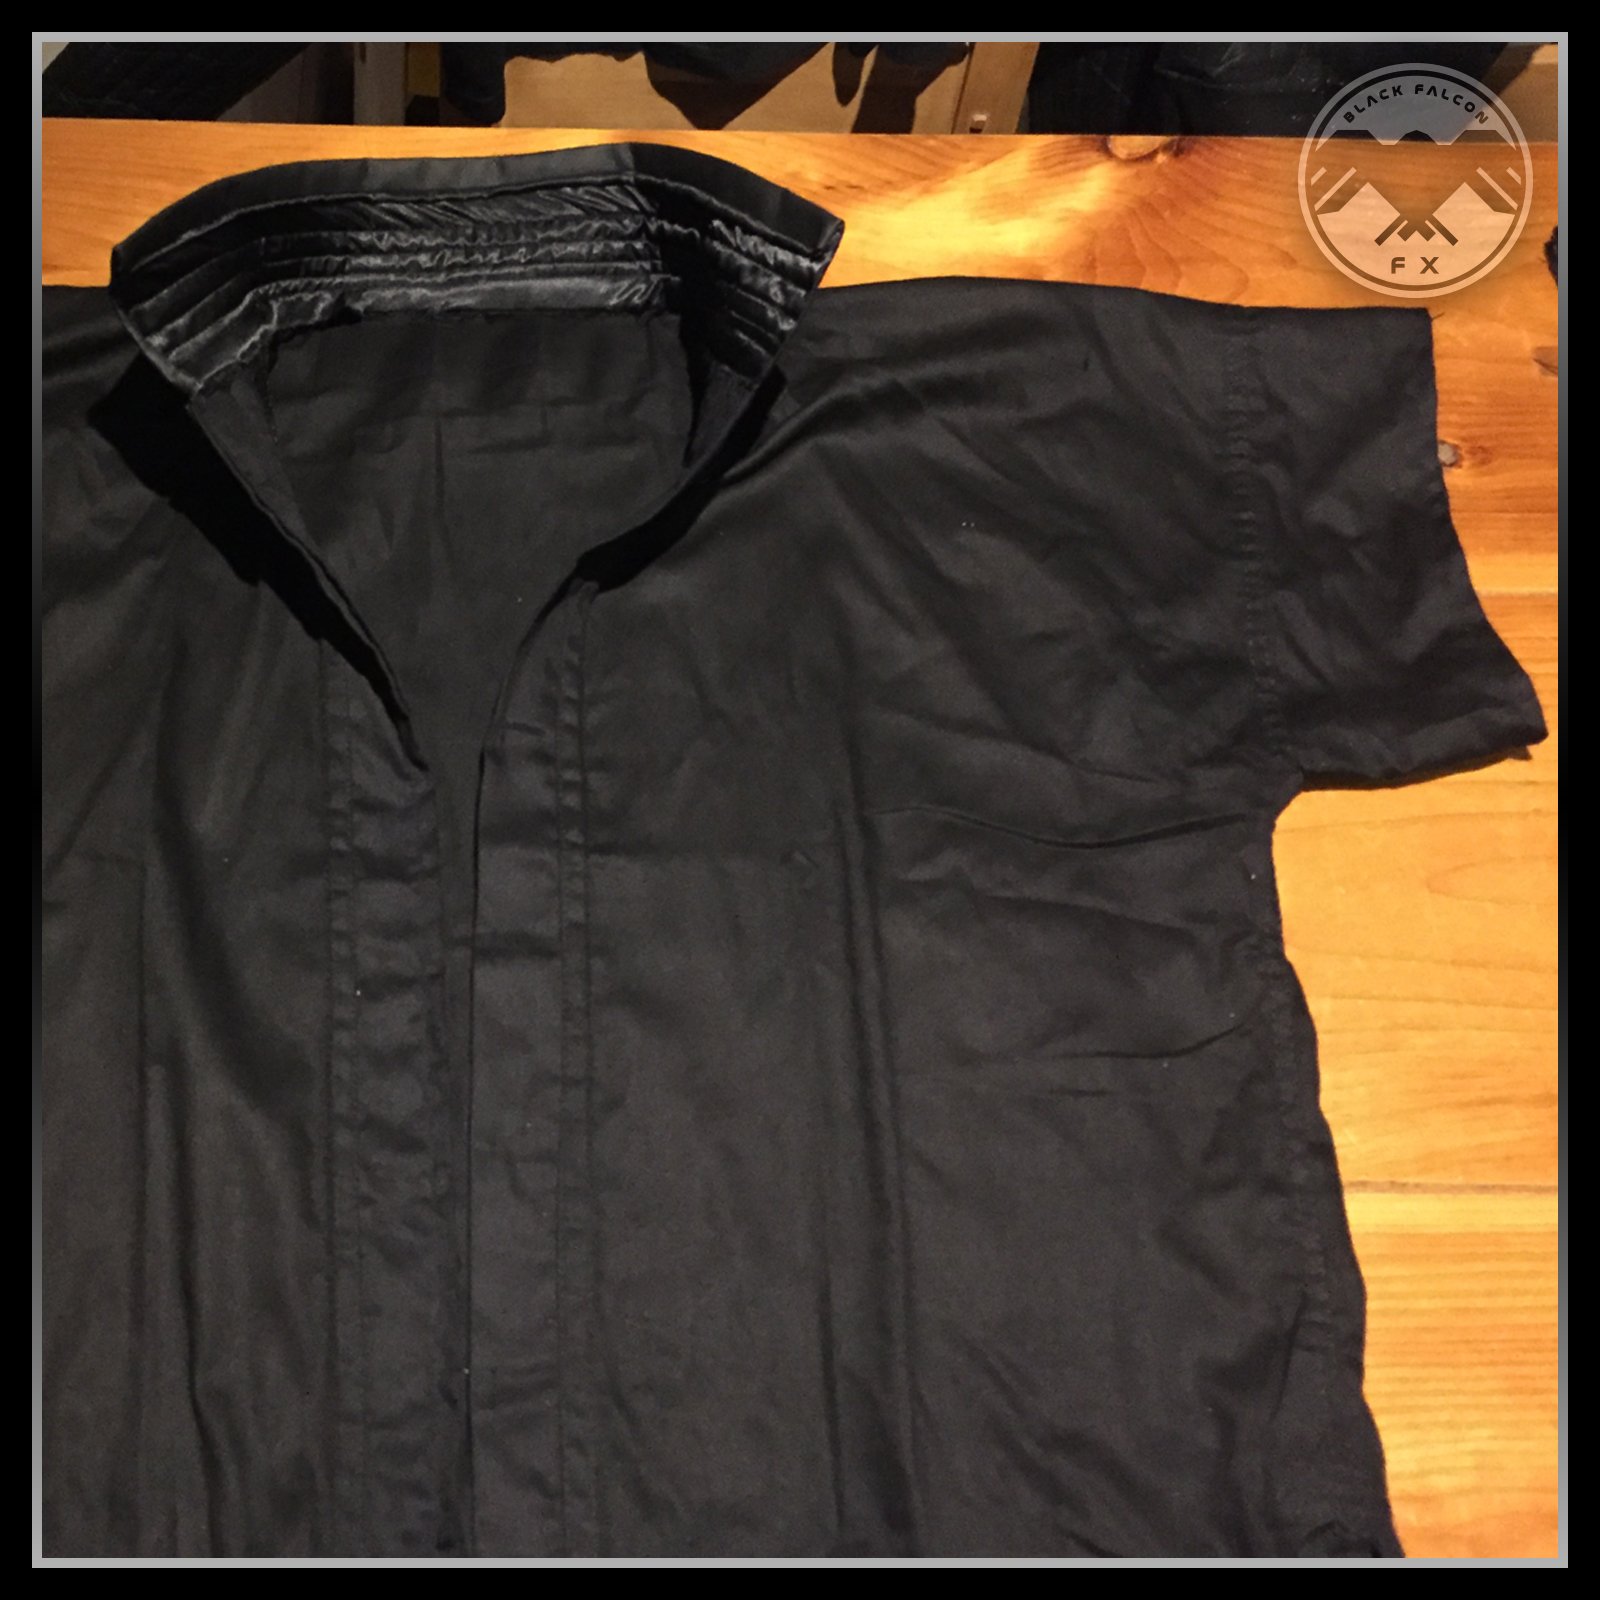
I added the high collar to the jacket and shortened the sleeves.

-
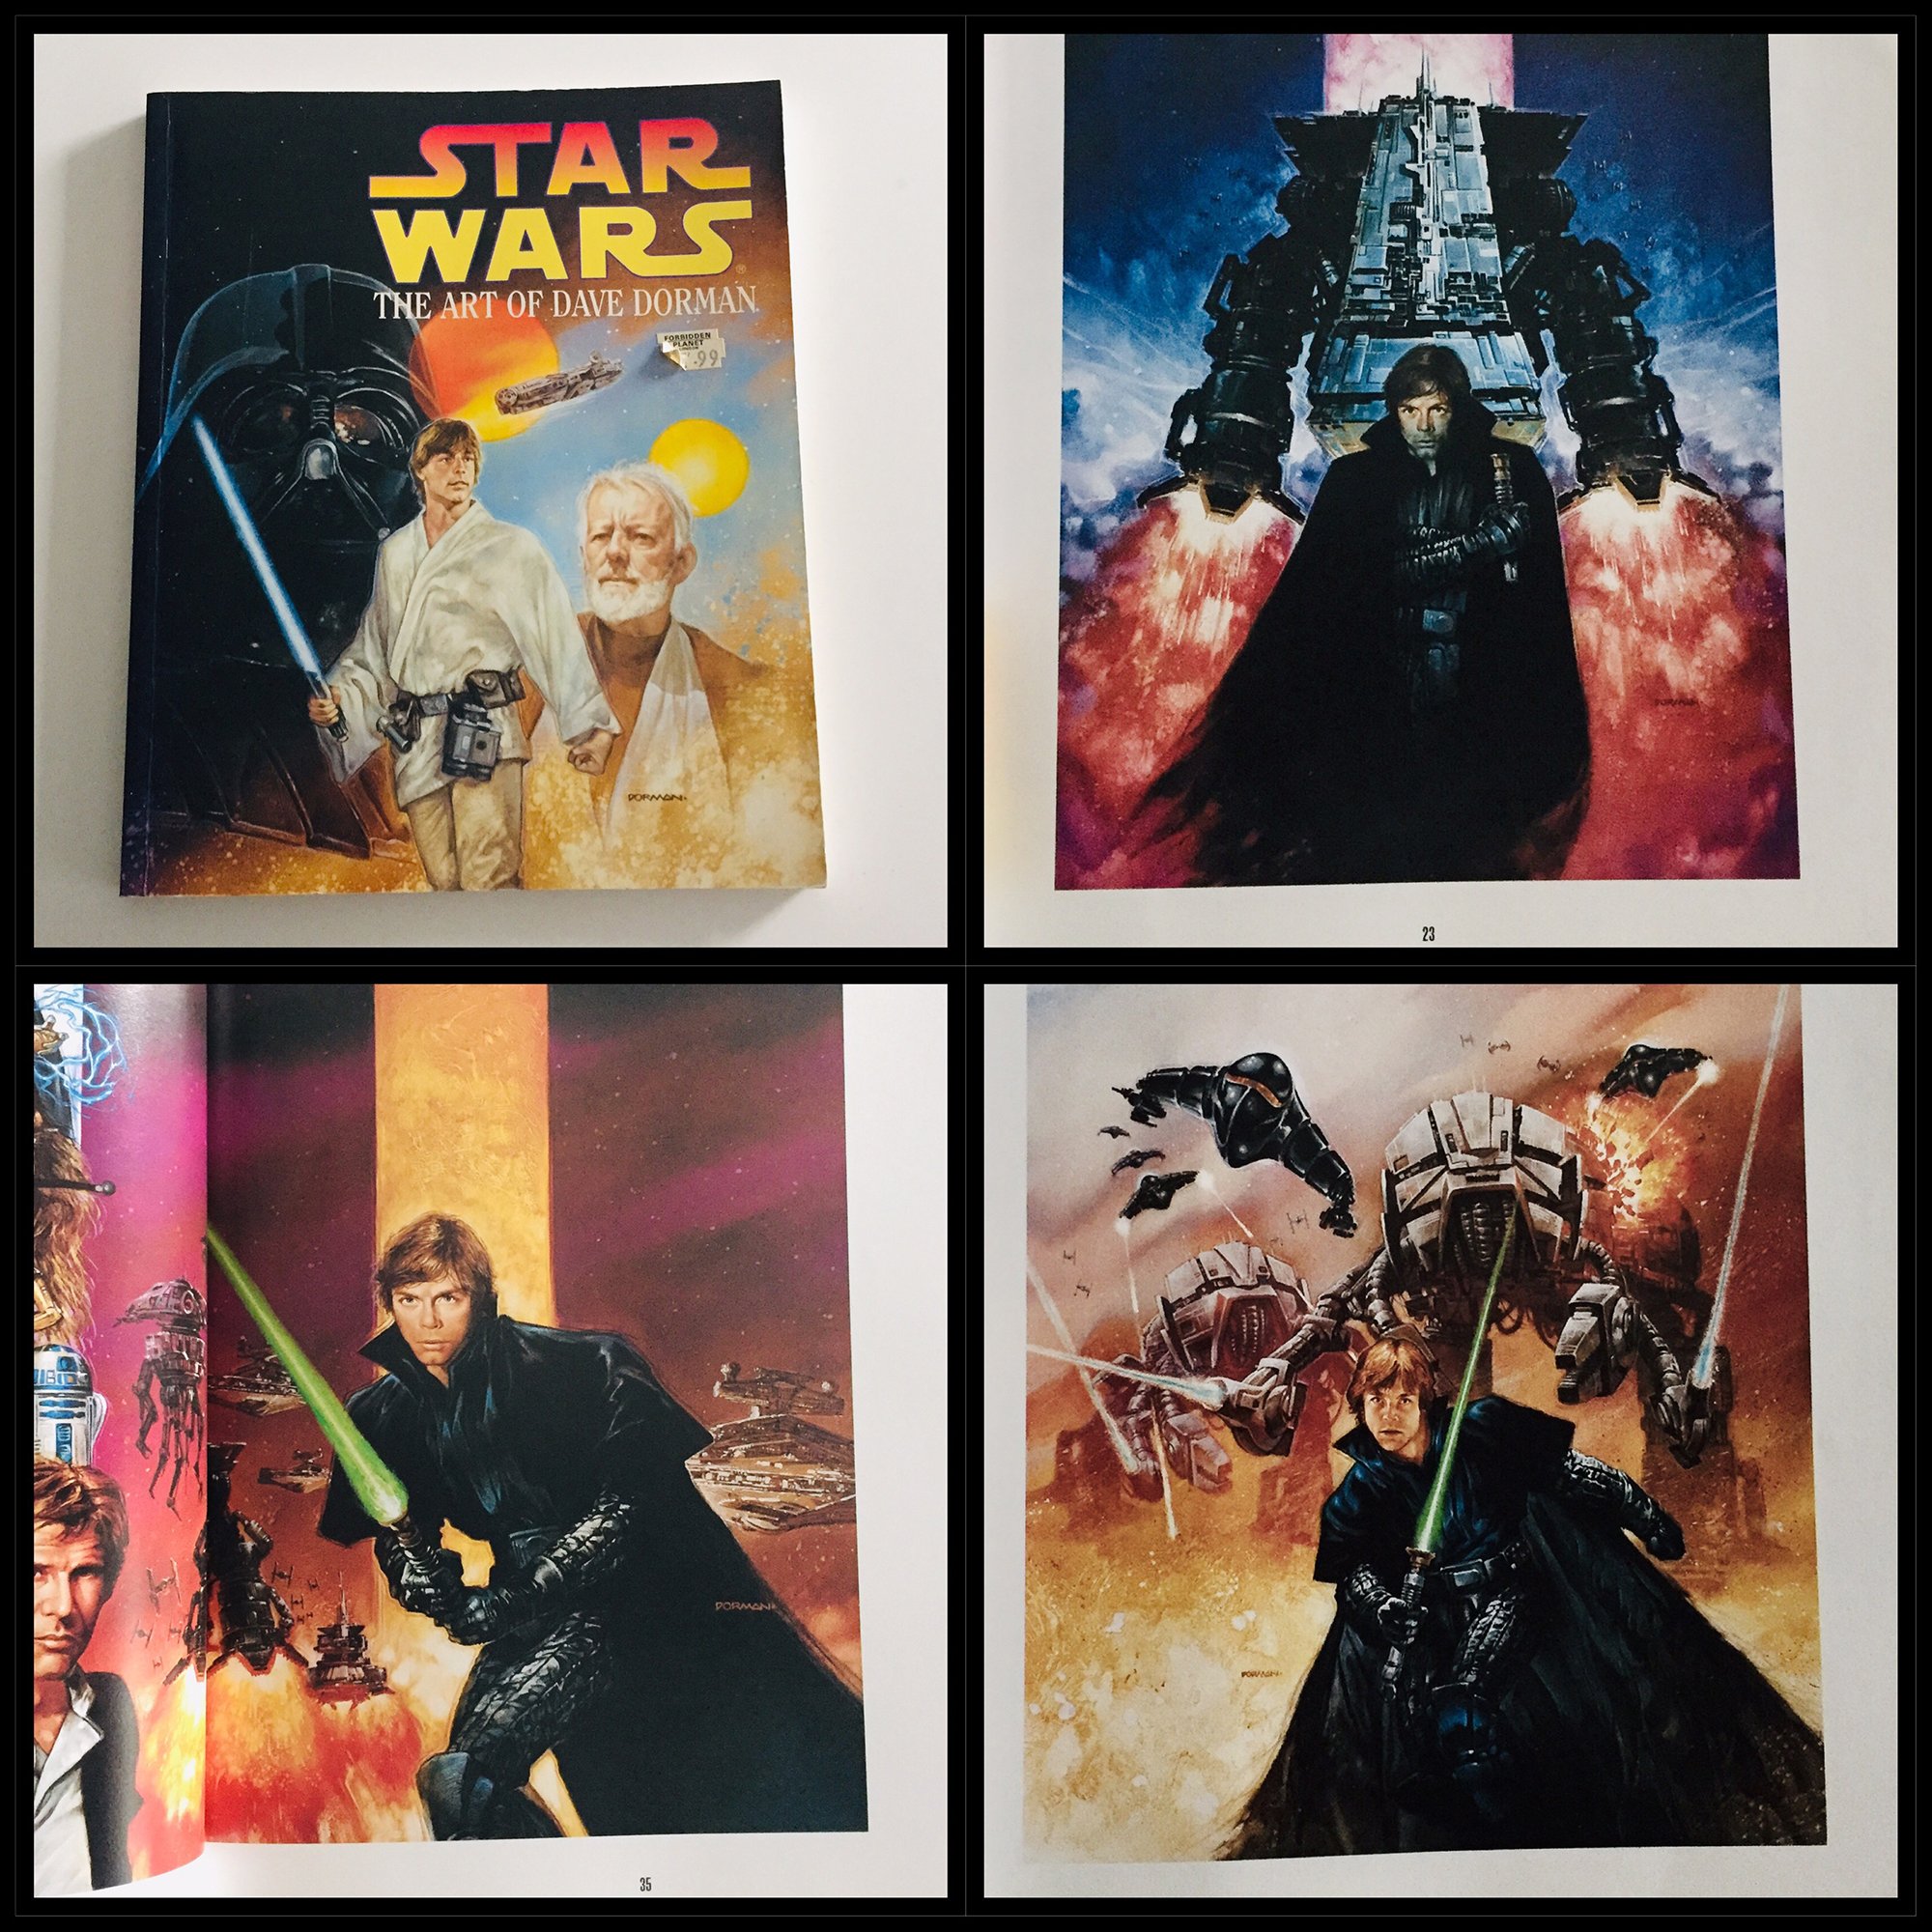
Quick update, bought a copy of 'The Art of Dave Dorman'. Such really nice pieces in this, especially the Luke images.

-
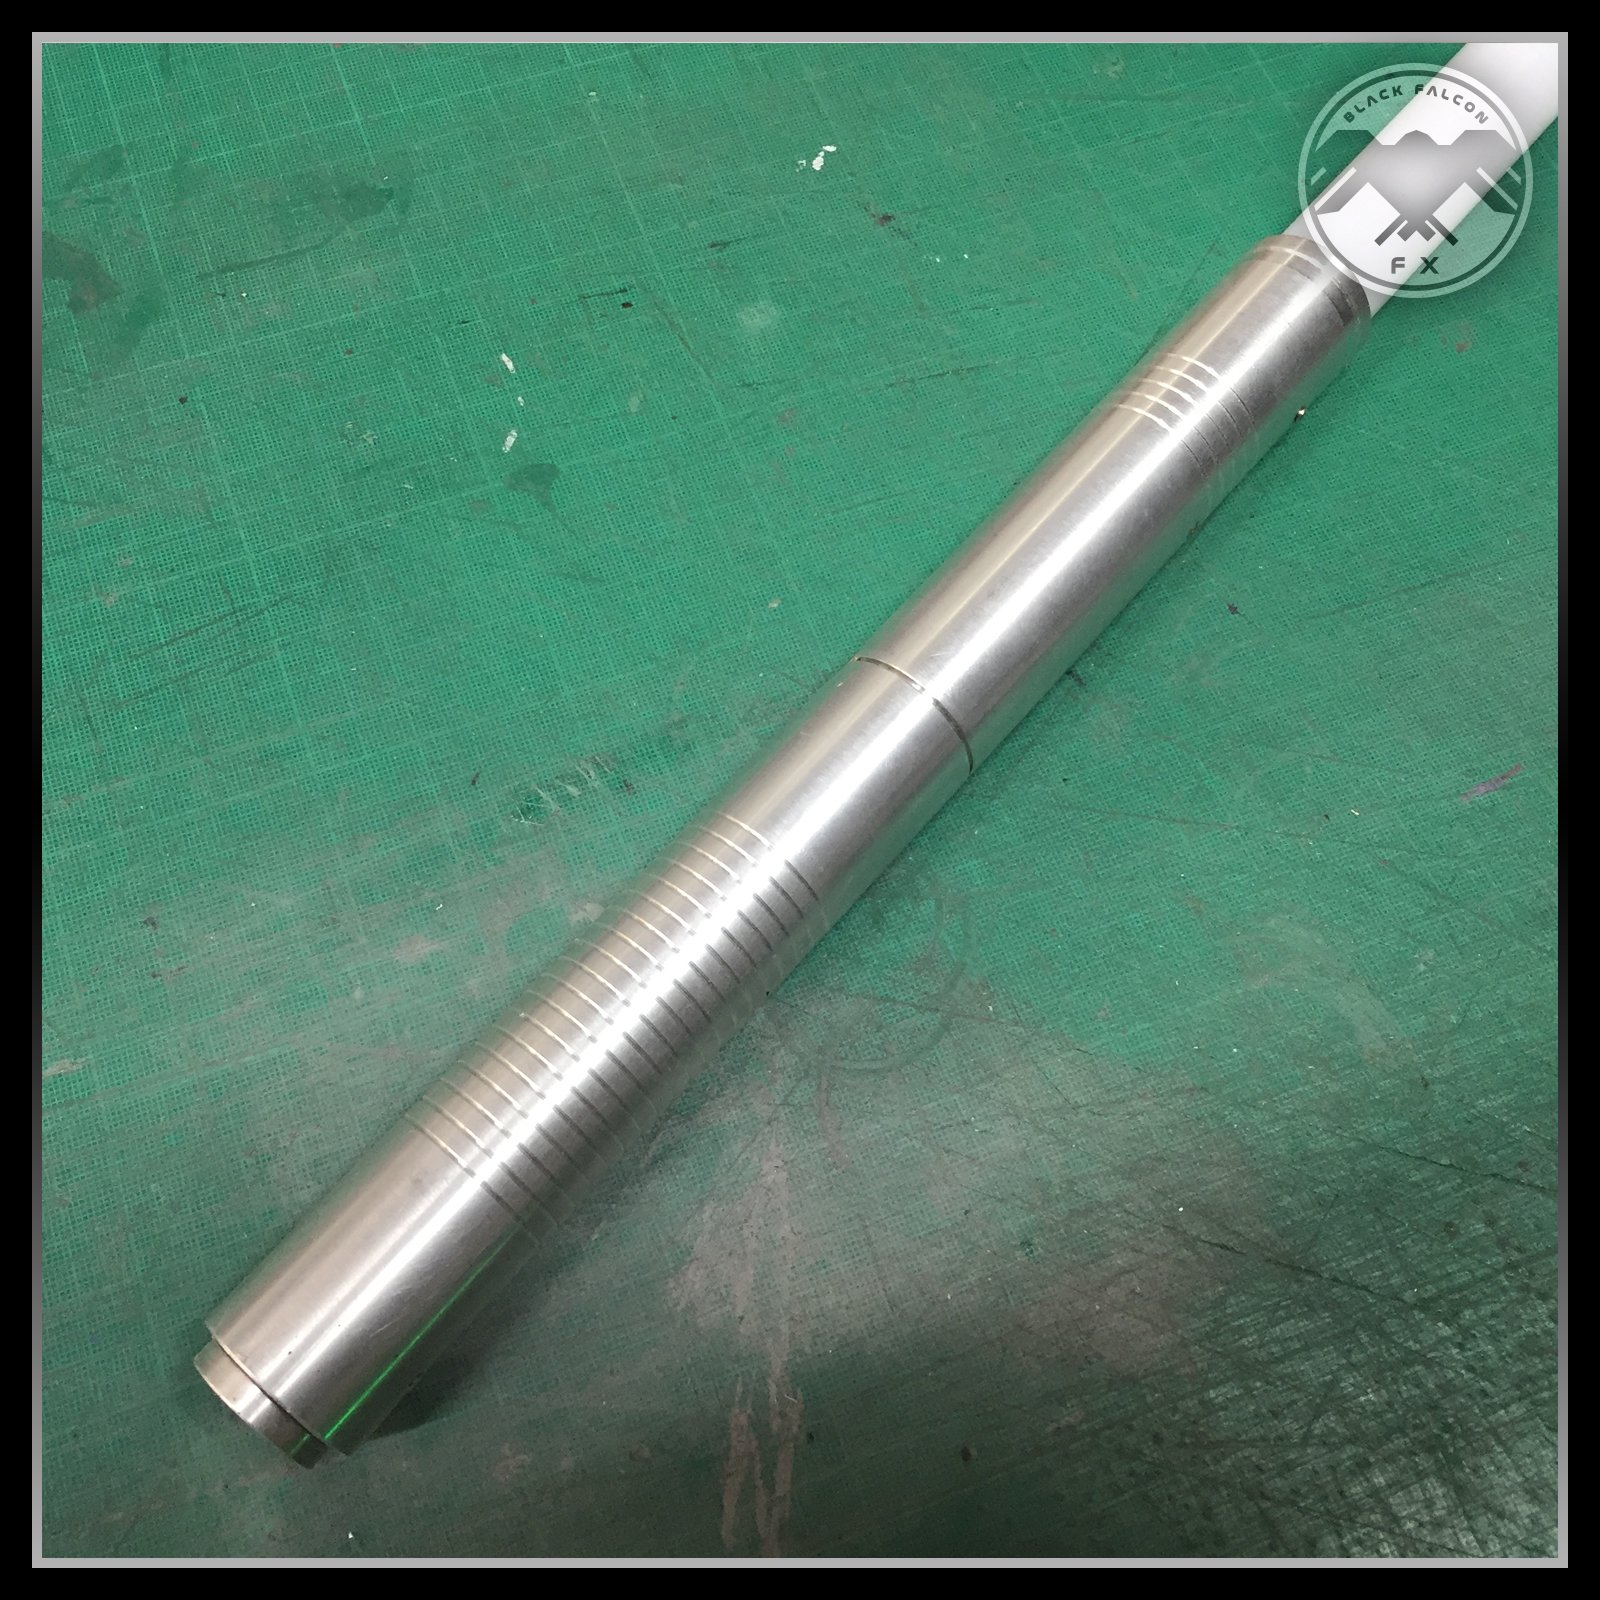
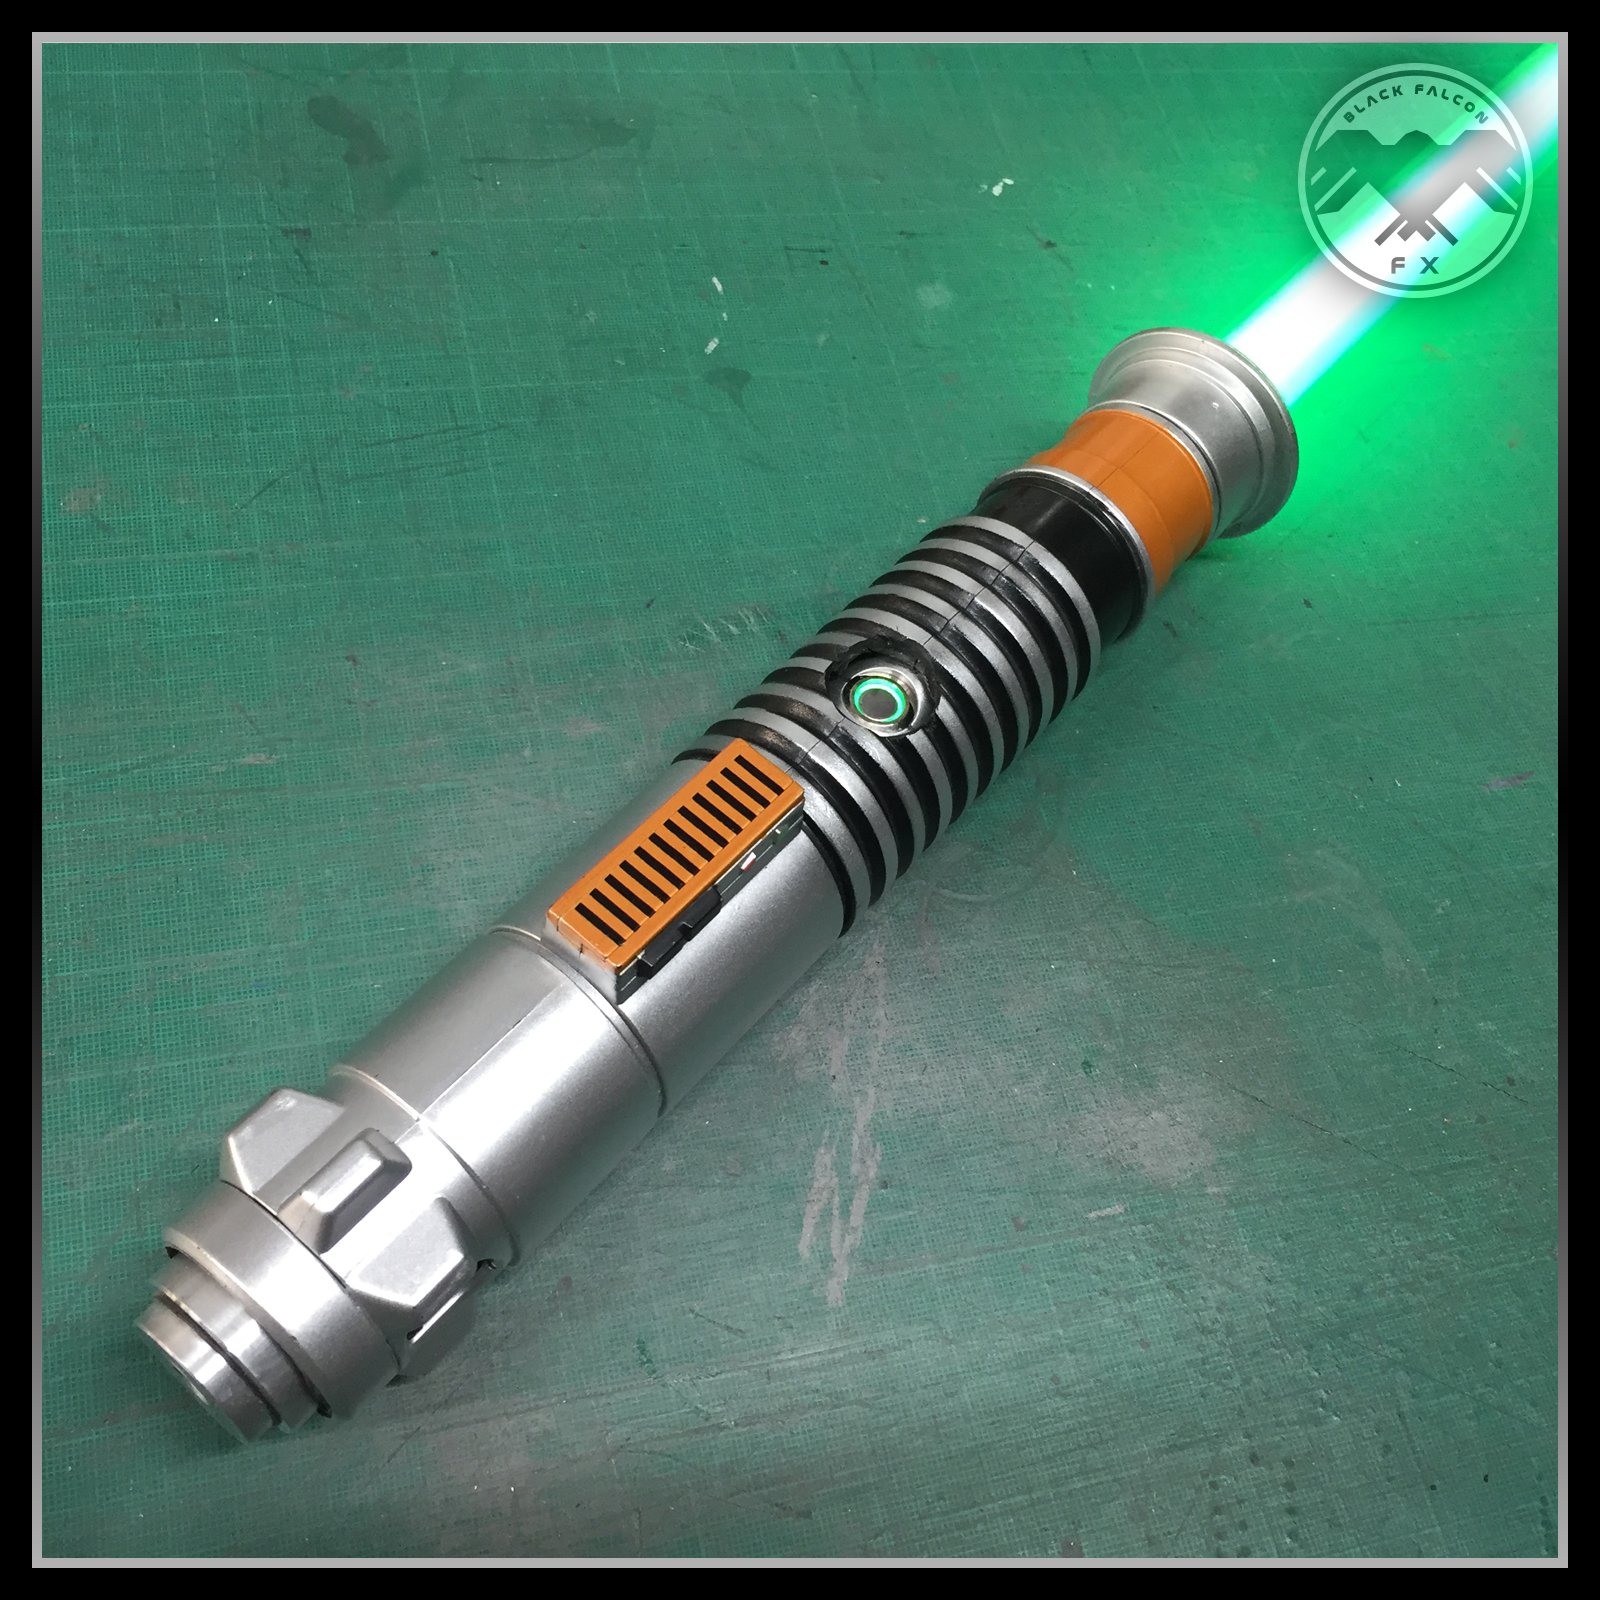
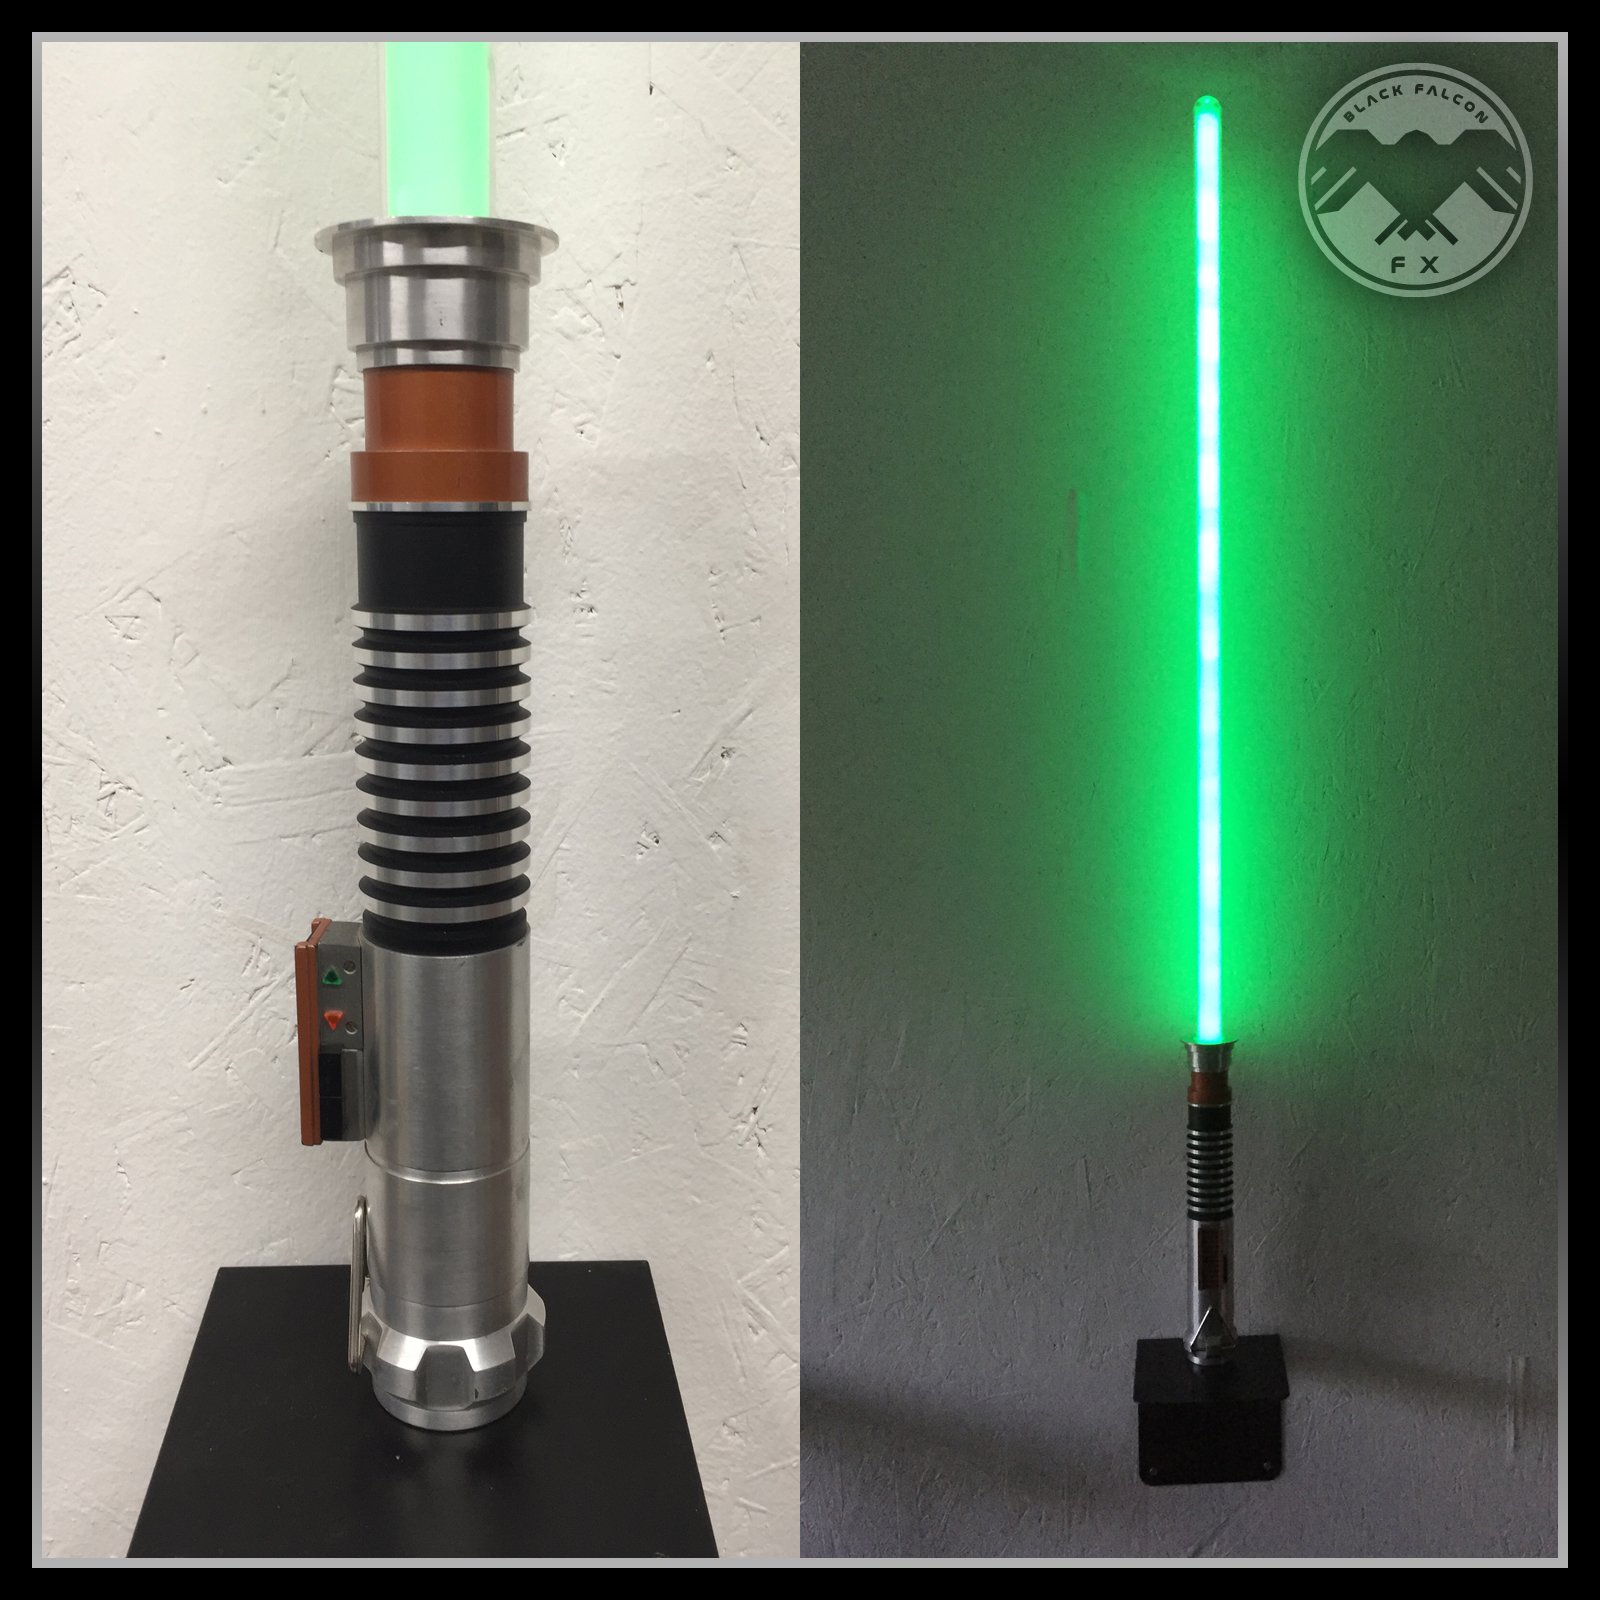
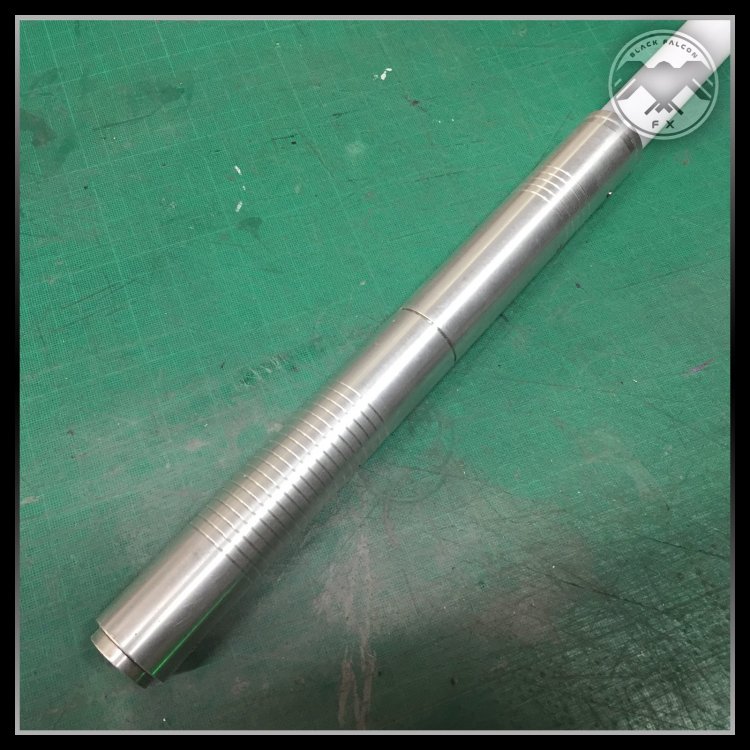
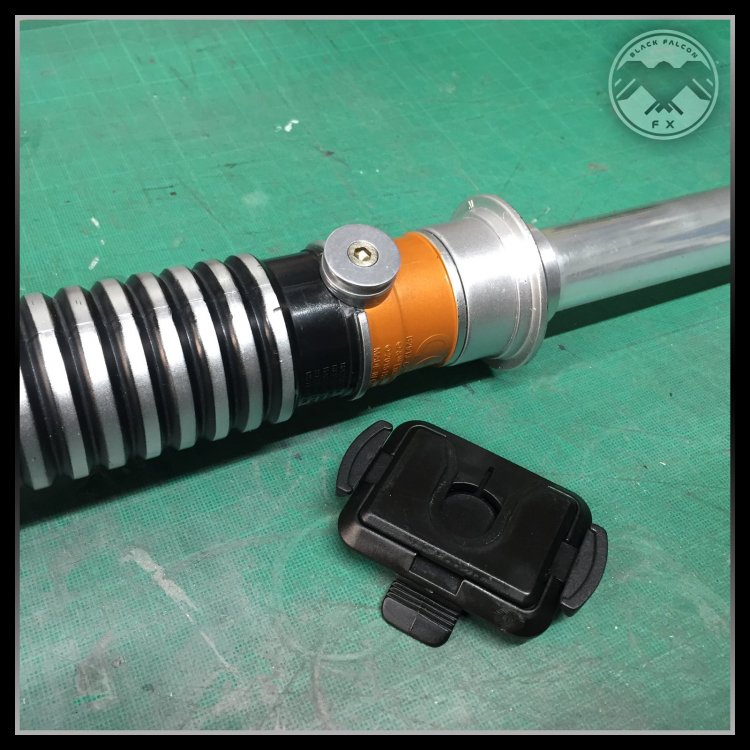
Turned my attention to the saber as the Master Replicas is both a valued collectable and not very bright in convention settings. I happened to have a cheap plastic Luke ROTJ with telescopic blade. I took out the blade and made space for a RGB LED practice saber that I have. Now I have a chunky 'comic art' style Luke hilt with a detachable blade and nice bright LED light source. For the sake of convenience when out and about I also added a covertec clip so I can easily put it safely on my belt when needed. I may do a new paint job to resemble the more weathered hilt. -

-
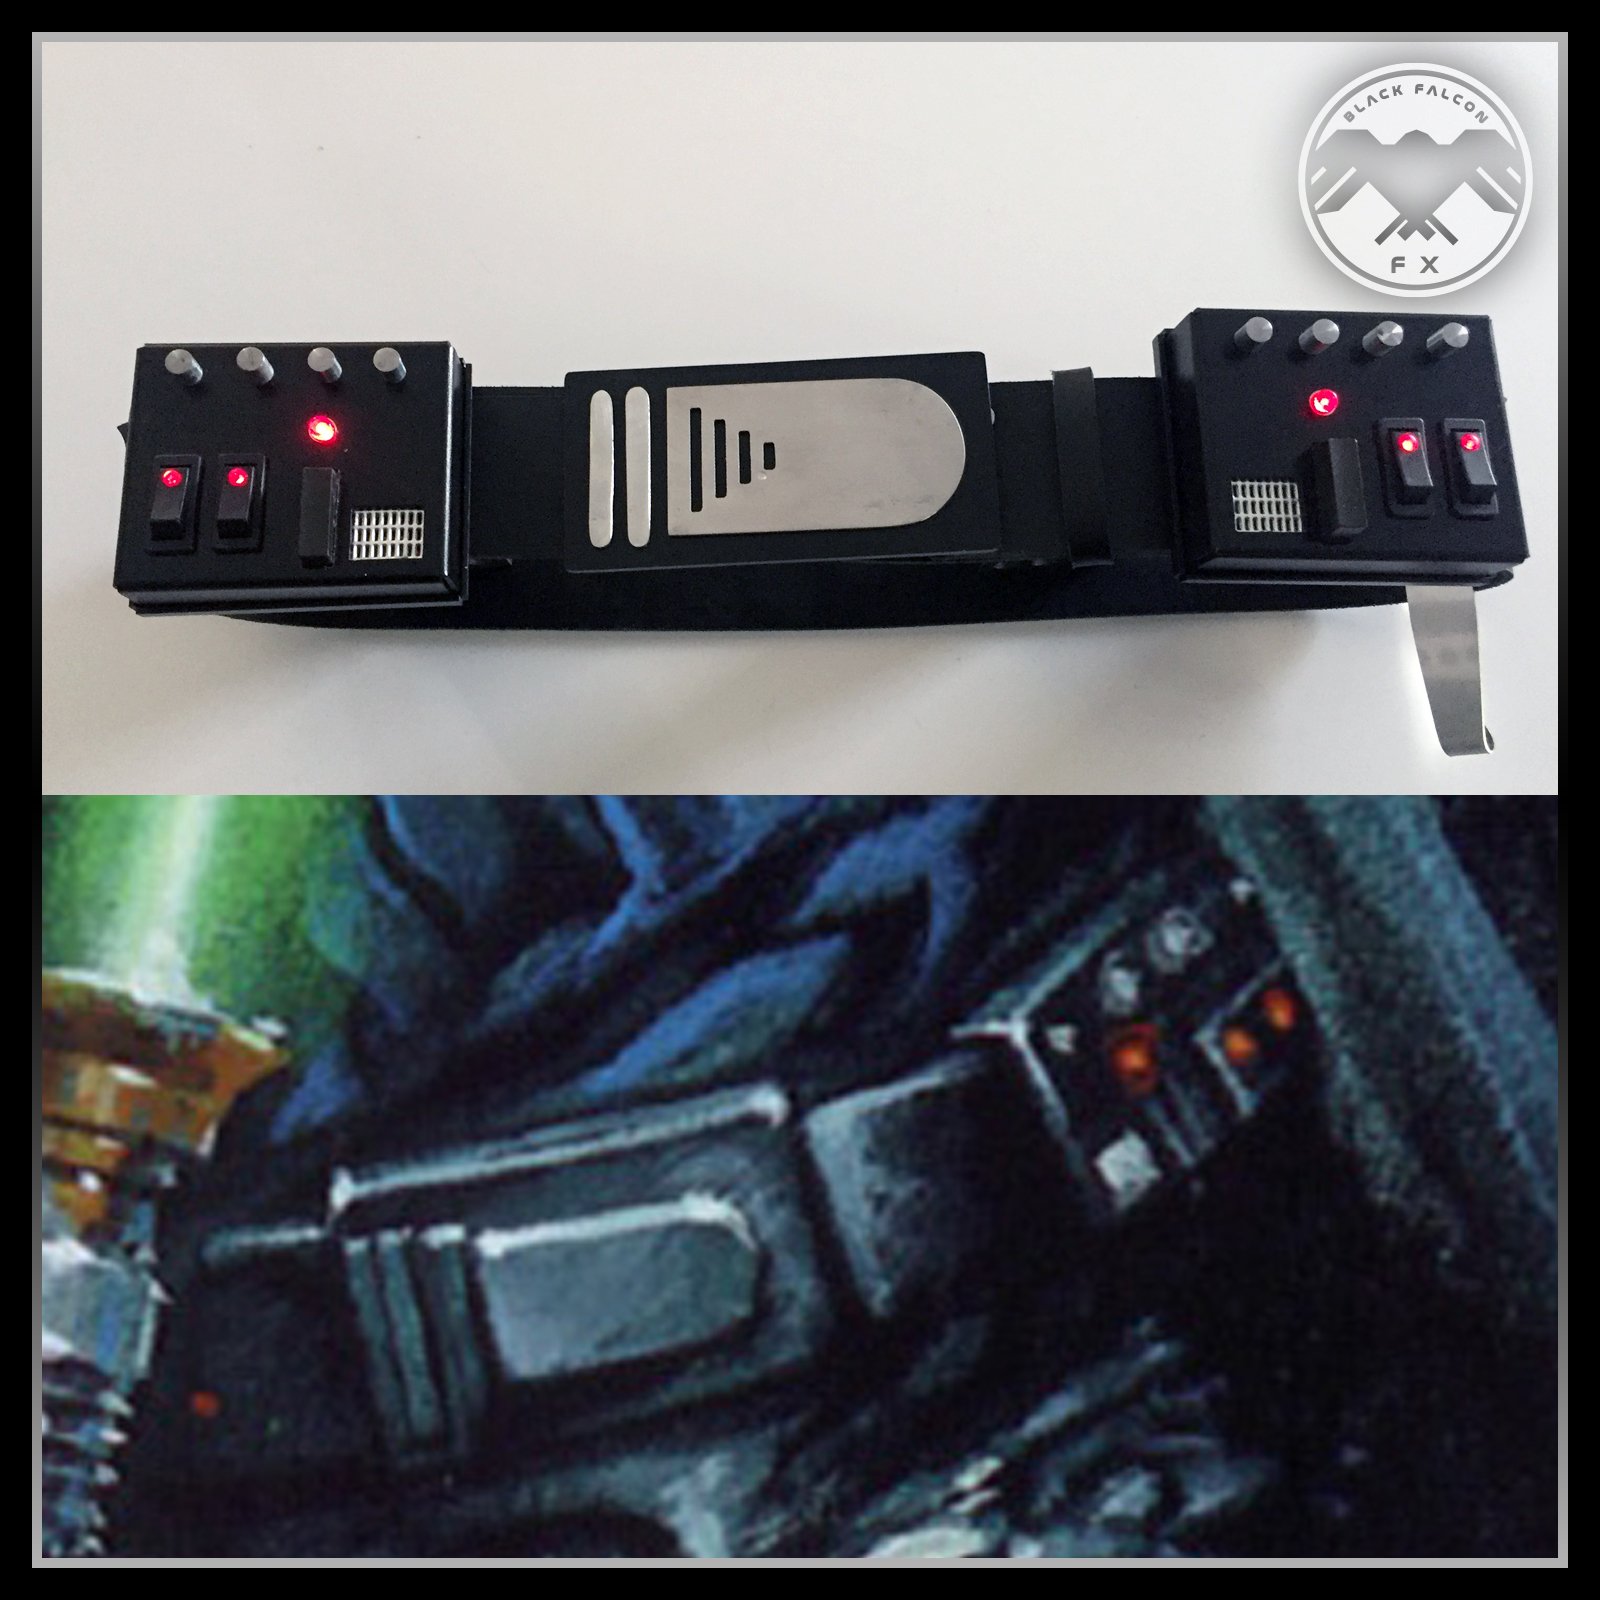
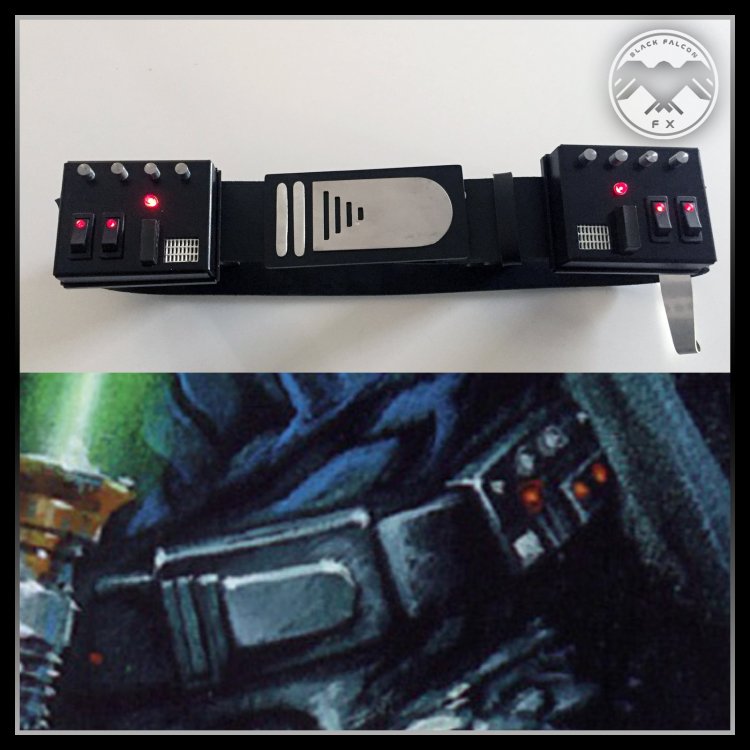
And with a bit of wiring and a couple of LED's this is are now done. For the belt itself I went with the 2 1/4 inch (57 mm) ANH/ESB version. I may add a bit of light weathering as Luke is likely to have seen a bit of action during this particular story timeline.

-
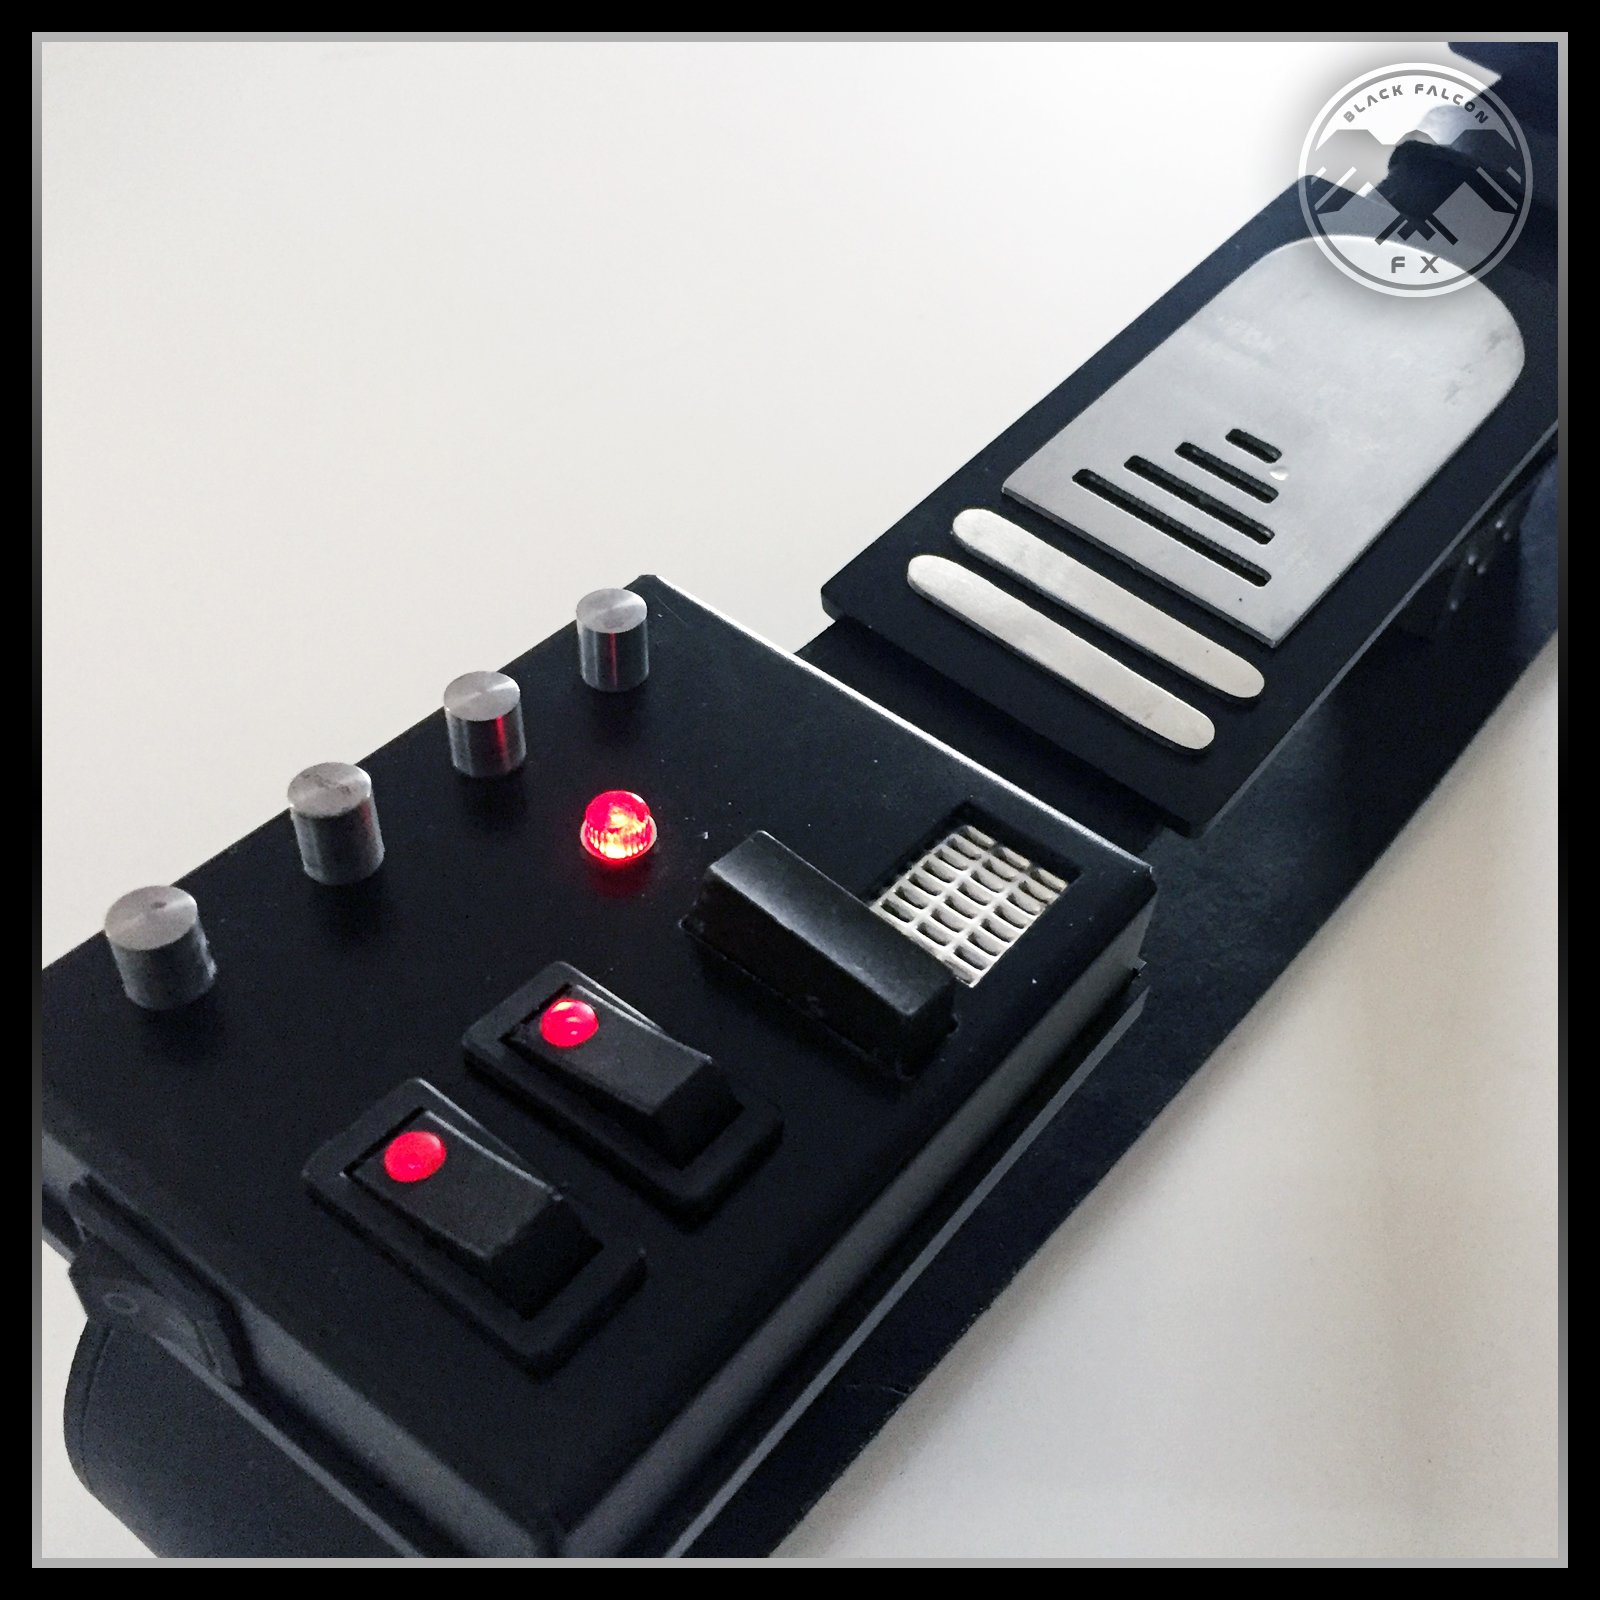
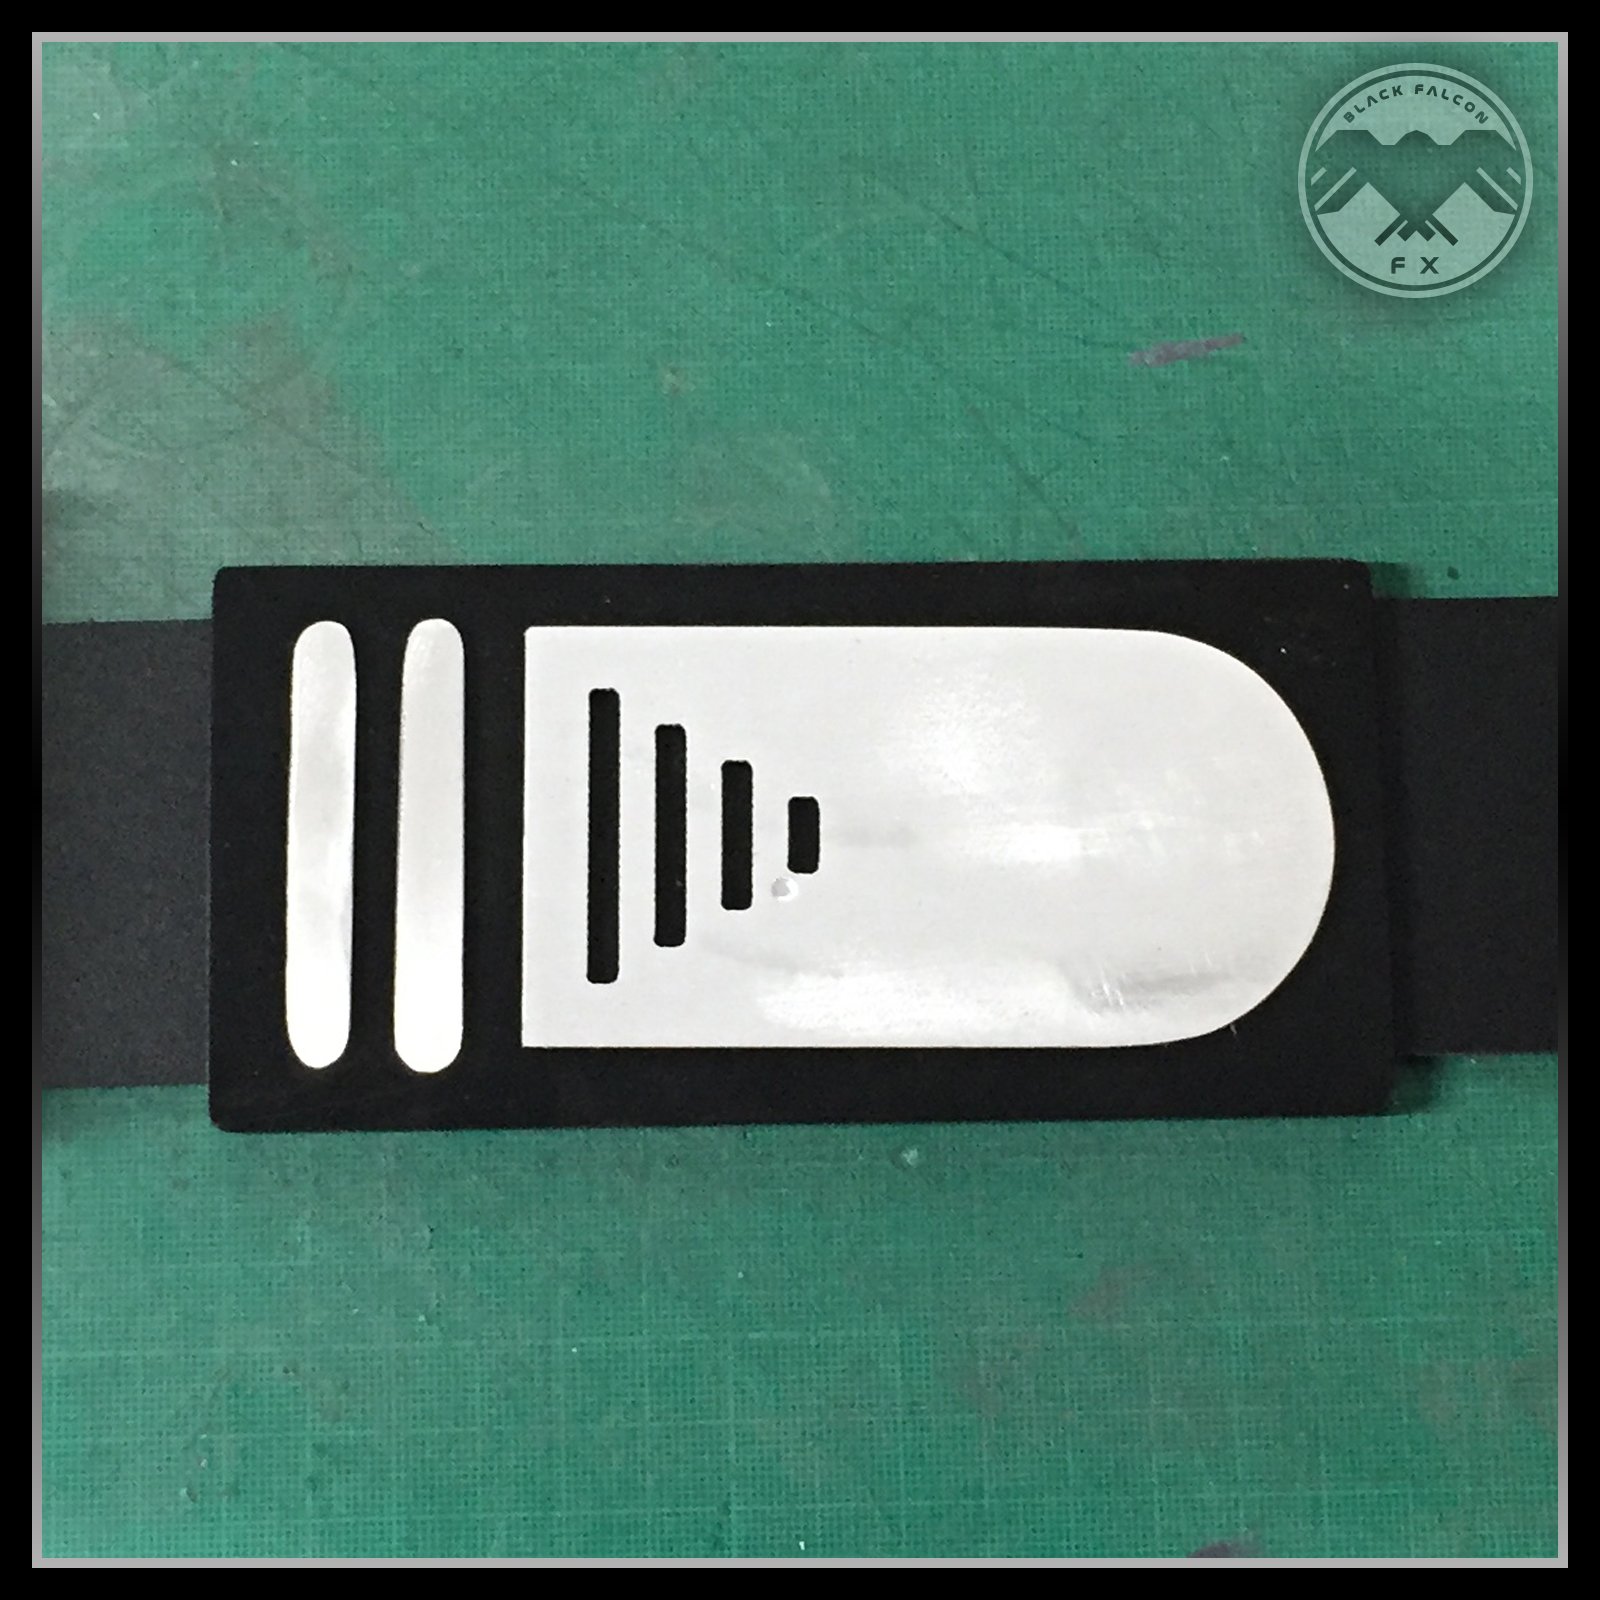
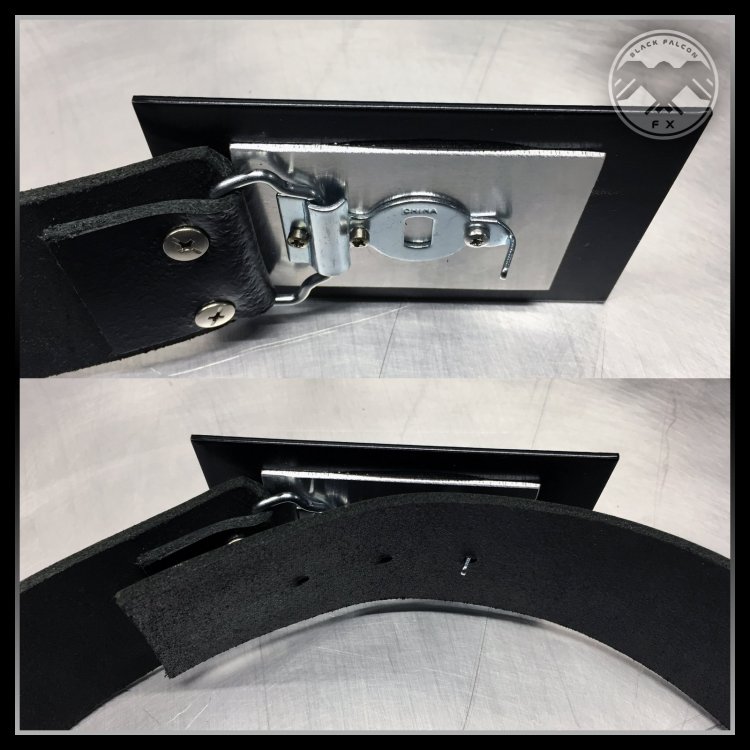
I decided to go for a bit of a hybrid for the buckle. Mainly the design from the DE II #2 cover with a few cut out slots. I also decided to use the traditional buckle hook system that was used for the OT filming on Vader's belts.

-
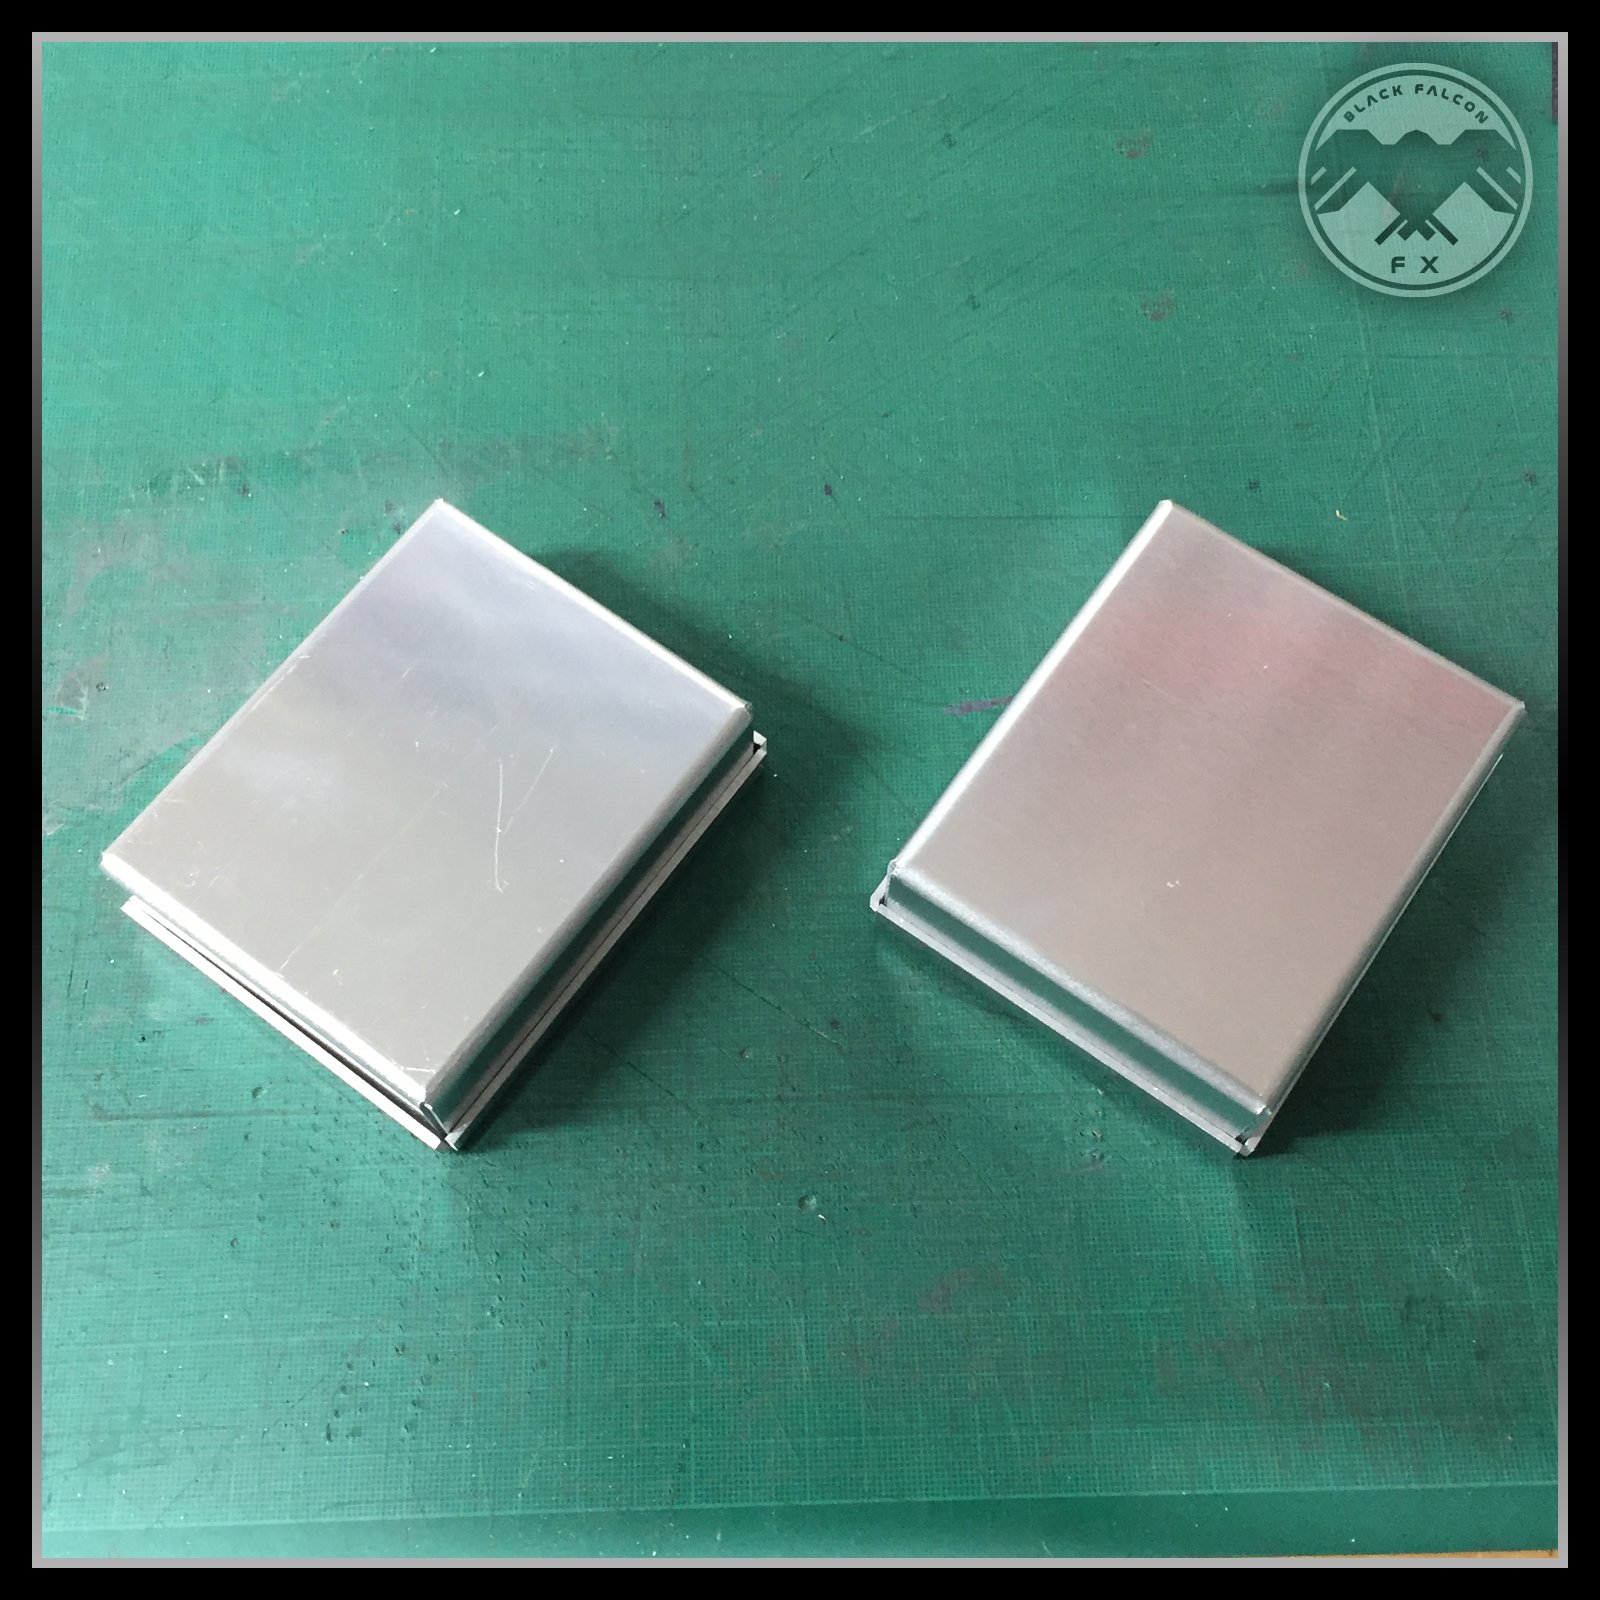
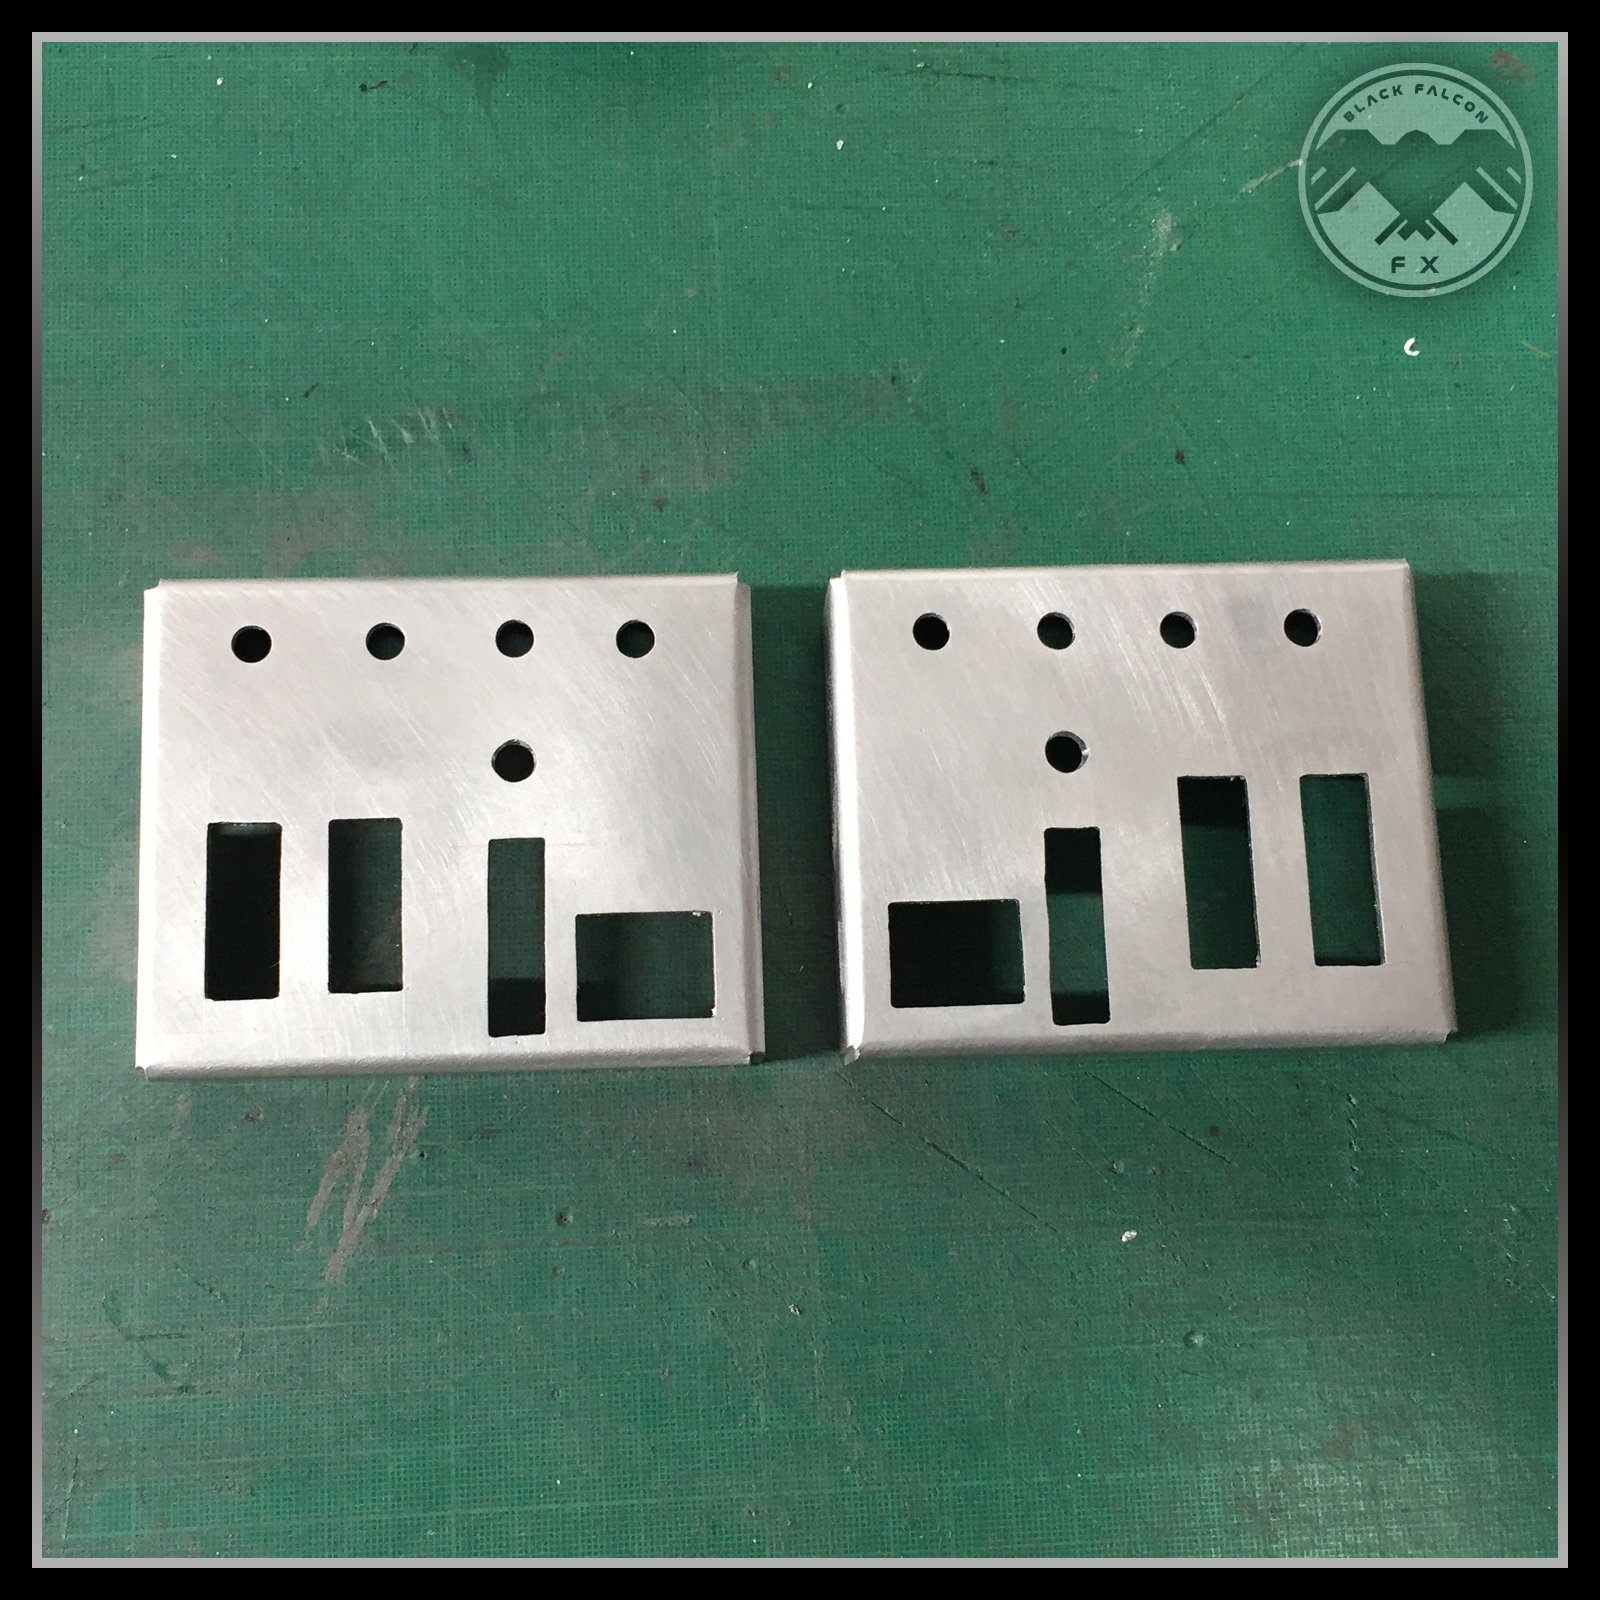
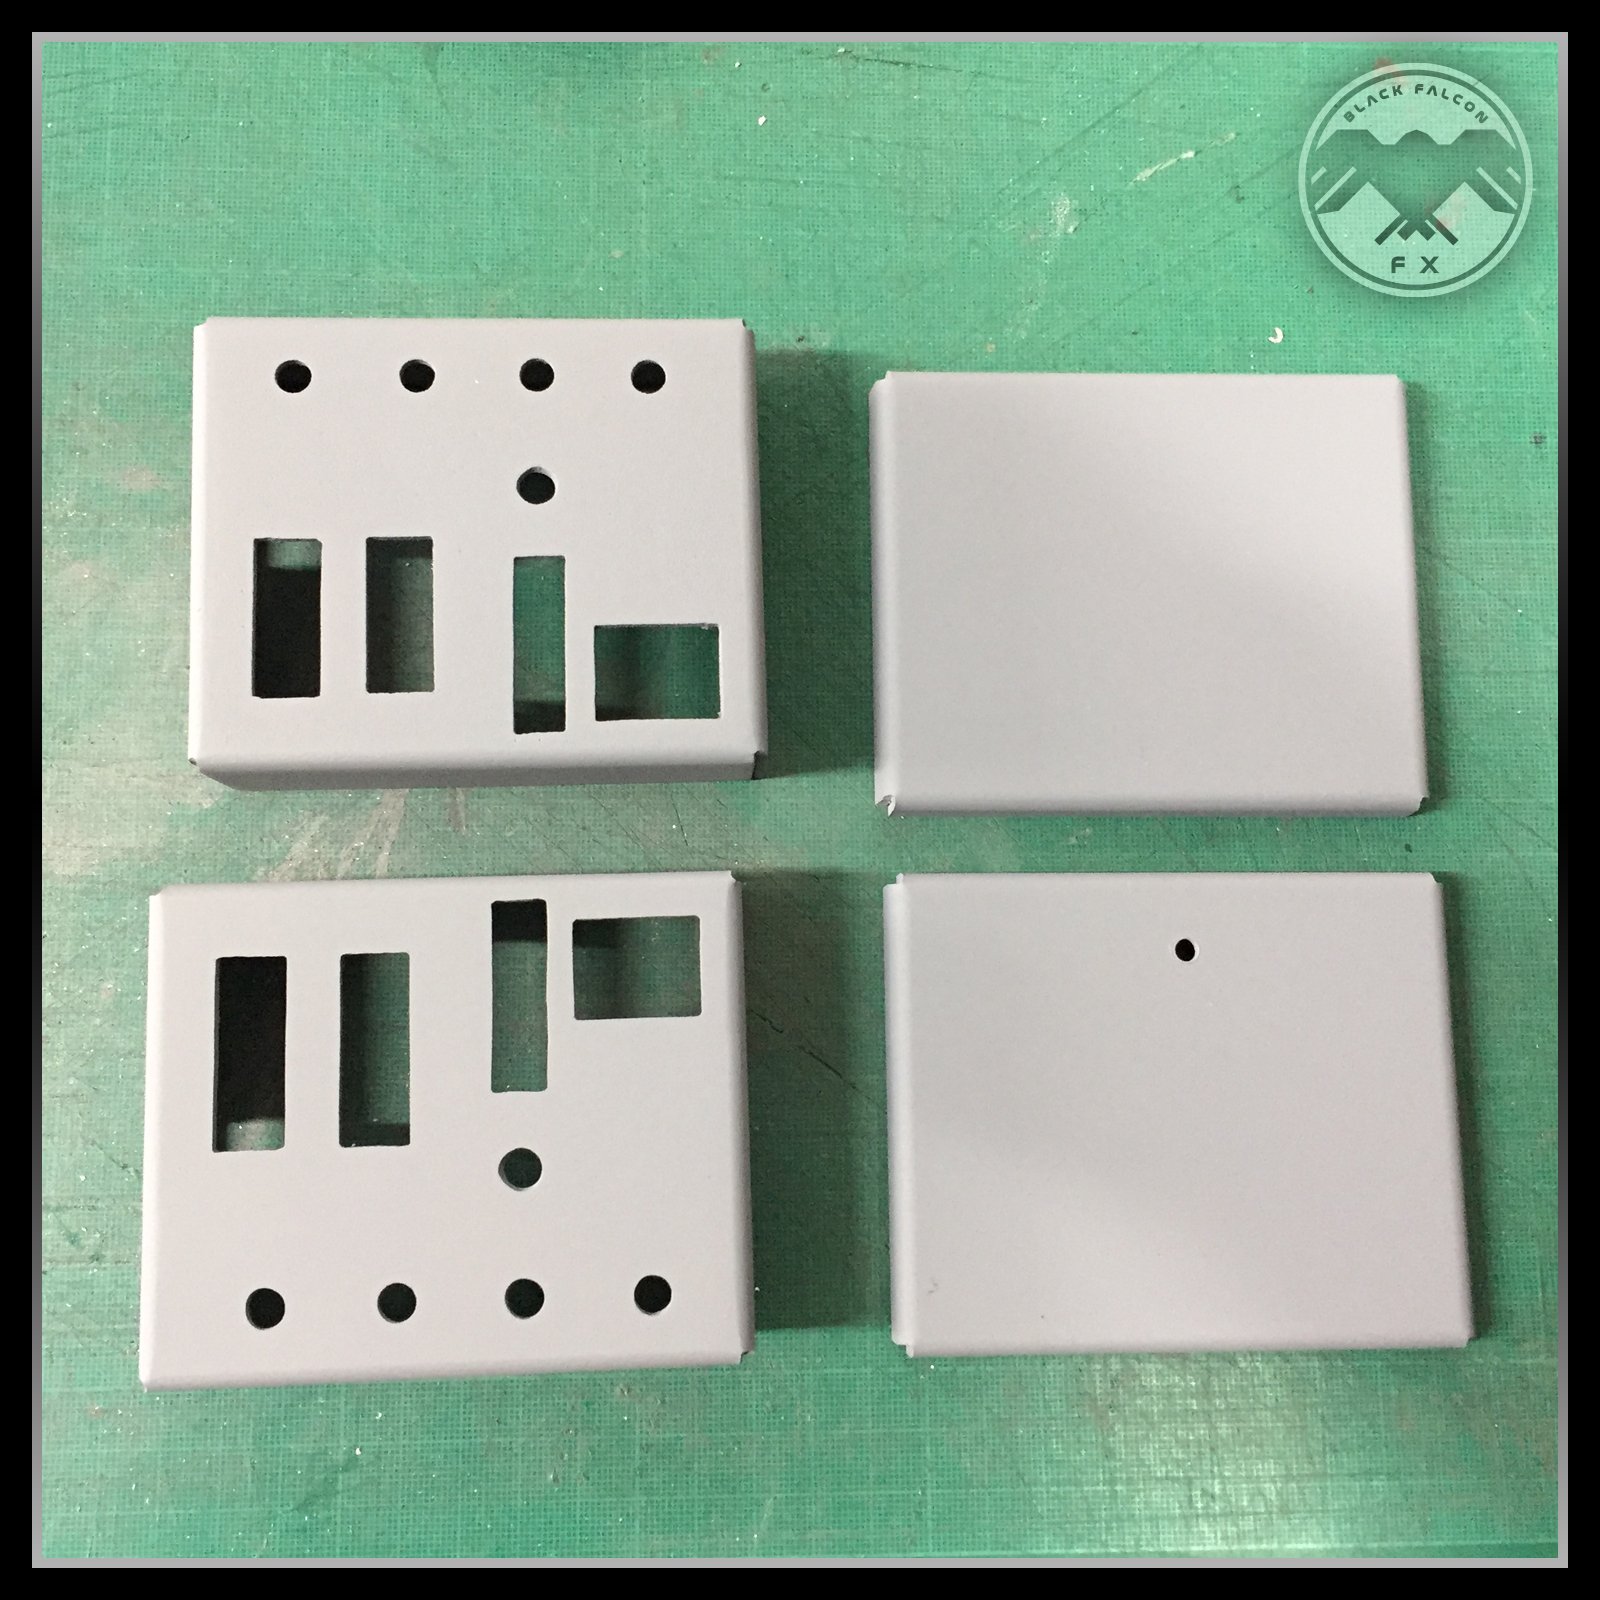
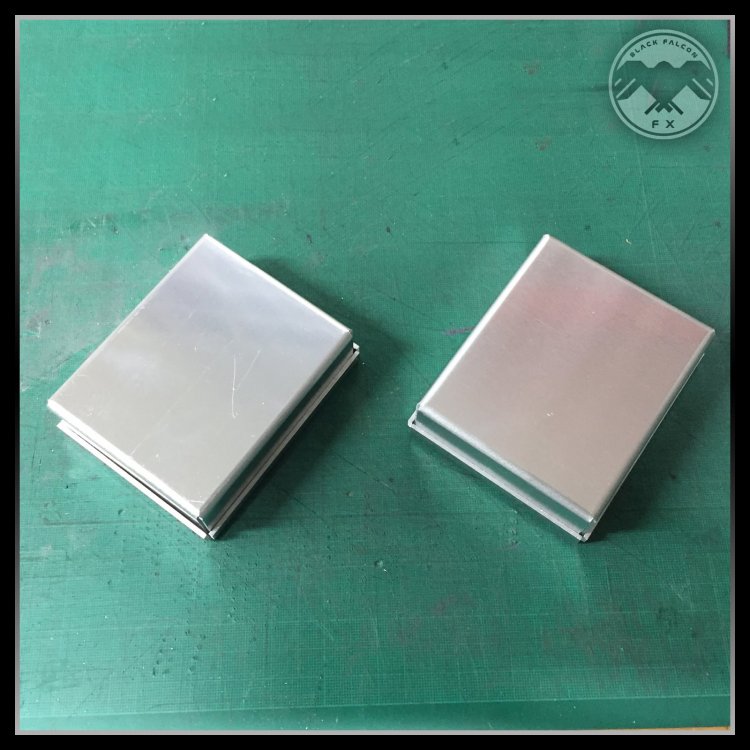
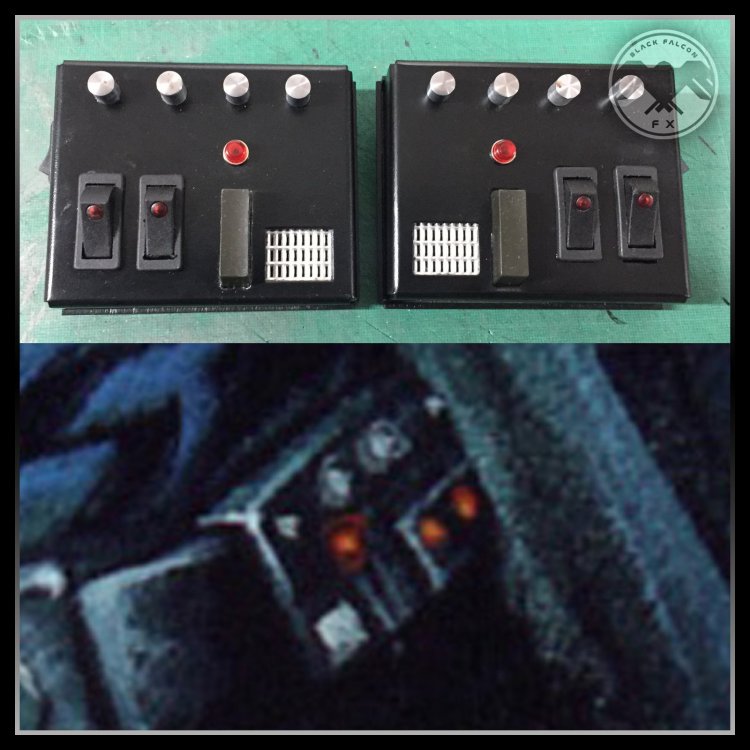
For the boxes themselves I decided to go with a couple of my early prototype Wookie bandolier boxes. These are made in a very similar fashion to the Vader ANH boxes, folded aluminium. Overall these match up quite nicely with the only image of a box which is seen on Dark Empire II #2 cover.


-
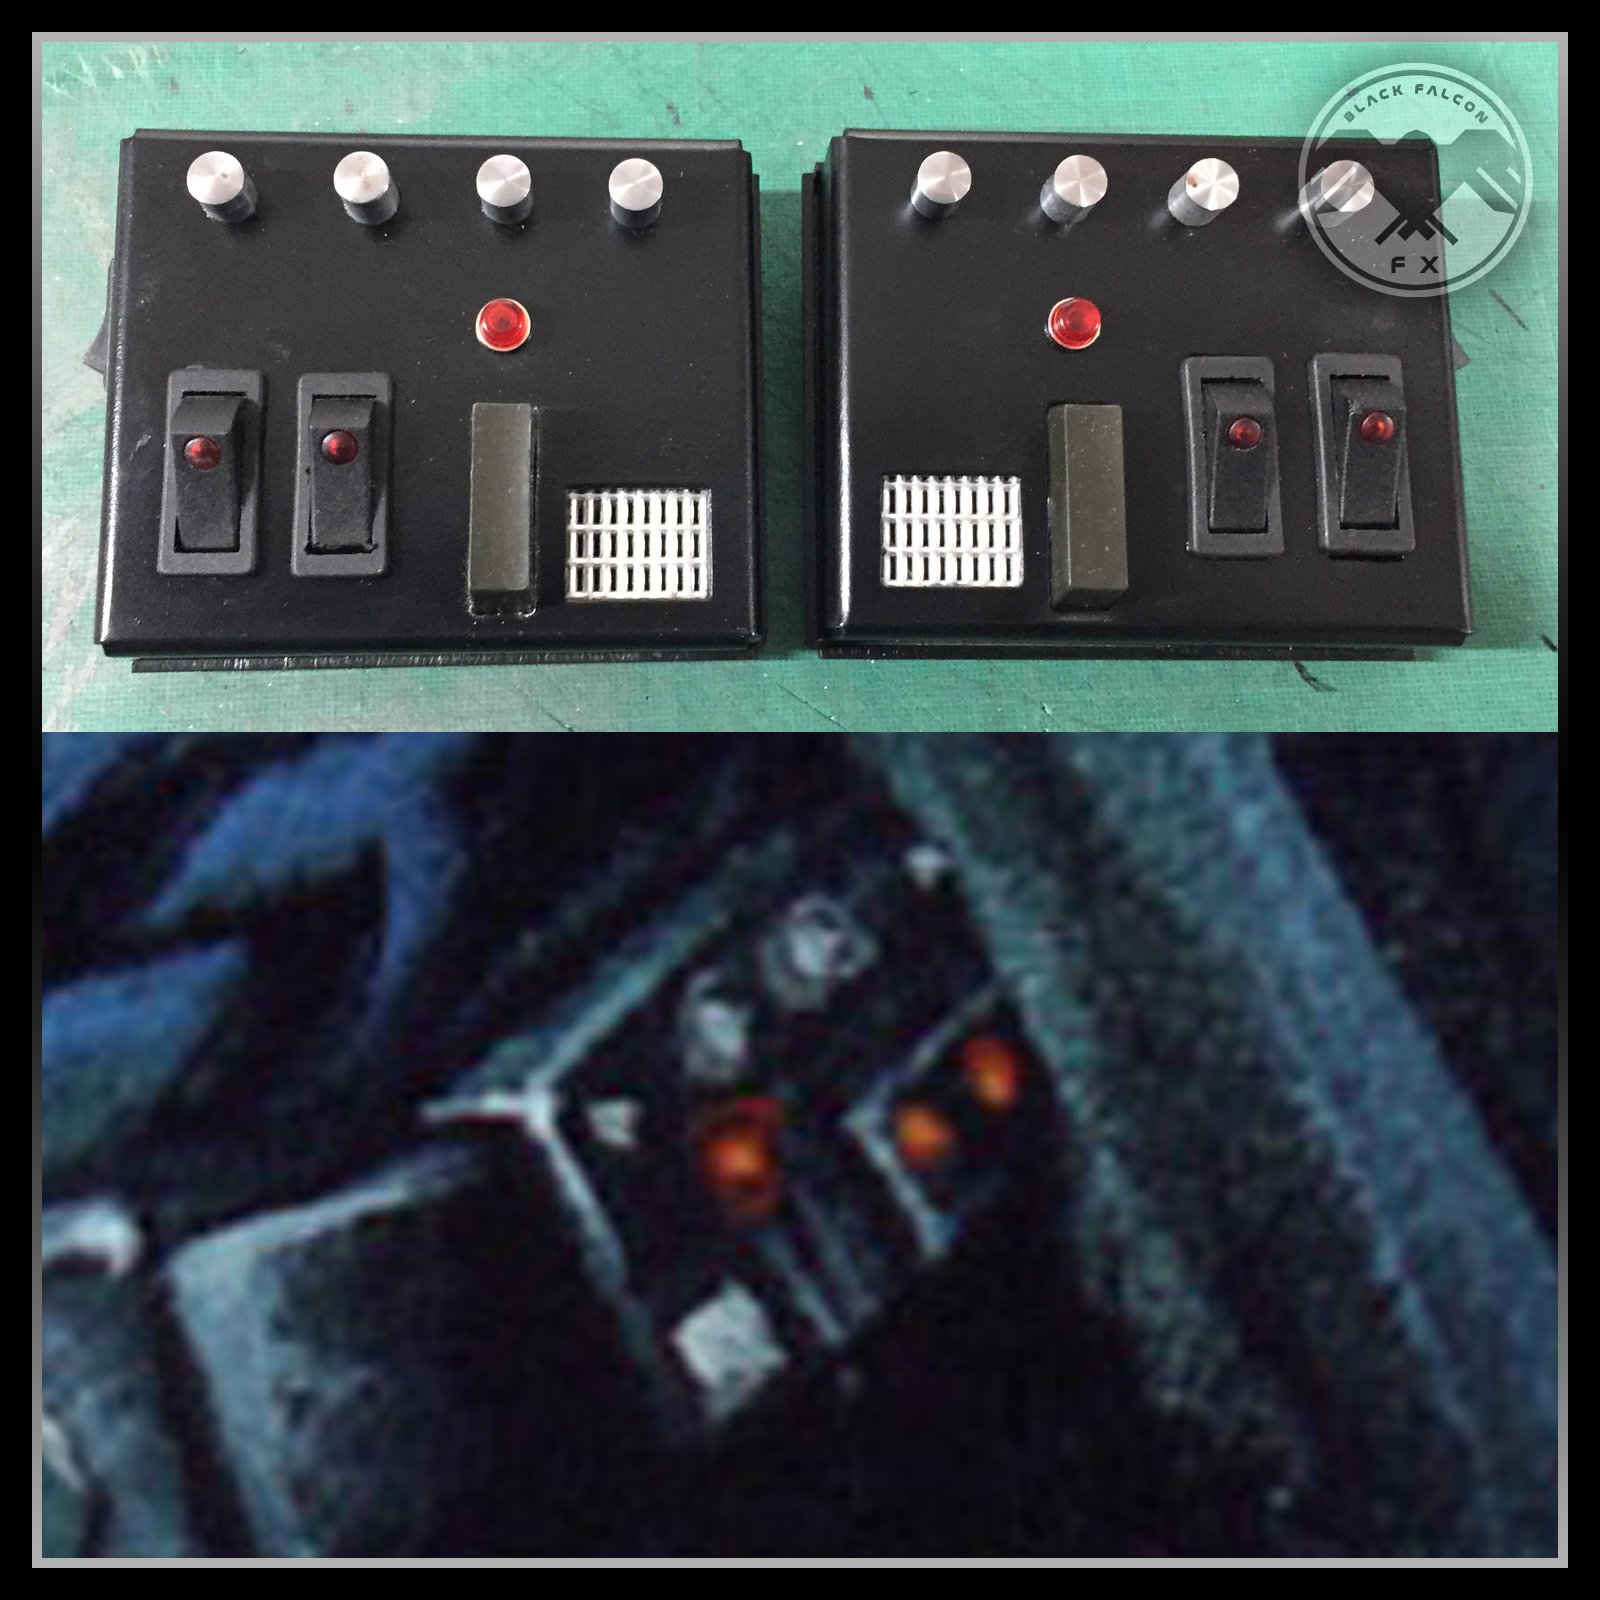
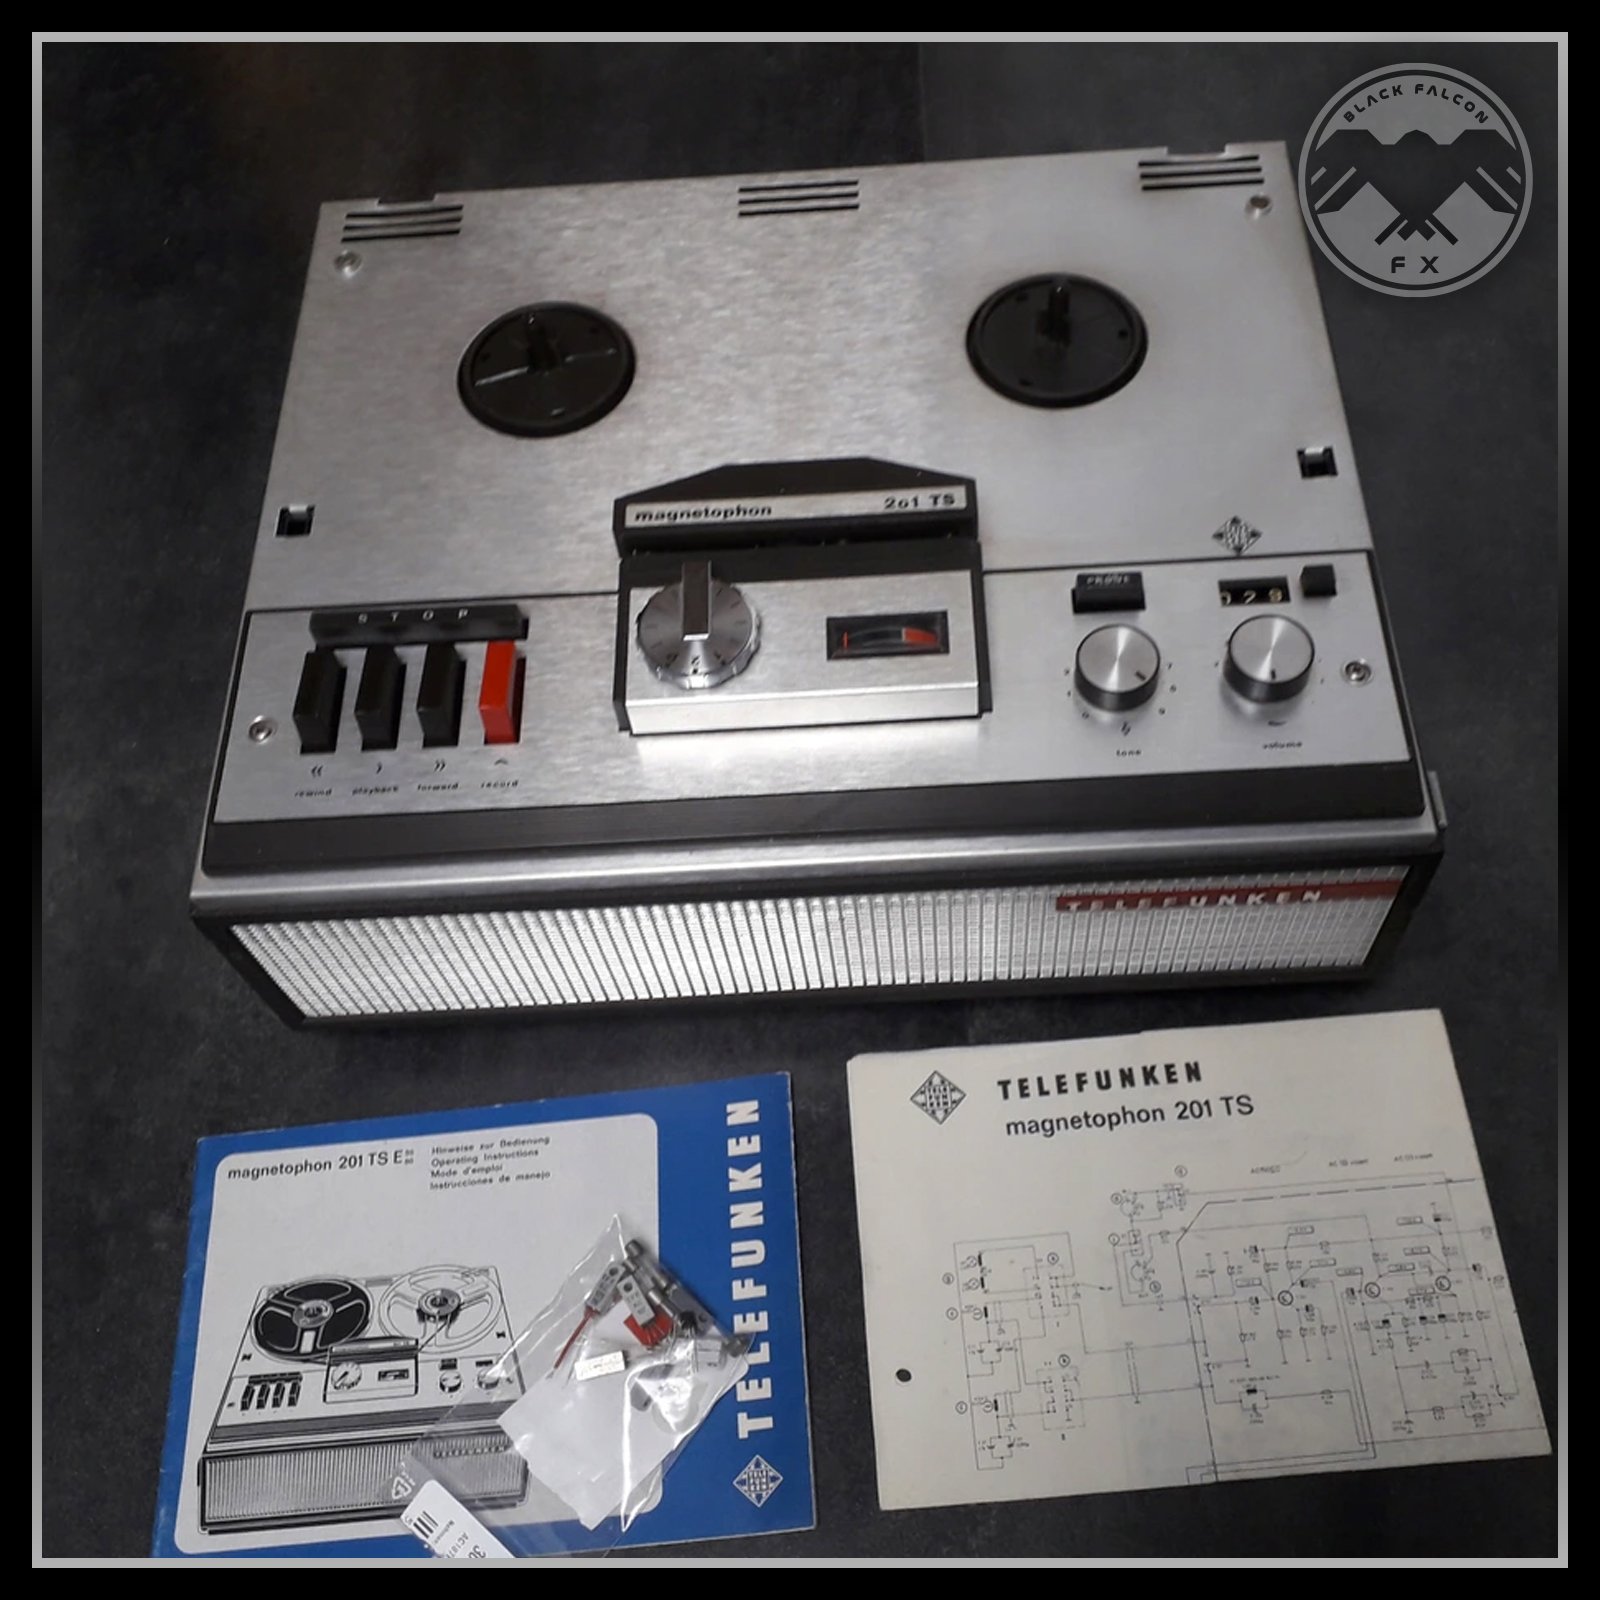
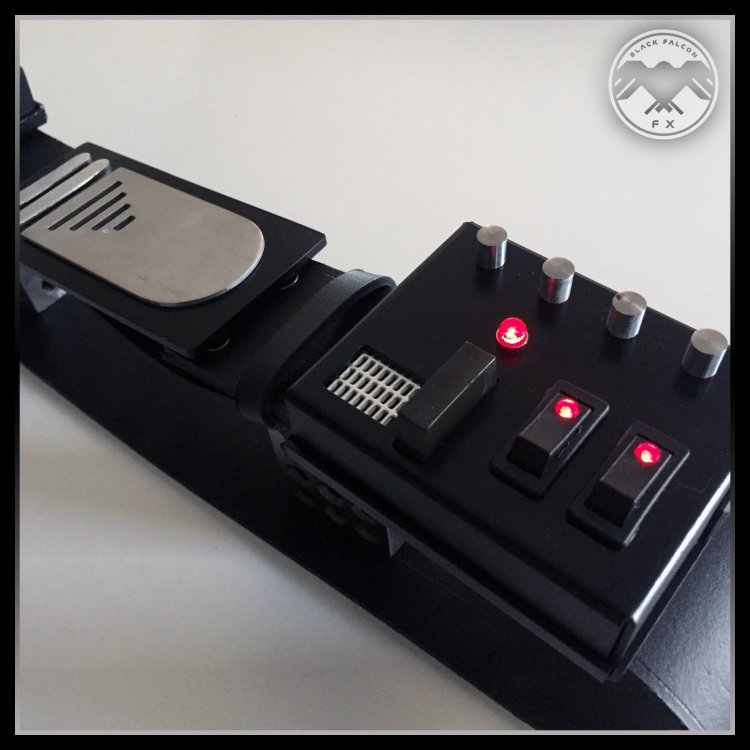
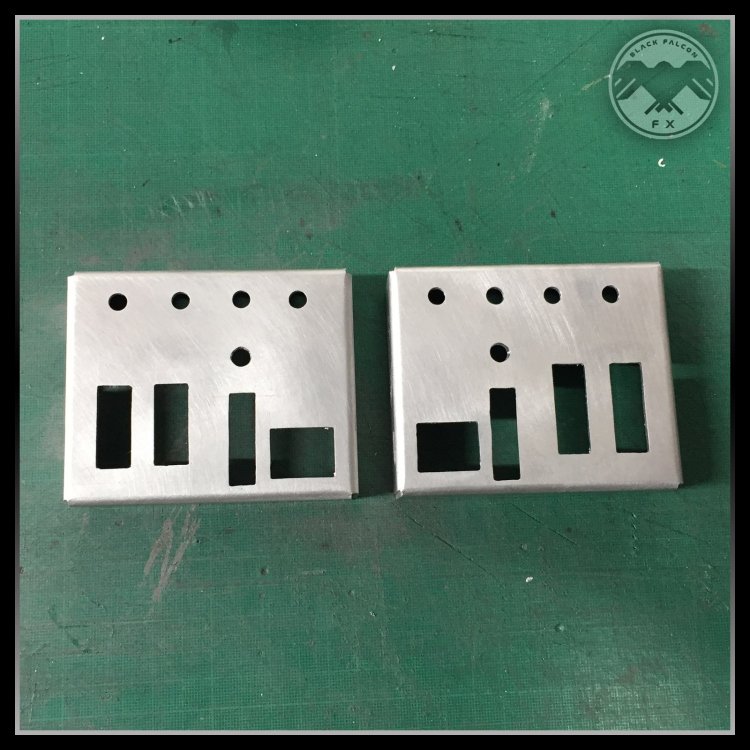
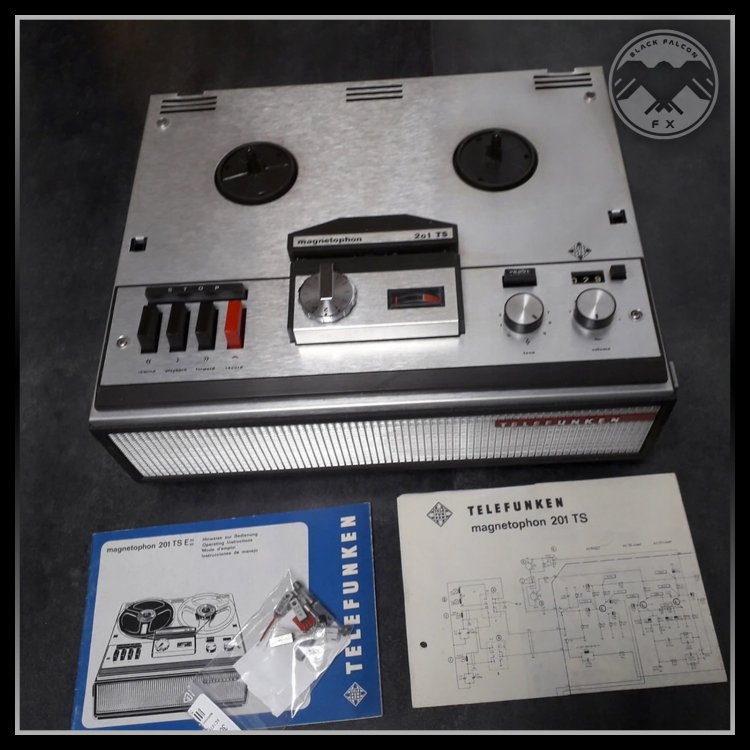
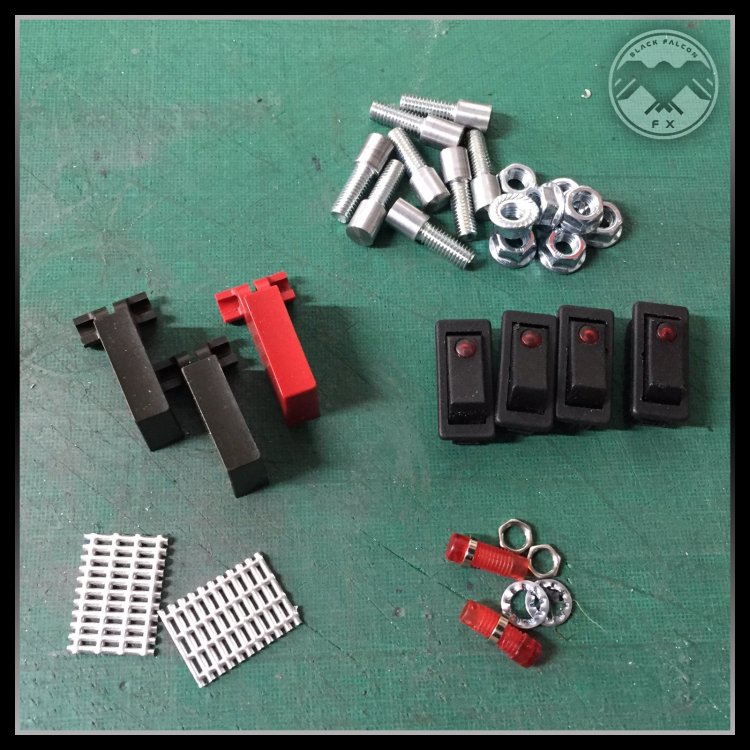
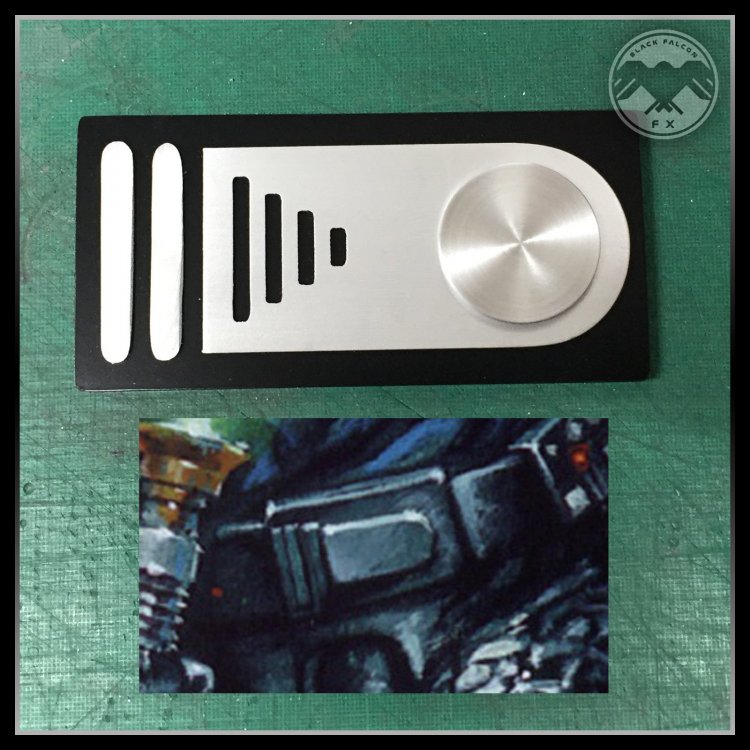
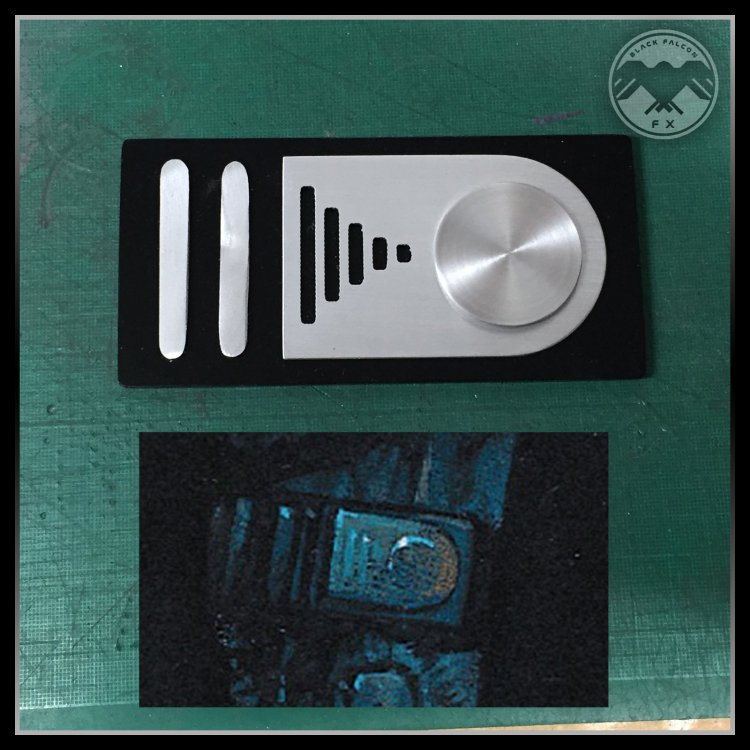
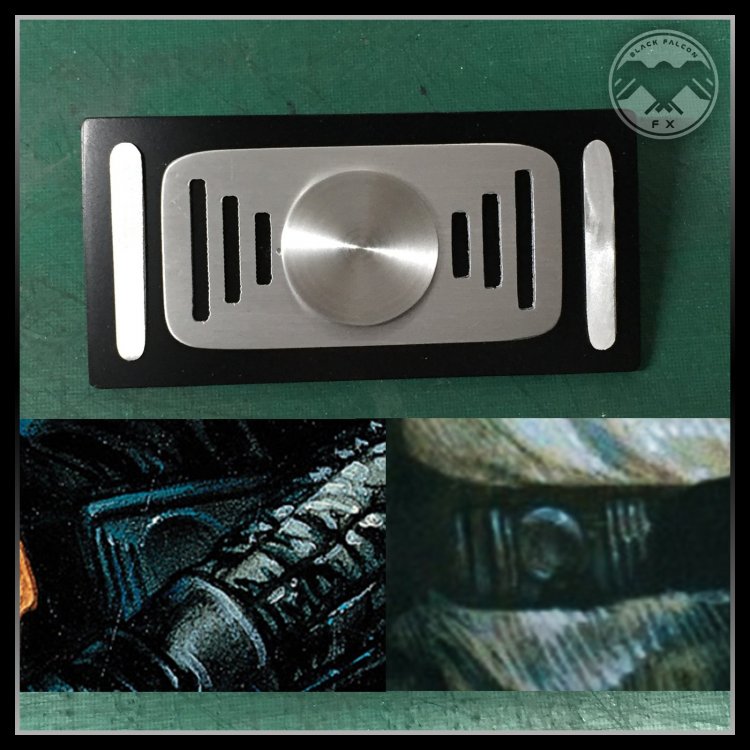
While I'm waiting for the cape material I turned my attention to the belt and boxes. I have a variety of parts from the Vader belt sets that I produce so I thought I could combine a few elements. I still have a couple of Telefunken tape machines which I use the speaker mesh for the ANH Vader so I thought it would be interesting to see what other bits could be used. I eventually went with a couple of the buttons along with the speaker mesh. I combined this with some ESB/ROTJ silver knobs and a red panel light. Finally I chose some led rocker switches.
-
Hey there. Clearance was never a consideration for this, especially with the amount of ‘personal interpretation’ that it requires. It’s unlikely this would ever be added to either RL or 501st as there is no clear representation of all the costume elements. I’m just making it for myself. Hopefully I’ll do the artwork justice with my version. Cheers.
-
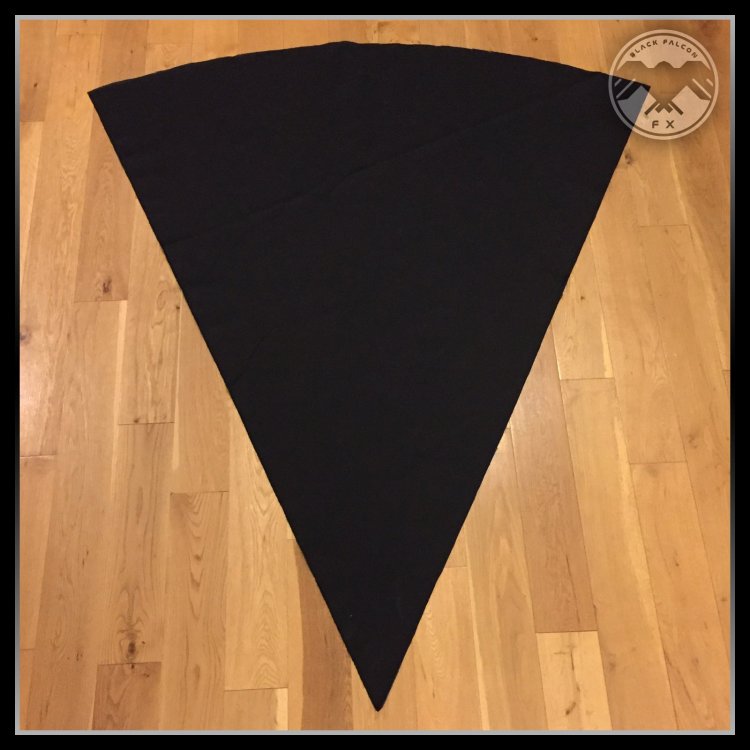
After a bit of analysis of my Vader cape, I now have a basic pattern. I'm making it a bit shorter than Vader but basically still the same.
-
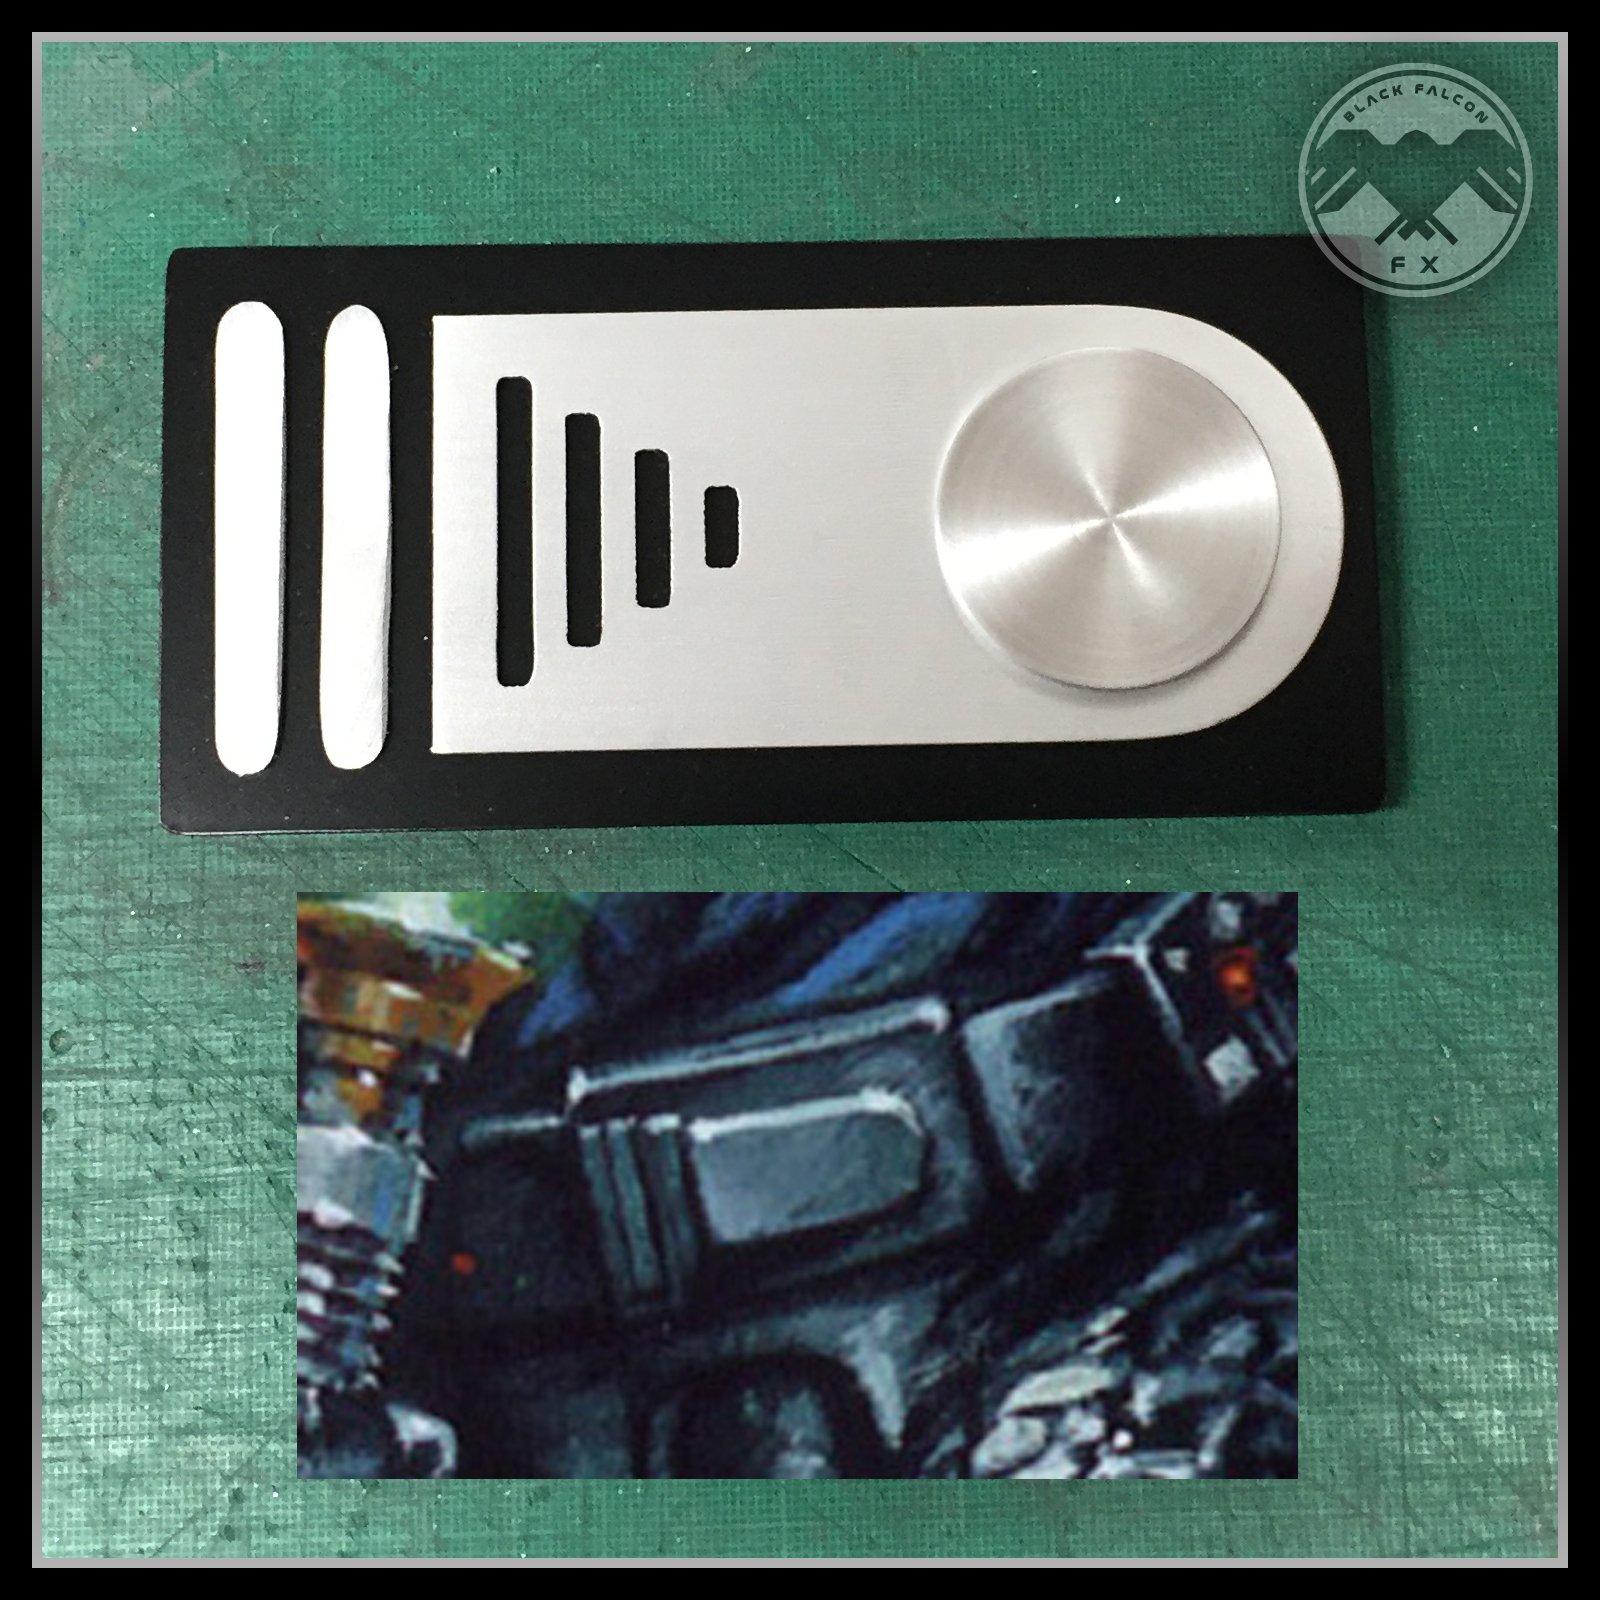
Here are my buckle variations. The first is uses a modified Death trooper buckle to fit the proportions from the DE II #1 cover. I added a couple of Vader element (Slots and Disc). The second is based closely on the Vader ROTJ buckle. This is more similar to the DE #2 cover. The final one is just an idea of what could be on the DE Collected Cover and Issue 1 of Empire's End.
-
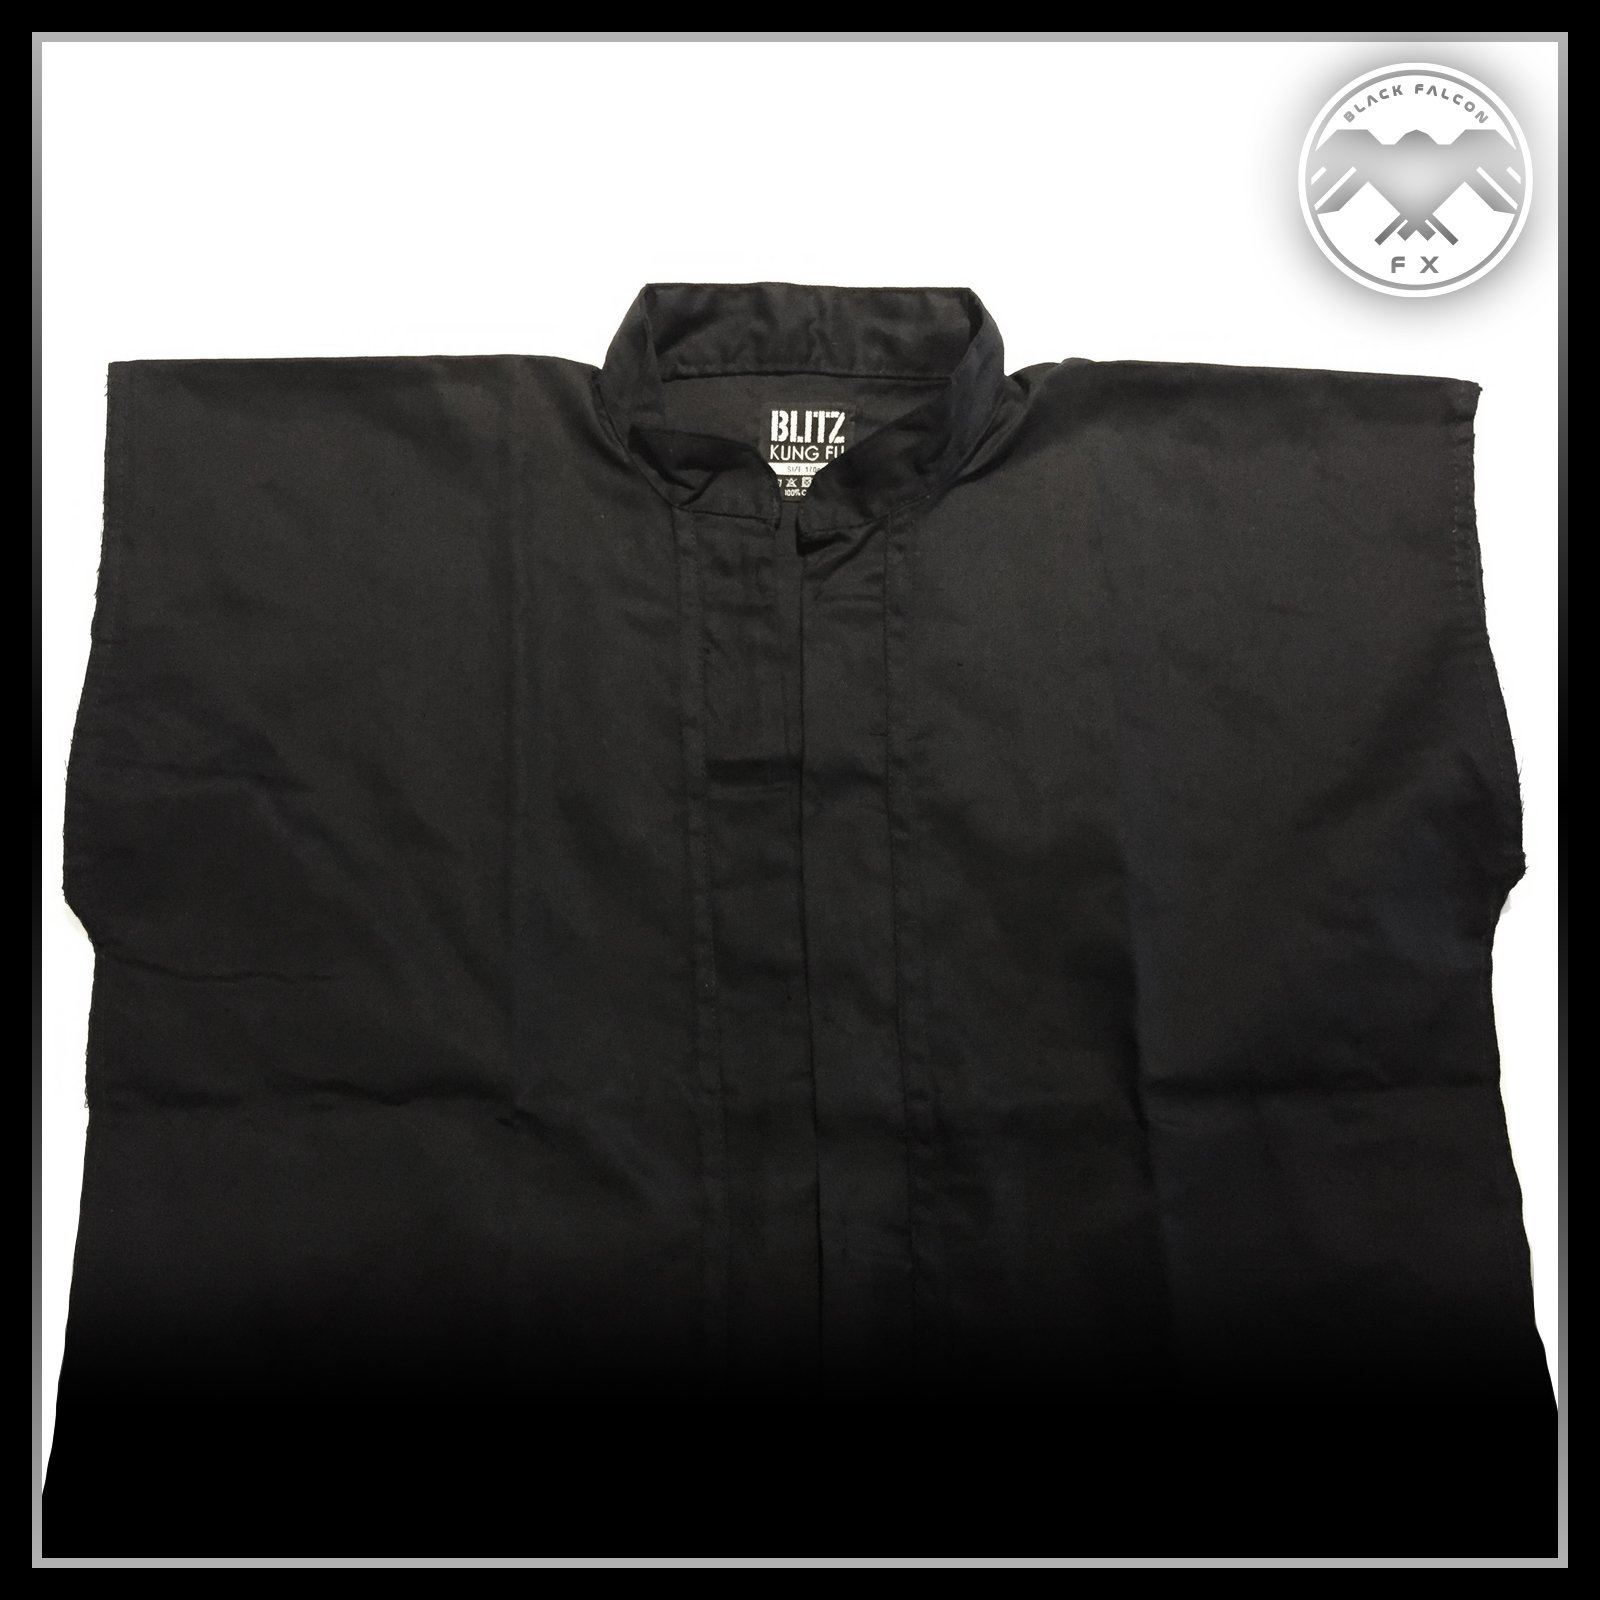
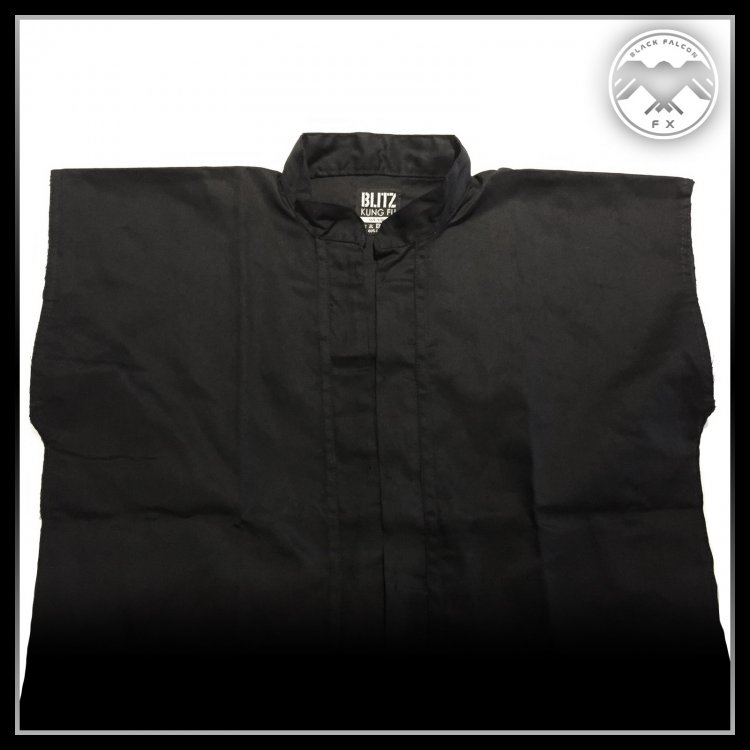
First adjustments to the inner shirt. Toggles and sleeves removed. I'll need a new hidden fastening to keep the front together.

-
These are the parts that I have assembled so far. Mainly from my Vader suit.