
-
Announcement
Welcome to the forums!
If you are a newly-approved member, make sure you check out the New Member Checklist!
If you are a Detachment member and can't see the member-only area, post here for access.
-DV


Azrayel74
-
Posts
65 -
Joined
-
Last visited
-
Days Won
2
Content Type
Profiles
Forums
Gallery
Events
Everything posted by Azrayel74
-
I use 2 different sabers depending on my event and if im indoors or outside. I have a Pach Store Ultimate Works RVS Saber with LED string blade, or I use a Saberforge Fallen Elite saber with a red LED in hilt and a red dayblade if im doing outside events.
-
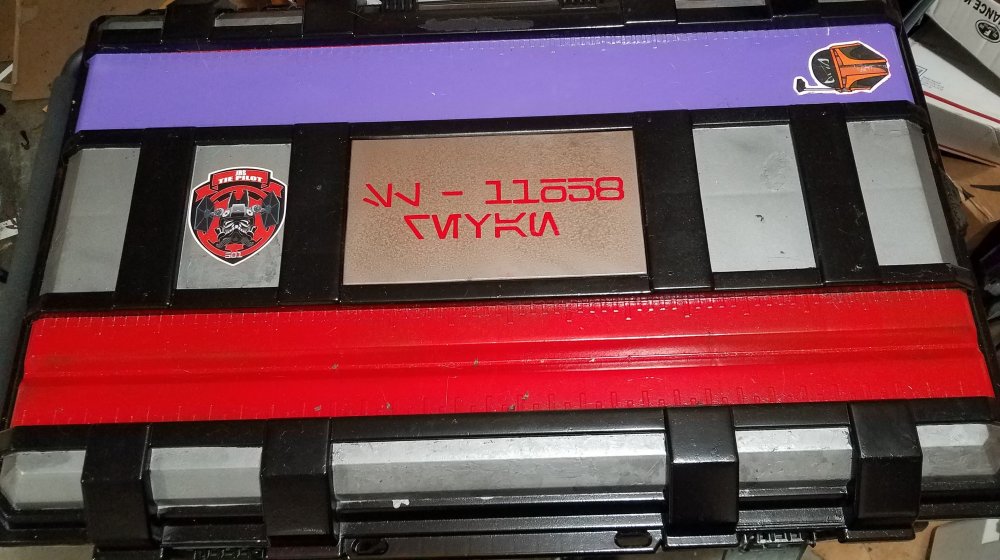
Because i enjoy having my kit identifiable, and maybe because im crazy enough to try painting Husky Totes < not recommended for the weak of heart as paint doesnt stick well> I finished a repaint of my smaller Husky that now houses my Revan < as well as my 2 Imperial kits> and thought id share for entertainment, or ideas for others.
-
With as much velcro as i have on it... it really becomes part of the hard armor parts for me... gives a bit of flex and movement i wouldnt have in full armor. but i definitely like having the full bridge instead of parts the can gap at the sides. I actually now have it setup so that my skirts ALSO velcro onto the inside bottom edge of my bridge as well so in essence my bridge becomes the center point to the whole kit, holding the skirts up, keeping armor in place and still giving me some flexibility.
-
Sorry for the delays... Revans been packed up for a bit and just got him out tonight to make a few minor fixes before trooping this weekend. heres the picture of the one piece Bridge i made. its quite heavily invested in velcro. I have almost the entire kit setup to attach in some way to the bridge as my foundation, including my hakama.
.thumb.jpg.29abe41dbcbd561a6d7b9eab43872caf.jpg)
-
Still love this kit... grats on MMCC and MMCC Legends Brigade Approval as well. Really hoping you can get approved here as well to join our GLG Cadre of TFE characters!!!
-
Welcome to the Detachment.. and look forward to seeing you join the ranks of the GLG and TFE. I just got my approval for my Revan a week or so ago and looking forward to trooping it at C4 next weekend in Traverse.
-

501st/SLD and/or TFE Detachment Access Requests
Azrayel74 replied to DarthBrute's topic in Welcome Area and Forum Help
Requesting Detachment Access: Darth Revan - SL-11658 https://www.501st.com/members/displaymemberdetails.php?userID=29529 -
Newly Approved Members Post Here!!!
Azrayel74 replied to DarthValkyria's topic in Welcome Area and Forum Help
I just finished the updates I wanted and applied and was approved for Darth Revan at the end of last week. Really enjoyed the first troop out with him and a fellow garrison member in her Darth Nihilus. Ive been planning on doing a Revan for nearly 2 years, but only finally got to it ordering things last winter, recieved my Wicked Armor kit in January, promptly tore about half of it apart and redid things to fit me better and suit my preferences an to better meet the current CRL's. Just got my Database update today.. so here i am Pic is of my first troop in Revan, GRPOPS symphony event, the day after i received my approval. Recieved parts to complete my first saber build for Revan today and will be working to get the 2nd one built over the summer. Its nice to officially be able to list SL-11658 finally!!!... I also have TI < Reserve > and IC (Imperial Bridge Crew) approved as well. I have an Imperial Gunner helmet ordered and working on collecting parts for a Tusken Raider as well. And last but certainly not least, Ive been an Approved Mandalorian Merc for 2 1/2 Years, with approval for Gunslinger Brigade added to that kit last fall. -
Well.. got my approval email on thursday.. now just waiting for the database updates for the OFFICIAL part and i can submit for full Detachment access... the waiting is always the hard part but i did get to troop the kit over the weekend , found a few minor things to fix but overall... quite enjoyable kit to wear compared to my 50 Lbs of Mando Merc!!!
-
Worked on finishing up last details.. and was able to get help getting kitted, and getting photos taken. Maybe a bit dark?? but submitted for Approval thru my GML's on wednesday.. now the waiting game.
-
Ive loved seeing this kit in person and in progress. Really hoping you can get this one passed thru Vod!!!
-
Got some help over the weekend, finished my bridge, and attached the velcro needed for good spacing and layout of the armor. just need to add the side panels back in, and finish adjusting the hood and capelet rings to meet CRL's better and I think ill be just about ready t apply for approval !!
-
Im planning on some good velcro installations to keep the bridging pieces located correctly, as ive noticed the staggered look of the front to back plates and where the bridging sits is not a consistent width. I have some good ideas i think and have been looking pretty closely at the references to try to get my kit as close as i can. Im a stickler for details , even if they wont be seen 90% of the time. Im hoping to get some help this weekend in getting the armor pieces ON me again, so i can figure out how long my bridge needs to be, and how wide , and where everything is suppose to sit in relation to the other pieces in the puzzle.
-
Ive seen at least one other approved Revan done this way. Nothing I can see in the CRL says it cant be done this way and i much prefer the look of one cohesive band all the way around with a small line in the middle of the back thats pretty much always covered by the cape, than blatant gapping at the sides thats visible almost all the time. None of the reference shots show any gaps on the sides at all... so a single bridge panel seems a far better solution to me. When i finish building the new bridging and get things all together ill have more pics up. Im working at various parts of the kit as i have time, but my goal is to be finished by end of April.
-
Been working on redoing the rings, replacing strings with straps and adding the dark red fabric bottom edge on the lower armor parts. Pretty happy with how this is all looking now. Still more things i want to fix/replace but working at it bit by bit. http://
-
ive seen someone else do a single bridge piece, and had it velcro'd together in the back. Im planning to have mine so it velcro's to the armor top and bottom, and in the back where its least likely to be seen. I didnt like how the 2 piece bridge gapped at the sides when worn so i tore it all out this weekend and im starting over.
-
I tried that and didnt like how it was looking. I ended up using a gunmetal metallic mixed with a light grey acrylic paint and a bit of water to thin it out a bit, then applied with paper towels and rubbed in till i got a relative consistency of the overall look, slightly mottled in places. I like the overall effect as it gives that slight sheen and still has the overall grey look. Im working on the red strips , 1 inch leather ring hangers and replacing the rings this week. Already tailored the cape so it doesnt quite drag on the ground, checked the length on the skirts, got in some heavy black linen pants to go with the overall soft parts, and working on building a single piece bridge as i didnt like the one that came with the WA armor.
-
Didnt hear back, had some ideas.. decided to test on a few scrap leather pieces, two different formulas to get a look i liked and i went forward with weathering up the boots today. Im happy with how they came out.. nice grey with a silvery metallic effect to them... http:// http:// Hoping these look good and i can move onto my next steps.. Going to keep this process in mind though for when i redo my bridge panel as well. Still hoping to get my Revan rework all completed before early May right now.
-
Finally getting back to my Revan, i have most of the WA gear, save i bought a different Mask and today im working on Boots. Got harnesses removed, new straps cut and glued into place and cured well. Been working on insoles to make them fit well and wearable in relatively comfort. Now... i KNOW ive seen weathering info SOMEWHERE but im striking out in finding the posts today so how do you weather them to get the grey look finish? I was thinking there was something with white shoe polish, and i was debating if mixing in a SMALL amount of Rub n Buff silver JUST to give a slight bit of metallic look would work? I tried my ideas on a scrap piece of leather and got more color than i expected and its not washing out well. SO.. suggestions, ideas .. how have others done this? And do these look good < other than the weathering> ? http://
-
While waiting for arrival of my WA set... I kept browsing boots and think i found something more suitable, granted still need harness straps removed, and the correct strap added, but wanted to see how these would work as they look a lot closer to the CRL pics. http://
-
How are people attaching the straps, as im not seeing any rivets, or stitching in pics ive browsed thru and im not one to depend simply on some form of glue alone to hold things in place on something that moves like boots? Any suggestions or ideas?
-
Recieved my saber hilts yesterday. Matched Pair of Saberforge Fallen saber hilts. Next order is going to be buttons and dayblades for them. Eventually i plan to build my own electronics and install for full lighting and sound. http://
-
501st/SLD and/or TFE Detachment Access Requests
Azrayel74 replied to DarthBrute's topic in Welcome Area and Forum Help
Requesting 501st Member Access at this time < still working on my Revan> http://www.501st.com/members/displaymemberdetails.php?userID=29529 Azrayel74 -
Thanks.. was already planning to add the strap as i knew thats required, hadnt thought about the stitching
-
Thanks Got my order started with MWA for my armor and soft parts and starting to shop for boots... wanted to se how well these would work? They are Civil War Cavalry square toe boots http://

.jpg.b3cf48528de66f58666ed997f21c1be4.jpg)
