-
Announcement
Welcome to the forums!
If you are a newly-approved member, make sure you check out the New Member Checklist!
If you are a Detachment member and can't see the member-only area, post here for access.
-DV
Leaderboard

.thumb.jpg.0d1684095db527b839cf5a8a14c59585.jpg)
Popular Content
Showing content with the highest reputation since 03/19/2024 in all areas
-
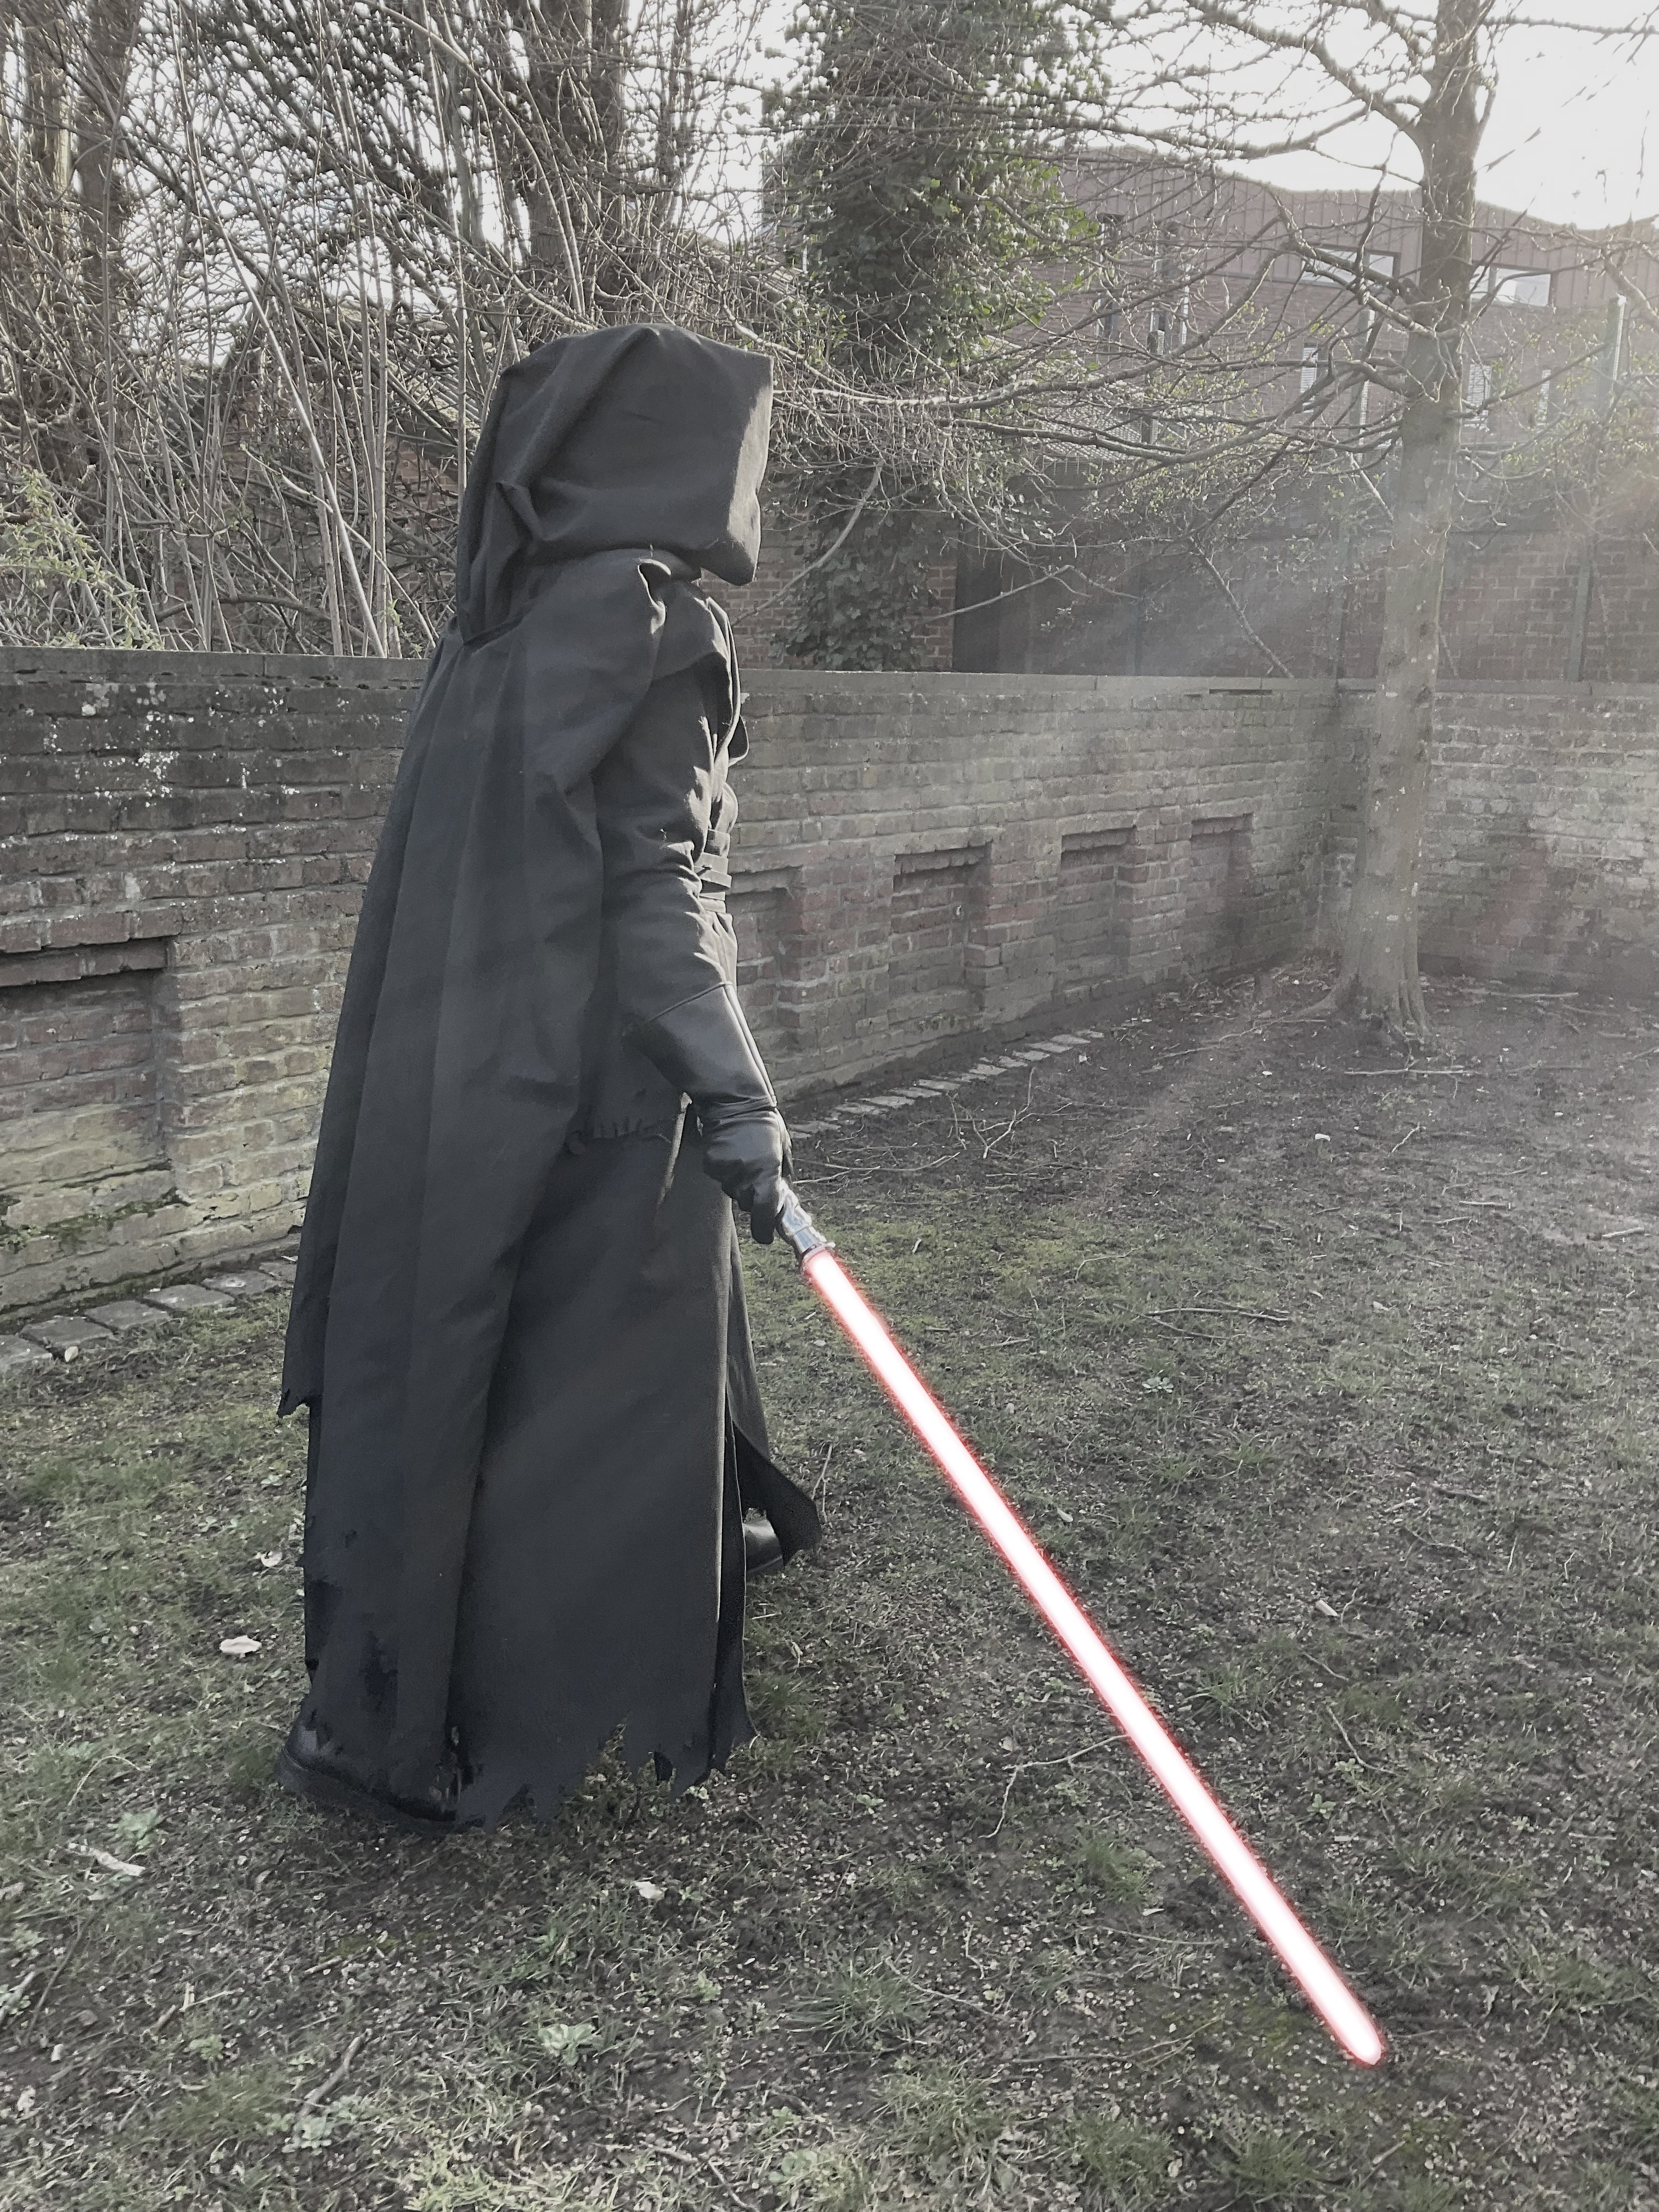
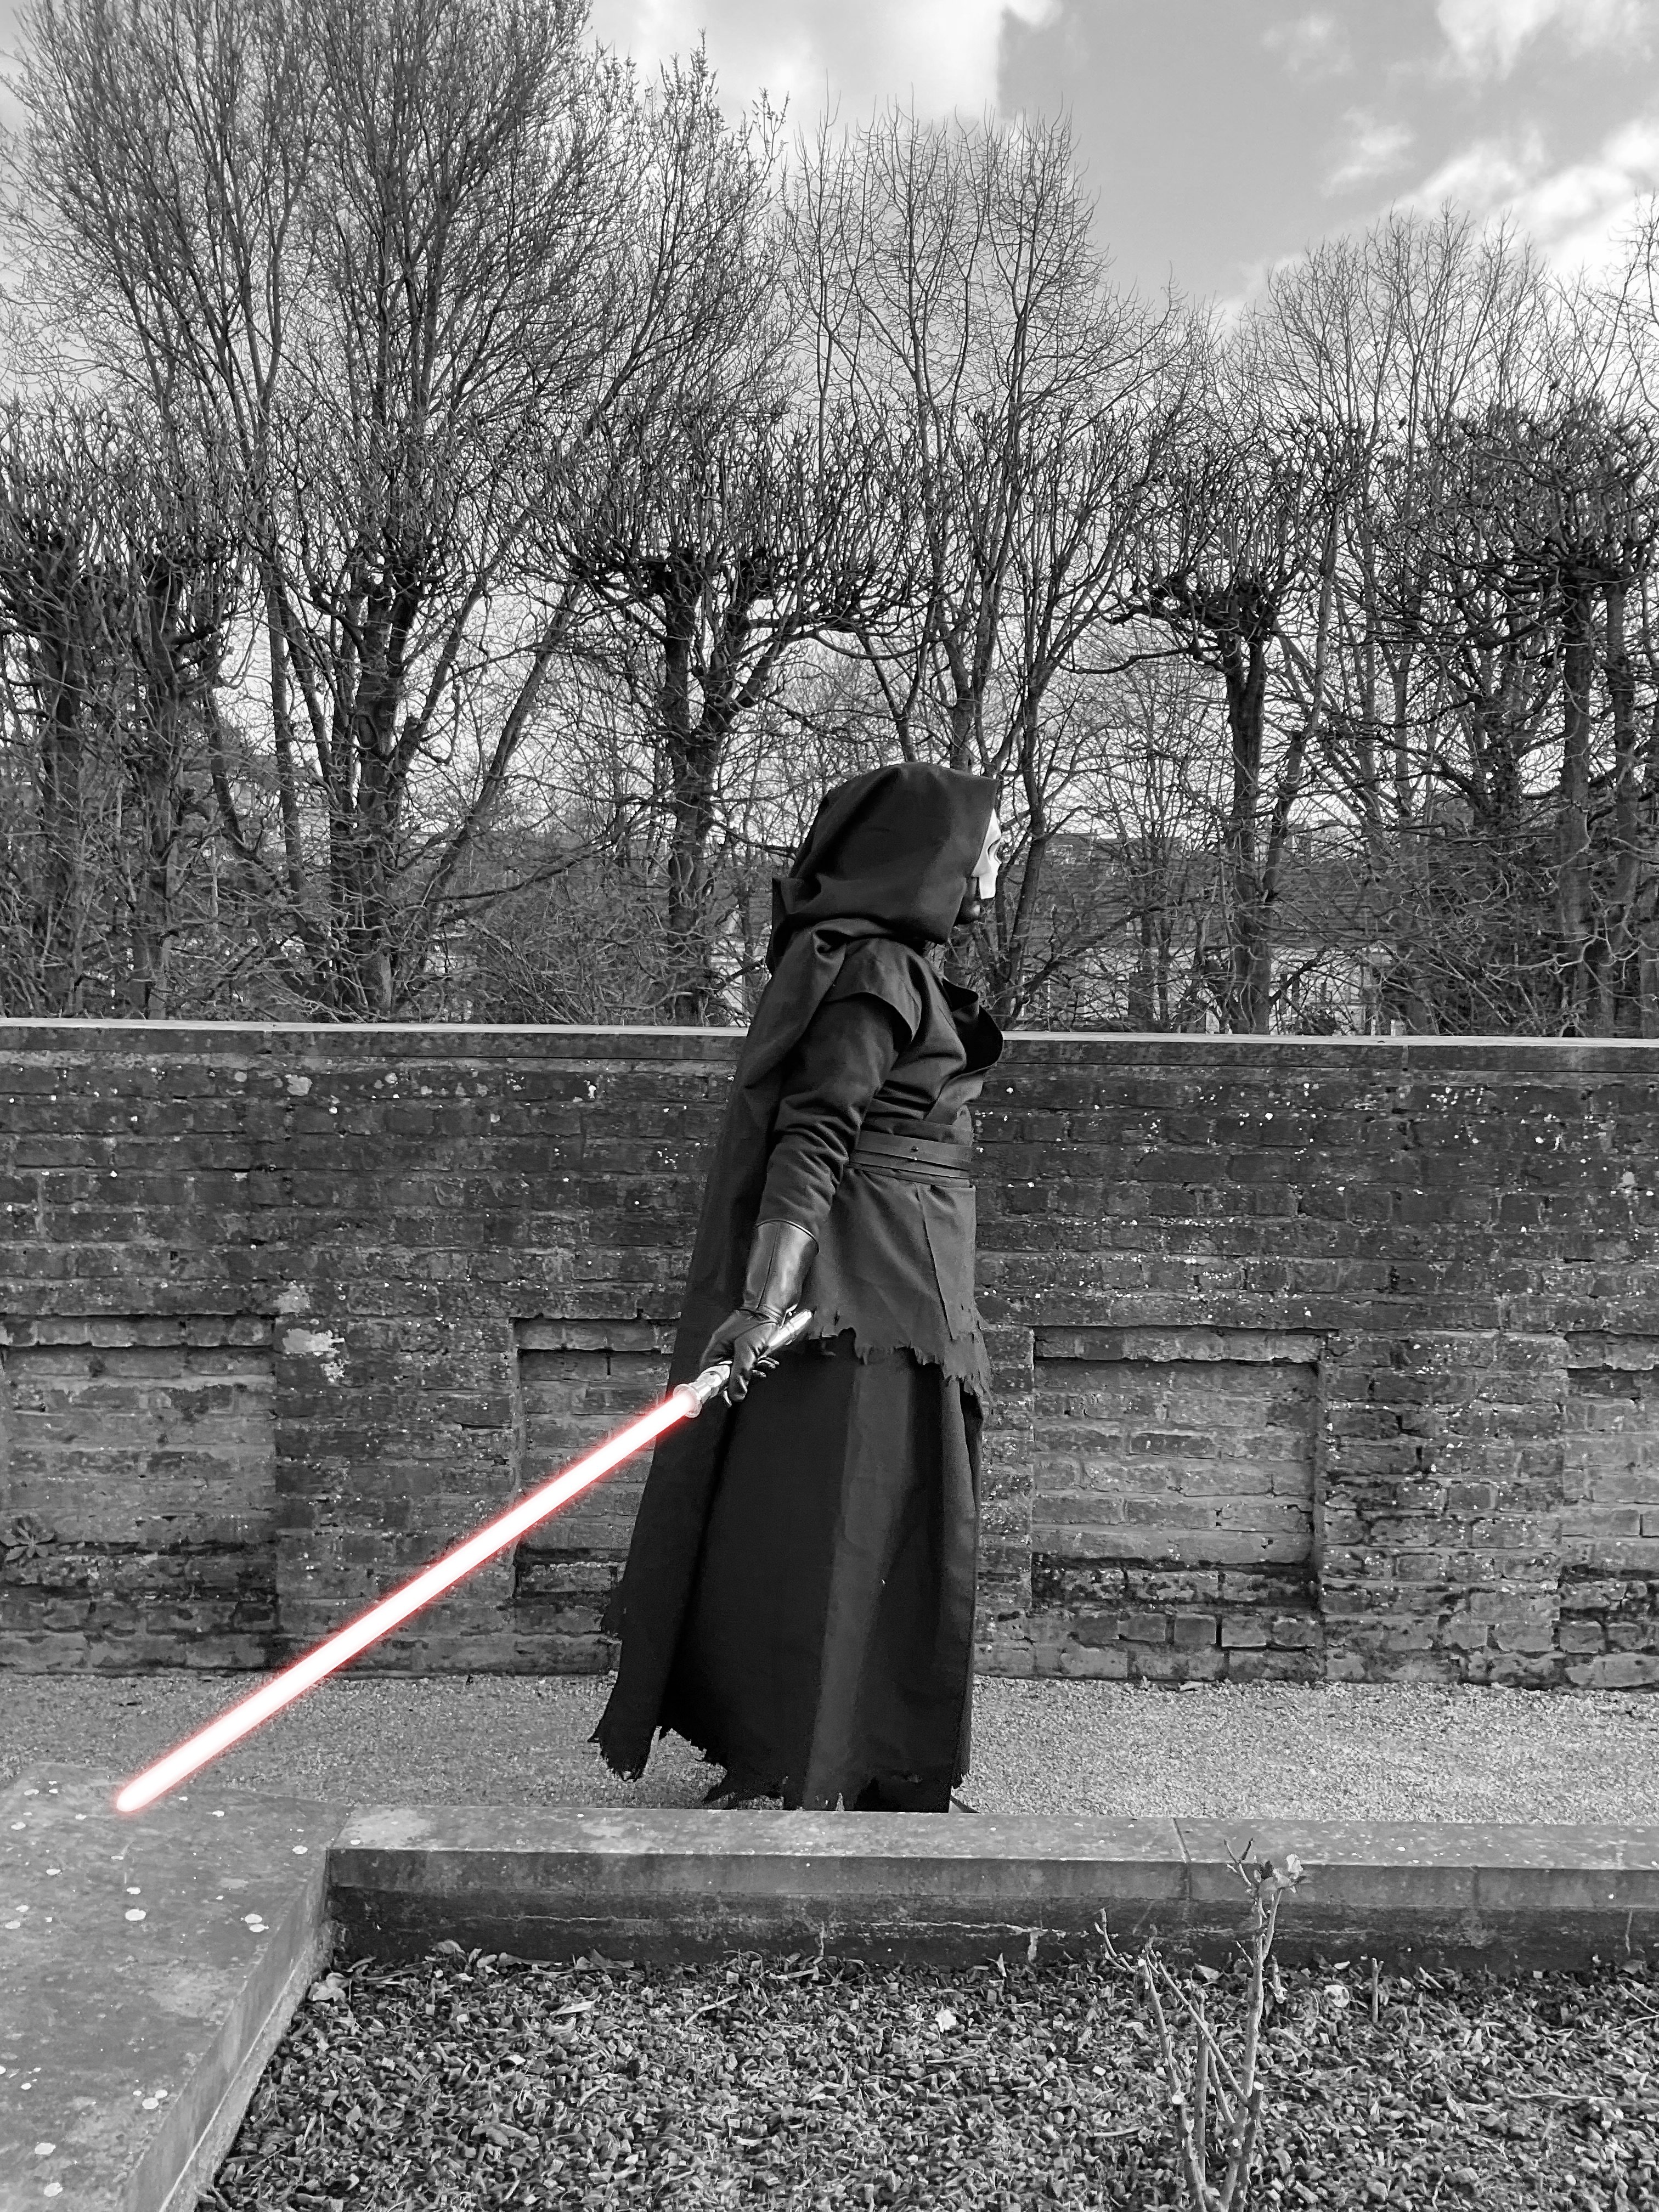
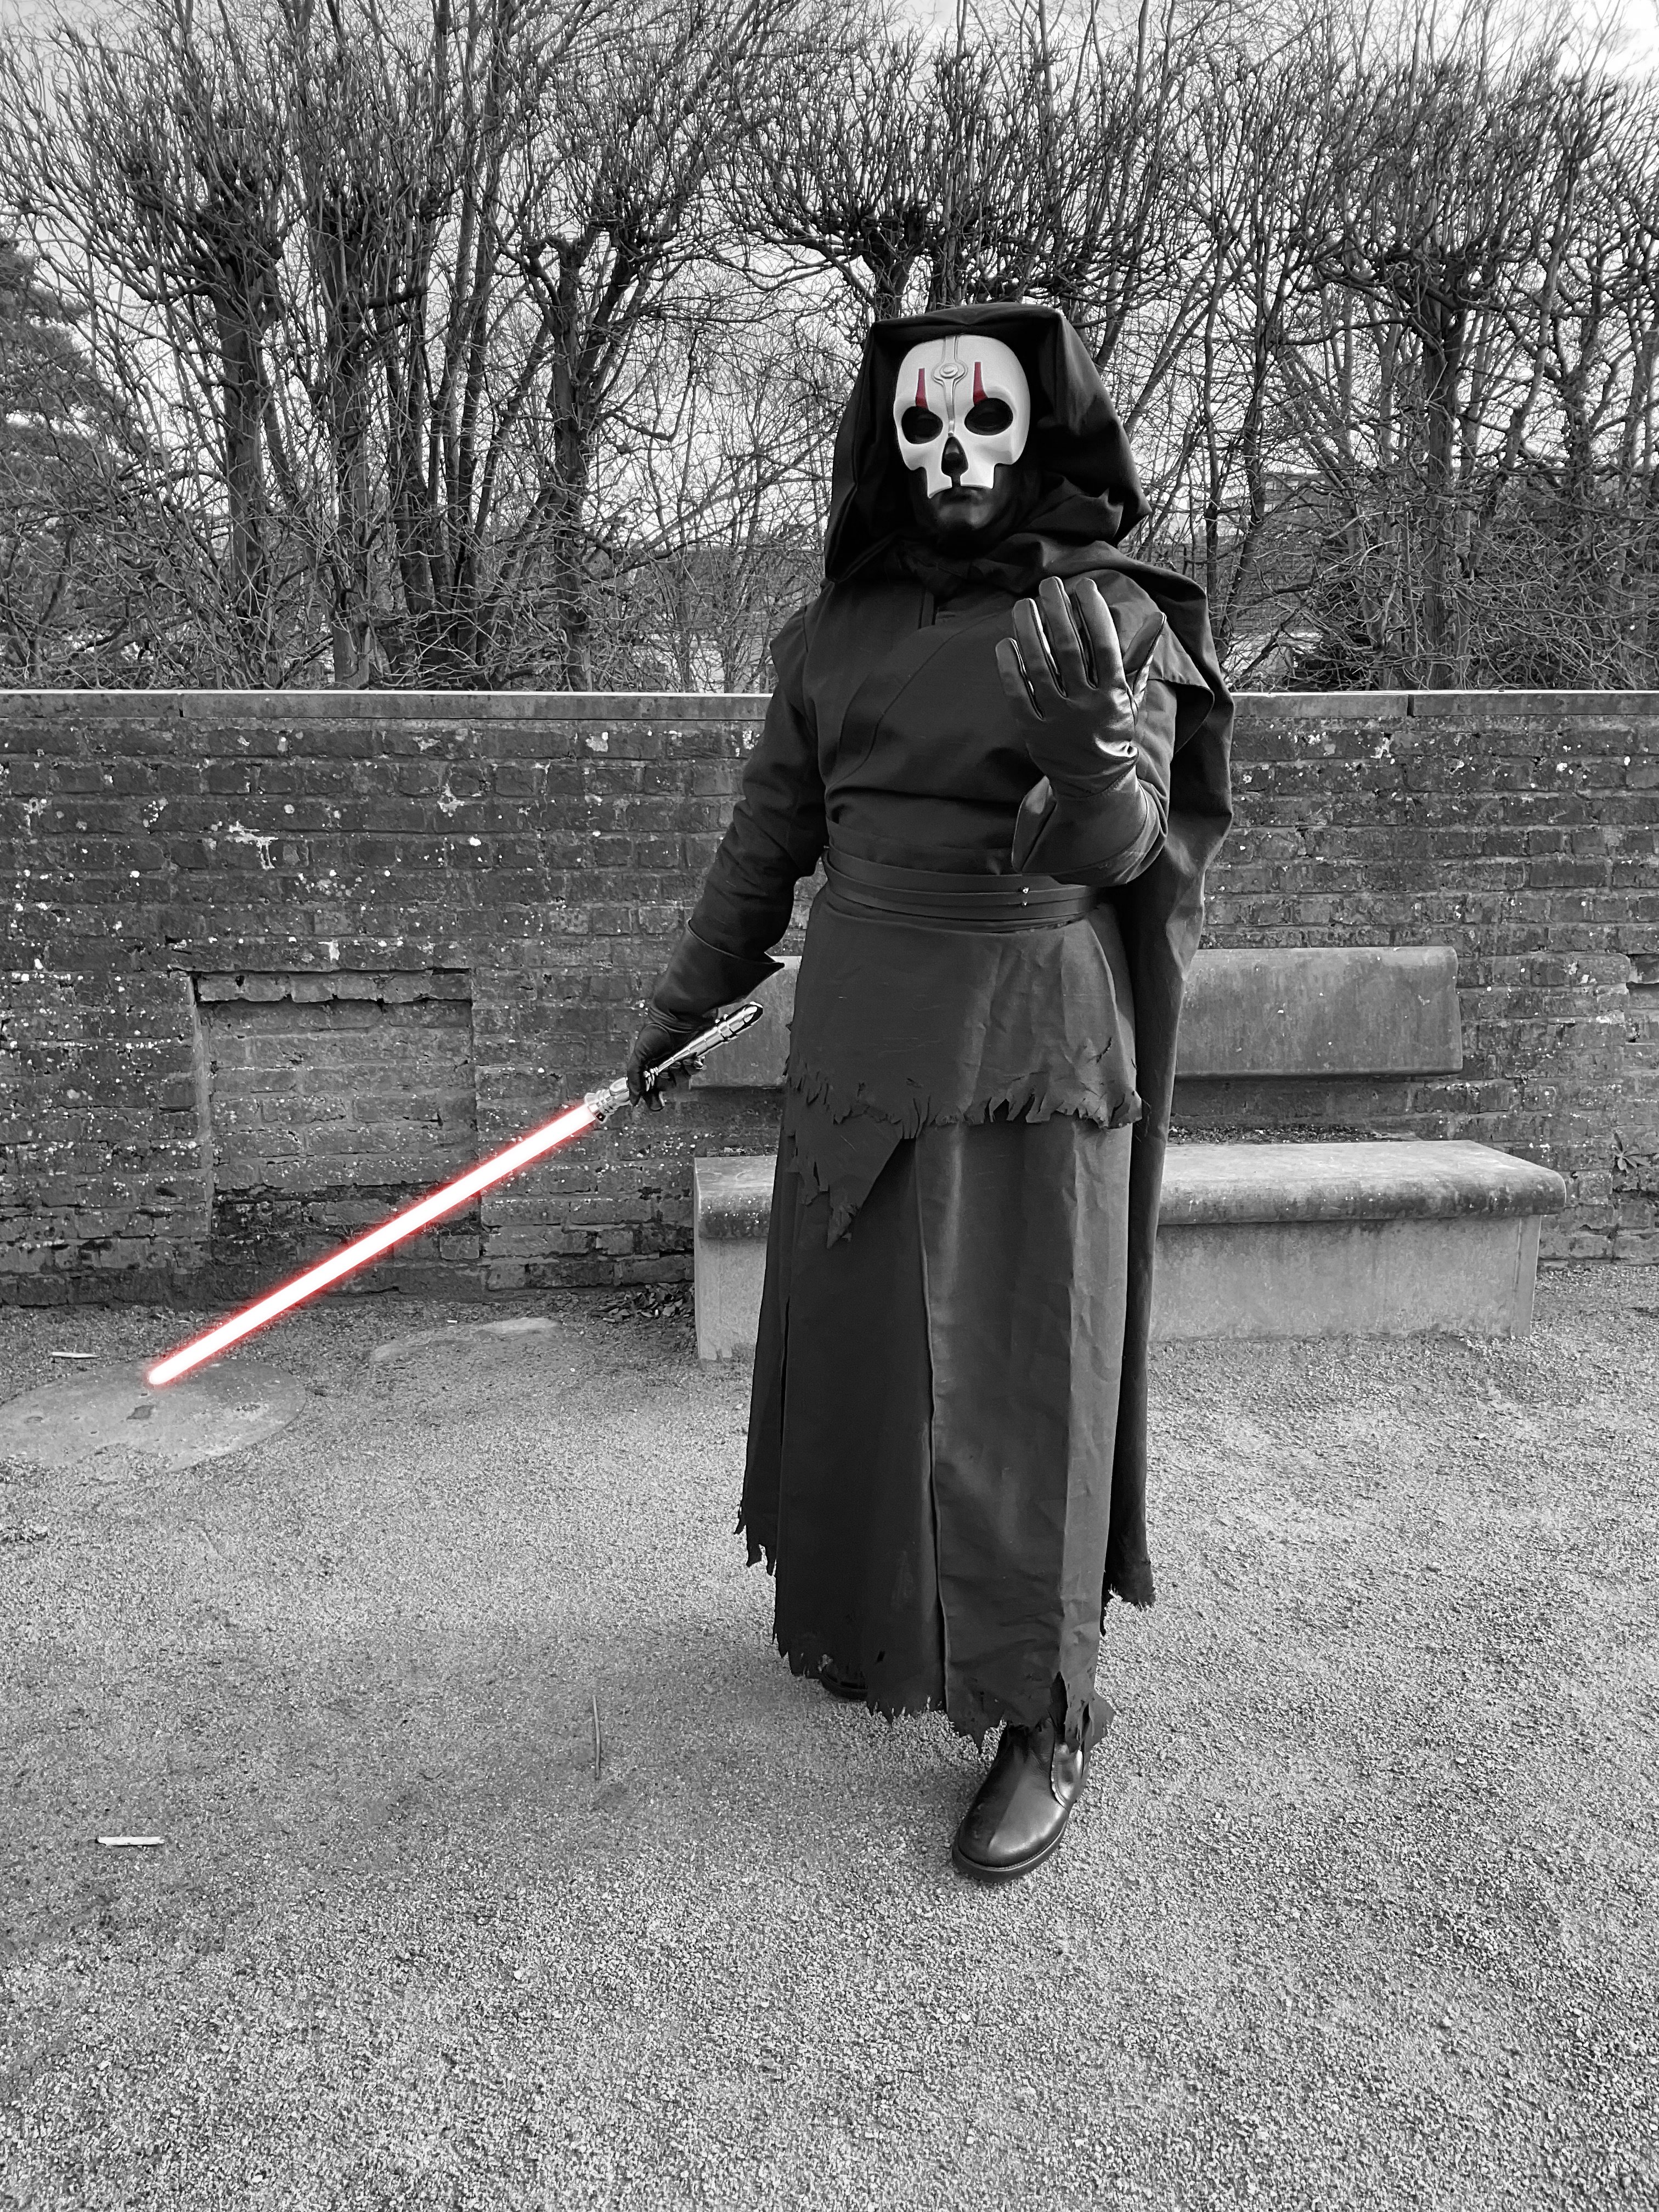
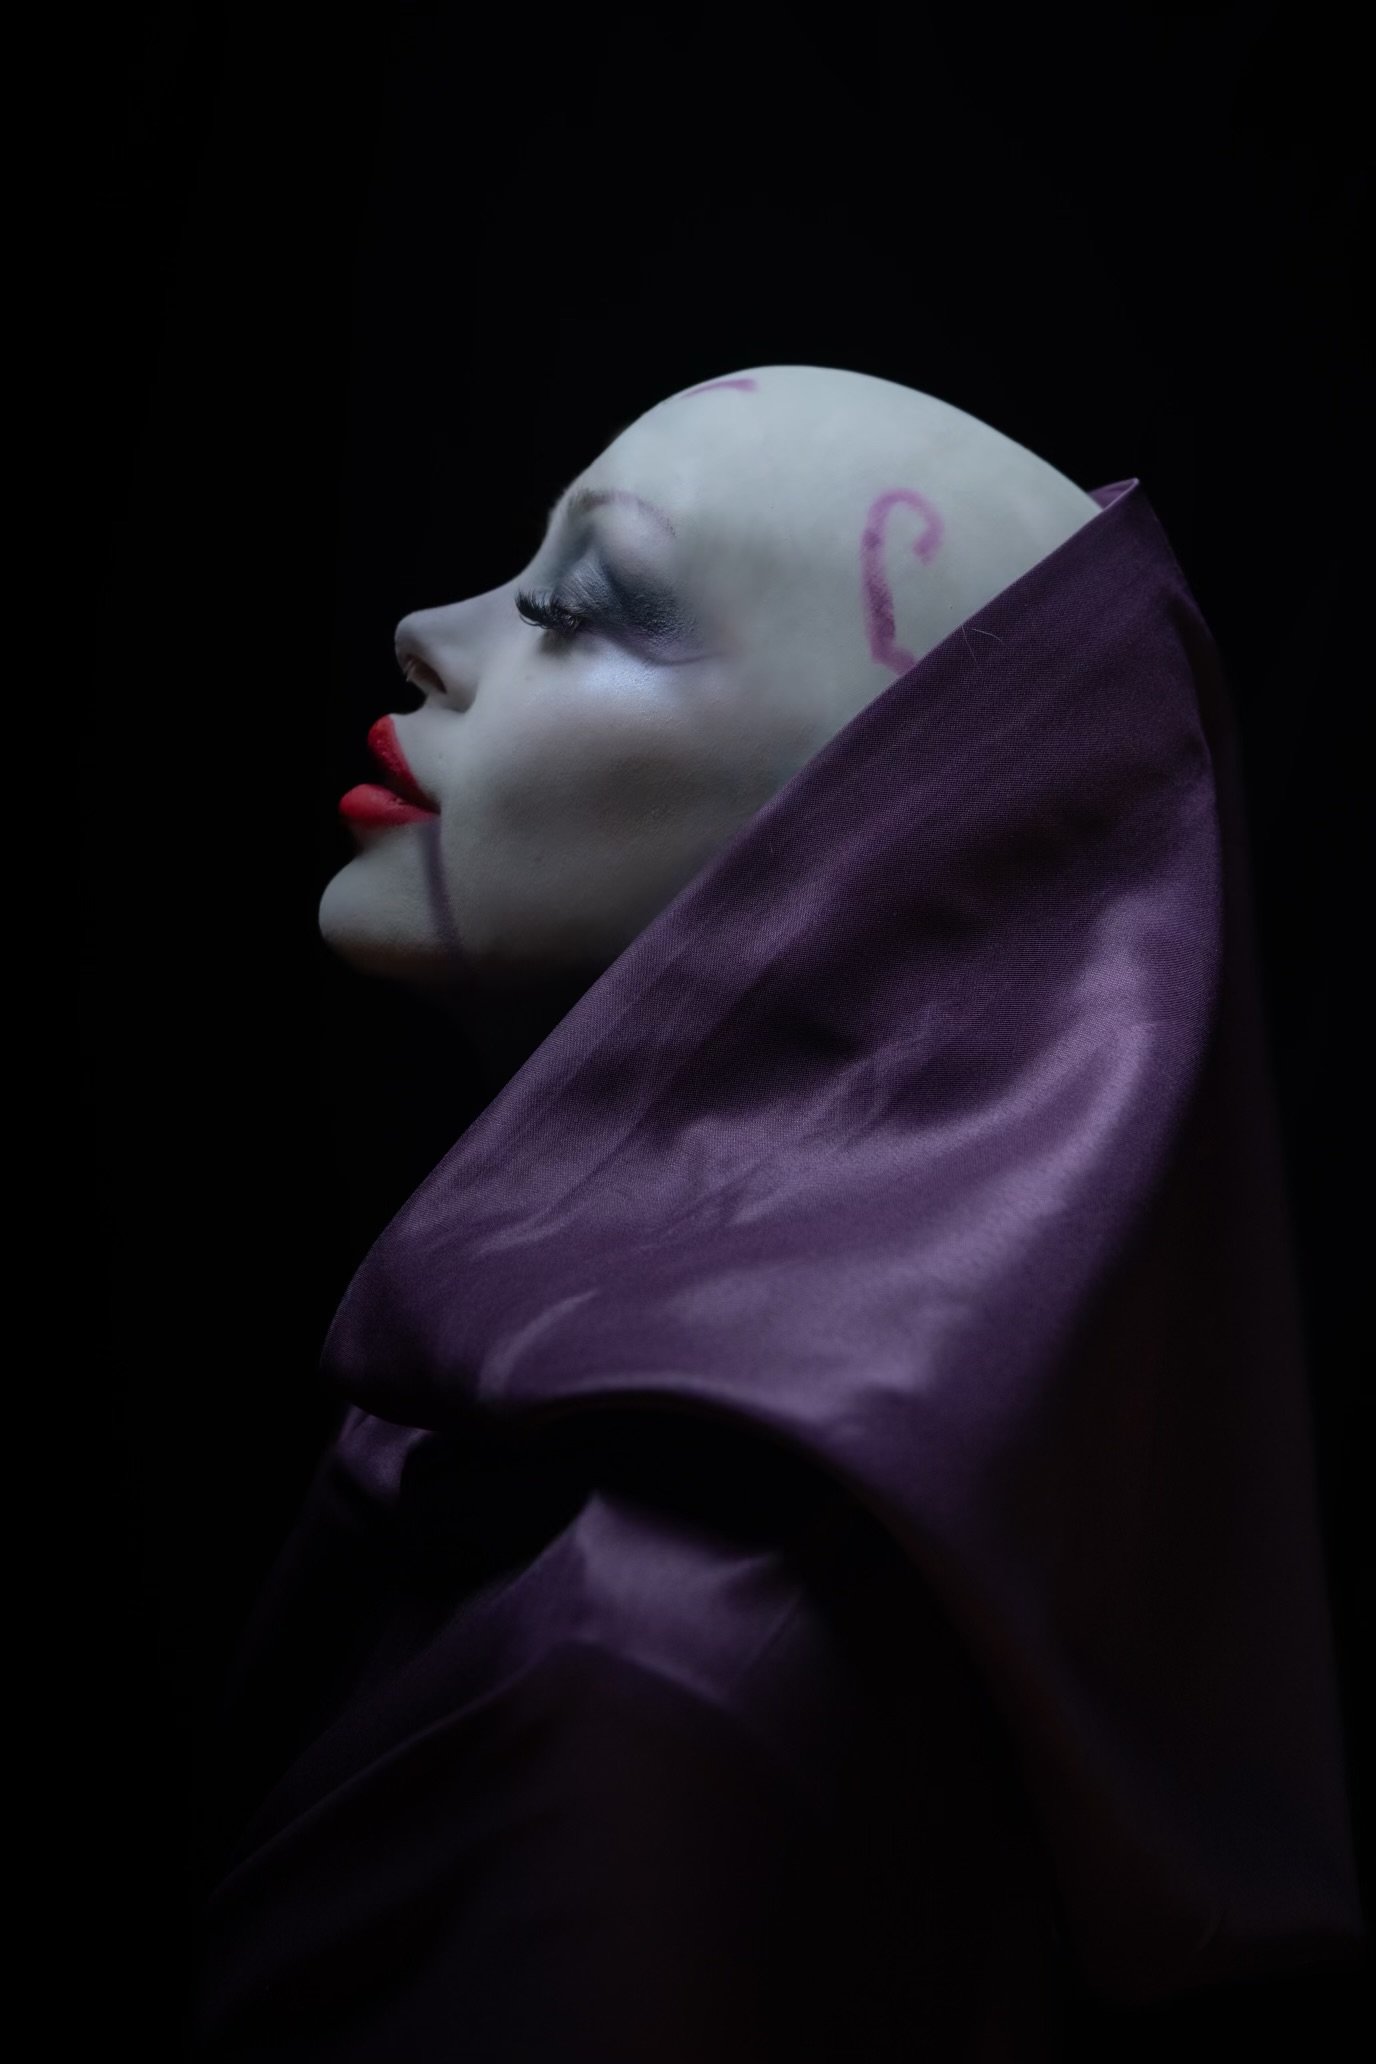
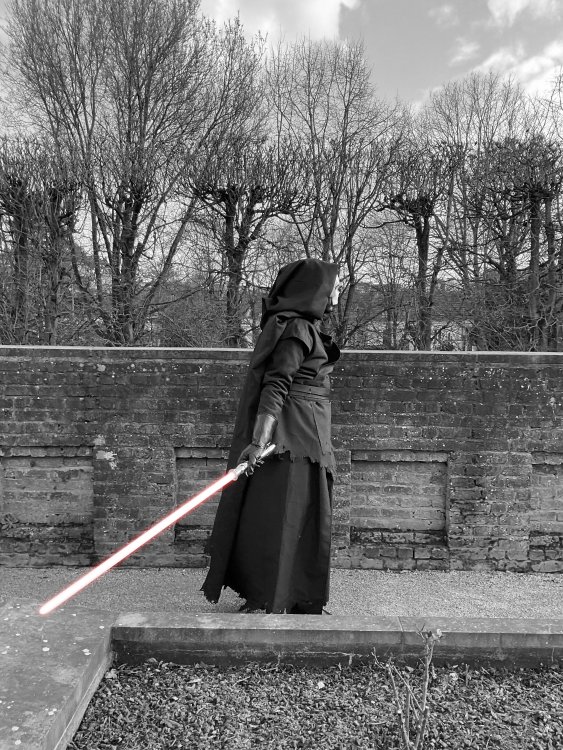
Hi folks, I just wanted to share some of the pics I took during my shooting at the Georges Henri park in Brussels

 3 points
 -
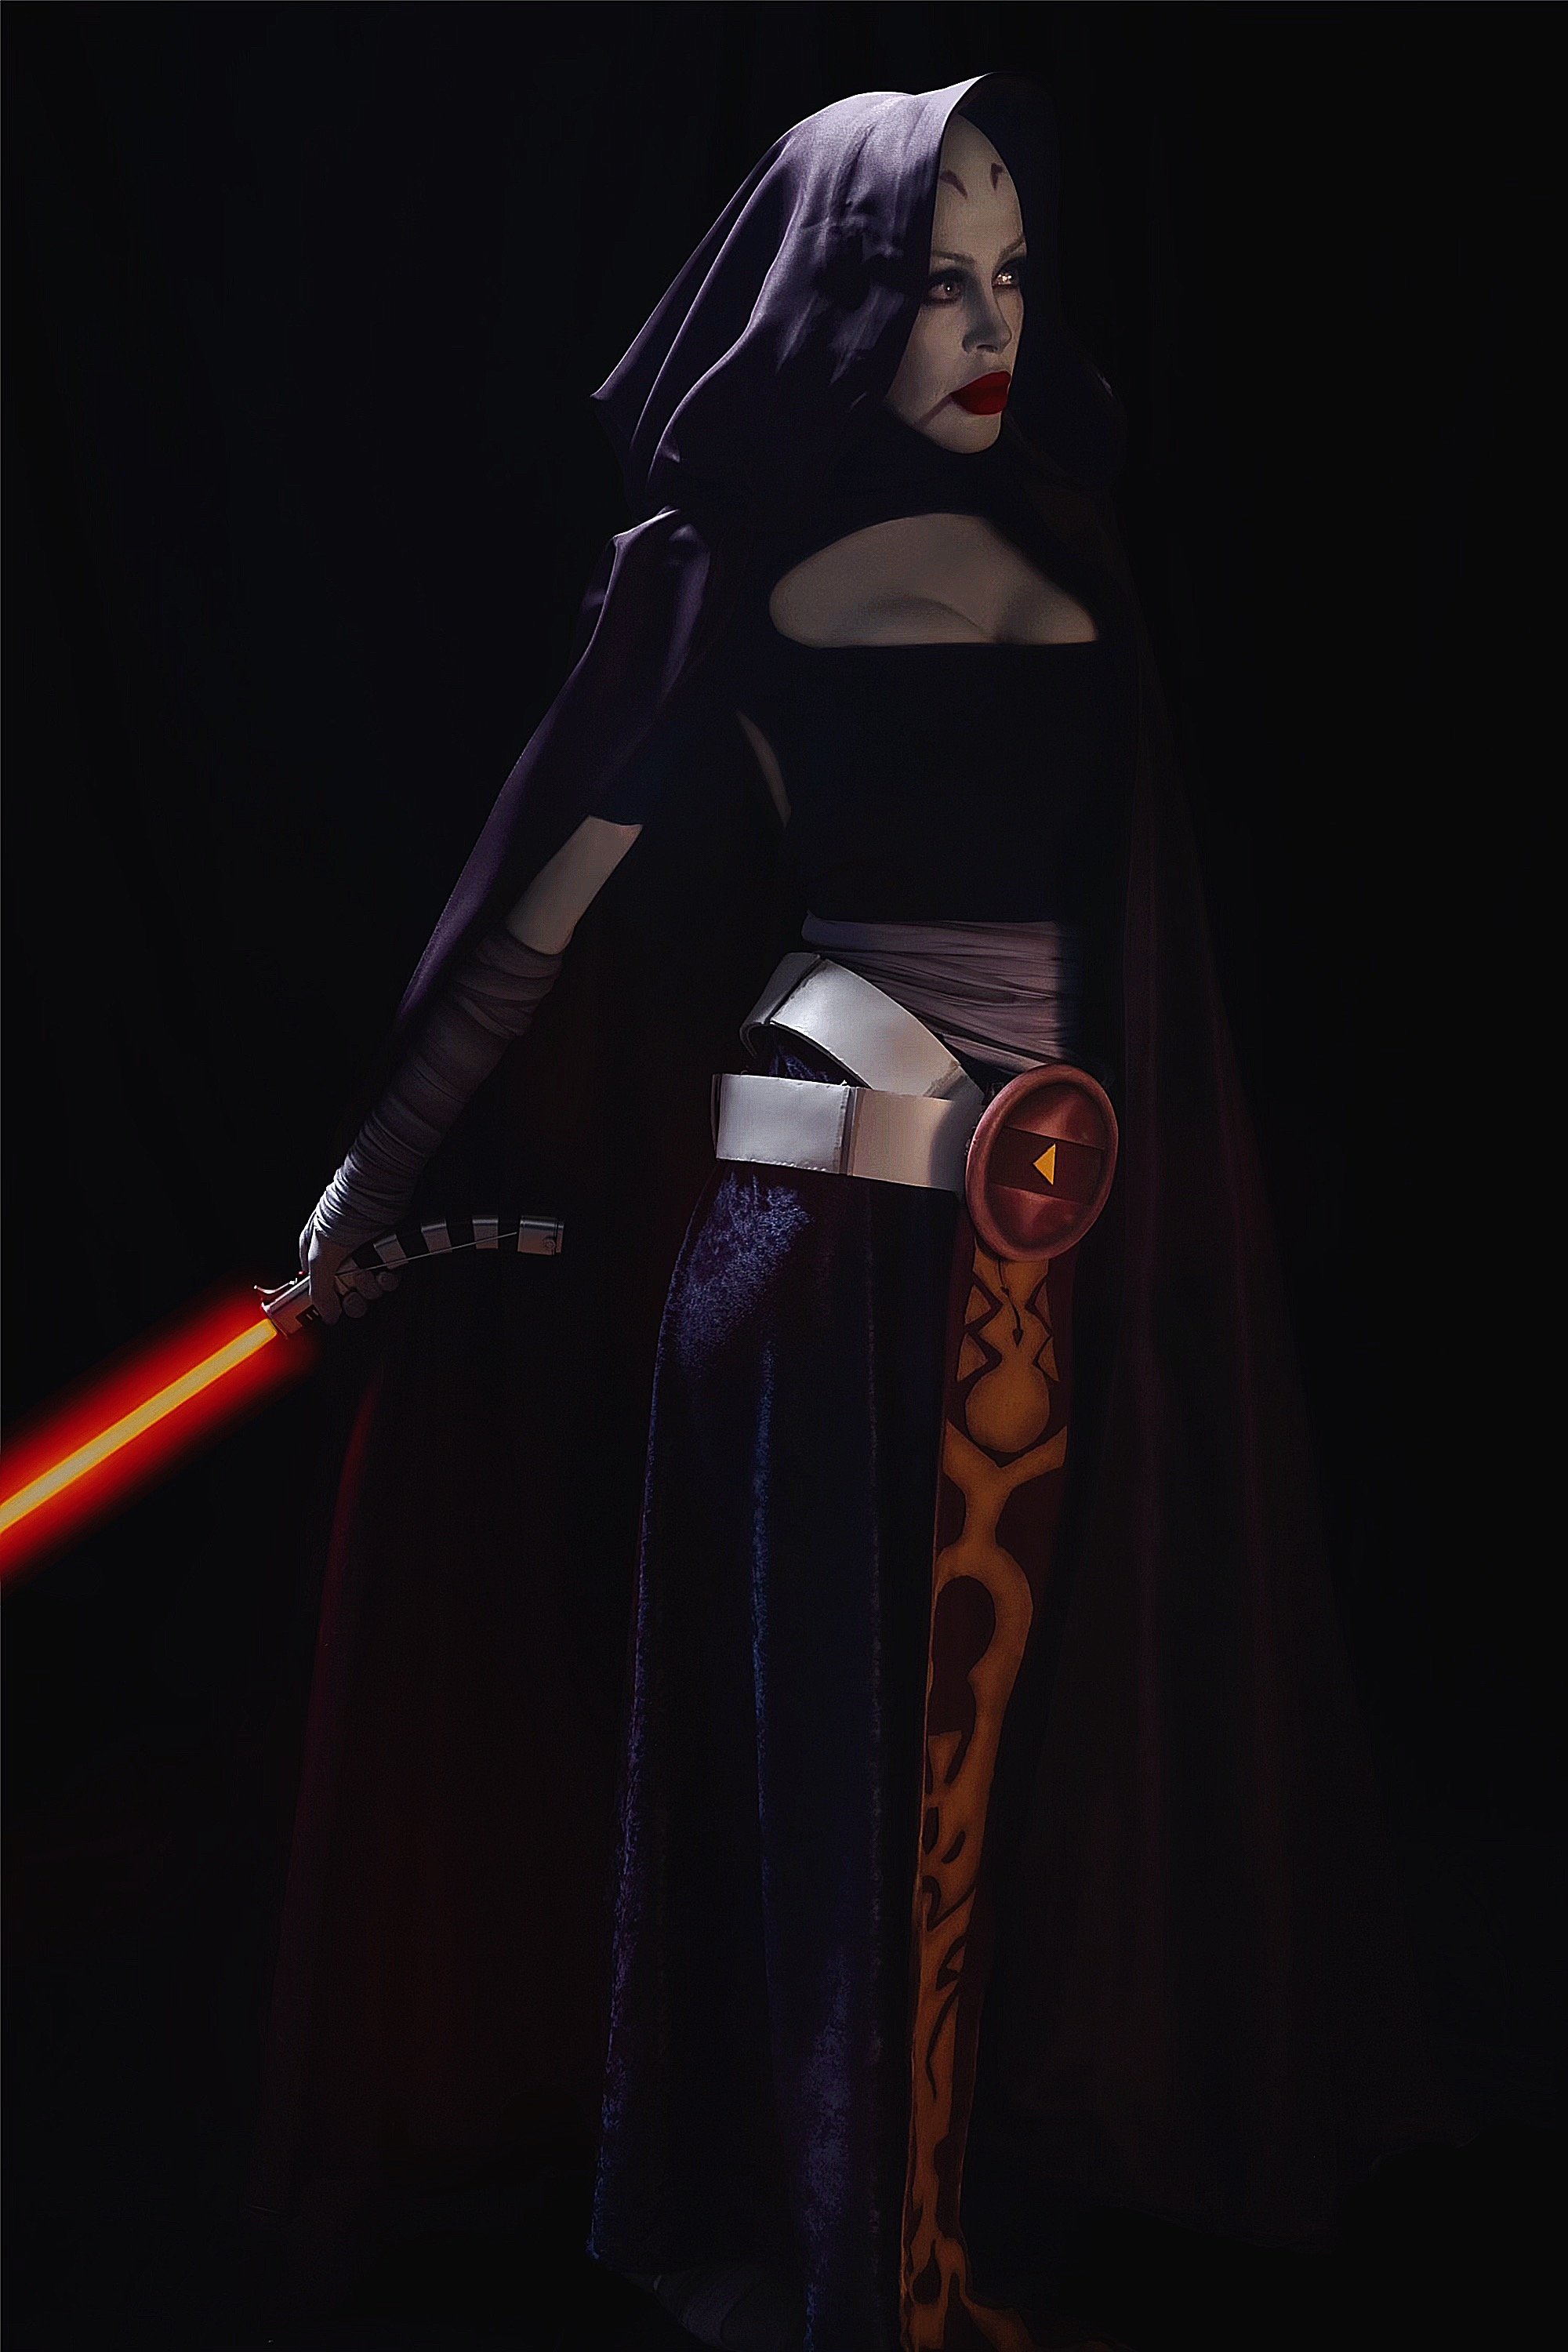
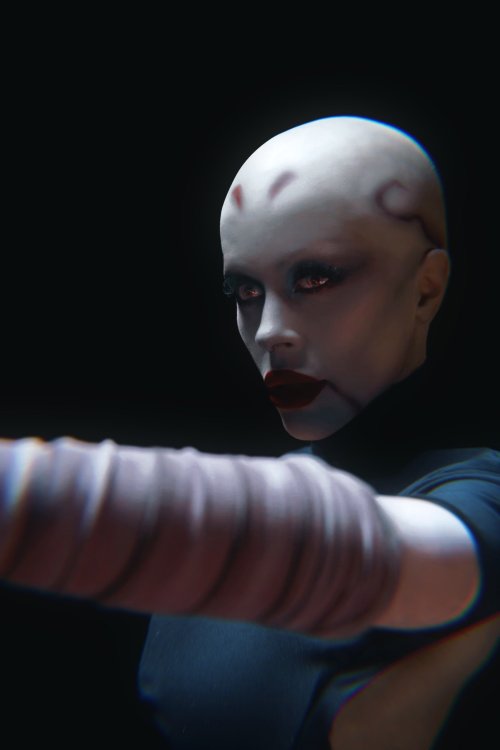
Hi everyone! Finally got my butt in gear and got my clone wars asajj approved and hopefully the first of many asajj approvals for me. I made every single aspect (except my lightsaber) from scratch without much experience before so I’m really proud of this one 😊🥰 I’m a brand new member of the pikes peak squad and the mountain garrison! Excited for all the new experiences to come 💕


 2 points
 -
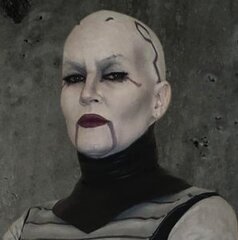
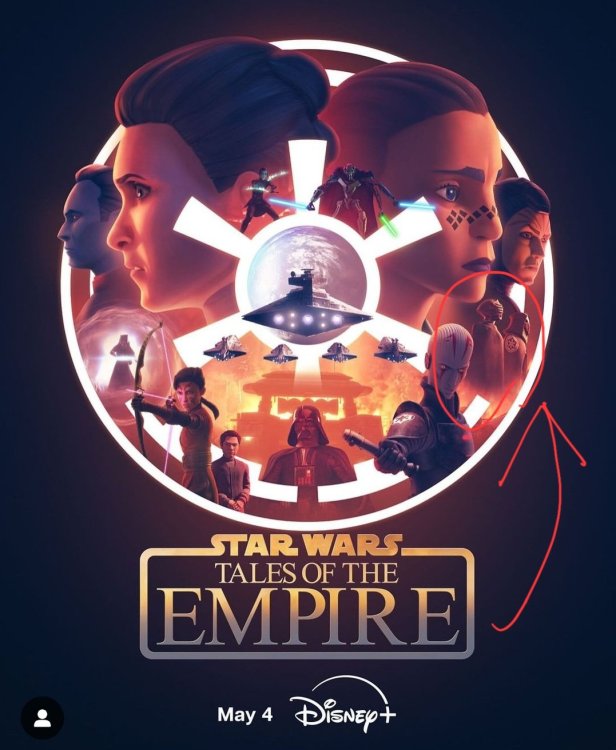
Hey people, LucasFilm and Disney just announced a new show coming named "Tales of the Empire"! And the unknown inquisitor is also in it! Hopefully this will help everybody to make the costume perfect
 2 points
 -
That looks so much better Good luck1 point
-
Hi Which version are you going for ? Regarding the fabric for the inner dress and veil, I went with a polyesterblend that has some weight to it, so both the veil and dress/sleeves would drape nicely.1 point
-
Your welcome Regarding the gloves, if you are satisfied that the gloves are not a nuisance in your elbow joint then it is not something that I consider a problem, was more if they went beyond the joint. LOL I think we've all tried to forget to put something on when we jump in our suits - I forgot one time to put on my knee armor on my scout, but luckily I noticed it before heading out, and I had put that armor on a million times 😂 I think you´ll need to put in new pics, as this costume will be approved by the Legion MLs and not by your own GML team, also if your cape on the pics are touching the floor, then it will be pushed back to your GML team for corrections. Looking forward to seeing the end result1 point
-
Very nice work on the sound glove The skirt lenght looks fine, as long as it doesn´t touch the floor, and the cape needs to be taken off the floor, it is also not allowed to touch it. Your gloves are very long, I know that the CRL states, that they shall reach the top of the midarm, but they look like they go out over your elbow ? Perhaps a single fold on them would look better. Do remember to wear a balaclava, so no skin is being shown, when you do your approval pictures Good luck1 point
-
My sister and I make them and thank you for the link1 point
-
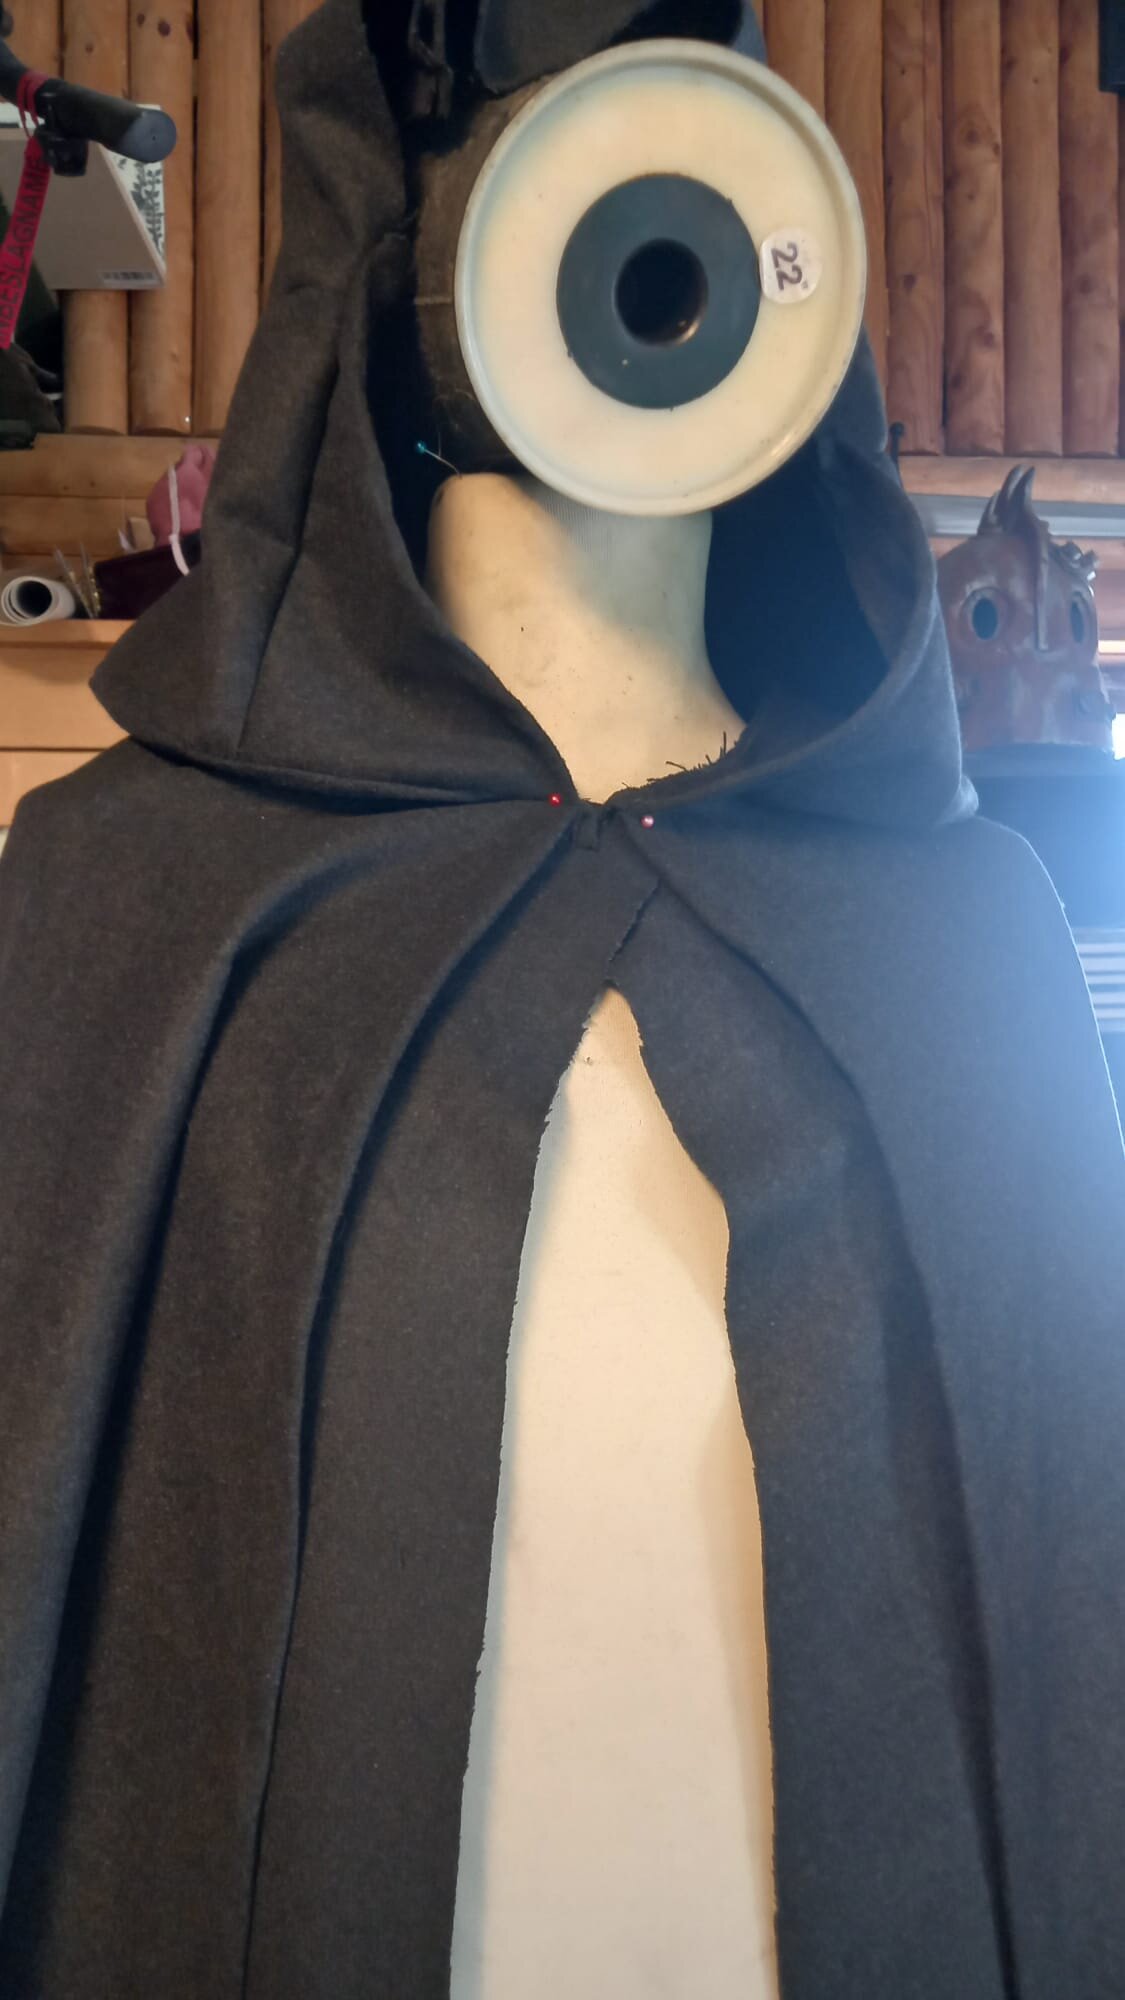
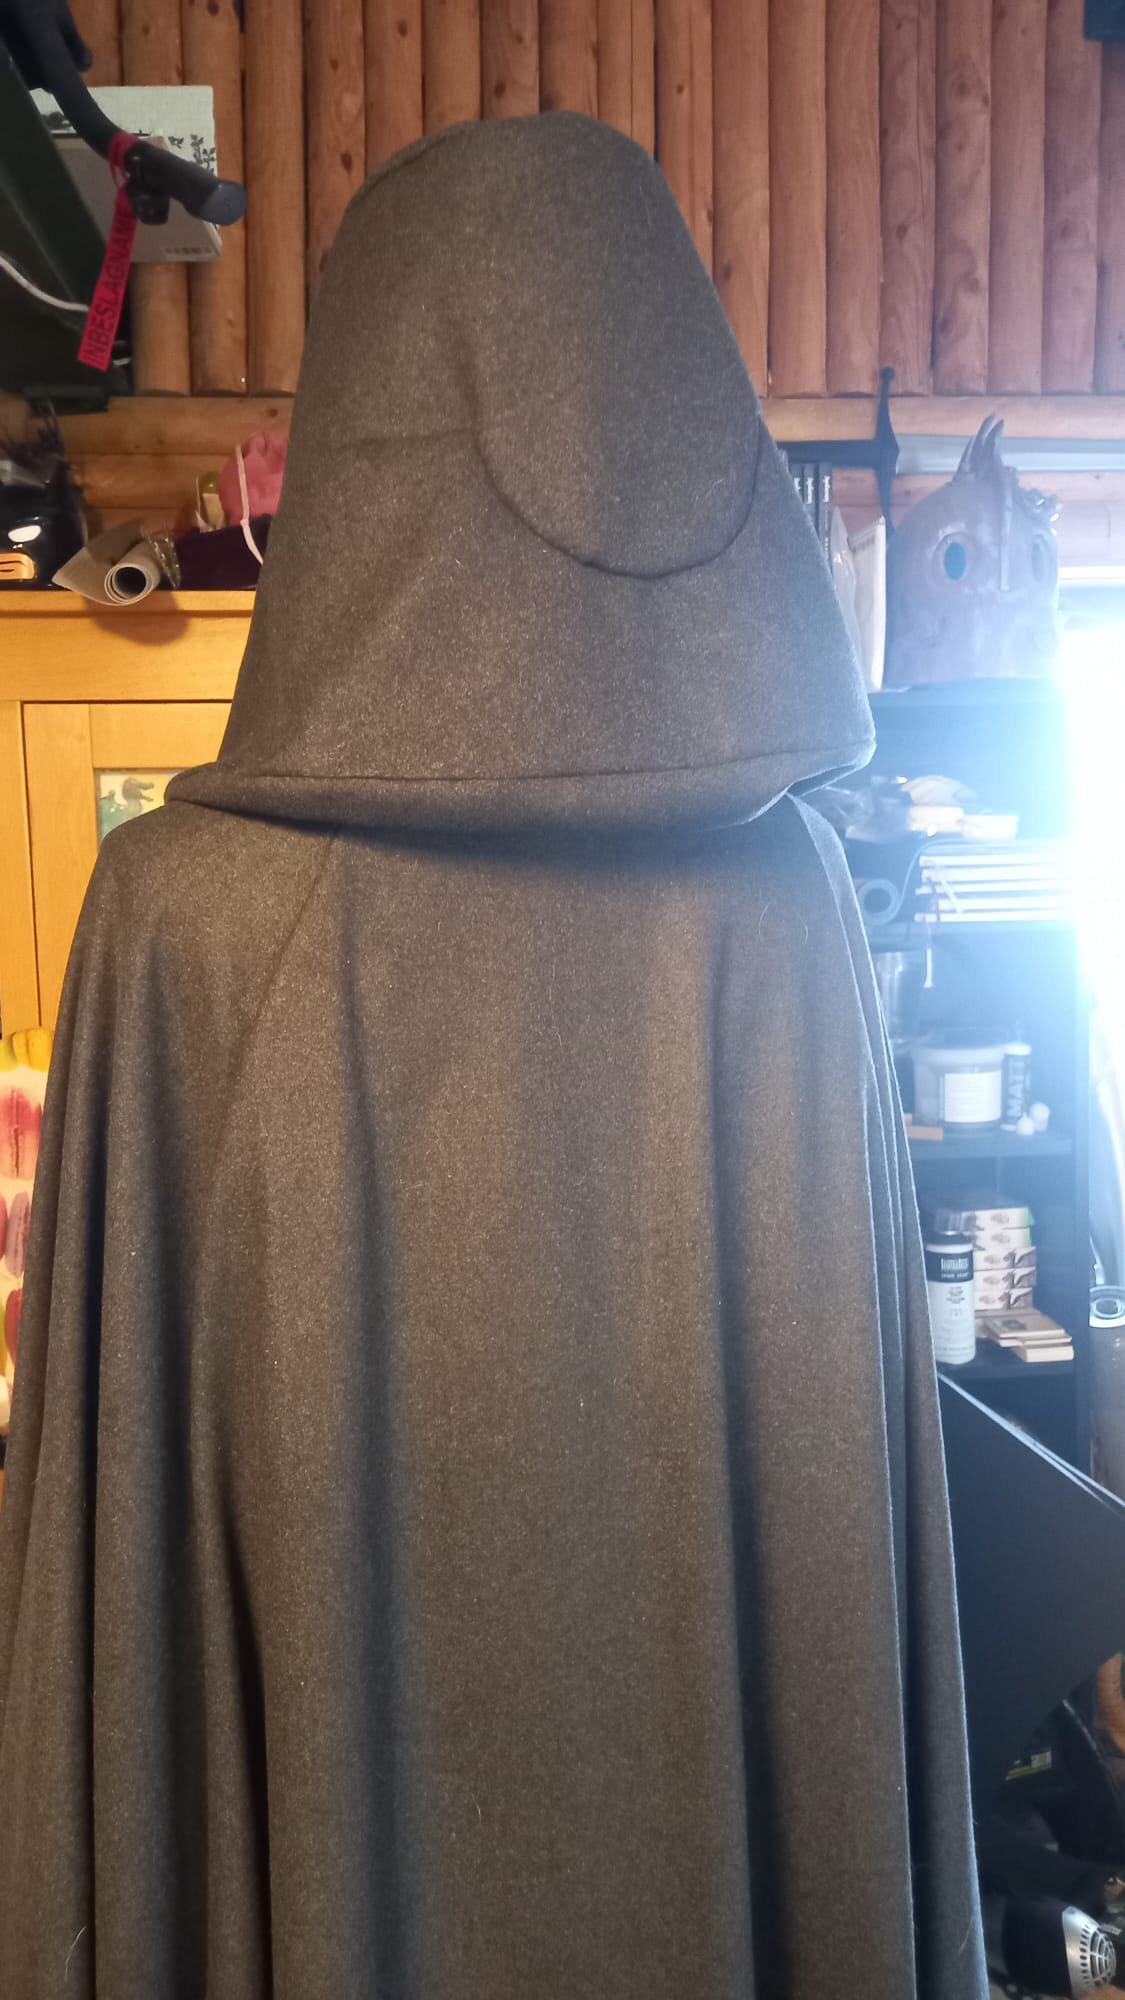
Progress so far on the cape

 1 point
 -
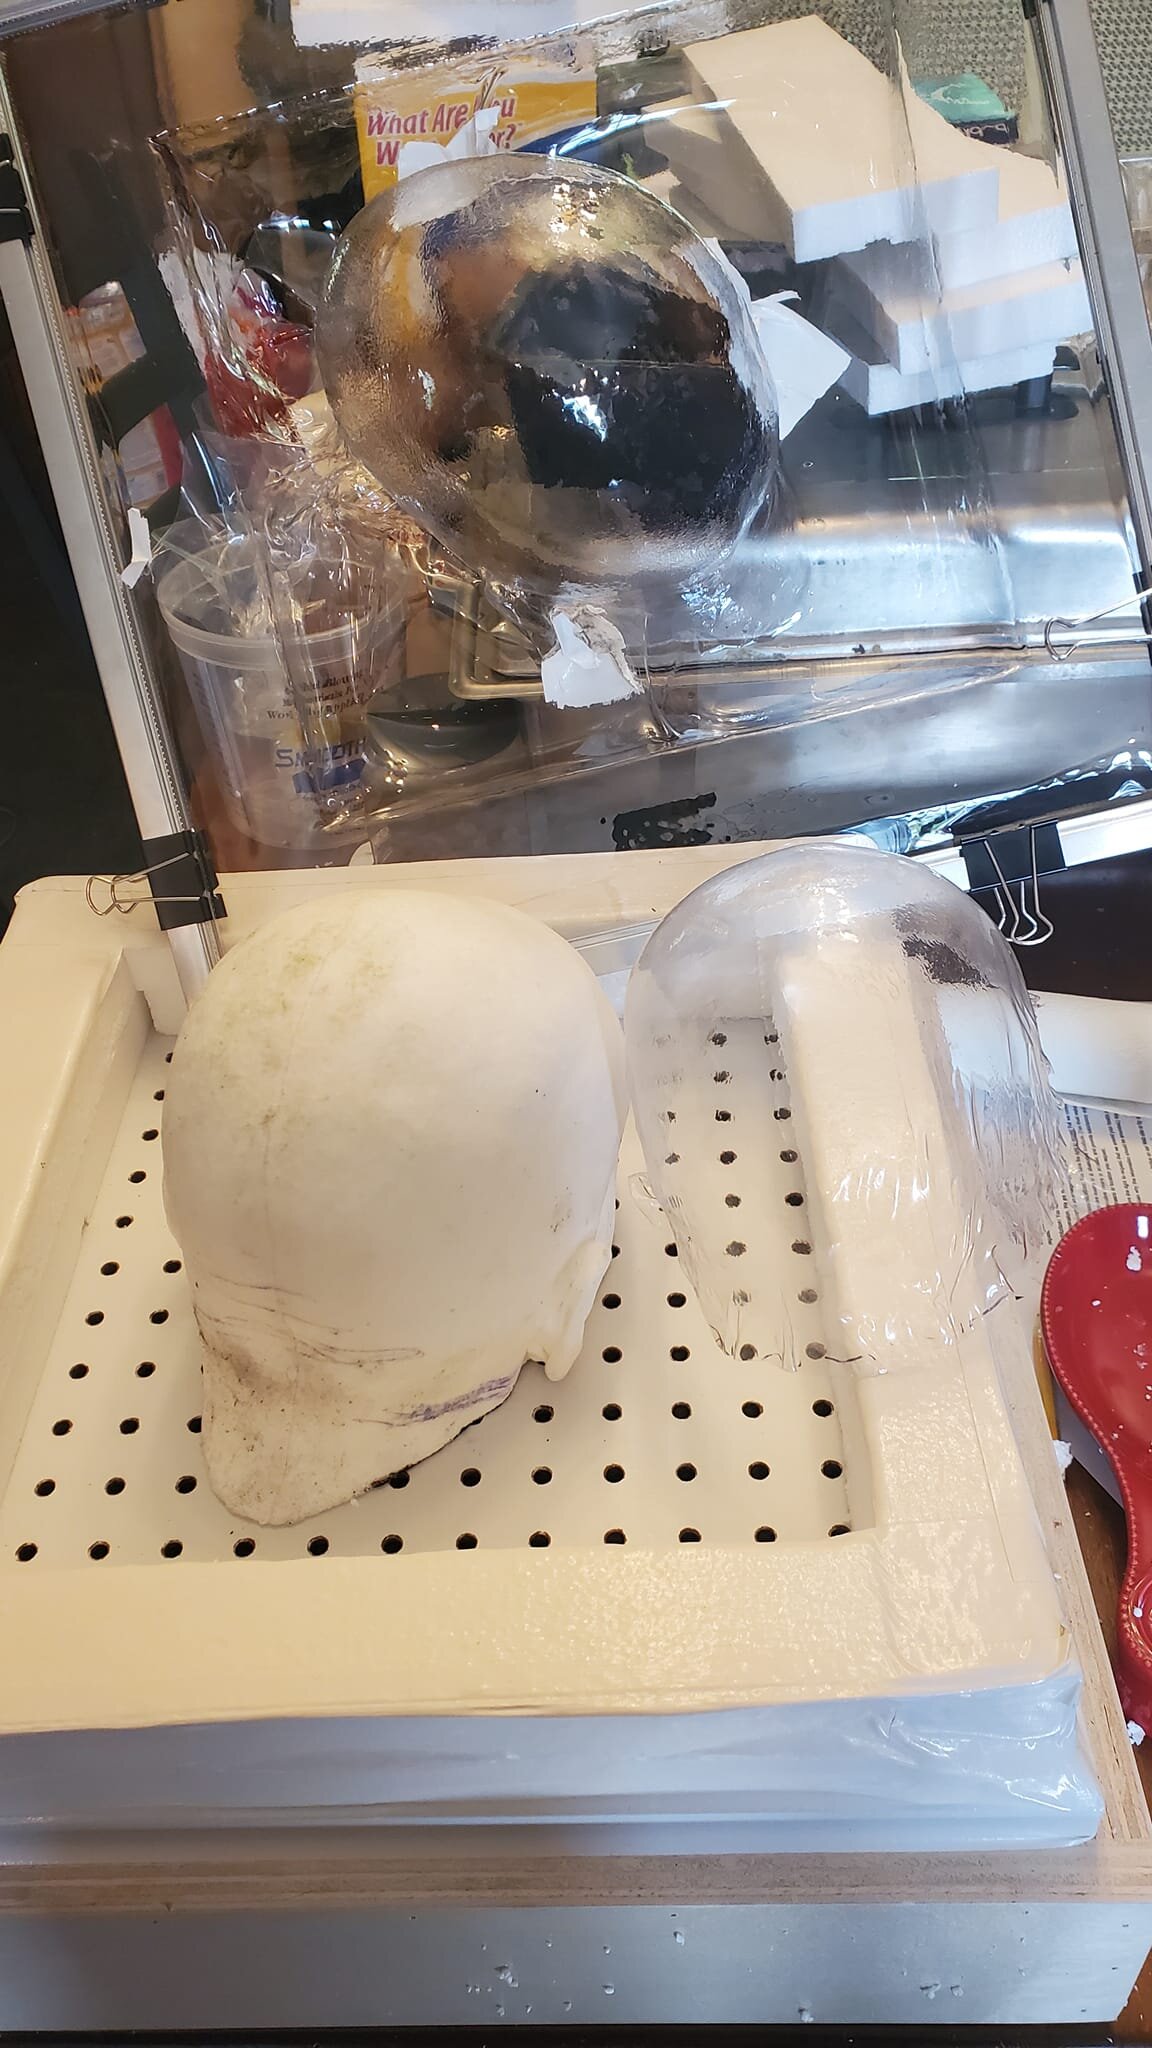
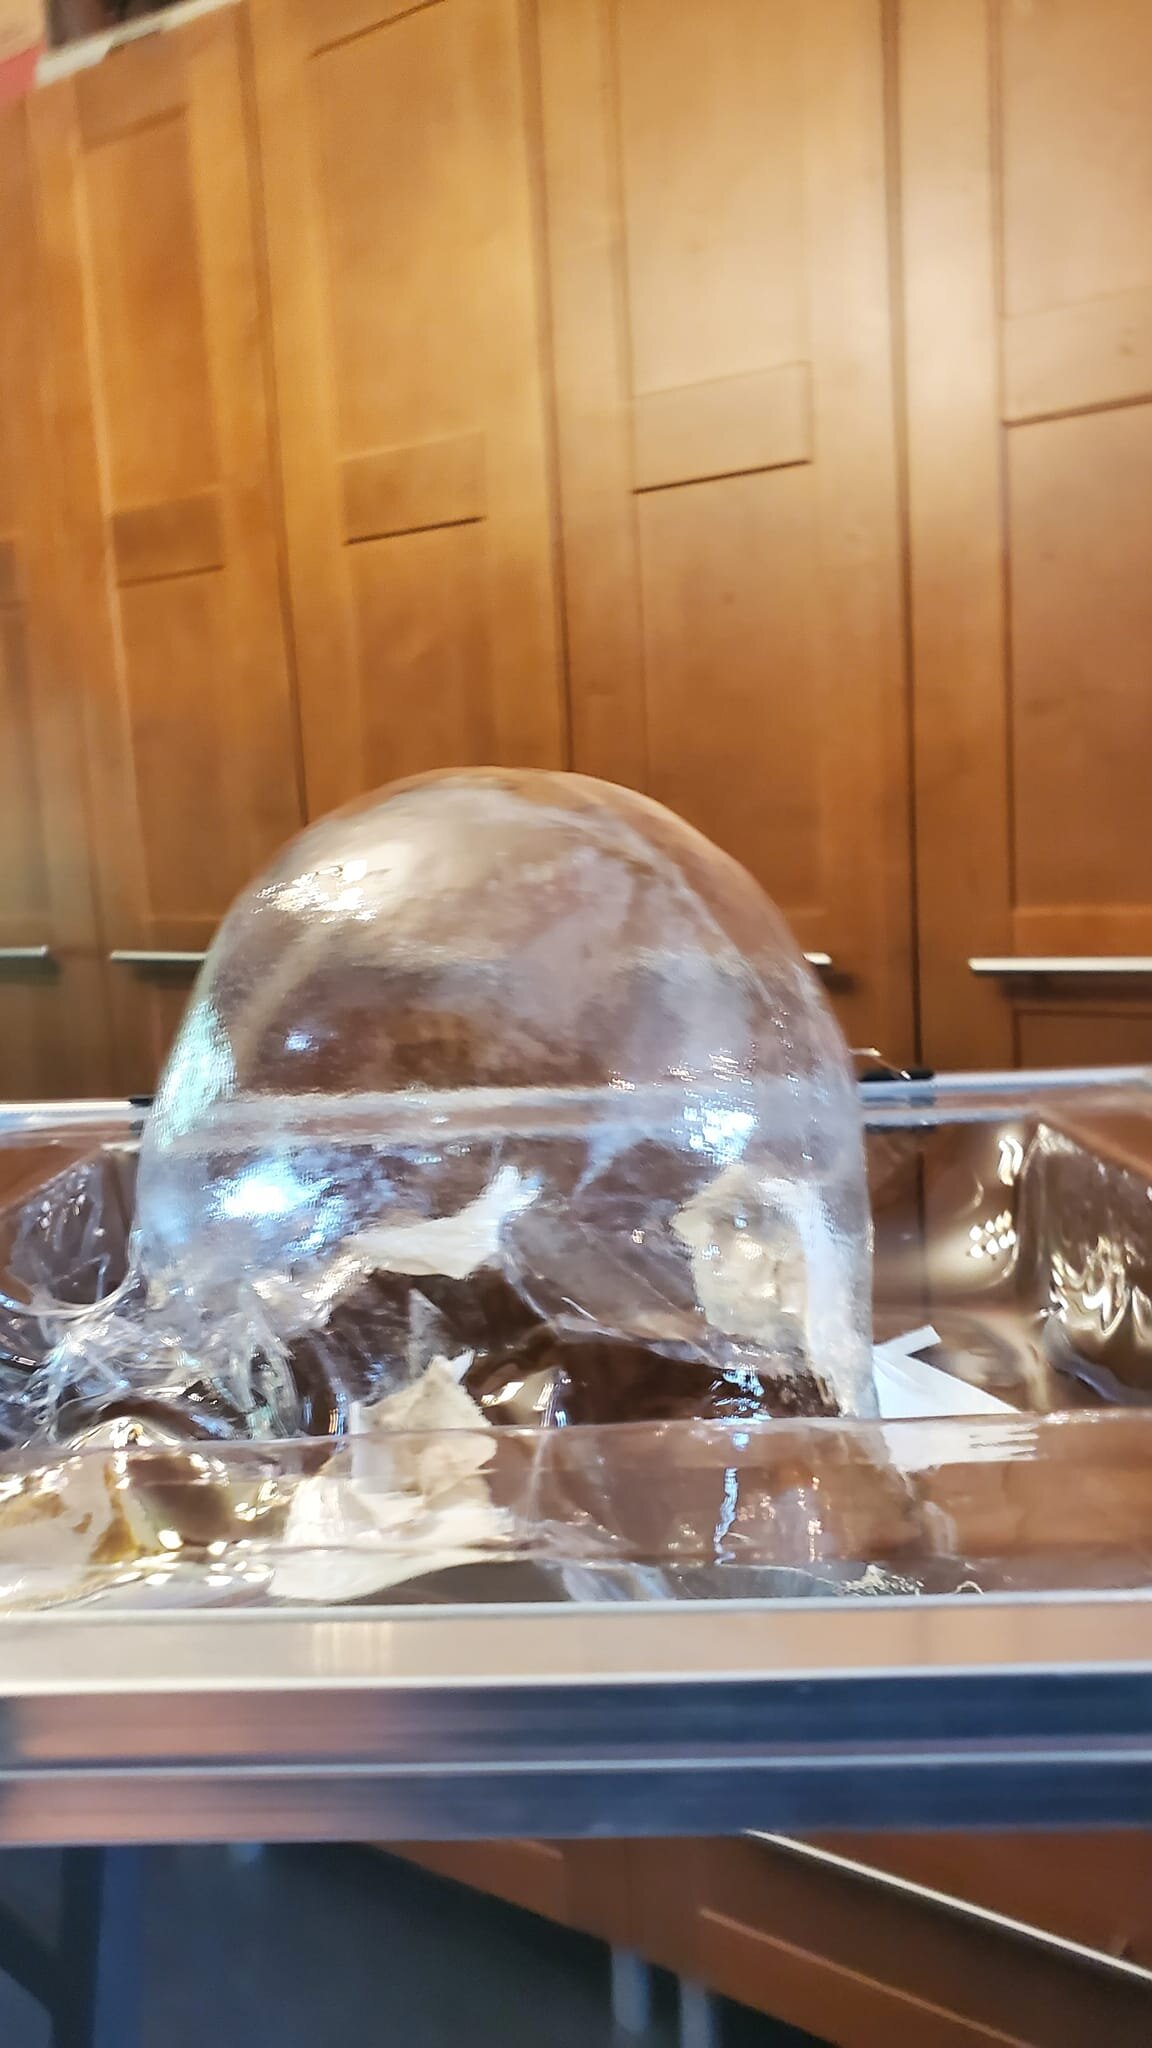
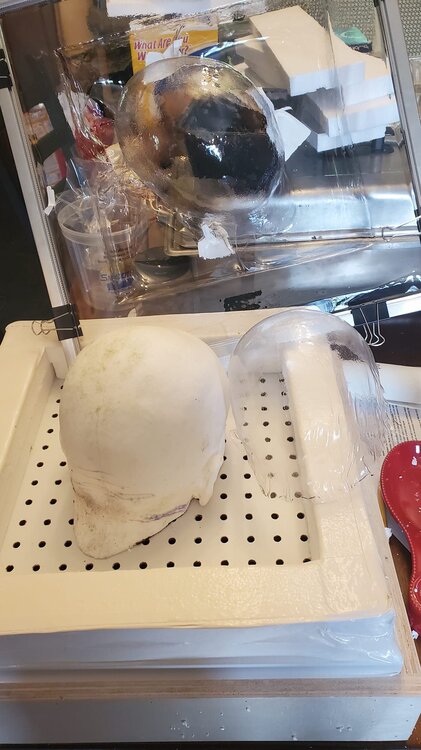
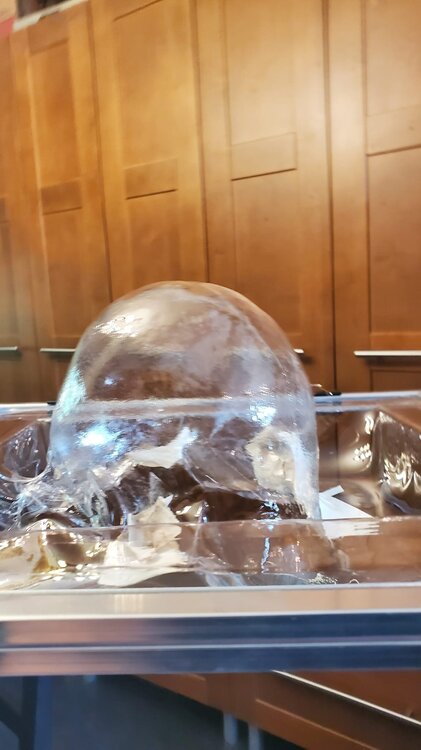
I will do a better write up of this in the next month or so. I will write more about how to make a casting of your head and such, but for now this is how to make the actual hard plastic re-usable stencil. Okay so this is going to be a bit of a long post. For my Ventress I have been planning trying to make a hard plastic stencil to use for airbrushing my Asajj Ventress tattoos on the scalp part of the head. I wanted something that is pretty much a continuous shape that doesn't have to have sections that need to be created every couple of inches. And would fit my head without large gaps. I have been using a Halloween bald cap that I tried to modify to fit my head, but because the material is flimsy the stencil shapes have to be cut into sections and then have to be connected when the bald cap is removed. I had my head cast. Which I did but I had to go to a place to get it done. Mind you I plan on doing other things with my head mold. The process for making this stencil can be done with just casting the scalp and ear area and doesn't have to include the face. I purchased a small (16"x16") Vacuum forming table. Got it on Etsy. Pm me if you want a link. You can also go on Youtube to learn how to make one. I used my house vacuum to create the suction. I also purchased a sheet of PETG from Amazon. .020" thickness. I also had a heat gun for this process. I made a cast from the mold of my head using Smooth-Cast 305 from Reynolds Advanced Materials. I made it a little bigger (deeper) than I had planned on. But I figured out a workaround without having to cut the head shape down. You can learn more about casting at the Smooth-On website. or you can search Youtube. I used the metal frame that came with the vacuform table and secured the plastic sheet I had cut down to the same size as the frame. I then put it in the over, raised a few inches above the metal wire shelf under my broiler (around 3-4") and let it sit for around 30-45 seconds. I pulled it out and pushed it down over the head form. My first try at molding the head stencil failed (mostly). When I first pulled the hot sheet down over the head form, it wouldn't stretch far enough down over the head form to reach the edges of the table to suction down the plastic. I tried using a heat gun while putting pressure on the plastic pulling it down, however this really didn't work very well. So, I tried again. This time I remedied the suction issue by building up walls of the vacuform table with Styrofoam I had in the house and then using duct tape to attach them to the table and seal the edges. This would allow the plastic sheet to come down onto the surface edge of the table to allow the suction of the vacuum to work on pulling down the extra plastic to the table. I repeated the steps like I did the first time with heating the sheet of plastic in the oven. I then pushed the sheet down over the head form onto the wall edges where it then started to suction down the plastic. The plastic cools quickly. When it does it will not stretch anymore. It still needed to form a bit more, so I used a heat gun (550 deg) in spots around the head form while the vacuum was on. Some spots I melted the surface and created holes where I had the heat gun to close to the plastic, so I patched them up with duct tape to create the suction again. I kept going around the head till I was happy with the results. I have cut the head shape out and will be drawing and cutting out the shapes of the tattoos that go on Ventress' head. The only thing I would like to do again differently is using a bit of a thicker sheet of PETG. I feel it would hold up better for future stenciling. For now, I will use this. But I am also currently ordering more PETG in a thicker sheet. I will be posting more pictures of the head stencil being cut tout and being used with the airbrush when I get there later today. If you do not know about Vacuum forming I suggest googling it to learn more. The first image is showing the vacuform table with the failed stencil to the right of the head form and the successful one still clamped to the frame for the vacuform table standing upright (you are looking at the top of the head). The second image shows how deep the forming of the plastic was made. You can also see the pieces of white duct tape I used to seal the holes where needed.
 1 point
 -
So, I just started writing out a potential CRL today. My understanding is that the 501st won't be making this a regular CRL but could make it a Legion Level Approval costume. I have been in contact at the Legion level and was instructed to provide a serviceable CRL first.1 point
-
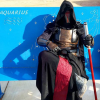
Was able to debut the kit at a convention this past weekend. Overall response was overwhelmingly positive! Also identified several fixes that will need to happen before the next outing.1 point